Air Vuisa SNOWFLAKE reserve series User manual

SNOWFLAKE reserve manual
Ver 1.0/December 2017.

2 | Page
Dear customer,
Thank you for purchasing an AIR VUISA quality product.
We are a growing family of professionals with the aim of producing high quality
products for a wide spectrum of pilots. Incorporating modern technologies and
highest quality materials, our goal is to manufacture durable paragliding products,
with excellent performances but with safety as our highest priority.
We strongly recommend that you carefully read this manual, for it contains vital
information for proper and safe operation of our product, as well as maintenance
and operating instructions.
This manual is an integral part of this rescue system, so please pass it on to the
future owner if you wish to sell it one day.
We wish you all the best in your future flying adventures,
AIR VUISA team

3 | Page
Contents:
Snowflake series introduction…………………………………………………………………….…….4
Technical specifications…………………………………………………………………………………… 5
Safety information……………………………………………………………………………………………5
Setup and packing instructions…………………………………………………………………………6
Use and operation………………………………………………………………………………………….20
Maintenance………………………………………………………………………………………………….20
Final notes………………………………………………………………………………………………….....22
Test reports…………………………………………………………………………………………………...23

4 | Page
The SNOWFLAKE reserve series
The SNOWFLAKE reserves are the next generation state-of-the-art
paragliding rescue systems. They represent a breakthrough in
performance including momentary high stability, extremely low sink
rates and fast opening time, with durability and lightness at the same
time.
We have achieved this through numerous innovations, experience
gained from many years of producing paragliding rescue systems, and
comprehensive testing.
After two years of comprehensive testing and analysis of numerous
solutions, we have finally come up with a breakthrough that fully uses

5 | Page
the current potential of square reserves and truly follows our design
philosophy, safety without compromises – this includes:
•Use of new state-of-the-art light materials, never used before in
the industry;
•Large flat area (m²);
•Very fast opening rates;
•Extreme pendulum stability;
•Very low sink rates.
The main objective was not just to conform to the current EN Standard,
but to go even beyond it, not just to “walk on the line” as most
manufacturers do, and to provide a quality product for the pilot that
will not have any compromises for the sake of cheaper production etc.
Technical specifications:
Snowflake
**SF-90
SF-105
SF-125
SF-150
Max. load
90 kg
105 kg
125 kg
150 kg
Min. load
70 kg
85 kg
105 kg
130 kg
Weight*
890 g
1.180 g
1.720 g
1.760 g
Area flat
27 m²
32.64 m²
40.6 m²
46.4 m²
Volume
/
4400 [cm3]
5600 [cm3]
6700 [cm3]
Sink rate (max load)
/
5.2 m/s
4.6 m/s
5.2 m/s
Panels
16
20
24
24
Middle lines
1
1
1
1
EN/LTF test no.
/
/
/
/
Steerable
No
No
No
No
*including container
** not yet available

6 | Page
Safety information
•WARNING - The AIR VUISA SNOWFLAKE reserve parachutes are
designed and tested exclusively for paragliding use. Under no
circumstances should it be used for skydiving. - Not suitable for use
at speeds in excess of - 32 m/s (115 km/h)
•This parachute system has been tested and found compliant using
the original manufacturer’s inner container. Use of any other inner
container may produce different results, including failures!

7 | Page
•Every pilot bears sole responsibility for his/her personal safety when
paragliding. Neither the manufacturer nor the seller can guarantee
or be held responsible for the safety of the pilot. The use of this
rescue system is entirely at your own risk.
•All parts of the equipment should be checked before every flight,
including a thorough pre-flight check.
•It is of outmost importance to check the harness and reserve
compatibility by a qualified person and to do a test deployment.
•Reserve parachute should be checked and repacked by a qualified
person at least every 6 months to ensure proper operation.
•Operational life of a reserve is 10 years, with annual checks on
regular basis.
Setup and packing instructions
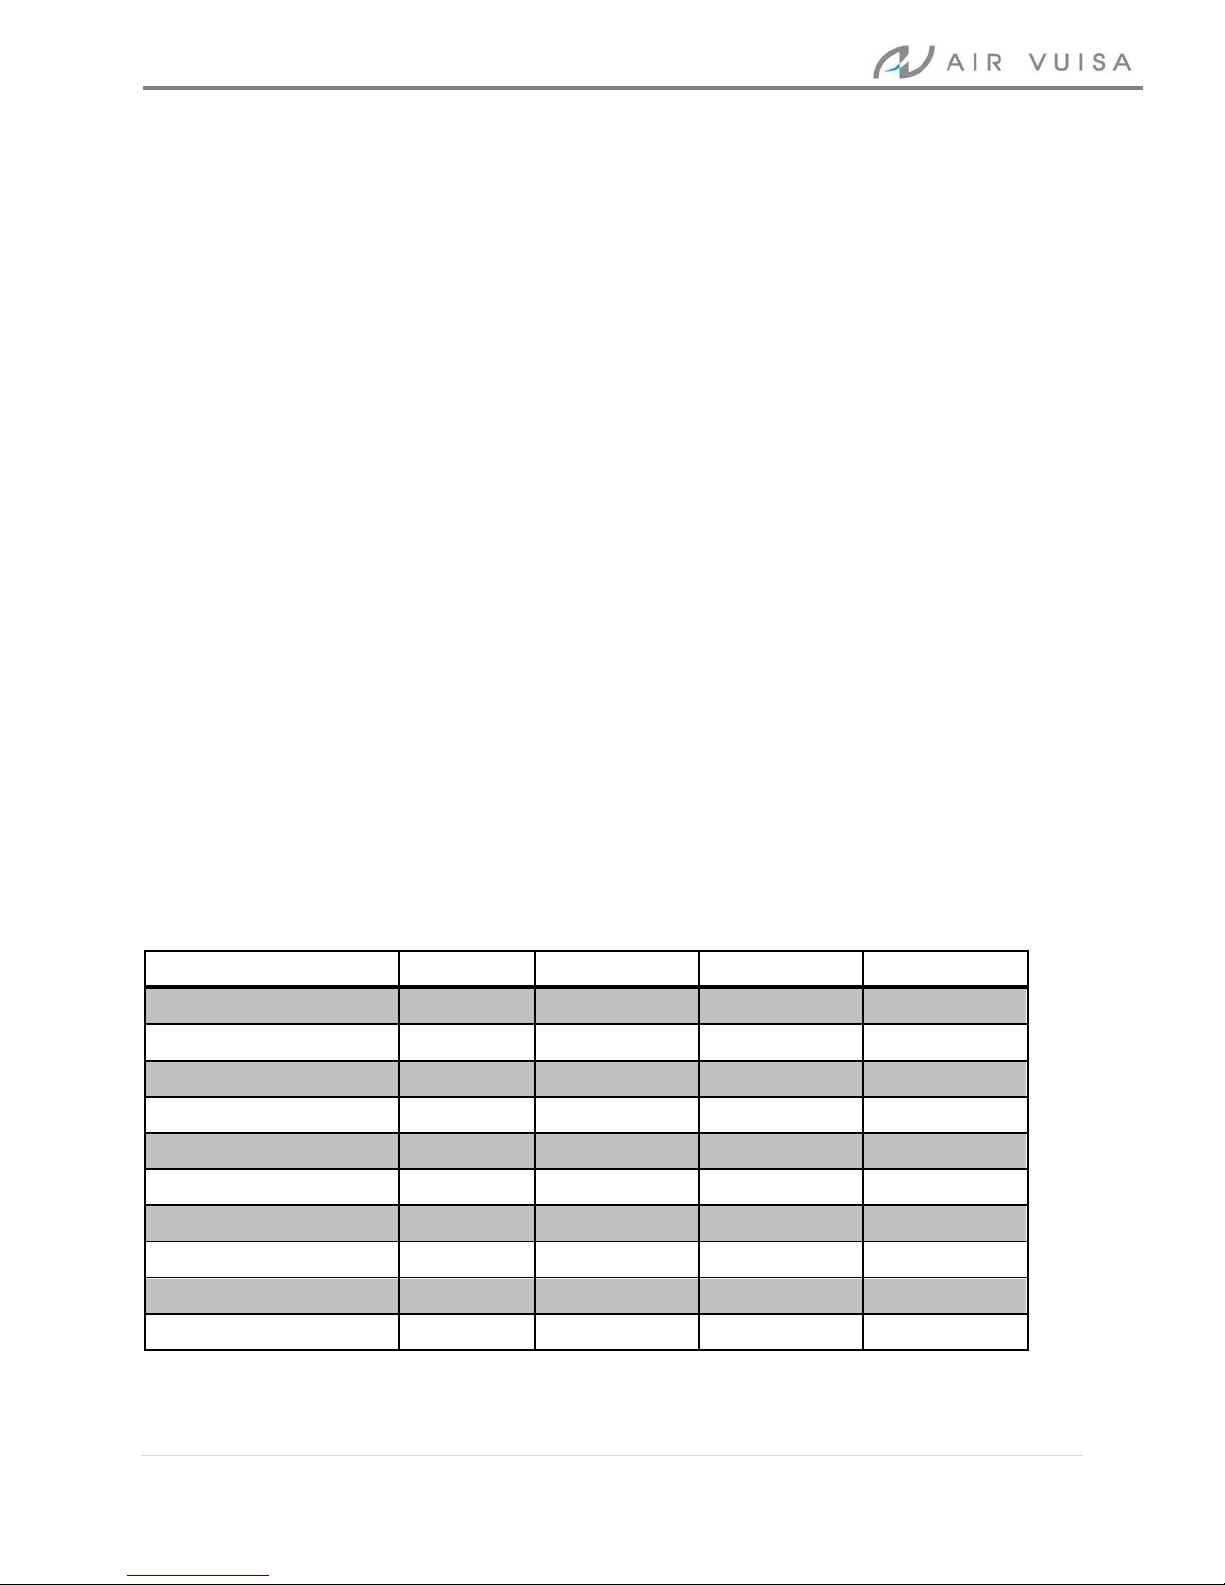
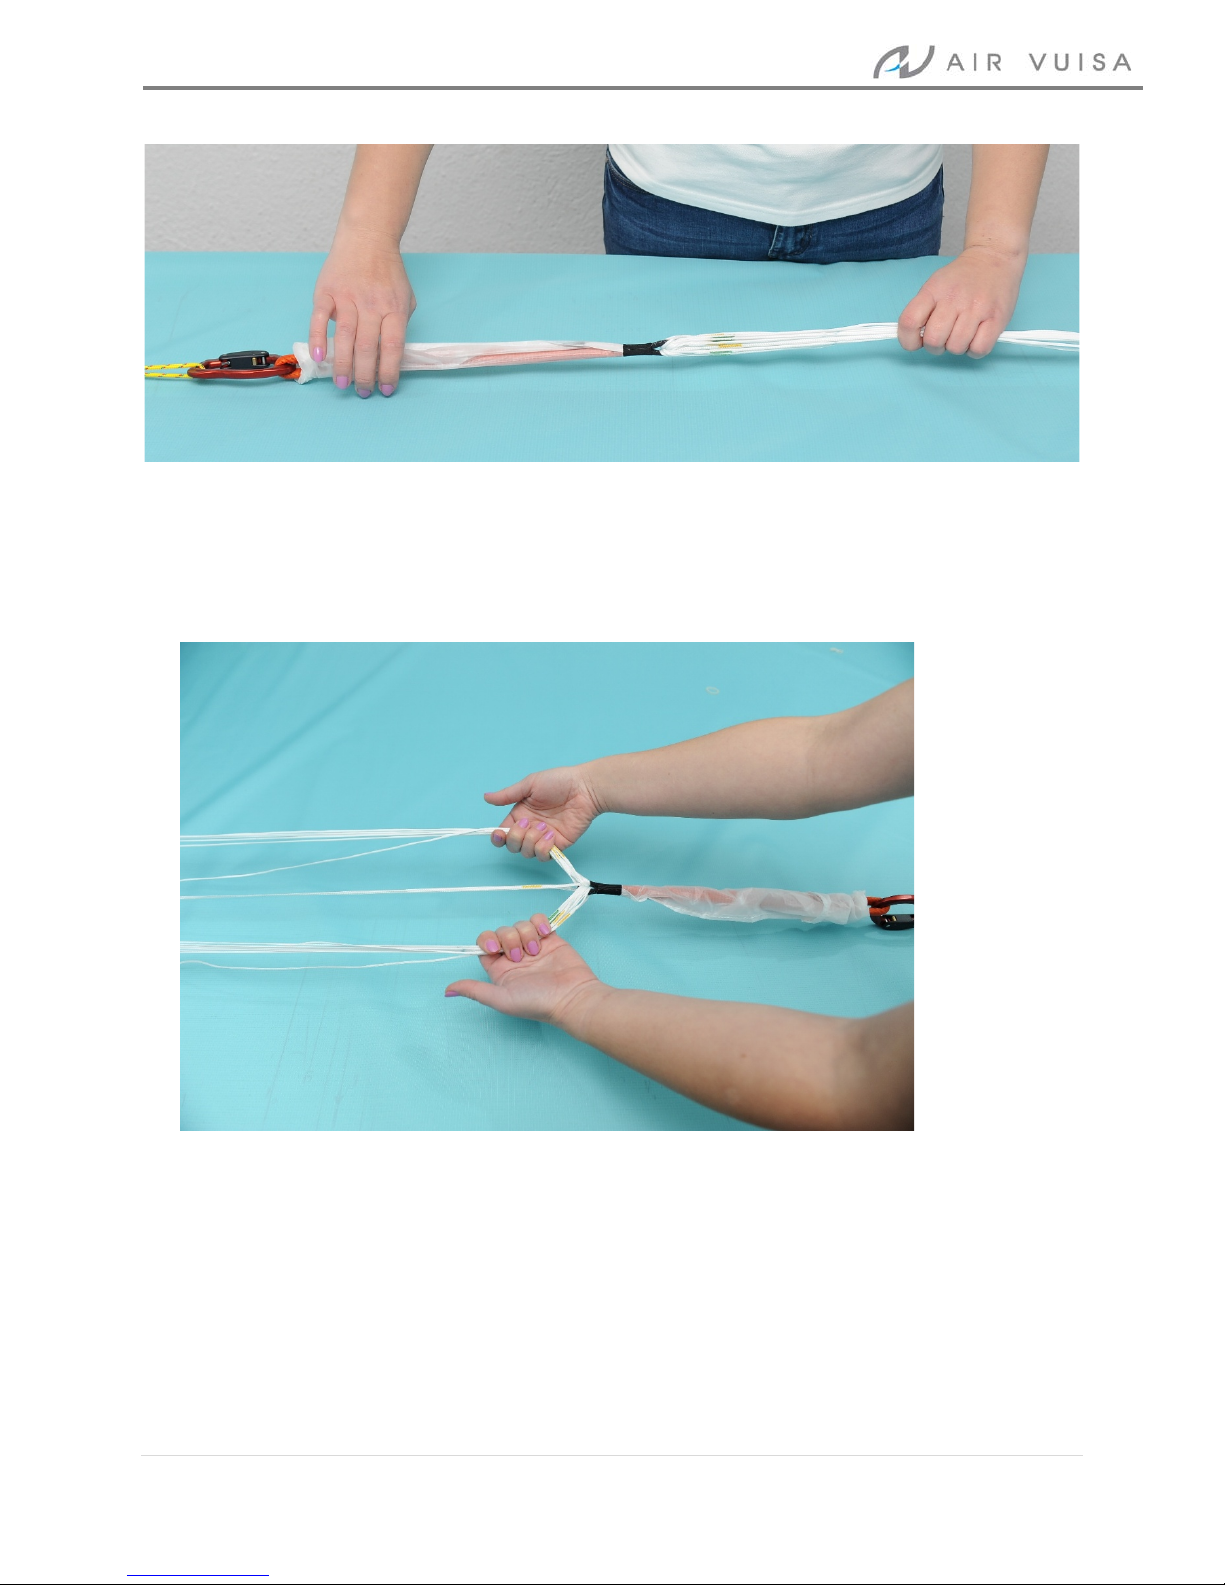
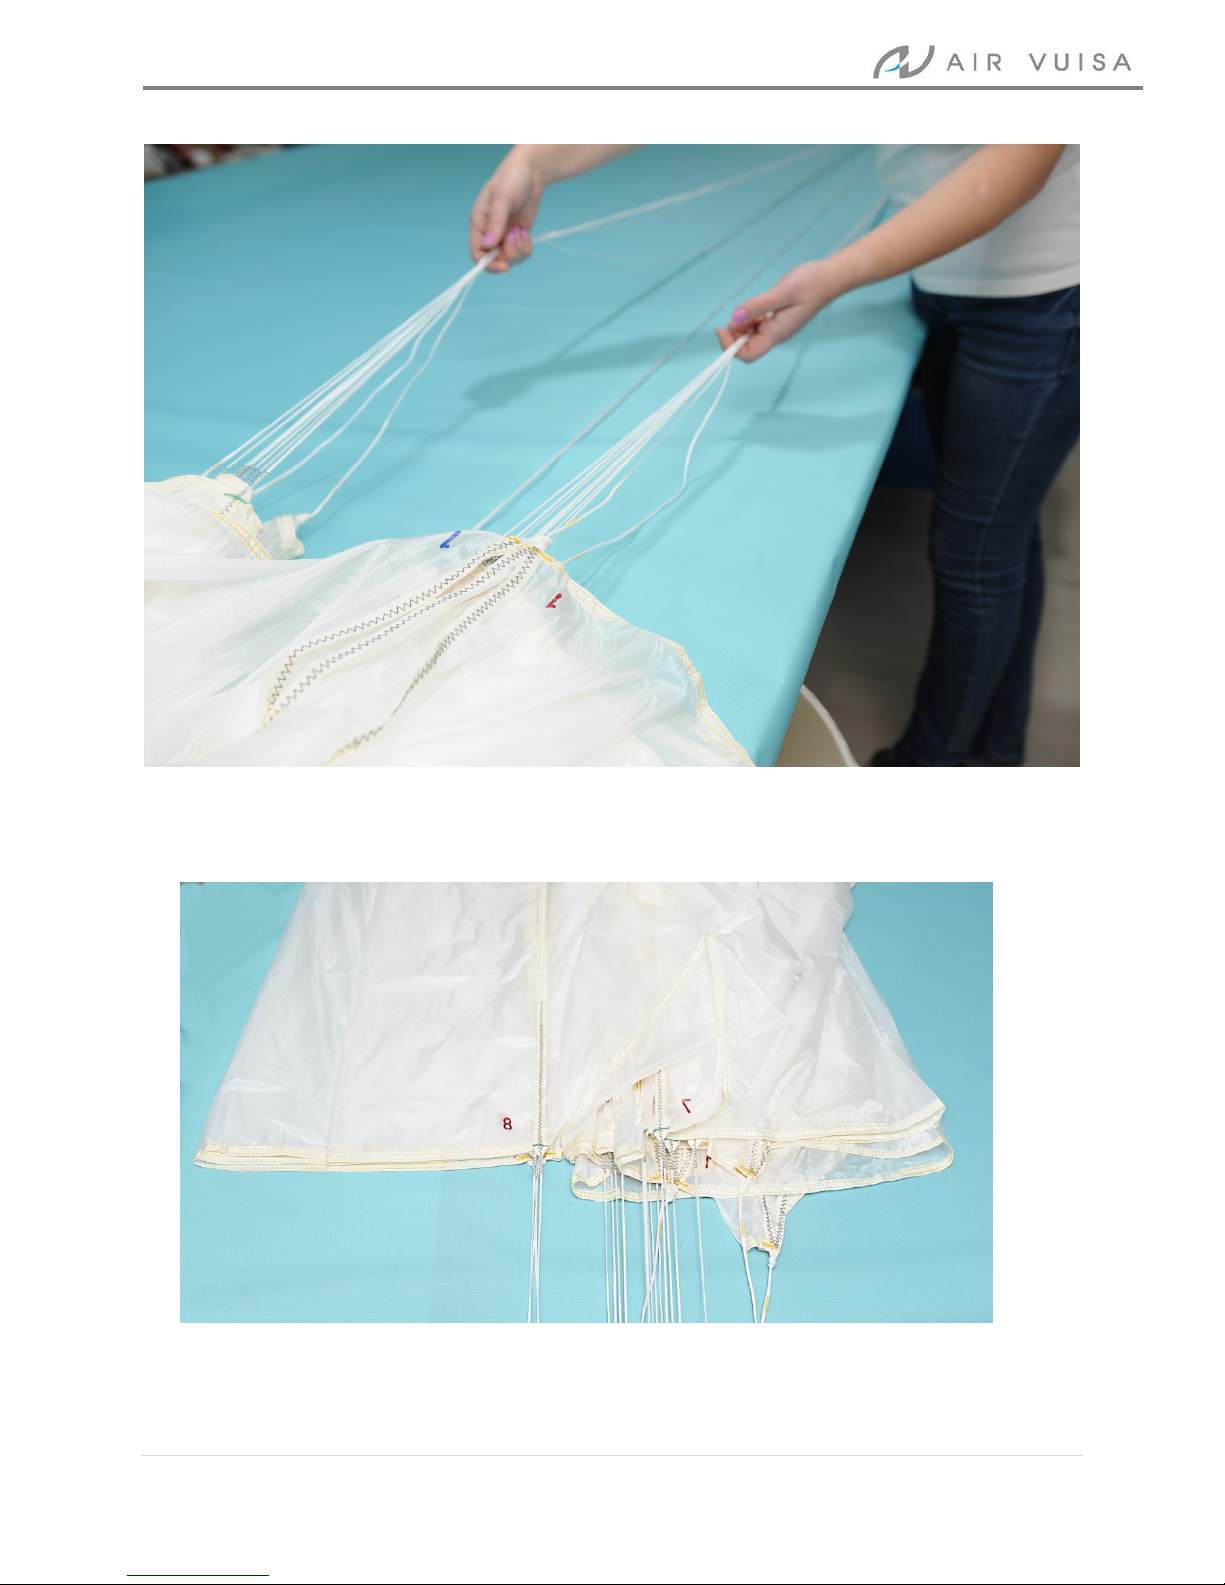
1. Lay out the parachute out to its full length on the packing surface.
Find all of the loops at the top of the chute, one located on each
panel. Take a spare piece of line (about 1.5m in length) and run it
through the sewn in loops in order and then tie the line which runs
through the loops to a solid object so that the reserve is secured,
tightened on both ends and stretched to its full length.

8 | Page

9 | Page
2. Find panel no.1, separate the panels and lines so that an equal
amount lies on each side.

10 | Page
3. Start ordering the panels from the bottom up, first one and then the
other side, use weights as an aid.

11 | Page

12 | Page
4. After you have arranged the panels neatly, arrange the lines. Start
from the risers towards the canopy, take the first pair of lines next to
the central line and work your way towards the chute, it should
show field 1 and on the other side the last panel number.

13 | Page
5. In the next step we check the outer ropes, go back to the risers and
take the outer ropes at the end of both sides of the risers, and work
your way to the mouth of the chute, the ropes held by us must now
be at the bottom of the chute.

14 | Page
6. When we have checked the lines, we will fold the canopy into an “S”
shape.

15 | Page

16 | Page
7. Untie the top of the canopy and then start folding the canopy into a
form of a zig-zag pyramid, stacking the columns on top of each other
for the width of the hand. Don’t forget to remove the spare line
from the top of the canopy!

17 | Page
8. The eighth step requires simply inserting the reserve laterally into
the container, leaving the lines outside in order to be packed and
then closing the lids of the container, guiding the rubber loop
through the holes on the container lids.

18 | Page
Use a pen like tool in order to keep the container from opening
while packing the lines.
9. Finally, we come to the packing of the lines. We pack them manually
or with the help of a special tool for line packing, as it is shown in our
case. In any case it is important to match the width of the container
on the side, where the pocket for inserting the folded lines is
located, while stacking the lines.

19 | Page
10. Start folding the lines 20cm from the loop of the risers, folding
them into an “S” pattern, securing each loop with a silicone rubber
band.
Insert the folded lines into the container and close it as shown in the
pictures:

20 | Page
Note – Always perform a main loop release test, the loop should
release and the container should open easily by its own if the reserve is
packed properly!
This manual suits for next models
4
Table of contents
Popular Aircraft manuals by other brands

Just Flight
Just Flight Standard VC10 Operation manual

Intel
Intel FALCON 8+ quick start guide

WRIGHT BROTHERS
WRIGHT BROTHERS GAMBLER AG instruction manual

Cub Crafters
Cub Crafters CC18-180 Maintenance manual

Skyranger
Skyranger Nynja Build manual

DG Flugzeugbau
DG Flugzeugbau DG-500 ELAN Orion Flight manual