AirCube AC-24HYDROKIT User manual

Istructio
Mul
ACTIVE OXIGEN GROW SYSTEM
DISTRIBUTED BY
GROWACE.COM

Istructio
Mul
Table of Contents:
Parts and Components List
System Expandability Options
Set-up of AirCube Active Oxygen Grow System
Suggested Watering Schedule
Additional Information
Frequently Asked Questions
Congratulations on the purchase of the AirCube Active Oxygen
Grow System. The AirCube system is the one and only Ebb & Flow
grow system on the market that combines the benefits of air pruning
with a fully automated Ebb+Flow system!
With the AirCube's proprietary fabric pot in bucket design, this
system is guaranteed to outgrow any other Ebb + Flow system on
the market. The results speak for themselves - grow MASSIVE roots
that result in MASSIVE fruits!
INSTRUCTION MANUAL
WHAT’S INCLUDED 6 BUCKETS STARTER SYSTEM
AirCube Advanced
Brain Controller Module
1 x 7-Gallon Controller Brain Module
7 x ¾ Straight Connector
4 x ¾ Stopper
1 x 15’ Length Tubing
8 x ¾ Rubber Grommet
1 x Vacuum Break
Barbed Elbow
2 3
ACTIVE OXIGEN GROW SYSTEM
Istructio Mul

WHAT’S INCLUDED 6 BUCKETS STARTER SYSTEM WHAT’S INCLUDED 6 BUCKETS STARTER SYSTEM
4 5
1 x Tubing Puncture Tool 2 x 317 GPH Water Pump
AirCube Active Oxygen
6 Bucket System
6 x 5-Gallon Active Oxygen Grow Buckets
6 x ¾ Rubber Grommets
6 x Air Pruning Fabric Pots
6 x ¾ T Connectors
2 x ¾ Elbow Connectors 1 x 25’ Length Tubing
1 x AirCube Poptank Collapsible
Reservoir 25 Gallon
(Optional: 60 Gallon and 105 Gallon Reservoir Upgrade)
Istructio Mul

6-Bucket System
25 Gallon Reservoir
60 Gallon Reservoir
6 7
SYSTEM EXPANDABILITY OPTIONS: SYSTEM EXPANDABILITY OPTIONS:
12-Bucket System
24-Bucket System
36-Bucket System
Istructio Mul
105 Gallon Reservoir

8 9
Step 1: Set up Reservoir
Place the Brain Controller in front of the reservoir with
a timer facing away from the reservoir.
Measure and cut tubing to reach from the top of the
Brain Controller to the bottom of the inside of the
reservoir.
Assign a water pump as “Fill Pump”, and place it at
the bottom of the reservoir. Connect one end of the
tubing to the Fill Pump.
Use the Tubing Puncture Tool to make a small hole in
the tubing inside of the reservoir near the top. Insert
the Vacuum
Break Barbed Elbow into the hole with the valve
facing downward to prevent water from siphoning.
Plug the Fill Pump into the outlet on the side of the
Brain Controller labeled “Fill Pump.”
Step 2: Set up Brain Controller
There are 2 upper water level float valves that are on
an adjustable mount so the Brain Controller can be
used with different size pots. Adjust float valves to
preferred level. Ensure that the float valve does not
exceed the height of the top of any buckets.
Insert grommets into the 6 holes on the bottom of the
Brain Controller.
Insert 2 straight connectors into the front 2 grommets
on the bottom of the Brain Controller. Make sure
they are inserted all the way into the grommet. Insert
4 Stoppers into the rear 4 grommets. These can be
removed to add additional buckets.
Insert grommets into the holes on the Brain Controller
lid.
Insert straight connectors into the grommets on the
Brain Controller lid. [Change to insert connectors in
both holes]
SETTING UP THE GROW SYSTEM
Istructio Mul

10 11
Place one water pump, “ Drain Pump,” on the inside
bottom of the Brain Controller.
Measure, cut, and connect tubing to attach the Drain-
Pump to the straight connector under the Brain
Controller lid. Ensure that the tubing has sufficient
slack to allow Drain Pump to sit at the bottom of the
Brain Controller
Plug Drain Pump into the outlet on the side of the
Brain Controller labeled “Drain Pump.”
Plug the tubing connected to the Fill Pump, in step 1,
to the straight connector not connected to the Drain
Pump, on the top of the Brain Controller lid.
Measure and cut tubing to reach from the straight
connector on the Brain Controller lid to reach the
bottom inside of the reservoir. Attach tubing to the
straight connector on the Brain Controller lid, the one
that is attached to the Drain Pump, and place the
other end of the tubing into the bottom of the reser-
voir.
Step 3: Set up Buckets
Insert grommets into the bottom of each bucket.
Insert T Connectors into the grommets on the bottom
of each bucket.
Set up your bucket configuration.
Cut the tubing into 6 x 2-ft pieces and a 1 x 3-ft piece.
Connect buckets to one another using the tubing. It is
recommended to create a complete loop, with the
3-ft tubing as the connector to the row ends. Howev-
er, if your bucket configuration does not allow for a
full loop the 90 degree Elbow Connectors can be
used for each row end.
Connect the tubing ends to the first 2 straight connec-
tors on the side of the Brain Controller.
Istructio Mul

12 13
Suggested Watering Schedule
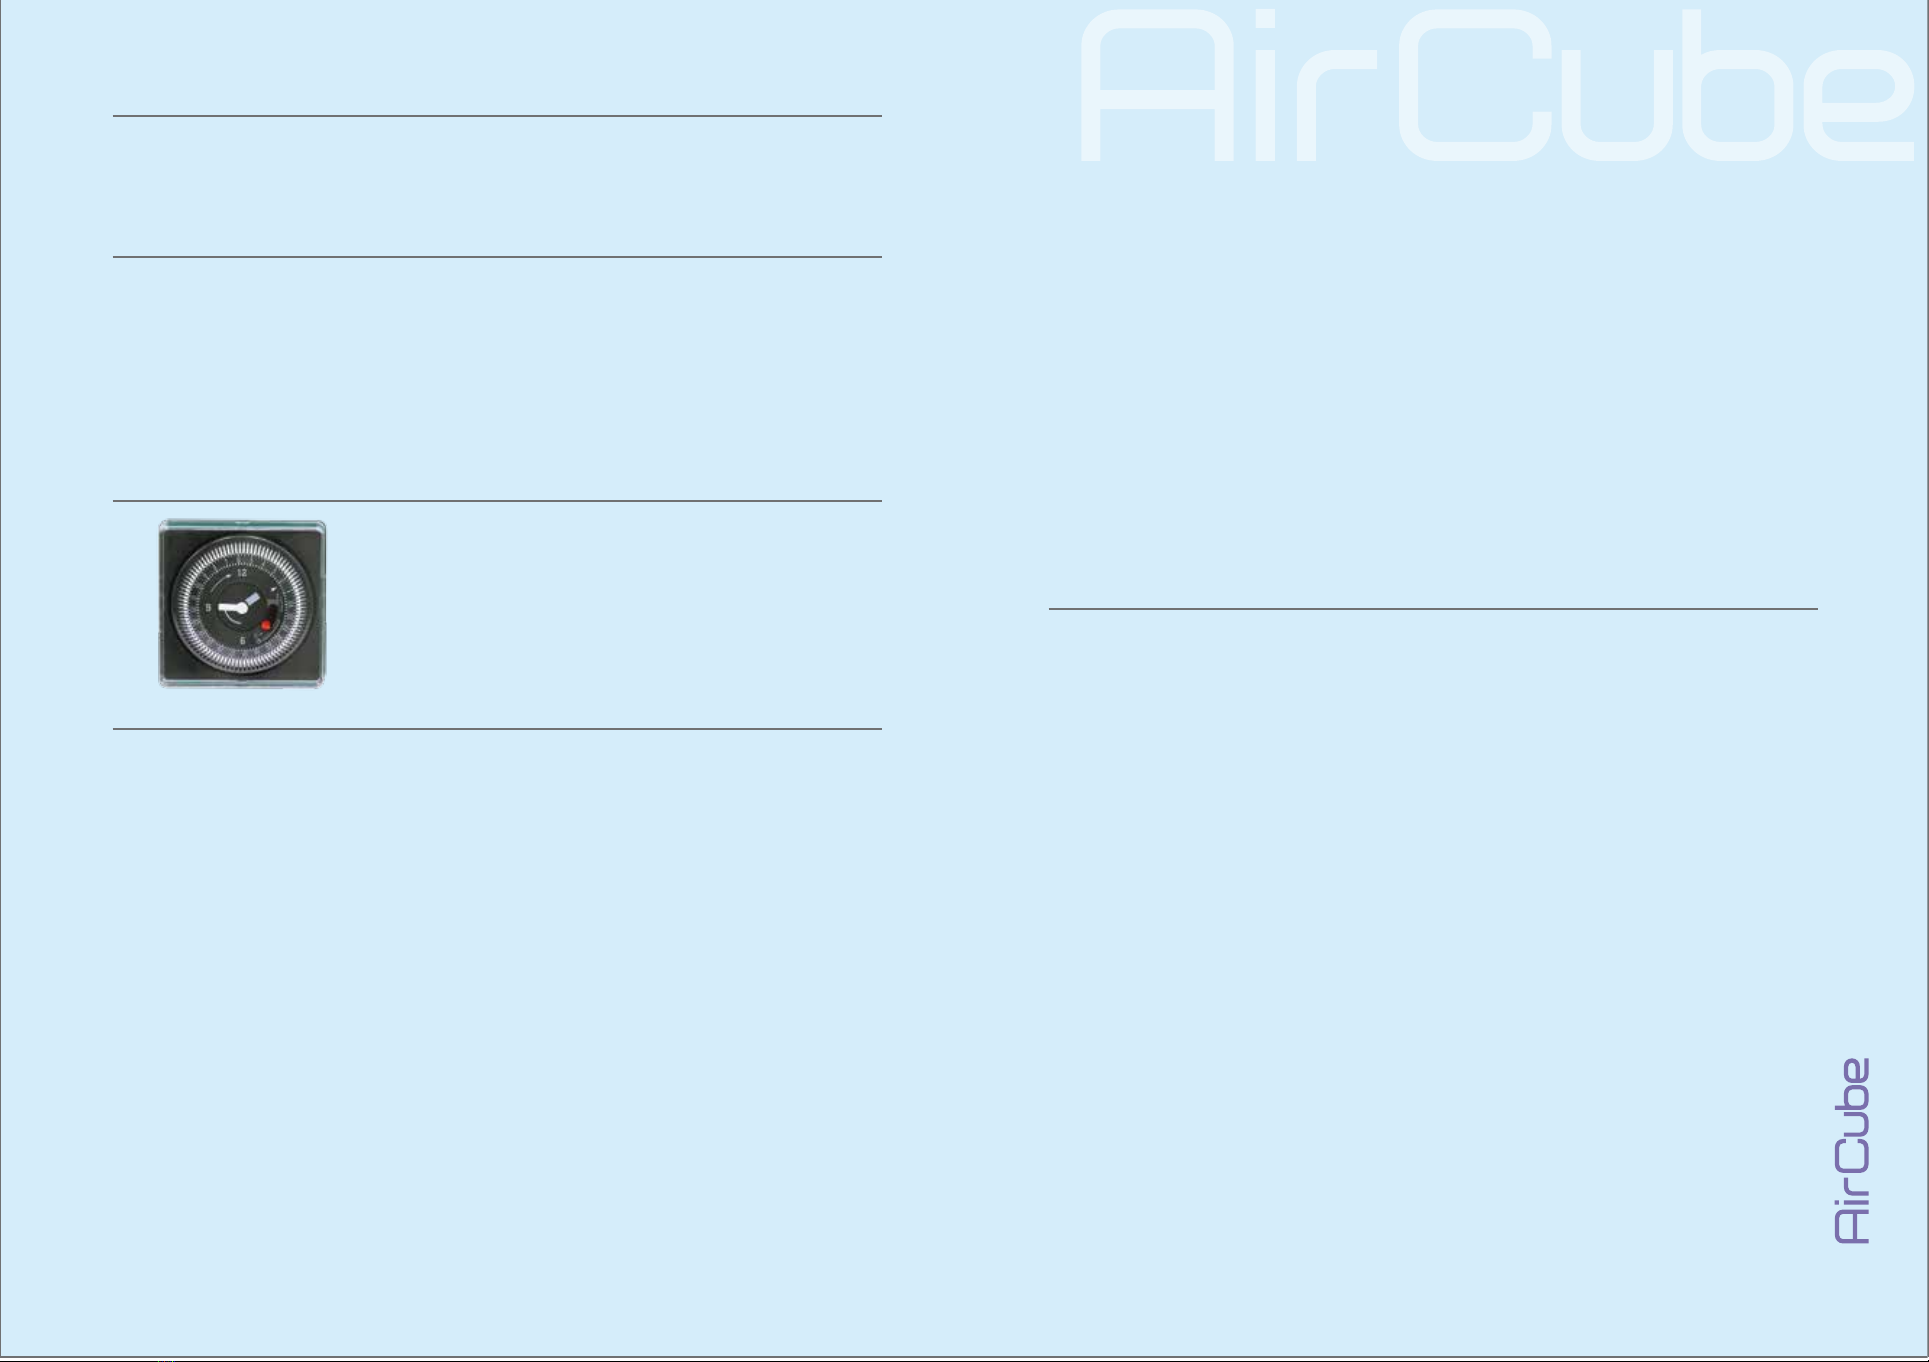
Step 4. Configure Timer on Brain Controller
There are 2 settings on the Brain Controller Timer- Automatic Watering
and Manual Watetring.
Automatic Watering
Automatic Watering is the preferred setting for most growers. Each pin equals 15 minutes
of watering time.
Turn the adjustable clock to set the current time.
Determine how many 15 minute intervals you want to have the water fill the buckets.
Push the white pins outwards for periods which you would like the water to fill.
Outward pins are for fill cycles while inward pins are for drain cycles.
Manual Watering
The red switch is Manual Watering. Flip the switch up to
turn on the Fill Pump. It will fill until it reaches the float
valve then turns off. Flip the switch down to turn on the
Drain Pump and flush out the water.
Factors that affect fill and drain times
Plant Size The larger your plants, the more times you need to fill and drain them.
Light Consider the strength, proximity, and duration of light; the stronger,
closer and longer the light source, the more times you need to fill and
drain your plants.
Temperature Seasonal variations in temperature affect the speed of water
evaporation, adjust the fill and drain times accordingly.
Humidity Fill and drain your plants more often when the air is drier.
Grow Medium Several varieties of grow medium can be used in the grow system,
however, water and retention rates may vary.
Size of System The larger and deeper the buckets, the longer it takes to fill and drain,
therefore, the less often you have to fill and drain.
Type of Plants Some plants need to be watered more often than others, learn about
your plants to suit their watering preference. If using a variety of
plants, adjust the fill and drain times to suit the best for all the plants.
The following are suggested watering times and meant to be used as a
starting point. It is recommended that you monitor your plants to deter-
mine the optimum watering times for your grow.
Clay Pebbles drain out quickly so you will need to fill and drain your system 4 to 8 times
a day. About every 2 to 4 hours.
Rockwool holds moisture efficiently so you will only need to fill and drain your system 1 to
5 times a day.
Coconut Coir retains water moderately so you will need to fill and drain your system 3 to
5 times a day. About every 3 to 5 hours.
Soil is not recommended due to its high water retention rate, if preferred, fill and drain your
system once every couple of days
.
How to tell if you have your flood intervals right?
If between flood cycles, you see that your plants are wilting, you need to increase the
frequency of your watering cycles.
Monitor your growing medium for signs of drying out or overly wet conditions. If you see
that your grow medium is still very wet right before the next watering cycle, you are
watering your plants too often. On the other hand, if between watering cycles, your grow
medium is extremely dry, you need to water you plants more frequently.
If your plants appear droopy between watering cycles, but noticeably ‘perk up'
immediately after a watering cycle, you will need to increase the frequency of your
watering.
Istructio Mul

14 15
Additional Information
1. DO NOT remove fabric pots during the “Fill” cycle, as flooding will occur.
2. DO NOT fill fabric pots with grow medium or add plants while the fabric pot is inside
the grow bucket. Grow medium may spill into buckets and clog tubing.
3. DO NOT attempt to service the Brain Controller, there are no serviceable parts. If the
Brain Controller is not working properly, call toll free at (888) 621-0062.
4. DO NOT top off water into the reservoir during the fill cycle. Overflow will occur after
the water is pumped back during the drain cycle.
5. Using a small amount of soap or vegetable oil will ease tubing and grommet insertions.
6. Set up the reservoir, controller, and buckets all on the same flat surface.
7. Always place fabric pots with plants into grow buckets to prevent spilling of medium into
buckets.
8. Manually soak each pot to prevent floating during the first fill cycle.
9. Make sure to check your power source for proper voltage prior to plugging in your
Brain Controller.
10. Make sure all tubing is securely connected to connector tees and elbows past the
barbs to prevent leaks.
11. Allow the pumps to release air built up prior to using the first time.
12. Tie cords inside the Brain Controller to prevent blocking of sensors.
13. Drain and flush system every 2 weeks for best results.
14. Change the nutrient solution in the reservoir every 7-10 days.
15. Check for obstructions in tubing if buckets are not filling all the way.
Frequently Asked Questions:
Question: How long should the system stay filled?
Answer: Allow just enough time for the buckets to fill completely before draining.
Question: When should I fill the reservoir?
Answer: Top off the reservoir as much as possible. The nutrients will become too
concentrated if the water level falls below . Wait 30 minutes after the latest
drain cycle to fill the reservoir. Overflow can occur if you fill the reservoir
during the drain cycle.
Question: When should I add nutrients?
Answer: dd nutrients every time you fill the reservoir.
Question: Should I check and adjust the pH level?
Answer: Check the pH level every day. The pH should stay close to 6.3.
Question: Should I drain and flush the system?
Answer: Yes you should drain the system and replace the nutrients every 2 weeks.
Do this by filling the reservoir half way with water, fill the buckets, then drain
the water back out and discard the water in the reservoir.
Question: Do I need a larger Brain Controller if I add more buckets?
Answer: No the same Brain Controller can be used for up to 36 buckets.
Question: Can I add more than 36 buckets?
Answer: Yes but it is not recommended. It will take too long to fill and drain the
buckets. The longer the plants are submerged, the less oxygen the roots get
which slows down the plant’s growth.
Run an additional Brain Controller if you need to add more than 36 buckets.
Question: What size plants can I grow?
Answer: Without a support system up to 5 feet is the limit. A trellis will increase the
size minimum indefinitely.
Question: Can I grow different types of plants in the same system?
Answer: Yes but you may have to adjust the watering times to reach a compromise to
suit all the different types of plants.
Istructio Mul
This manual suits for next models
2