Thank you for selecting the AIS®-ECG System. This system is a 6 & 12-channel,
wireless, clinical diagnostic ECG system.
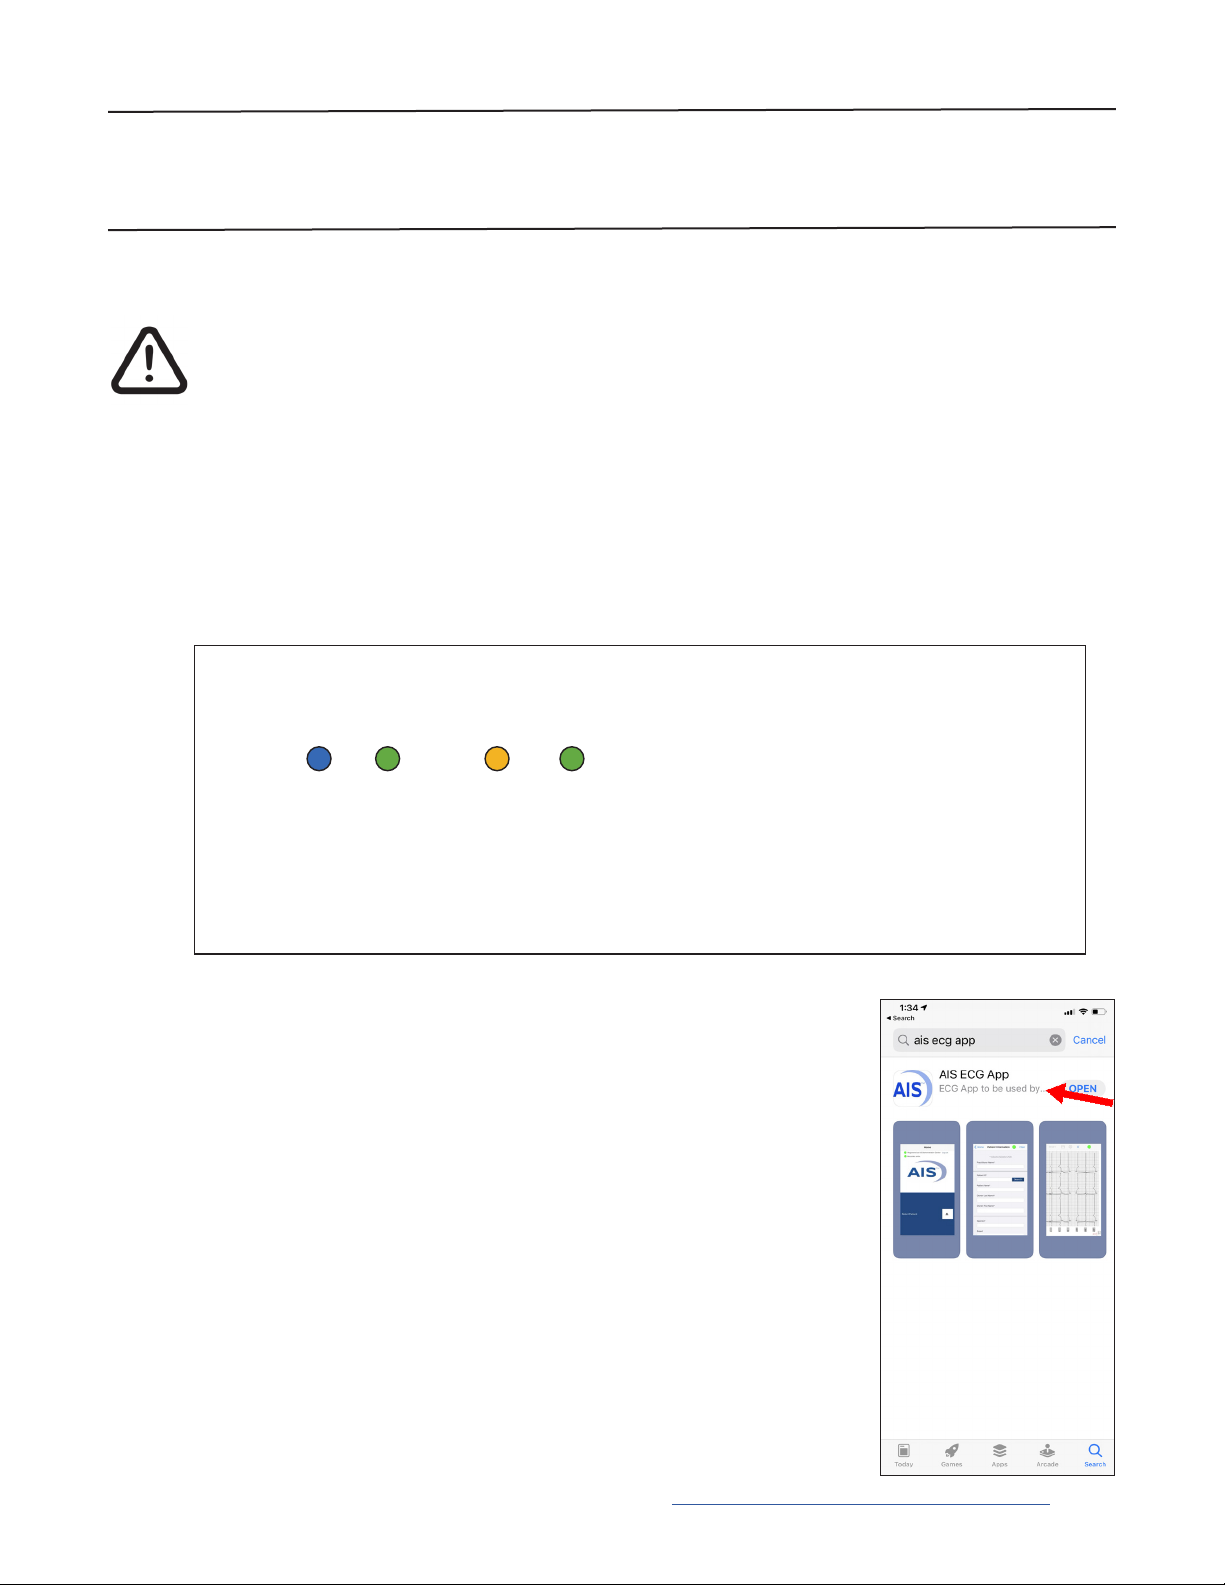
Your AIS®-ECG System software is compatible with iOS.
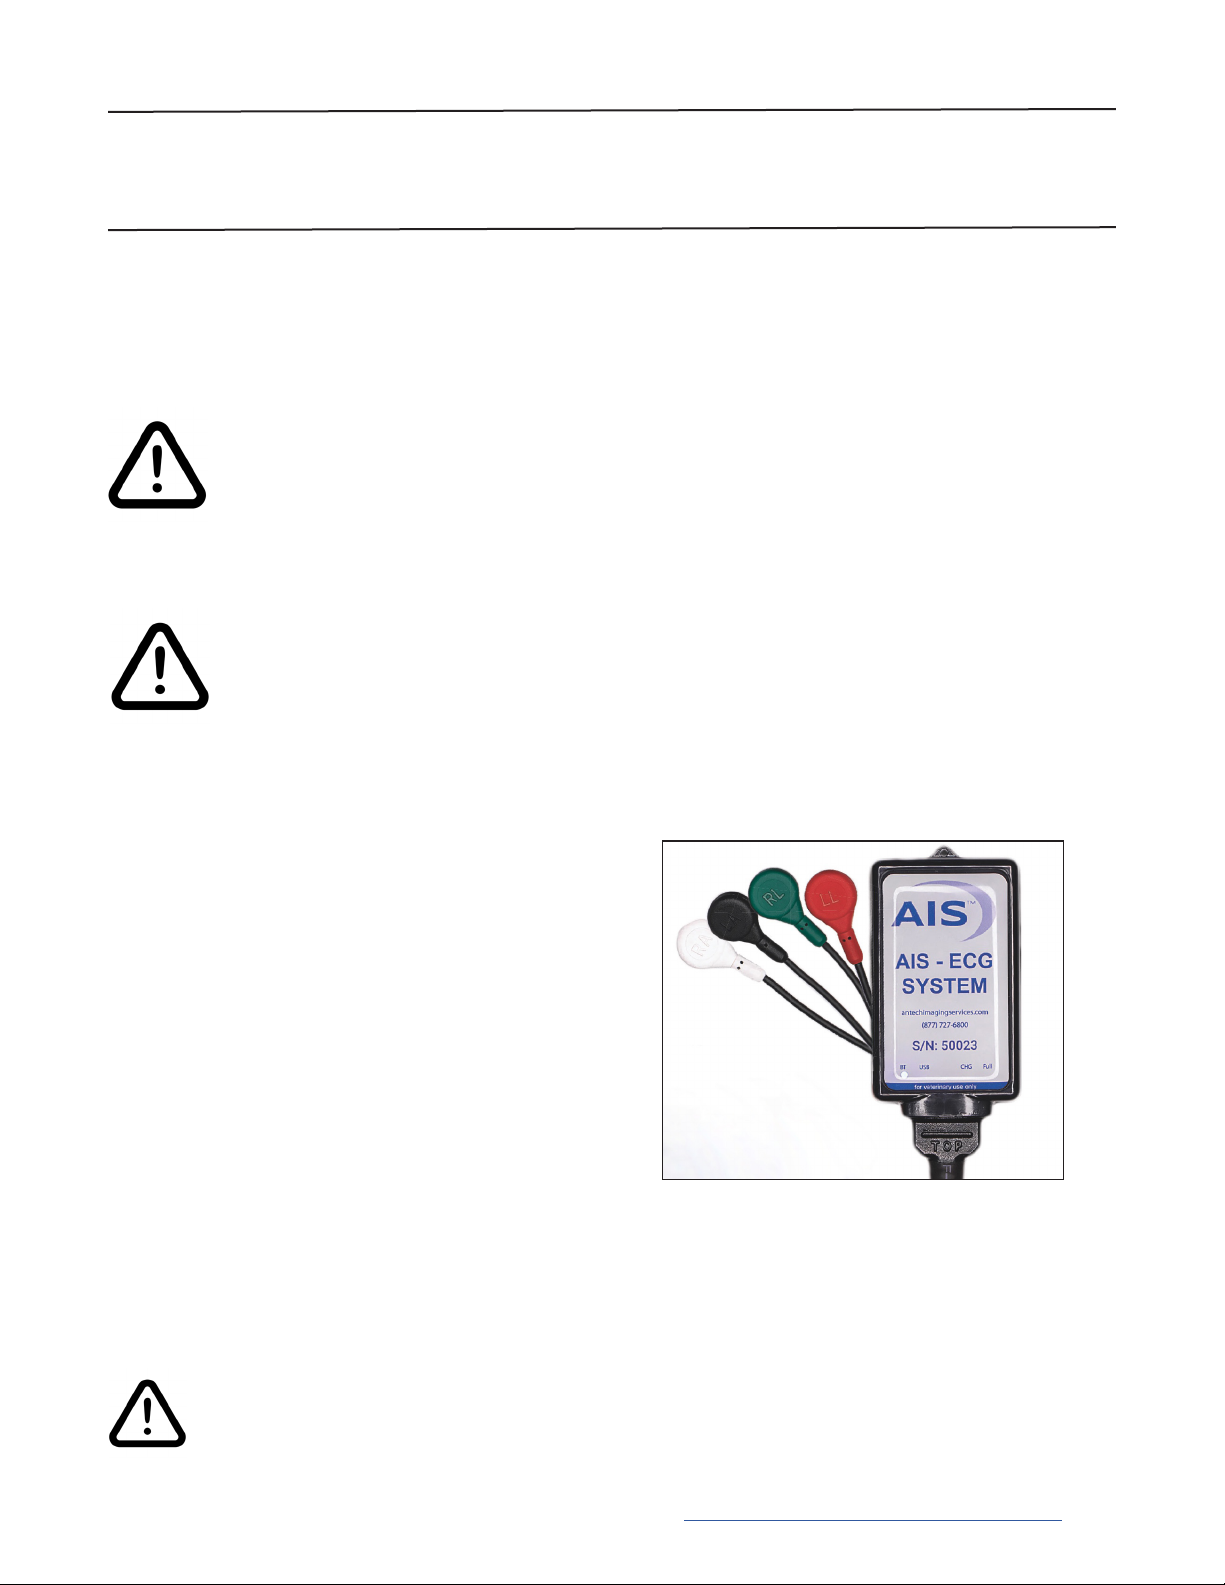
AIS®-ECG System Components
• 1 x AIS®-ECG unit
• 1 x 6-Lead electrode cable
• 1 x USB charger cable
• 1 x Set of 5 alligator clips
• 1 x Protective case
IMPORTANT!
• The AIS®-ECG device is designed for telemedicine use solely with AIS.
• You are able to view the ECG and send it to AIS for review.
• You are not able to download, save, or print the ECG from the App.
• You can, however, view, print, and download the ECG from AIS after
being sent for consultation.
WARNING: AIS®-ECG System is for veterinary use only. Not for
human use.
Introduction
Care and Handling of your AIS®-ECG System
• Please use only original accessories from AIS.
• The system is shock-proof and water resistant/splash-proof when the electrode
cable is properly attached to the recorder.
• Do not immerse the recorder or cables in water/uids to avoid damaging
the system.
• Use only the USB cable that came with your recorder. Using a different
charging unit or cable may damage your system.