1.1 Sicherheit
1.2 Umwelt
2.1 Einleitung
2.2 C 477 WR
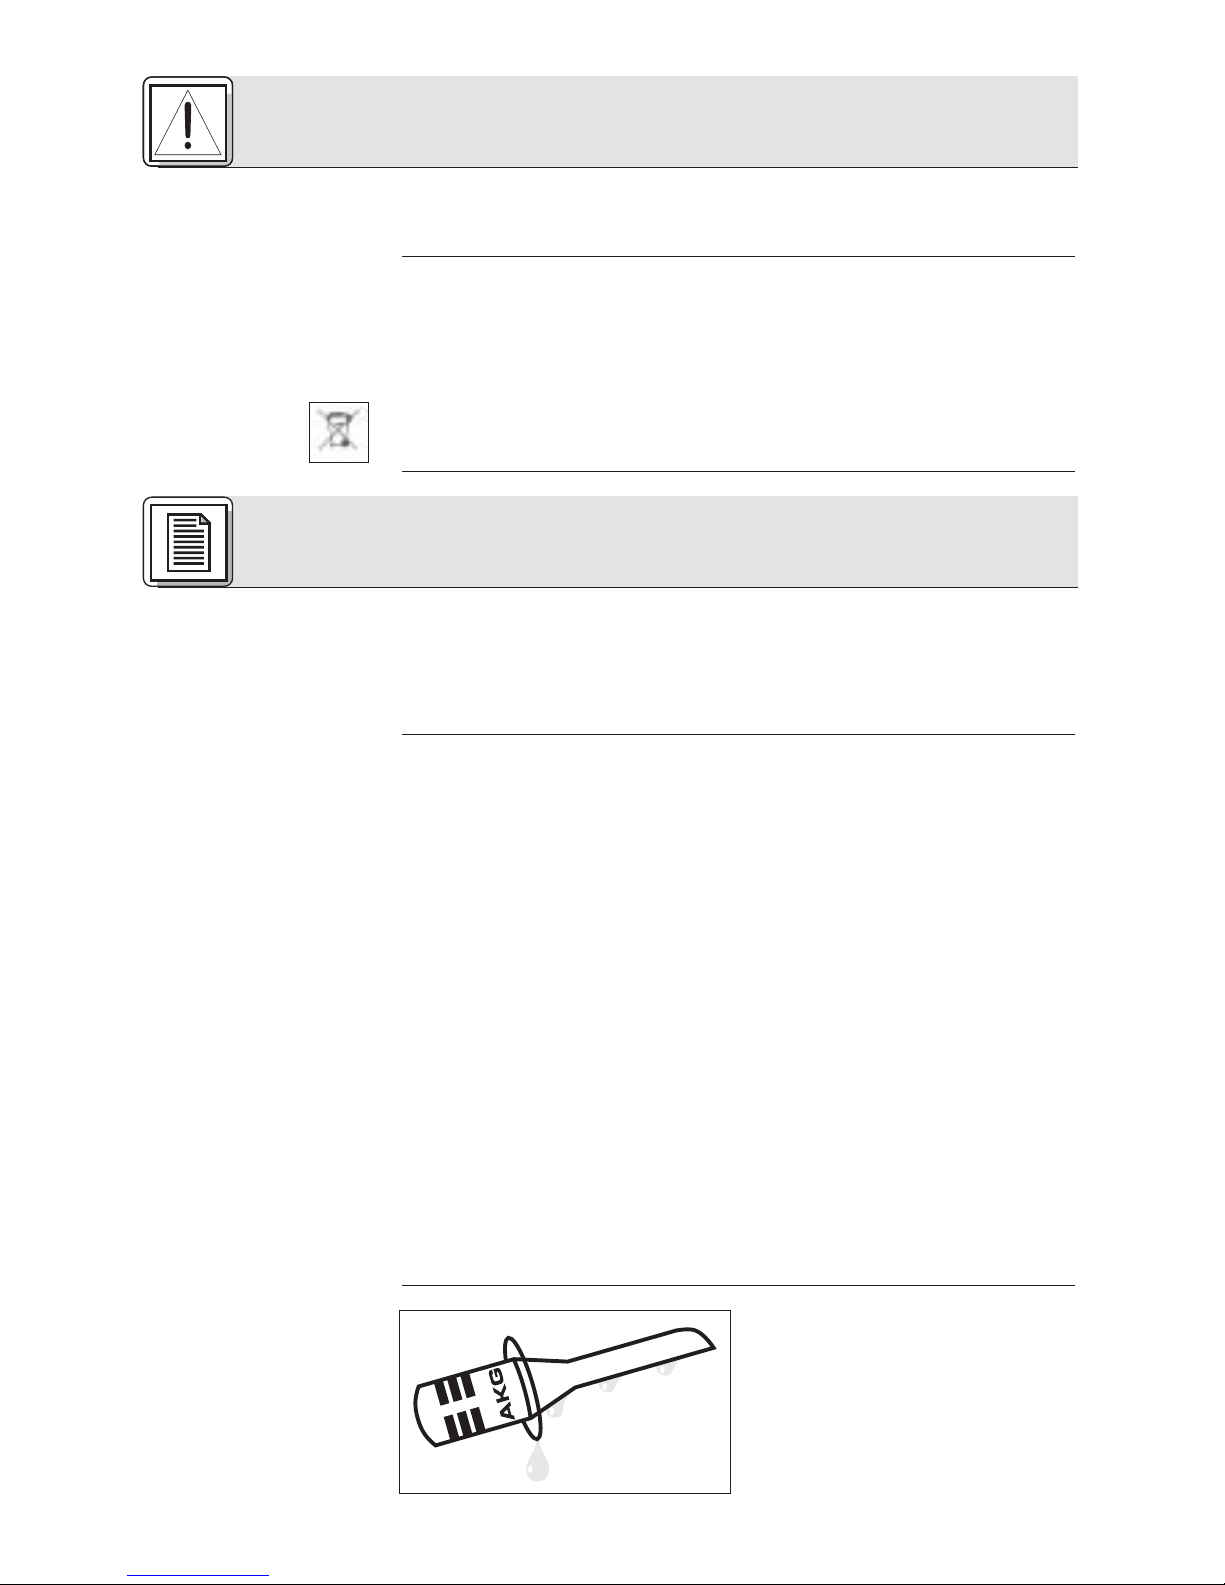
2.3 Abtropfring
Abb. 1: Abtropfring
Überprüfen Sie bitte, ob das Gerät, an das Sie das Mikrofon anschließen
möchten, den gültigen Sicherheitsbestimmungen entspricht und mit
einer Sicherheitserdung versehen ist.
1. Entsorgen Sie verbrauchte Batterien und Akkus immer gemäß den
jeweils geltenden Entsorgungsvorschriften. Werfen Sie Batterien oder
Akkus weder ins Feuer (Explosionsgefahr) noch in den Restmüll.
2. Wenn Sie das Gerät verschrotten, entfernen Sie die Batterien bzw.
Akkus, trennen Sie Gehäuse, Elektronik und Kabel und entsorgen Sie alle
Komponenten gemäß den dafür geltenden Entsorgungsvorschriften.
3. Die Verpackung ist recyclierbar. Entsorgen Sie die Verpackung in einem
dafür vorgesehenen Sammelsystem.
Vielen Dank, dass Sie sich für ein Produkt aus dem Hause AKG ent-
schieden haben. Bitte lesen Sie die Bedienungsanleitung aufmerksam
durch, bevor Sie das Gerät benützen, und bewahren Sie die
Bedienungsanleitung sorgfältig auf, damit Sie jederzeit nachschlagen
können. Wir wünschen Ihnen viel Spaß und Erfolg!
Das C 477 WR ist ein hochprofessionelles Headset–Mikrofon in Konden-
satortechnik, das speziell für die praktisch "unsichtbare" Anwendung auf
der Bühne sowie für Rundfunk- und Fernsehmoderatoren entwickelt wurde.
Diesem Konzept entsprechend ist das Mikrofon extrem leicht.
Die Doppelmembran-Kapsel des C 477 WR ist mit einer zusätzlichen gold-
bedampften Schutzmembran ausgestattet, die das Eindringen von Schweiß
und Feuchtigkeit in den Wandler verhindert. Das Risiko von Ausfällen durch
Feuchtigkeit ist daher extrem gering.
Der Mikrofonarm ist links am Nackenbügel montiert. Für TV-Doppel-
moderationen oder ähnliche Anwendungen ist auch eine Ausführung mit
rechts montiertem Mikrofonarm erhältlich.
Das C 477 WR ist in sechs Varianten erhältlich:
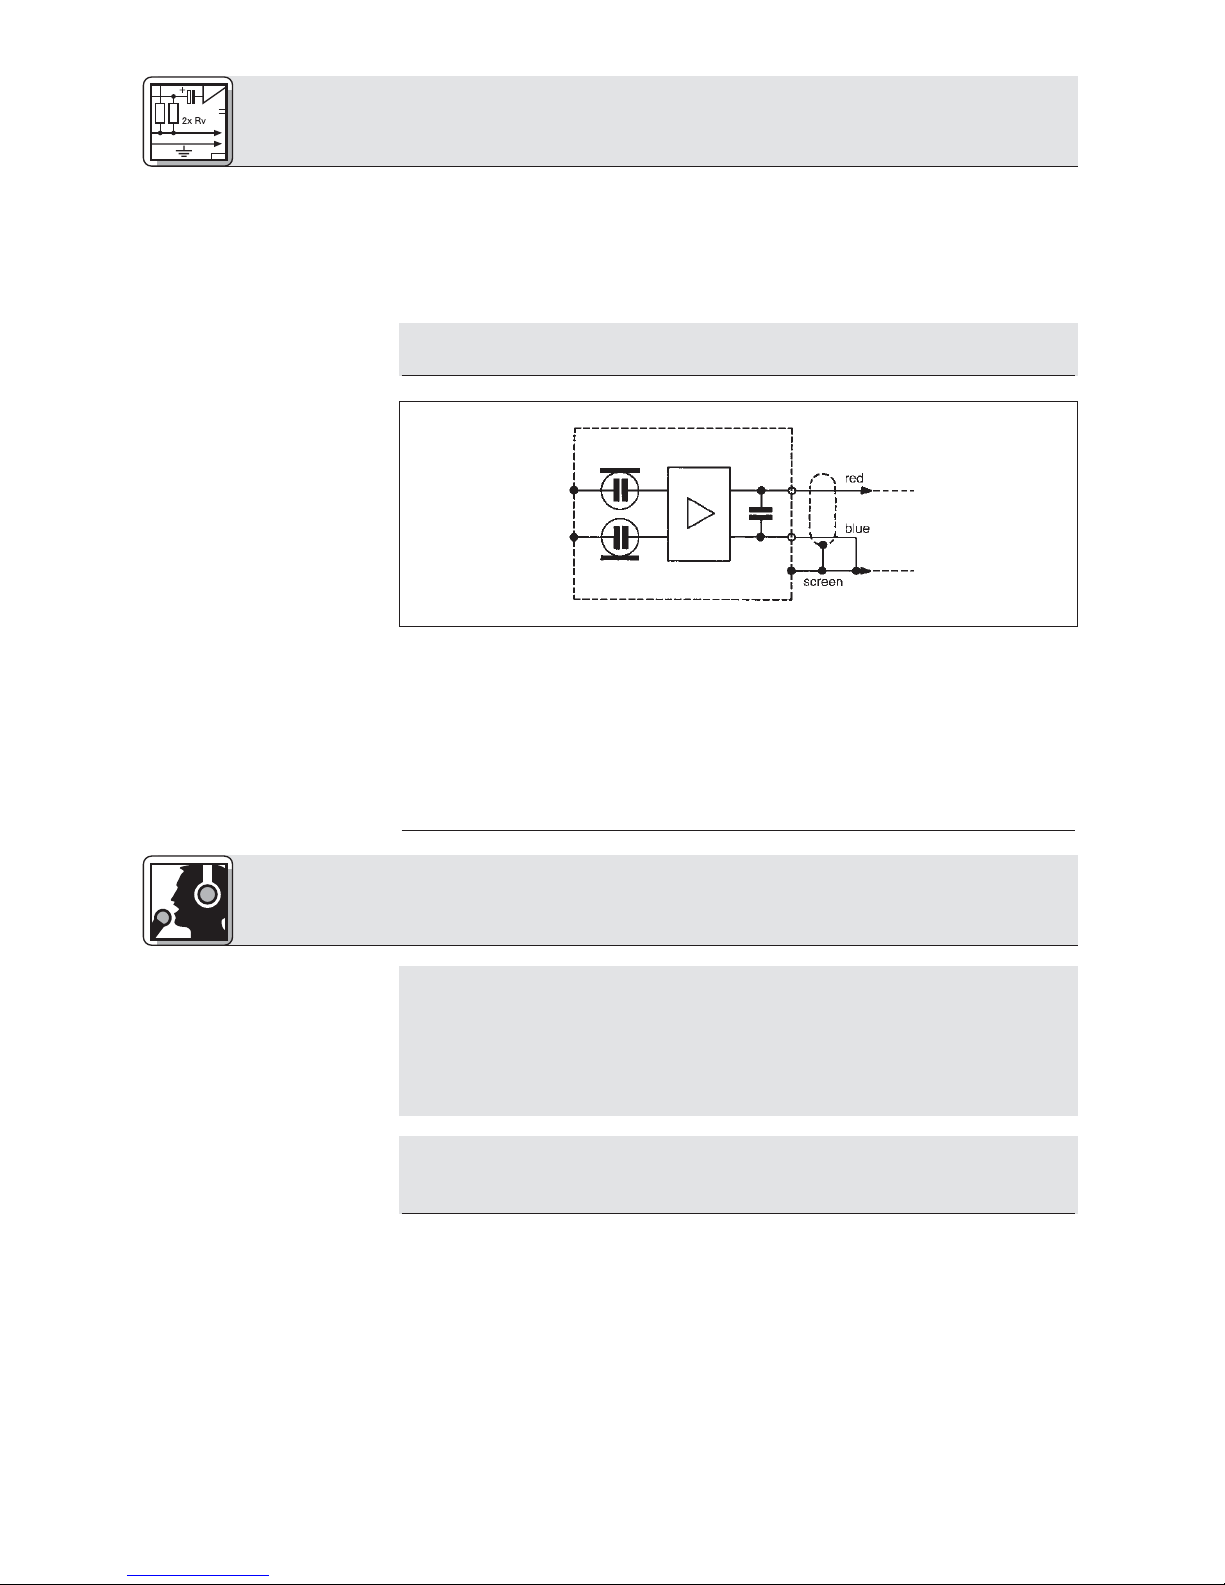
1. C 477 WR L: mit 3-poligem Mini-XLR-Stecker zum Anschluss an AKG-
Taschensender oder, über den Phantomspeiseadapter MPA III von AKG
(optional), an Mischpulte und Verstärker. Schwarz, Mikrofonarm links.
2. C 477 WR L/P: wie C 477 WR L, Seitenteile und Mikrofon hautfarben.
3. C 477 WR oc: mit freien Kabelenden. Schwarz, Mikrofonarm links.
4. C 477 SH/P: mit Lemo-Stecker.
5. C 477 WR oc/P: mit freien Kabelenden. Seitenteile und Mikrofon haut-
farben, Mikrofonarm links.
6. C 477 WR oc/P/R: wie C 477 WR oc/P, Mikrofonarm rechts.
Ein spezieller Abtropfring an der
Mikrofonkapsel erschwert das
Eindringen von Schweiß und
Schminke in den Kapselbereich. Dies
verhindert, dass die Einsprech-
schlitze des Mikrofons durch
Schweiß oder Schminke verstopft
2
1 Sicherheit und Umwelt
2 Beschreibung