AL-MEISTER ALM3222 Instruction Manual
<
Rev.
2>
Page 6of 52
REQUIREMENTS OF PAPER TO
B
E
LAMINATED
(cont’d)
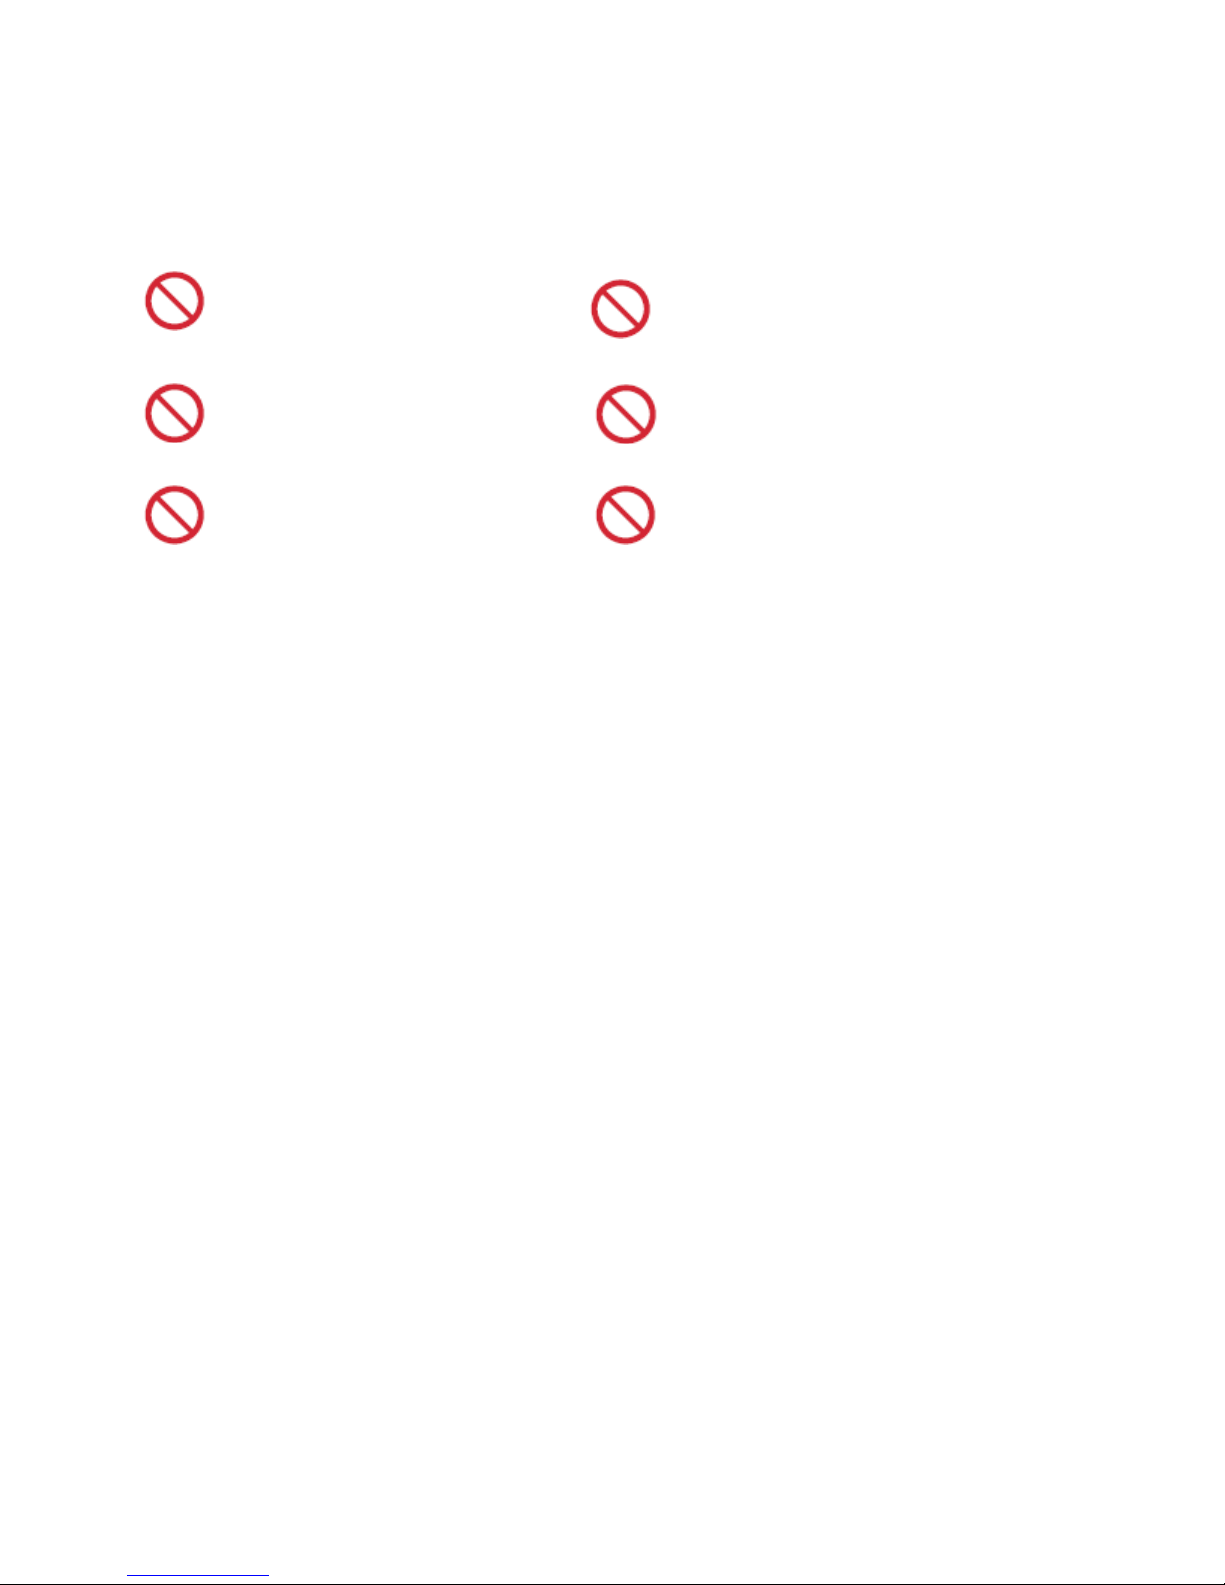
Do not laminate:
•Money or valuable securities.
•Paper with staples.
•Magnets or magnetic documents.
•Flammable paper or material that is affected by heat such as vinyl chloride or polyethylene.
•Unique and irreplaceable documents.
•Paper thicker than 0.4mm including film thickness.
•Paper that discolors and changes in quality with heat such as thermal papers and crayoned pictures.
•Paper that contains a lot of moisture.
•Items other than paper (magnets, vinyl, etc.)
•Paper that is curved or has creases.
C
LE
A
N
I
N
G
Be sure that the machine is unplugged.
Before cleaning the machine turn off the power and let the machine cool down.
Wipe off stains with a soft cloth. When stains are persistent use a firmly squeezed soft cloth soaked in a small
quantity of water or detergent. Wipe off the residue of detergent with a cloth soaked in water.
USEFUL
INFORMATION
–
F
I
LM
E
ND
This model has the function that gives the caution that the film will end soon. For this purpose, the last part of
the film has either black colored film or the black colored tape on the
f
il
m
.
Please note there is a possibility that
when you do continuous lamination, that one or two sheets can be laminated with the black tape or film. In
order to avoid this problem, please check the remaining
f
il
m amount on the rolls from time to time. Please also
provide an excess of paper.
RECYCLING INFORMATION
This is a serviceable electronic device which contains components which should be replaced at the end of their
effective lives. You can help control emerging risks by disposing of the electronic device separately from your
domestic waste. Electric and electronic devices marked with a crossed out waste bin indicate that these
products should not be disposed of together with domestic waste as there may be a severe impact on the
environment as well as human health due to the possibly of hazardous materials.