Table of contents
1
INTRODUCTION .............................................................................................................................4
2
MAIN
FUNCATIONS
AND
FEATURE .............................................................................................4
3
THE
REMOTE
CONTROL...............................................................................................................5
4
FRONT
AND
REAR
PANEL.............................................................................................................7
4.1
REAR
PANEL............................................................................................................................. 7
4.2
FRONT
PANEL .......................................................................................................................... 7
5
INSTALLATION ...............................................................................................................................7
5.1
C
ONNECTING THE RECEIVER
......................................................................................................... 7
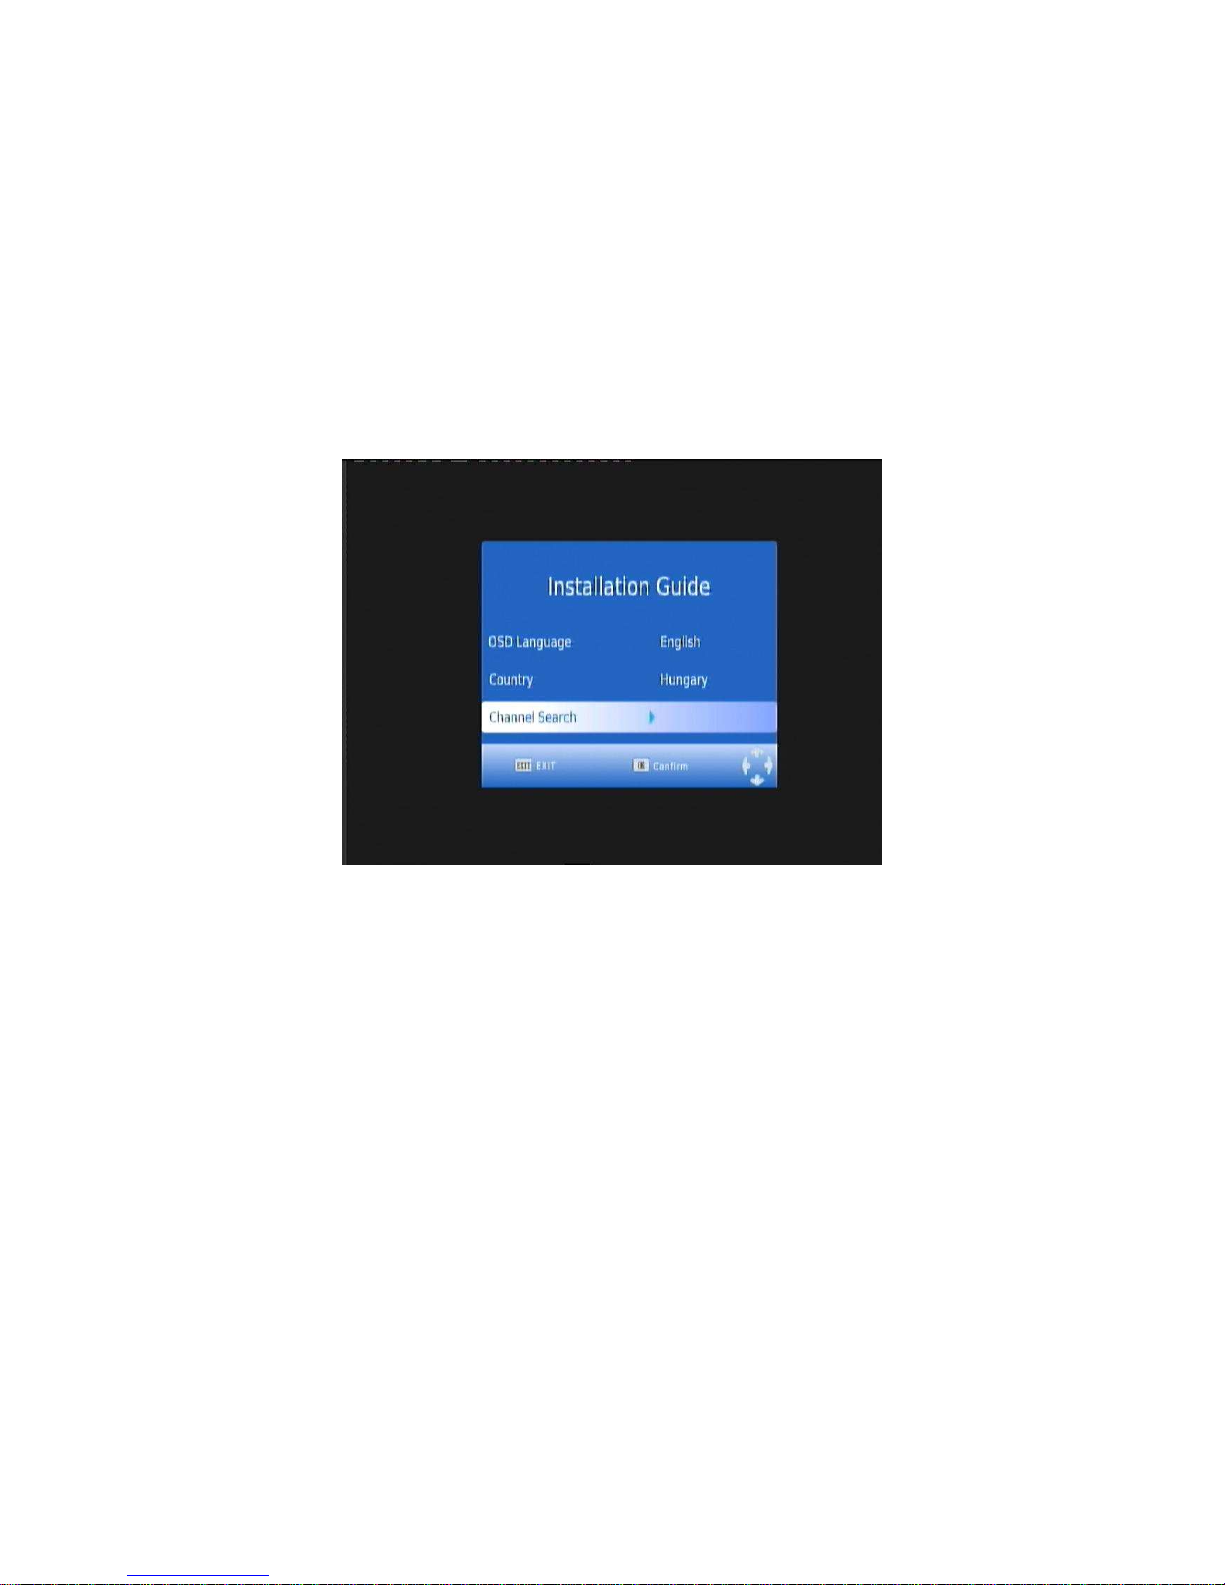
5.2
I
NSTALLATION
G
UIDE
.................................................................................................................... 8
6
D
AILY USE
.........................................................................................................................................8
6.1
INFO.
KEY
................................................................................................................................... 8
6.2
A
UDIO KEY
................................................................................................................................... 9
6.3
S
UB KEY
..................................................................................................................................... 10
6.4
RES.
KEY
................................................................................................................................... 10
6.5
ASPECT
RATIO ....................................................................................................................... 10
6.6
TELETEXT ............................................................................................................................... 11
6.7
EPG.......................................................................................................................................... 12
6.8
TV
C
HANNEL AND RADIO
C
HANNEL LIST
....................................................................................... 12
6.9
F
AVOURITE
C
HANNEL
................................................................................................................. 13
6.10
PVR
F
UNCTION
........................................................................................................................ 13
6.10.1
I
NSTANT RECORDING
......................................................................................................... 13
6.10.2
EPG
RECORDING
.............................................................................................................. 14
6.10.3
T
IMER RECORDING
............................................................................................................ 15
6.10.4
P
LAYBACK RECORDED PROGRAM
....................................................................................... 15
6.10.5
M
ULTIMEDIA PLAYER
......................................................................................................... 16
6.10.6
F
ORMAT PORTABLE HARD DISK
........................................................................................... 16
7
MENU ............................................................................................................................................18
7.1
MAIN
MENU............................................................................................................................. 18
8
UPDATE
THE
RECEIVER
BY
USB2.0
INTERFACE.....................................................................18
8.1
COPY
THE
UPDATE
FILE
TO
THE
USB
DRIVE
FROM
PC.................................................... 18
8.2
UPDATE
THE
RECEIVER
BY
USB
INTERFACE .................................................................... 18
9
SPECIFICATION ...........................................................................................................................20