Aliveal USB WiGuard User manual


ii

iii
Chapter 1: About Your USB WiGuard. . . . . . . .1
Introduction . . . . . . . . . . . . . . . . . . . . . . . . . . . . . . . . . . . .1
Features . . . . . . . . . . . . . . . . . . . . . . . . . . . . . . . . . . . . . . . .1
Out of the Box. . . . . . . . . . . . . . . . . . . . . . . . . . . . . . . . . . .2
Product Views . . . . . . . . . . . . . . . . . . . . . . . . . . . . . . . . . . 3
LED Definitions . . . . . . . . . . . . . . . . . . . . . . . . . . . . . . . . . 5
Night view support LED on Camera TX. . . . . . . . . . . 6
Chapter 2: Hardware Installation . . . . . . . . . . . .7
General Information. . . . . . . . . . . . . . . . . . . . . . . . . . . . . .7
General Requirements . . . . . . . . . . . . . . . . . . . . . . . . . . . .7
Important Installation Information . . . . . . . . . . . . . . . . .7
Determine a Location. . . . . . . . . . . . . . . . . . . . . . . . . . . . .8
Line of Sight Considerations . . . . . . . . . . . . . . . . . . . . . . .8
Camera TX Installation . . . . . . . . . . . . . . . . . . . . . . . . . . .9
Mounting Modes . . . . . . . . . . . . . . . . . . . . . . . . . . . . . . . . 9
Desktop Mounting . . . . . . . . . . . . . . . . . . . . . . . . . . . . 9
Hanging. . . . . . . . . . . . . . . . . . . . . . . . . . . . . . . . . . . . 10
Wall Mounting 1 . . . . . . . . . . . . . . . . . . . . . . . . . . . . . 11
Wall Mounting 2 . . . . . . . . . . . . . . . . . . . . . . . . . . . . . 12
Charging the Battery. . . . . . . . . . . . . . . . . . . . . . . . . . . . 12
USB RX Installation. . . . . . . . . . . . . . . . . . . . . . . . . . . . .13
Chapter 3: Installing the Software. . . . . . . . . . .15
Introduction . . . . . . . . . . . . . . . . . . . . . . . . . . . . . . . . . . .15
System Requirements. . . . . . . . . . . . . . . . . . . . . . . . . . . .15
Installation. . . . . . . . . . . . . . . . . . . . . . . . . . . . . . . . . . . . .16
Chapter 4: Functions of the WiGuard. . . . . . . .21
Introduction . . . . . . . . . . . . . . . . . . . . . . . . . . . . . . . . . . .21
Menu Elements . . . . . . . . . . . . . . . . . . . . . . . . . . . . . . . . .21
Monitoring Screen. . . . . . . . . . . . . . . . . . . . . . . . . . . . . . 22

iv
Channel Status . . . . . . . . . . . . . . . . . . . . . . . . . . . . . . . . 22
Option Menu . . . . . . . . . . . . . . . . . . . . . . . . . . . . . . . . . . 23
Snapshot . . . . . . . . . . . . . . . . . . . . . . . . . . . . . . . . . . 23
Detect . . . . . . . . . . . . . . . . . . . . . . . . . . . . . . . . . . . . . 23
Web Server. . . . . . . . . . . . . . . . . . . . . . . . . . . . . . . . . 23
Setup . . . . . . . . . . . . . . . . . . . . . . . . . . . . . . . . . . . . . 23
Playback. . . . . . . . . . . . . . . . . . . . . . . . . . . . . . . . . . . 24
Camera/Screen Control . . . . . . . . . . . . . . . . . . . . . . . . . 25
Channel Information. . . . . . . . . . . . . . . . . . . . . . . . . . . . 26
Chapter 5: Operation . . . . . . . . . . . . . . . . . . . . . 27
USB RX Installation. . . . . . . . . . . . . . . . . . . . . . . . . . . . .27
Pairing a USB WiGuard . . . . . . . . . . . . . . . . . . . . . . . . .27
Adjusting the Antenna on Camera TX . . . . . . . . . . . . . 29
Adjusting the Antenna on USB RX . . . . . . . . . . . . . . . . 29
System Setup . . . . . . . . . . . . . . . . . . . . . . . . . . . . . . . . . 30
Setting Up the Language Support. . . . . . . . . . . . . . 32
Setting Up the Mail Server . . . . . . . . . . . . . . . . . . . . 33
Setting Up the Startup Options . . . . . . . . . . . . . . . . 34
Setting Up the Recurring Recording. . . . . . . . . . . . 35
Setting Up the Storage Location . . . . . . . . . . . . . . . 36
Setting Up the Web Server. . . . . . . . . . . . . . . . . . . . 37
Determining the IP Address . . . . . . . . . . . . . . . . 38
Using the Web Server . . . . . . . . . . . . . . . . . . . . . 39
MSN Webcam Setup . . . . . . . . . . . . . . . . . . . . . . 41
Skype Webcam Setup . . . . . . . . . . . . . . . . . . . . . 41
MMS Setup . . . . . . . . . . . . . . . . . . . . . . . . . . . . . . 41
Camera Settings . . . . . . . . . . . . . . . . . . . . . . . . . . . . . . . 42
Basic Settings . . . . . . . . . . . . . . . . . . . . . . . . . . . . . . 42
Image Adjust . . . . . . . . . . . . . . . . . . . . . . . . . . . . . . . 43
Record Setting. . . . . . . . . . . . . . . . . . . . . . . . . . . . . . 44
Add New Schedule . . . . . . . . . . . . . . . . . . . . . . . . . . 45
Motion Detect. . . . . . . . . . . . . . . . . . . . . . . . . . . . . . . 48
Alert Setting. . . . . . . . . . . . . . . . . . . . . . . . . . . . . . . . 49

v
Appendix A. . . . . . . . . . . . . . . . . . . . . . . . . . . . . .51
Specifications. . . . . . . . . . . . . . . . . . . . . . . . . . . . . . . . . . .51
Certification . . . . . . . . . . . . . . . . . . . . . . . . . . . . . . . . . . .55
FCC Interference Statement. . . . . . . . . . . . . . . . . . . . . . 55
FCC Radiation Exposure Statement . . . . . . . . . . . . . . . 56
Troubleshooting . . . . . . . . . . . . . . . . . . . . . . . . . . . . . . . .57

vi

1
Chapter 1: About Your USB WiGuard
Introduction 0
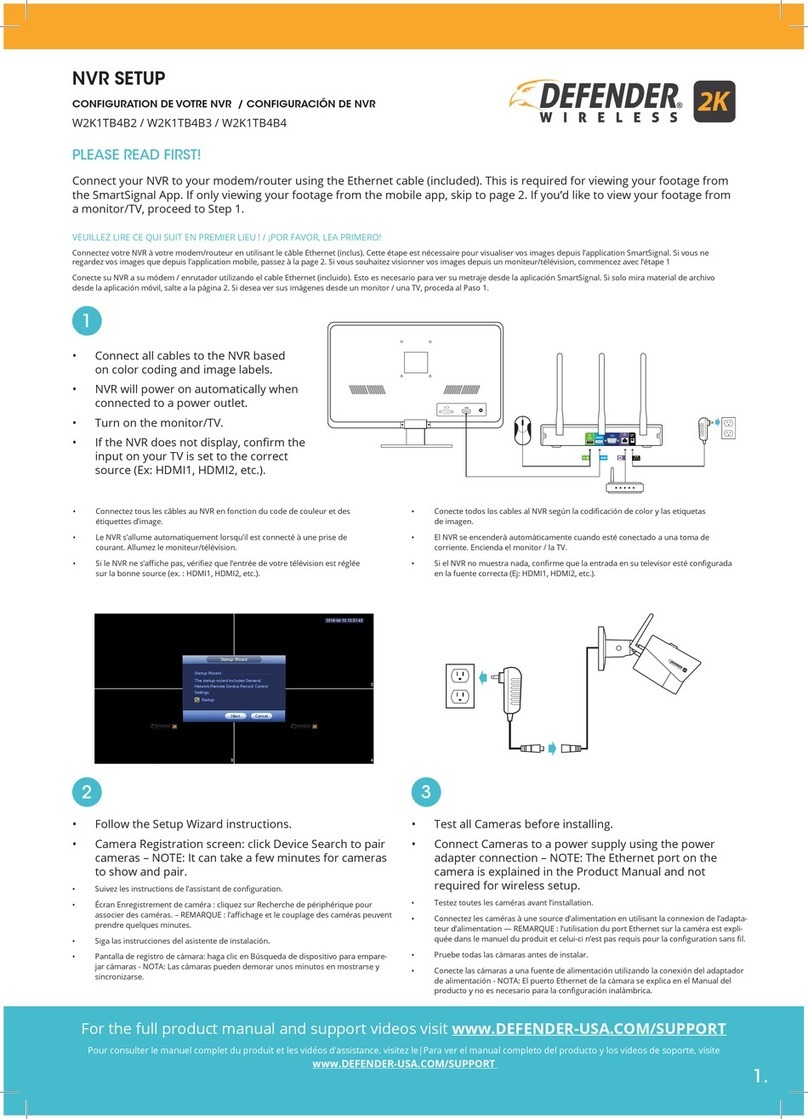
Welcome to the 2.4GHz Digital Wireless NVR Camera System user manual.
Features 0
Digital wireless NVR camera with built-in rechargeable LI-MH batteries
USB powered, wireless NVR receiver
One receiver connects up to four different cameras
MPEG-4/J-MPEG dual video stream
VGA display with 640x480 resolution
Remote live surveillance through the internet
Motion detection with triggered email alerts
Real time or scheduled A/V recording
Security ID coded to provide communication privacy
Supports MMS, MSN, and Skype connection
Motion detection triggers audio alert
Outstanding 2.4 GHz digital wireless A/V transmission with up to 300M
in L-O-S (line-of-sight)

2
Out of the Box 0
Figure 1. Out of the Box
1 X Wireless digital camera (A)
1 X Wireless USB receiver (B)
1 X Mini USB AC adapters (C)
1 X USB cable extender (D)
1 X Wall mount (E)
1 X Tack adhesive putty (F)
3 X screws (G)
3 X screw anchor (H)
1 X Installation disk (J)
1 X User manual (K)
E
D
C
B
A
G
F
H
J
K

3
Product Views 0
Figure 2. Camera TX Front View
Antenna
LED Support
Light Microphone
Power Switch
Pairing Button
LED
DC IN
Camera Stand
LED Sensor

4
Figure 3. Camera TX Rear View
Figure 4. USB RX
Antenna
Camera Stand
Antenna

5
LED Definitions 0
Figure 5. Camera TX LED Location
Camera TX
NOTE: When camera turned on and paired, do not press pairing switch. Once
pressed the device will lose connection and will need to be paired
again.
LED/Battery Power Definition
Green light On Power On
Green light flashing Fast: During pairing process
Slow: Paired
LED/AC Adapter Definition
Red light On When camera is plugged into the USB AC adapter
Green light On Power On
Green/ Red light
Alternating Flash Fast: During pairing process
Slow: Paired
NOTE: Red light on or green/red light alternating flashing all means battery
is charging.
LED

6
Night view support LED on Camera TX 0
When the Camera TX and USB RX are paired and functioning, the
sensor on the Camera TX (top-right side) will automatically turn on the
LED support light (above the camera lens) when it detects the
environment is lacking light. The light will turn off automatically when
the light strong enough.
NOTE: When the Camera TX is unplugged, the LED support light will be
at half brightness.
NOTE: It is recommended to plug the Camera TX in when using it for
extended periods of time.
Figure 6. USB RX LED Location
USB RX dongle
LED Definition
Red light on First time use or not paired with Camera TX
No connection
Camera off or out of power
Red light flashing Paired and functioning properly
LED

7
Chapter 2: Hardware Installation
General Information 0
This chapter contains step-by-step instructions for installing the USB WiGuard
hardware.
General Requirements 0
Mini network camera
USB powered wireless receiver
USB cable extender (optional)
Wall mount with screws and anchors (optional)
Phillips screwdriver (optional)
Tack adhesive putty (optional)
Important Installation Information 0
1. This product is operated under a 2.4GHz open channel. To prevent
interference, do not install the unit close to household electronic products
such as a microwave, a 2.4GHz wireless phone, or a wireless AP.
2. Avoiding metal furniture or electronic equipment can extend the
transmission range and improve the signal reception. This product uses a
digital micro-wave band. For the best transmission, place the unit on a
higher position (using USB extension cord).
3. Please do not use the unit under high temperature and humidity. This
product is not waterproof.
4. The lens of the camera should always be clean. Do not touch the lens with
hands or wipe with an unknown solvent. Only wipe the lens gently with a
clean, soft cloth.
5. Do not try to dissemble or change the unit. Please follow troubleshooting
instructions to resolve problems.
6. The tack adhesive putty included in the package should be used for
temporary mounting. Please use the mounting kit for permanent use.
7. The attached antenna is a coaxial transmission antenna. Please do not
twist or wrench it.
8. Please keep away from infants or children under 10 years old.

8
Determine a Location 0
Elevate the cameras and receiver to improve signal strength
Make sure the cameras and receiver are not blocked by any objects that
could weaken the signal or block the view of the camera
To prevent interference, avoid placing the camera or receiver close to
household electronic products such as a microwave, a 2.4GHz wireless
phone, or a wireless AP.
Line of Sight Considerations 0
When considering locations for the camera and receiver, the more direct the
line of sight is from the camera to the receiver, the stronger the signal will be.
Figure 7. Line of Sight
Camera 1 Camera 2
Camera 3 Camera 4
300 m
PC
Internet
PC

9
Camera TX Installation 0
Mounting Modes 0
The camera can be mounted various ways. Users can mount the camera to
a desktop, a wall, or hang it from an object.
Desktop Mounting 0
When mounting the camera to a desktop, use the attached camera
stands.
NOTE: It is recommended to lower one stand before lowering the other.
Figure 8. Desktop Mount

10
Hanging 0
When hanging the camera, use the loop hole on the top on the camera.
Figure 9. Hanging

11
Wall Mounting 1 0
When using the wall mount, use the included screw anchors to
strengthen the connection to the wall.
Figure 10. Wall Mount 1

12
Wall Mounting 2 0
When using the tack adhesive putty, work the putty with your fingers to
make it more sticky. Also, clean the surface of where you want to place
the camera.
Figure 11. Wall Mount 2
Charging the Battery 0
Use the mini USB adapter to charge the LI-MH battery in the camera. When
the battery is charging, the LED on the camera will be red. The LED will turn
green when the battery is fully charged.
NOTE: Charge the battery for three hours before using it.

13
USB RX Installation 0
Figure 12. Connect to USB port
1. Install the software first.
2. Install the USB RX receiver into the USB port of your computer.
3. Please click the .exe file on the Windows desktop to start the system.
NOTE: It is recommended to use the USB cable extender and make sure
there are no objects blocking the line of sight of the dongle.

14
Table of contents
Popular DVR manuals by other brands
H.264
H.264 NETWORK DIGITAL VIDEO SURVEILLANCE RECORDER instruction manual
Vook
Vook VDT2304SE quick start guide

CFI EXTEL
CFI EXTEL eWatch 900 Installation and user guide
VideoSystemer
VideoSystemer Digital Video Recorder Operating instruction
Gadspot
Gadspot GS2002 user manual
Divis
Divis D1 Series installation guide
