Step 3. Attach Cleat to Arm
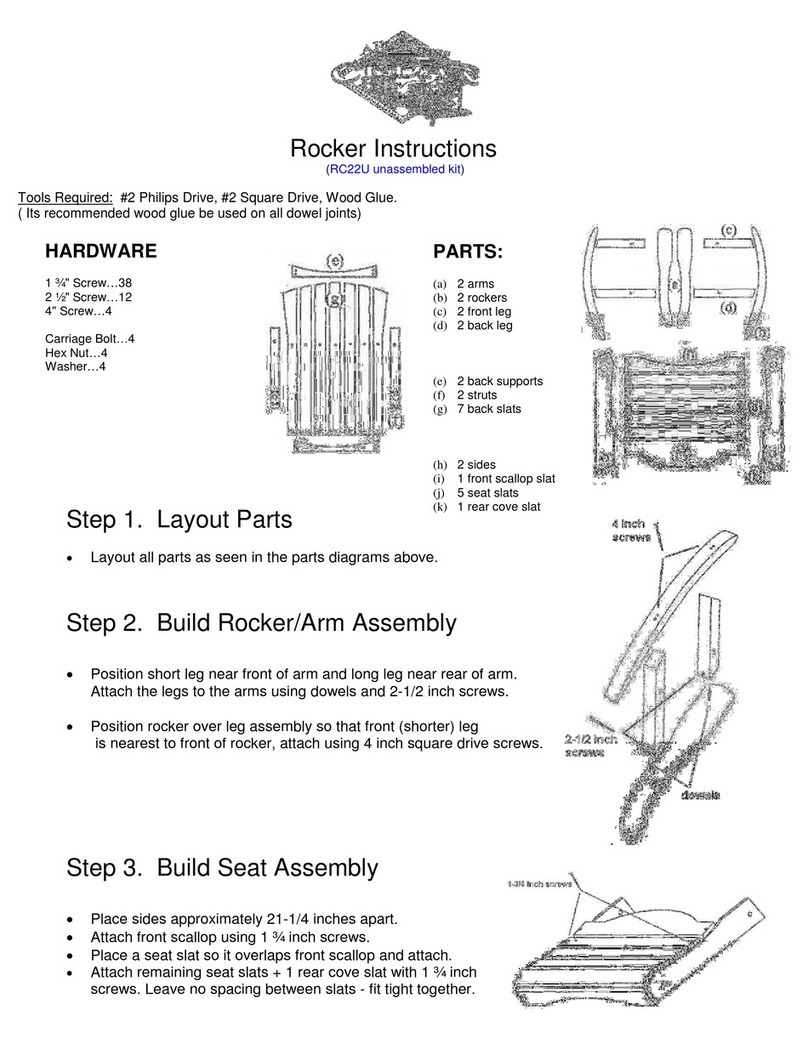
•Set arm cleat (I) on underside of arm (H) with curve edge up.
•Use wide edge of spacer to position cleat ¾ inch from rear of arm and ¾
inch from inside edge
(straight edge
)of arm.
•Attach arm cleat to arm with 2 inch screws.
Step 4. Attach Wedge to Legs
•Set wedge (J) flat on table and against finished side of leg (K).
•Arrange wedge to be flush with top of leg.
•To create a space under wedge set a ½” spacer under the wedge.
•Align wedge with top screw holes on side of leg.
•Attach wedge to leg using 1 ½” screws.
•Repeat for other leg.
Step 5. Attach Legs to Sides
•Position leg as in diagram – align peg holes to sides and insert dowel peg (L).
•Attach 1 Hex Bolt, 3 washers and 1 Lock Nut as follows:
•Set 1st washer on hex bolt and insert hex bolt into side of leg.
•Place 2nd washer between leg (K) and side (B) and slip the bolt through washer and side.
•Add a 3rd washer and secure leg to side using a lock-nut.
•(when finished a washer should be located between the leg and side for smooth folding of the chair)
Step 6. Attach Back and Arms
•Set Back Assembly across rear of seat – slats face up.
•Attach free end of pivot arm to bolt-hole in side using 3 washers as above
•Place washer on lag bolt and slip lag bolt through rear hole of arm/cleat.
•Place another washer onto threaded end of lag bolt and attach to middle
cleat on back assembly.
•
Attach front arm/cleat to legs using a hex bolt, 3 washers and lock-nut as
in step 5 above.
Step 7. Final Assembly
•Insert front scallop between front legs and make level with top of seat slat – attach with 2 inch screws.
•Insert leg brace below front scallop slat and attach from side with 2 inch screws.
•To keep pegs from getting lost - loosen lock-nut on inside of leg and tie end of twine around bolt – then
tie other end to peg.
•Accessorize your chair with our matching Folding Andy Table.
♥Thank you for choosing All Things Cedar ♥
