STD-200-CA1
INSTALLATION MANUAL STD-200-CA1
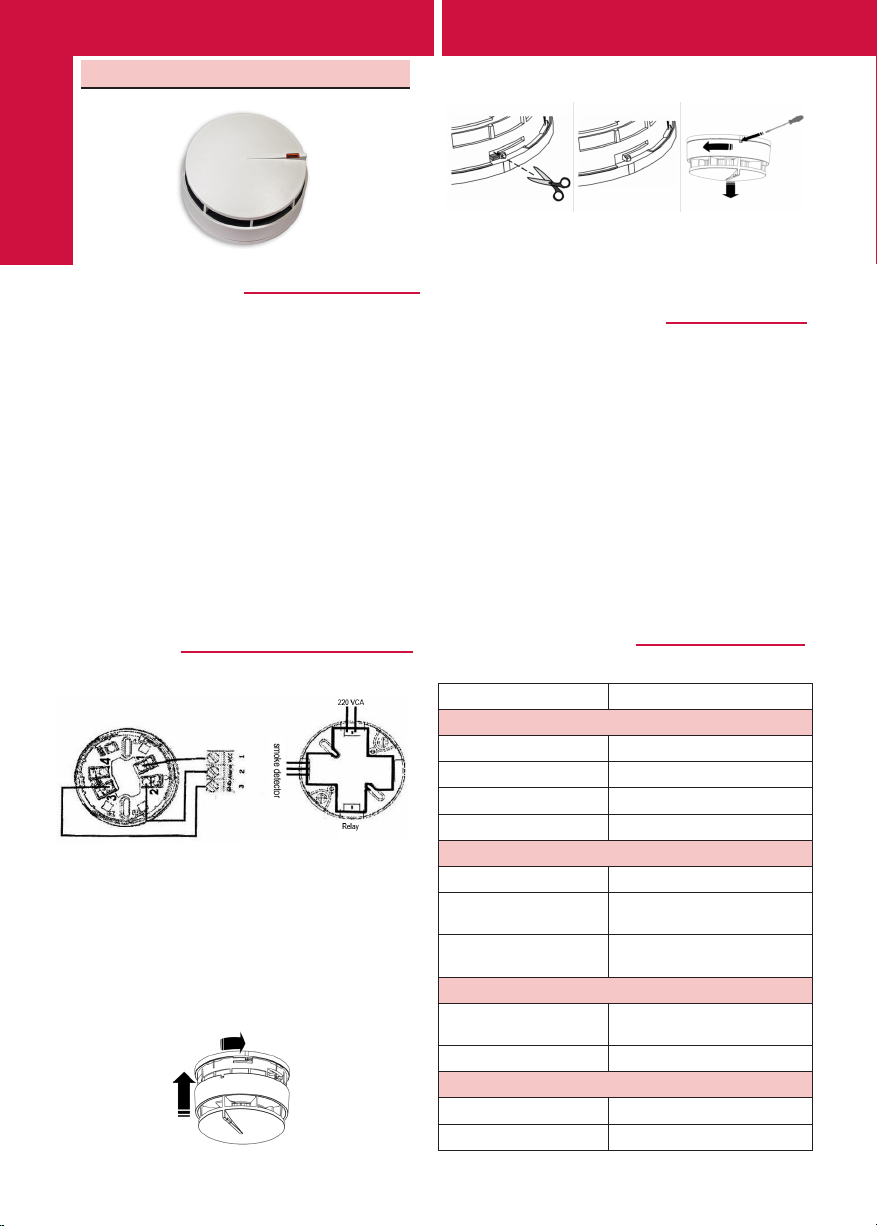
1- Introducción
Give an extra protection to your capacitor bank with the new
STD-200-CA1 re detector unit.
This product has the latest technology in re detection that
makes this product a must for the people that requires the
best protection to their capacitor banks.
The elegant design of the product it suits perfectly with any
installation, no matter what are the requirements. It has been
developed using the most innovative technical advances. The
STD-200-CA1 re detector unit is based in an optical dark
chamber, which, thanks to its desing, avoids un wanted air
ows and facilitates the guidance of the smoke to the sensor.
The detection principle is based on the Tyndall eect: when
the smokes comes into the optical chamber, the detector
goes into, alarm status due to the scattered light received
by the optical sensor. The camera is protected to avoid the
entrance of dirt and insects. This detector also incorporates
compensation algorithms which avoid false alarms due to the
dirtiness of the optical chamber, and it postpones equipment
maintenance.
2- Installation
Below is a standard wiring of the detector.
Placement of the detector
Do not place detectors along the walls, leave a minimum
of 10 cm from the detector to the nearest wall. consider
whether there are elements that may obstruct the movement
of smoke.
Detector xation
The detectors are xed to the connection base STD-200-
CA1 by turning the detector in the direction of clockwise. To
remove it you must rotate in opposite direction.
ENGLISH
The detectors have a xation system that prevents the
detector can be removed without using a tool. To use the
xation is necessary to cut the tab shown in the picture below.
If you want to extract a detector that has been blocked, it
is necessary to use a screwdriver into the slot by pressing
the detector and rotating the detector at the same time in
opposite direction of clockwise.
3- Test and Maintenance
Once installed the detectors, the installation must be powered.
In case of any detector enabled, check that there are no
environmental causes or articially generated, which can
adversely aect the detector performance (dust, vapor, air,
currents, etc.)
the maintenance of the detectors must be performed in
government regulations, checking that in the smoke detectors
enters smoke inside the camera sensor, and that the detector
goes into alarm by activating the red LED. In case of using
aerosols, read carefully the manufacturer’s instructions to
avoid damaging the detector.
The maintenance of smoke detectors, caution should be
exercised with dirt inside the camera sensor, as it could
generate false alarms. To clean the camera, do it with
pressure air. There must be not removed at any time the
camera or the dome of the detector.
3- Technical features
Model-Reference STD-200-CA1
Environmental features
• Working Temperature -10 to 70 ºC
• Storage Temperature -10 to 80 ºC
• Relative Humidity 95% without condensation
• Protection Index IP40
Detector Features
• Operating voltage 220 VCA
• Quiescent current
consumption <10µA
• Alarm current
consumption <100mA
Connections features
• Terminal block
connection
2 wire power and 2 wire relay
signal
• Cable type 0.5 mm2 to base
Physical features
• Height x Ø 70 x Ø 100mm
• Material ABS


