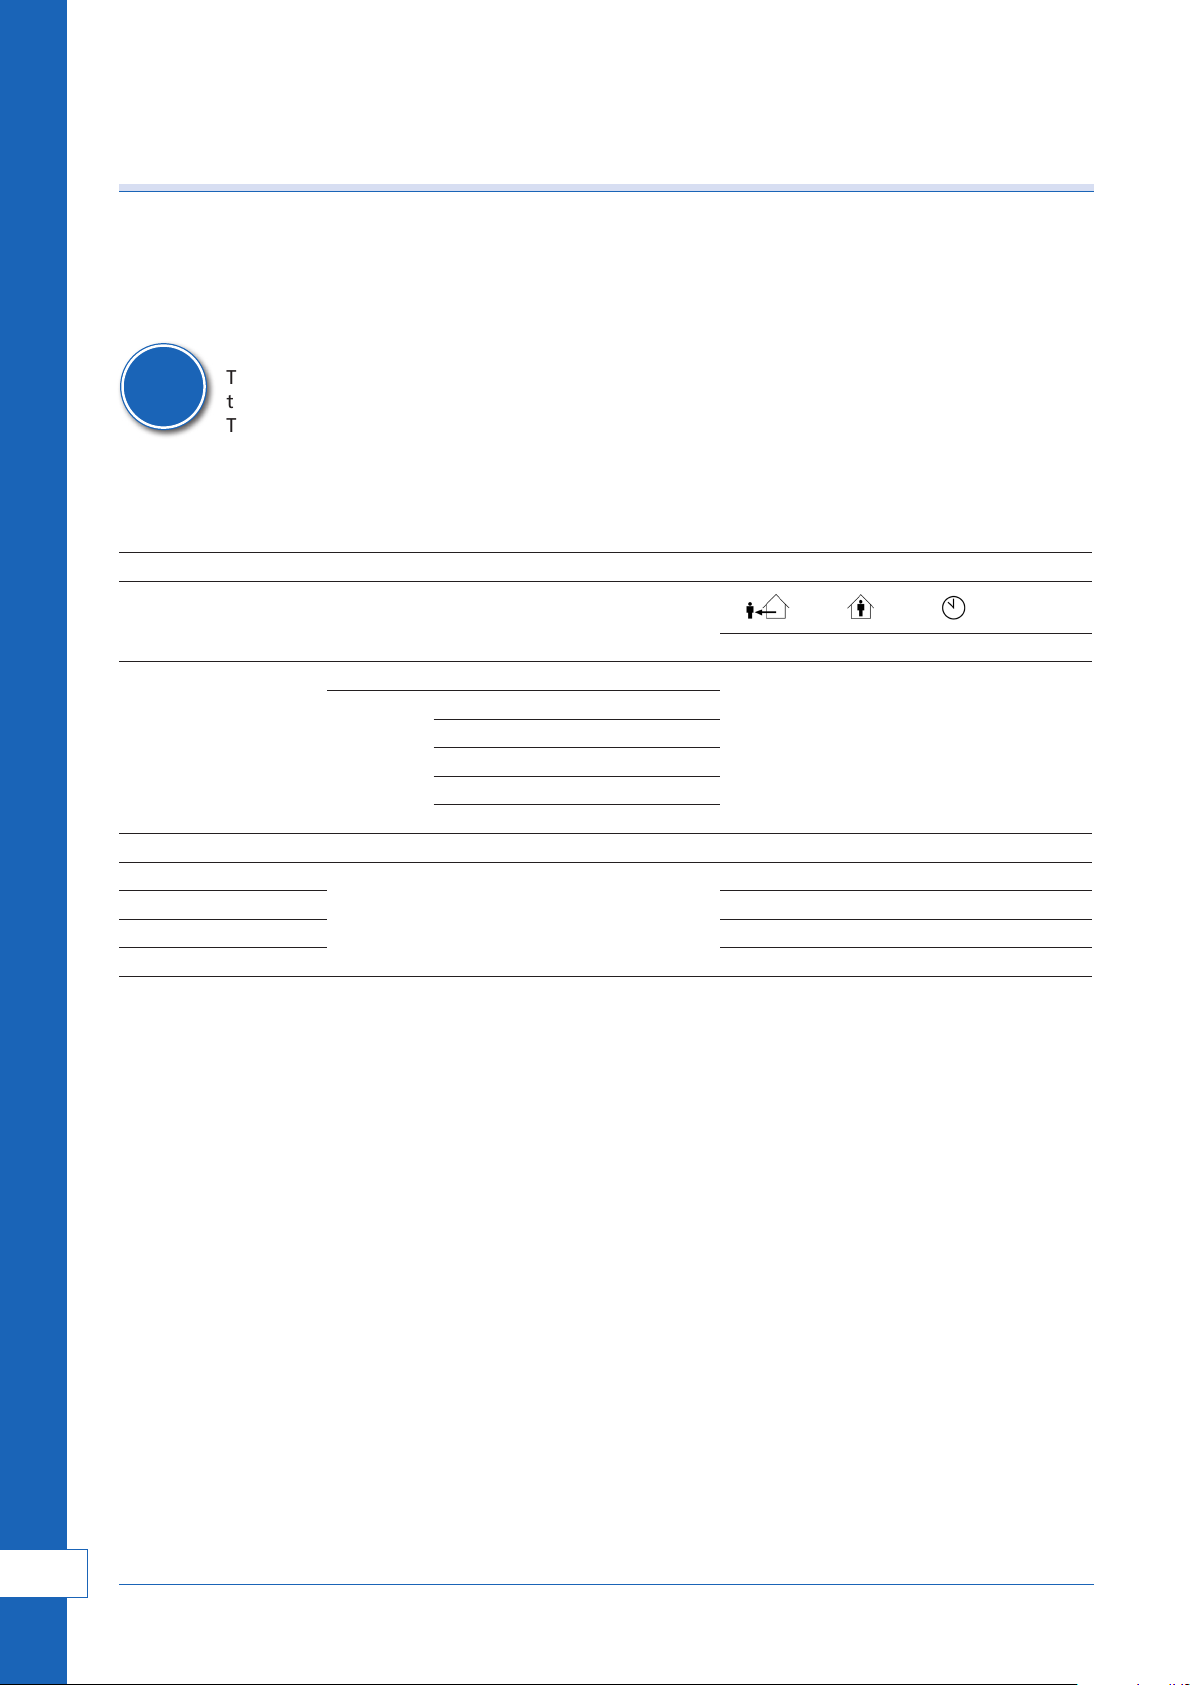
Skonfiguruj ustawienia:
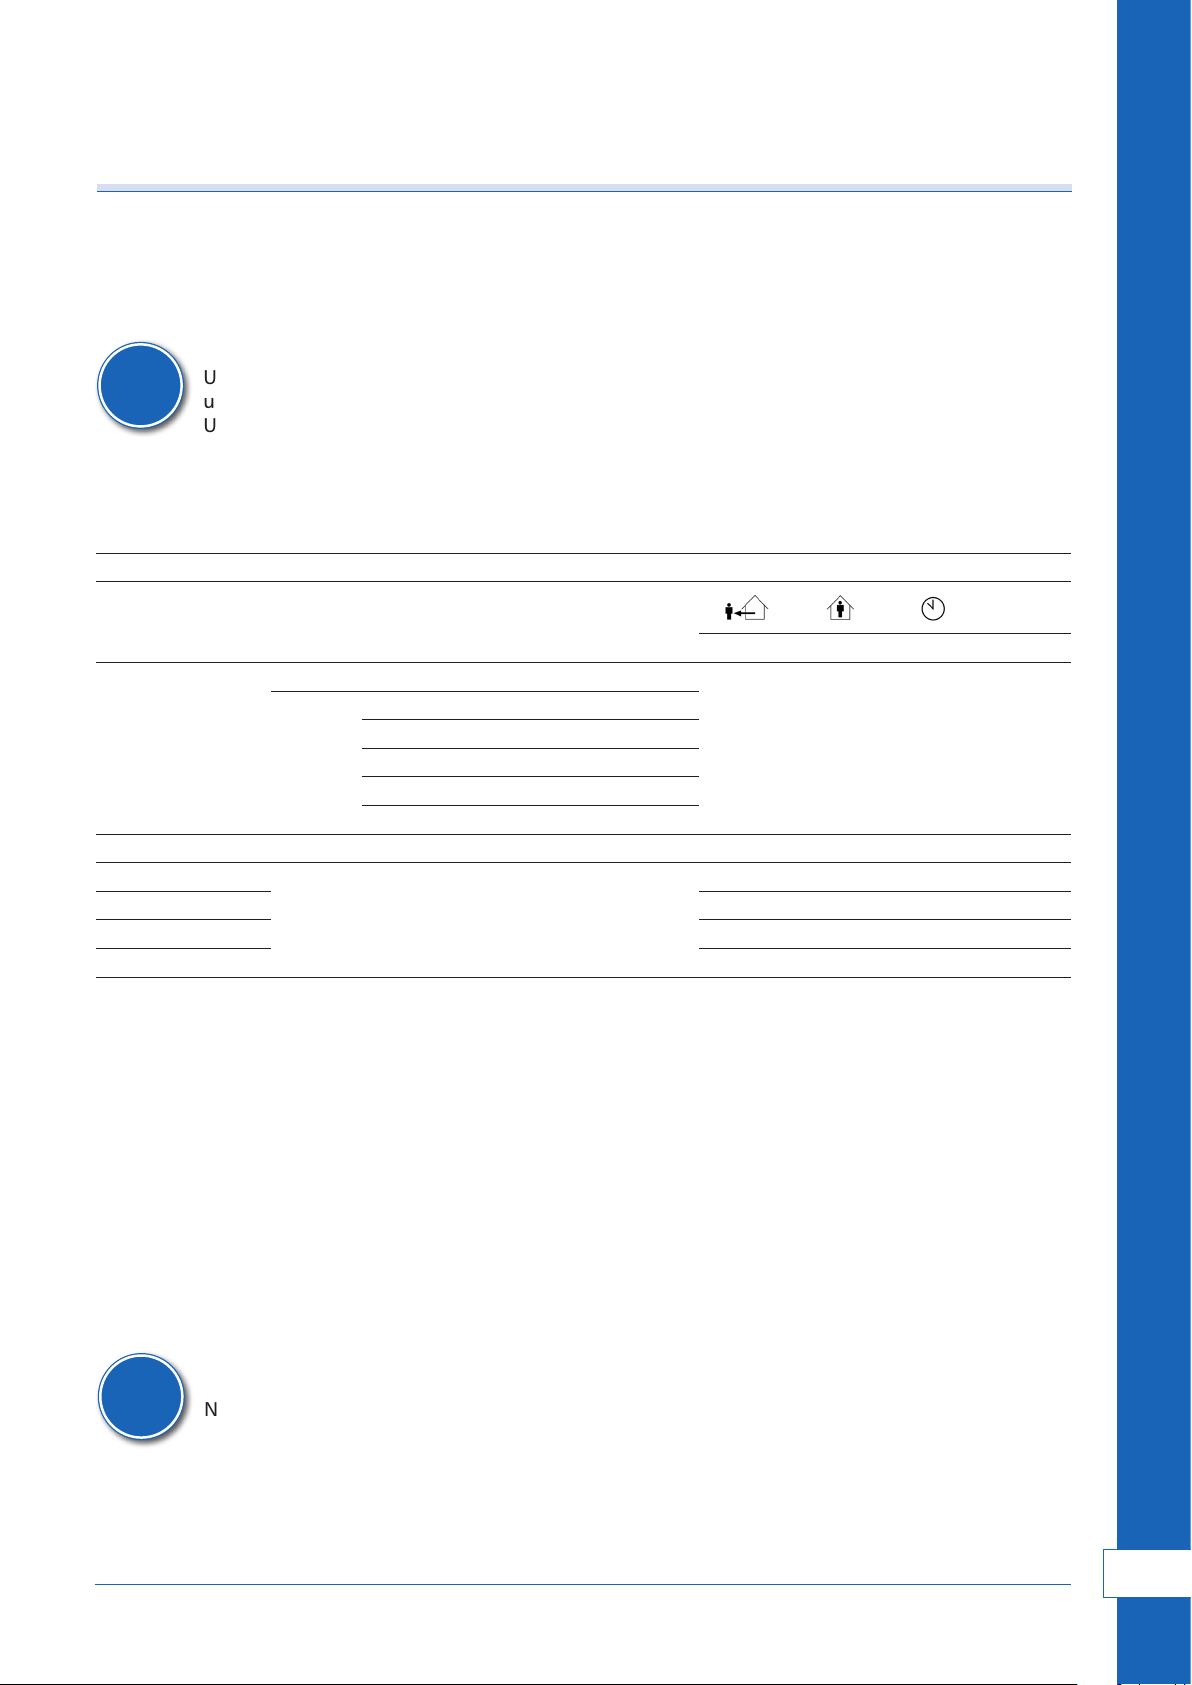
1. Przyciśnij przycisk. Diody trybu wskazują następny wybór.
2. W razie potrzeby w ciągu 2 sekund przyciśnij przycisk do czasu, gdy pole wyboru wskaże pozycję do
skonfigurowania.
3. Przyciśnij i przytrzymaj przycisk do chwili, gdy dioda stanu zacznie migać na biało.
4. Zwolnij przycisk. Dioda stanu wskazuje wybraną pozycję a dioda trybu wskazuje aktualną wartość.
5. W razie potrzeby w ciągu 10 sekund przyciśnij przycisk do czasu, gdy diody trybu wskażą pozycję do
skonfigurowania.
UWAGA:
Podczas ustawiania prędkości wentylatorów, upewnij się, że średnia prędkość wentylatora wynosi
pomiędzy niską a wysoką prędkością wentylatora.
6. Odczekaj 10 sekund. Urządzenie przechodzi w żądany tryb. Dioda stanu i diody trybu wskazują stan
instalacji.
Wykonaj przypisywanie urządzenia ponownie:
1. Przyciśnij przycisk. Diody trybu wskazują następny wybór.
2. W razie potrzeby w ciągu 2 sekund przyciśnij przycisk do czasu, gdy pole wyboru wskaże 4 diodę.
3. Przyciśnij i przytrzymaj przycisk do chwili, gdy dioda stanu zacznie migać na biało.
4. Zwolnij przycisk. Dioda stanu pokazuje tryb przypisywania.
5. Przyciśnij przycisk. Urządzenie spróbuje wykonać przypisywanie do sterownika. Wynik pokazany jest na
diodzie stanu urządzenia.
Wykonaj resetowanie do ustawień fabrycznych:
1. Przyciśnij przycisk. Diody trybu wskazują następny wybór.
2. W razie potrzeby w ciągu 2 sekund przyciśnij przycisk do czasu, gdy pole wyboru wskaże 4 diodę.
3. Przyciśnij i przytrzymaj przycisk do chwili, gdy dioda stanu zacznie migać na biało.
4. Zwolnij przycisk. Dioda stanu pokazuje tryb przypisywania.
5. Przyciśnij i przytrzymaj przycisk przez 10 sekund. Dioda stanu zaświeci się na biało.
6. Zwolnij przycisk. Urządzenie anuluje przypisanie do rekuperatora i uruchomi się ponownie. Urządzenie
powróci do trybu przypisywania.
9. Dane techniczne
Wymiary:
Wymiary gabarytowe: 100 x 100 x 25 mm (H x W x D)
Waga: ± 125g
Warunki otoczenia:
Zakres temperatury roboczej: 0 do 40˚C
Zakres temperatury transportu i przechowywania: -20 do 55˚C
Wilgotność względna: 0 - 90%, niekondensująca
Stopień ochrony (IEC60529): IP30
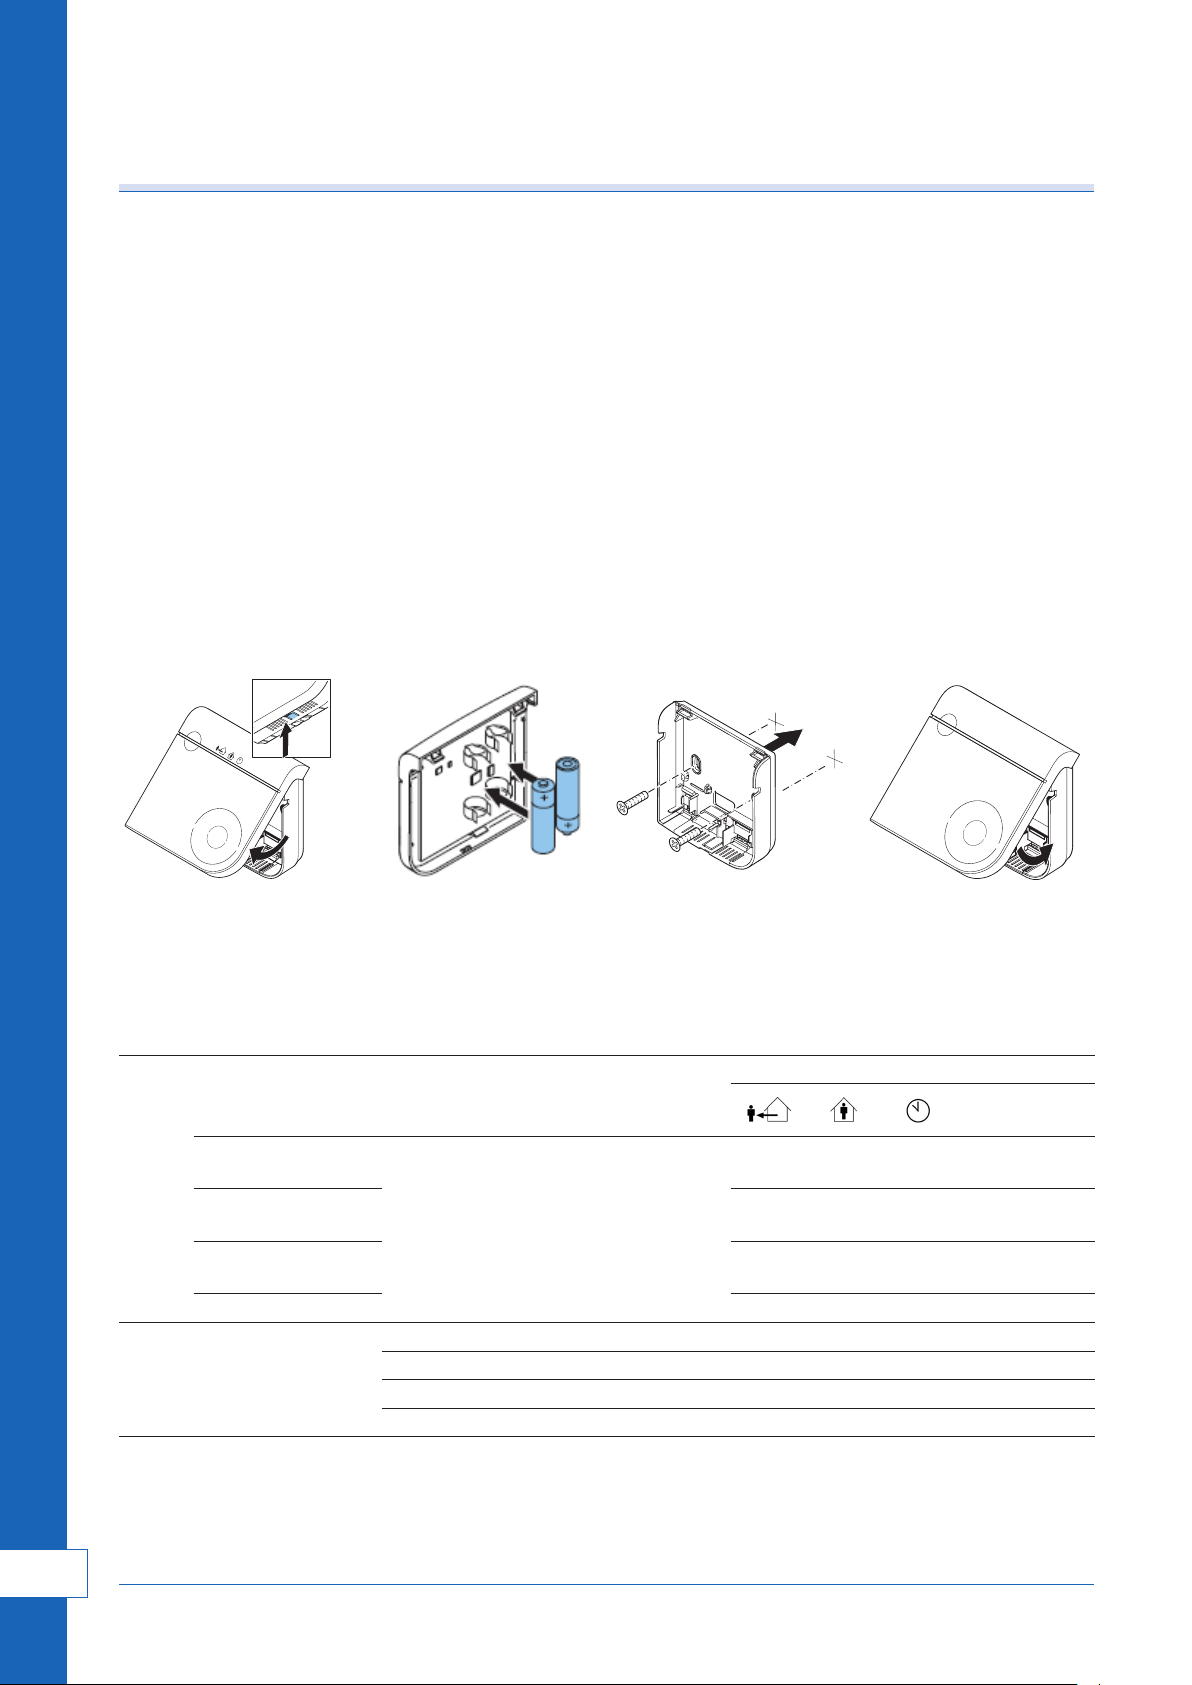
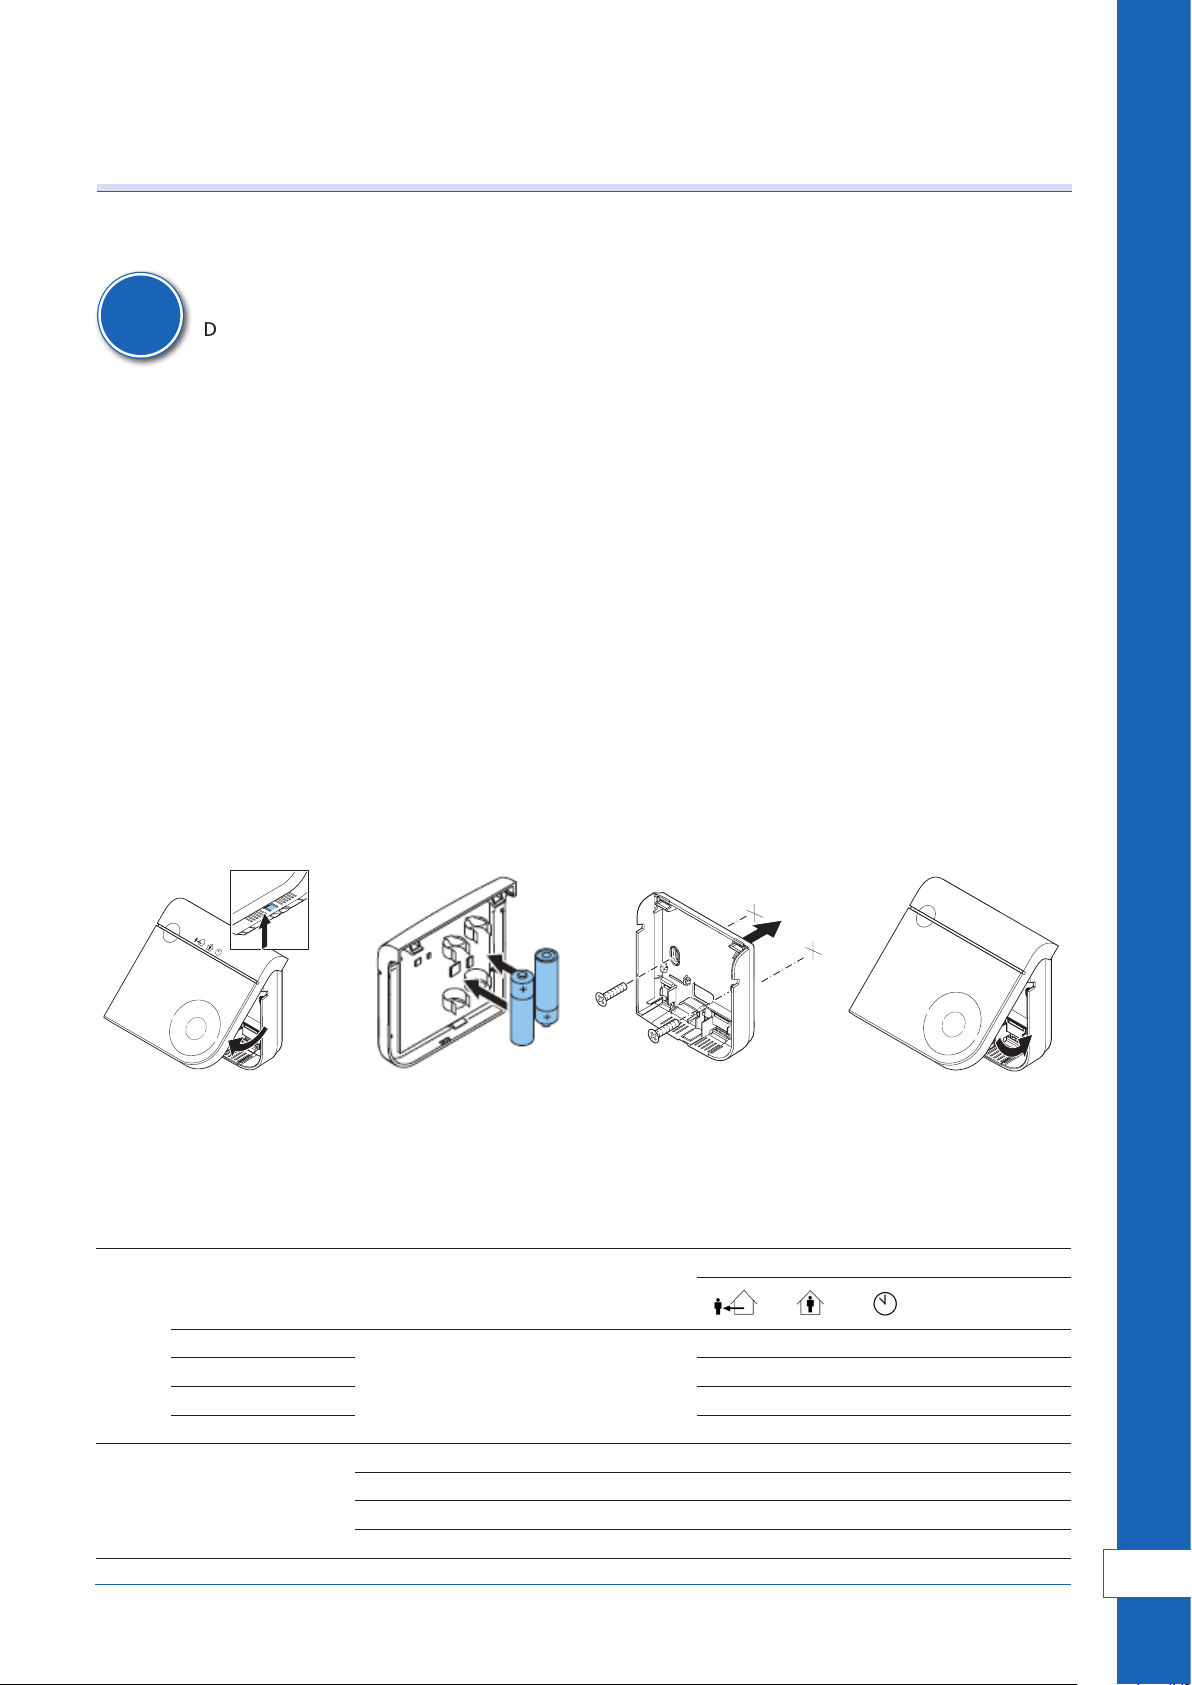
Dane techniczne baterii:
Typ: Baterie AA, 2x
Okres użytkowania baterii: 2 lata
Parametry połączenia bezprzewodowego:
Częstotliwość przekazywania danych: 868,3 MHz
Moc wyjściowa: co najmniej 0 dBm.
Użytkowanie urządzenia poza Europą wzbronione.
5
ALNOR
®
systemy wentylacji
jest prawnie chronionym znakiem i technicznym patentem. Prawo do zmian zastrzeżone.
www.alnor.com.pl
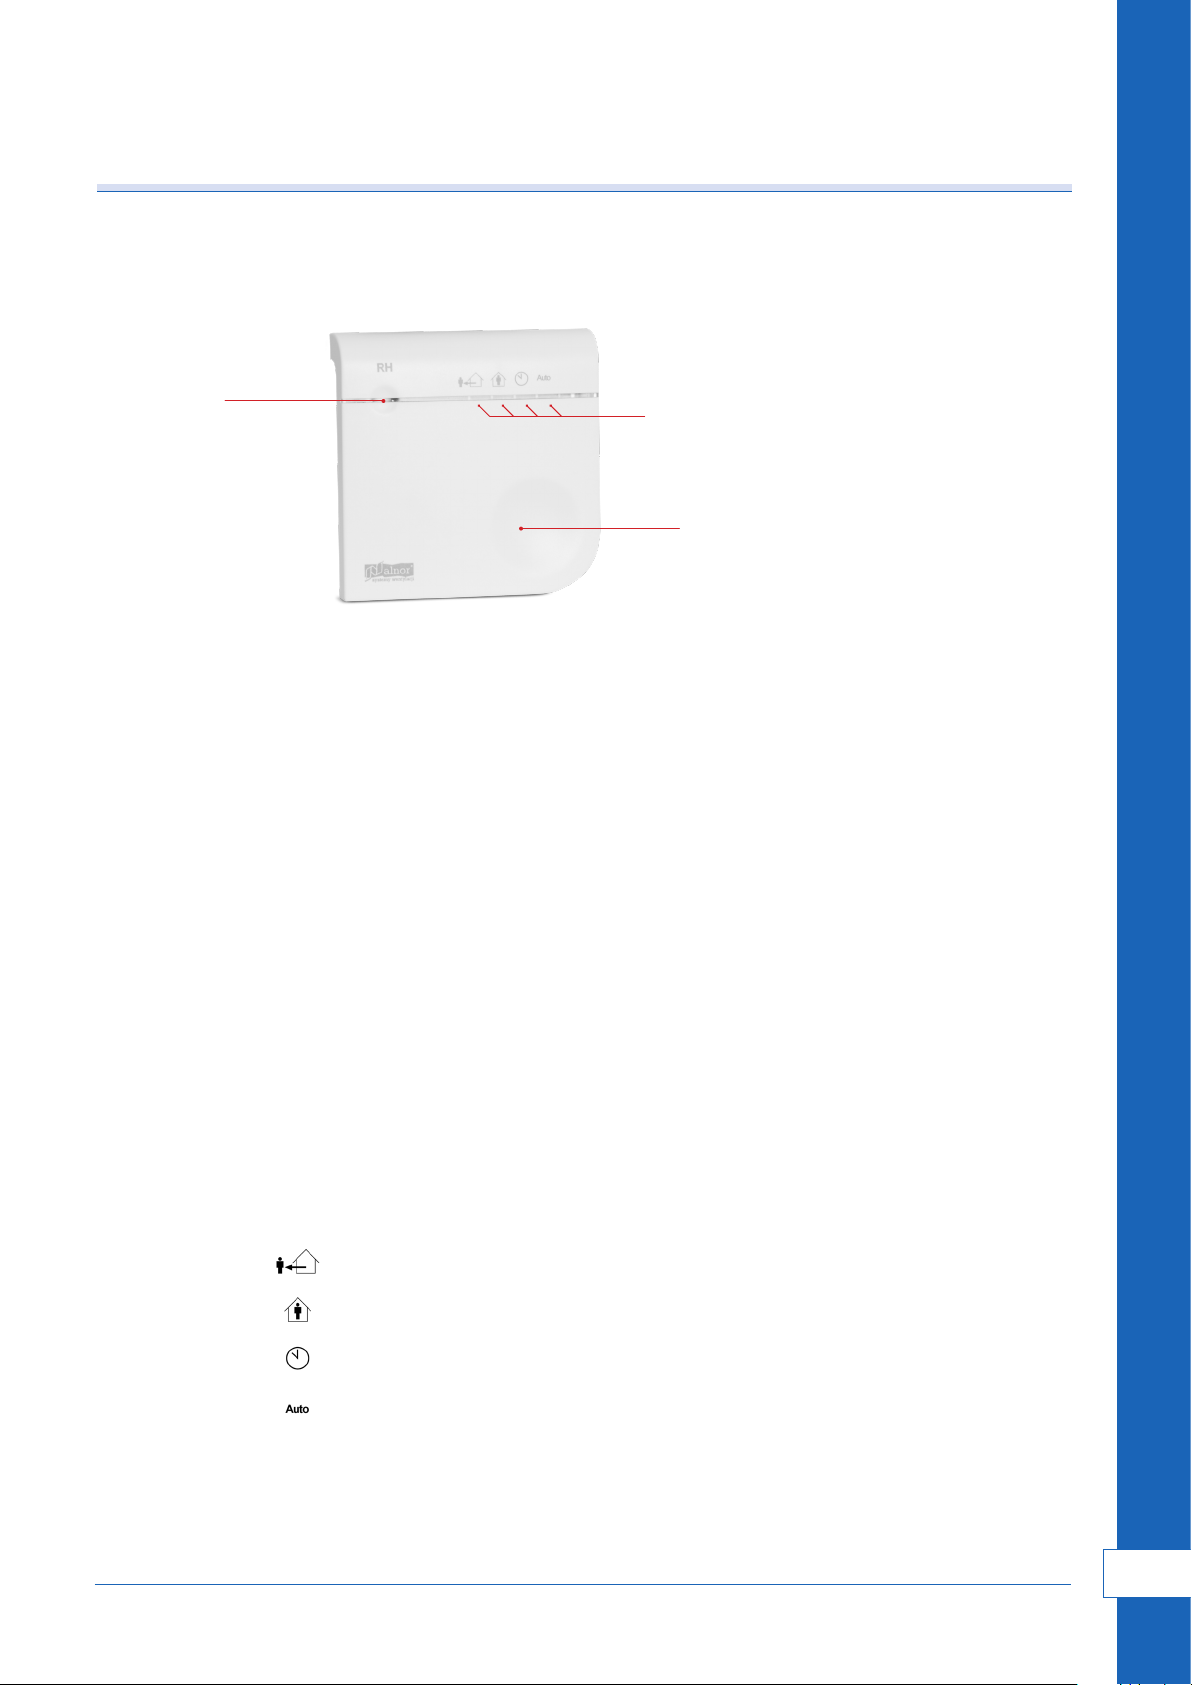
Instrukcja obsługi
HRQ-SENS-RH