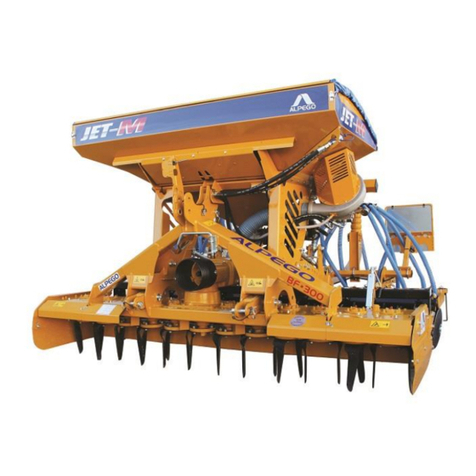
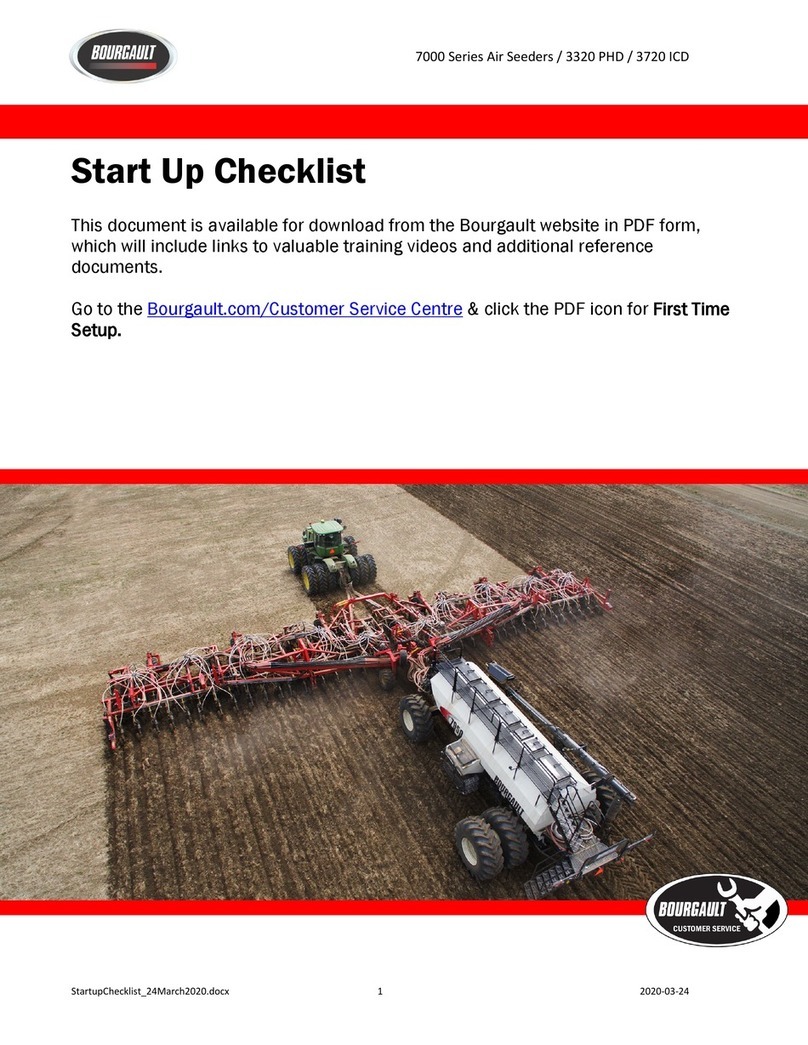
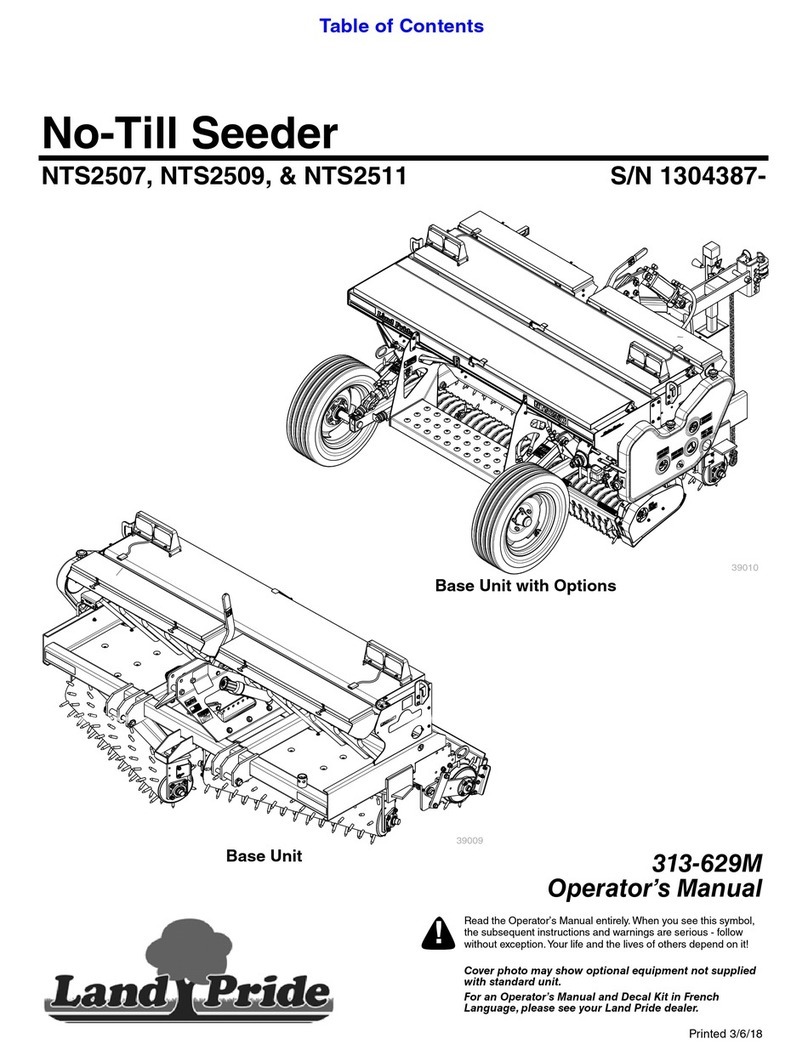
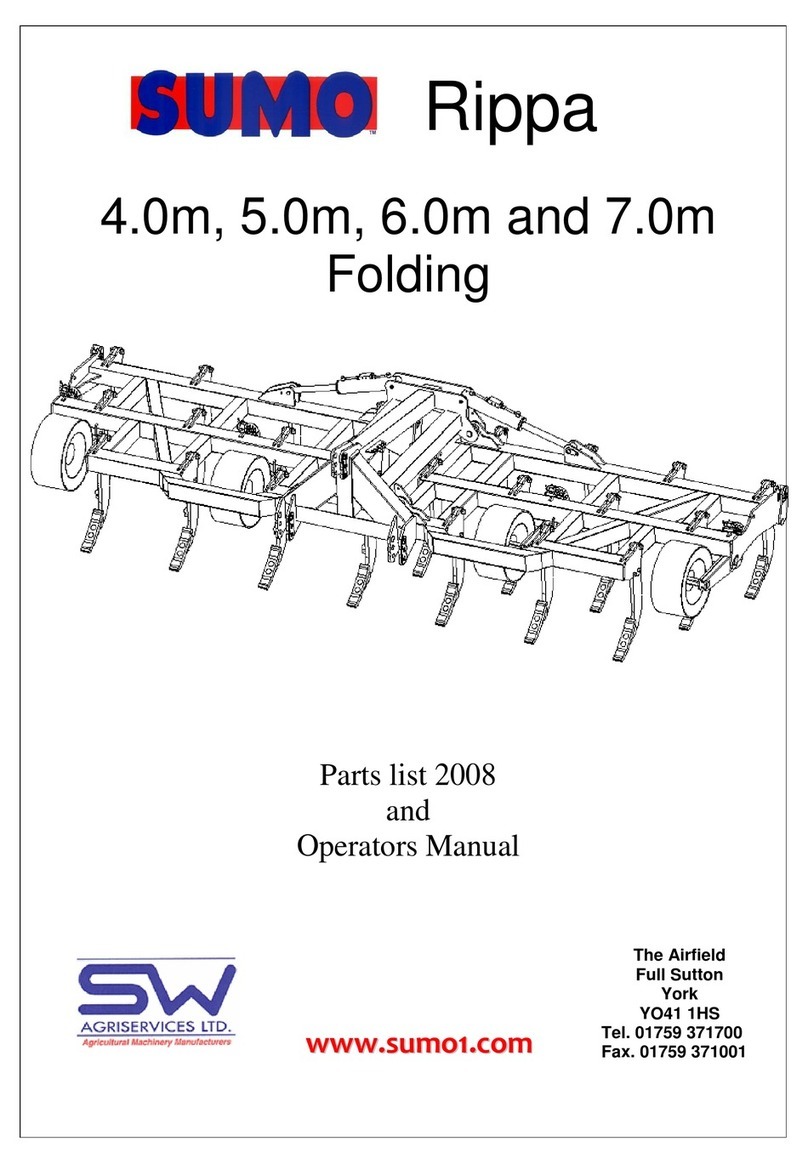
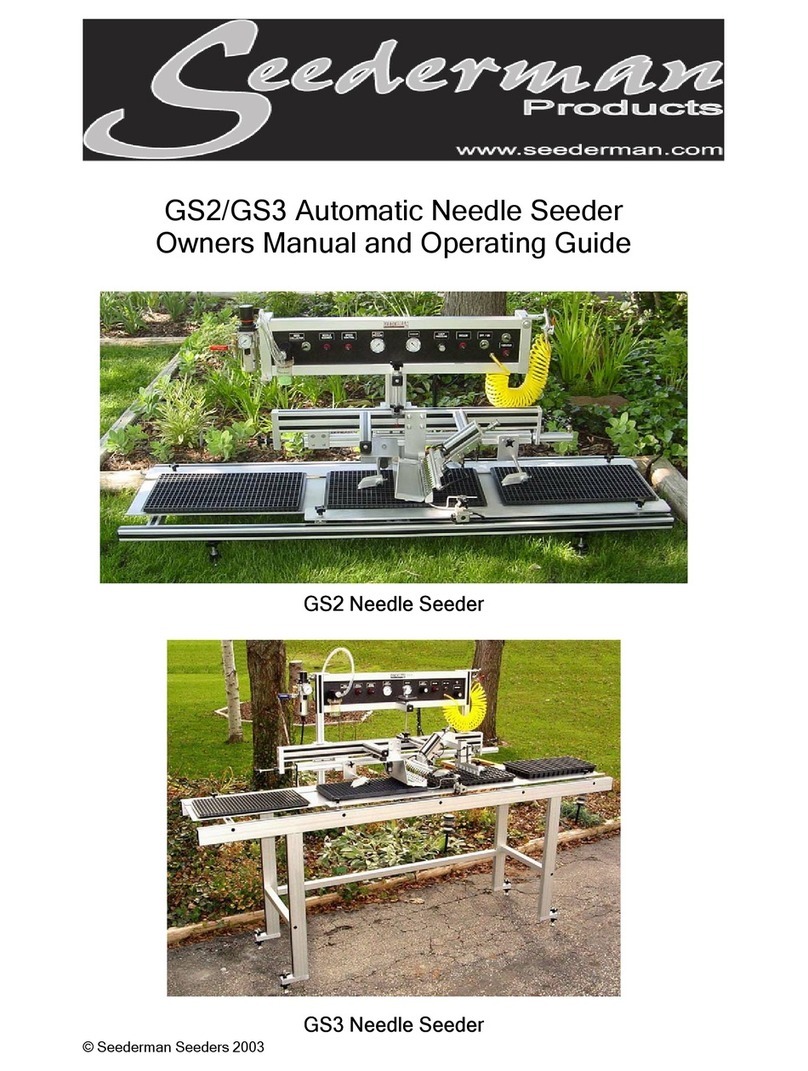
Alpego AS1 Series User manual

SEEDERS
Codice Q00A00136/2
GB
USE AND MAINTENANCE MANUAL
Da matr:
33499
A matr:
INSTRUCTIONS TRANSLATED FROM THE ORIGINAL
AS1
AIRSPEED

OWNER'S MANUAL OF SEEDING
-
DRILL AS1
Old Cod.Q00A00136
New Cod. MANT2010/00634 R.2
2
Copyright ©2009 della Alpego spa® - All rights are reserved. Reprinting or unauthorized use of this manual is strictly forbidden without written permission by Alpego spa
ALPEGO S.p.a.
Sede Amministrativa: Via torri di Confine, 6
36053 GAMBELLARA (VICENZA) - ITALY
Sede legale:
Via Giovanni e Giuseppe Cenzato,9
36045 LONIGO (VICENZA) - ITALY
Tel +39 0444/64.61.00
Fax +39 0444/64.61.99
web site : www.alpego.com
- MACCHINE PER LA LAVORAZIONE
DEL TERRENO
- ERPICI ROTANTI FISSI E PIEGHEVOLI
- COLTIVATORI A DENTI ED A DISCHI
- SEMINATRICI MECCANICHE,
PNEUMATICHE E COMBINATE
- DISSODATORI E RIPUNTATORI
- FRESATRICI E ZAPPATRICI
- TRINCIASARMENTI
- TRINCIASTOCCHI
I
GB
D
F
E
Dichiarazione CE
di conformità’
ai sensi della direttiva
CE 2006/42
La ditta
sottoscritta
EC Certificate
of conformity
conforming to
EEC Directions
2006/42
We
EG Konformitatserklarung
entsprechend der
EG-Richtlinie
2006/42 EWG
Wir
Déclaration de
conformité pour la
CE
conforme à la directive
de la 2006/42 CE
Nous
Declaraciòn CE
de conformidad.
Conforme a la
directiva CE 2006/42
la empresa / el
productor
ALPEGO s.r.l.
VIA TORRI DI CONFINE N°6
36053 GAMBELLARA -(VI)-ITALIA
dichiara sotto
la propria
responsabilità’
che la macchina
modello :
declare in sole
responsability,
that the
product
model :
erklaren in alleineger
Verantwortung,
da das
Produkt
Typ :
déclarons sous
notre seule
responsabilite’
que le produict
modéle :
declara bajo su
propia
responsabilidad que
la màquina
modelo:
Codice / Code: MODELLO MACCHINA
SEMINATRICI «SEMIN_AS3__40032_IDRO_PLUS»
N° matricola / serial n°:
È’ Conforme ai
requisiti Essenziali
di Sicurezza e di
Tutela della Salute
di cui alla
Direttiva CE
2006/42
Per l’adeguamento
delle macchine
sono state adottate
le norme:
UNI EN 708
UNI EN ISO 4254-1
UNI EN 14018
UNI EN 982
ISO 3757-2
ISO 11684
to which this
applies, conforms
to the basic safety
and health
requirements of
EC Directions
2006/42
For the adaptation of
it blots some have
been adopted the
norms:
UNI EN 708
UNI EN ISO 4254-1
UNI EN 14018
UNI EN 982
ISO 3757-2
ISO 11684
auf das sich diese
Erklarung bezeith,
den einschlagigen
grundlegenden
Sicherheits und
Gesundheitsan-
forderungen
der EG-Richtlinie
2006/42 EWG
Für die Anpassung von ihr
befleckt einiges sind
angenommen worden den
Normen:
UNI EN 708
UNI EN ISO 4254-1
UNI EN 14018
UNI EN 982
ISO 3757-2
ISO 11684
faisant l’objet de
la déclaration est
conforme aux
prescriptions
fondamentales en
matière de sècuritè et
de santè stipulèes
dans la Directive de la
CE
2006/42
Pour l'adaptation d'elle
en éponge ont été
adoptés les normes :
UNI EN 708
UNI EN ISO 4254-1
UNI EN 14018
UNI EN 982
ISO 3757-2
ISO 11684
està conforme a los
requisitos esenciales de
seguridad y de defeusa de
la
salud de la directiva
CE 2006/42
Para la equparaciòn de
las màquinas nan sido
adoptado las normas
UNI EN 708
UNI EN ISO 4254-1
UNI EN 14018
UNI EN 982
ISO 3757-2
ISO 11684
Gambellara: La ditta

OWNER'S MANUAL OF SEEDING
-
DRILL AS1
Old Cod.Q00A00136
New Cod. MANT2010/00634 R.2
3
Copyright ©2009 della Alpego spa® - All rights are reserved. Reprinting or unauthorized use of this manual is strictly forbidden without written permission by Alpego spa
Read this manual thoroughly before using the machine.
Being well informed is essential for safe machine usage.
This manual should be kept for the whole working
life of the machine.
Thank you for choosing us. You have purchased an excellent quality product that is
guaranteed by decades of experience.
On leaving the factory, each machine is accurately inspected to guarantee the absence of
defects.
Should any material defect be found in spite of inspection, please contact your dealer
immediately.
Please contact us if you need further information or if something needs to be clarified.
Our aim is to constantly improve the product and keep it top level.
AS THE TRIANGLE INDICATES DANGER, PLEASE BE CAREFUL WHEN IT
APPEARS!
THE TERM MACHINE IS USED TO INDICATE THE COMMERCIAL NAME OF THE PRODUCT
TO WHICH THIS MACHINE REFERS
ALL INFORMATION CONTAINED IN THIS MANUAL IS INFORMATIVE AND DOES
NOT BIND THE PRODUCER. THE INFORMATION CONTAINED HEREIN CAN BE
CHANGED WITHOUT FOREWARNING
N.B.: view of the machine. ALPEGO normally considers the machine as being
viewed from the rear to identify better the particulars and to better assemble the
parts that must respect the position “right or left” as in description (e.g.: right or left
cardan joint, right or left tine, etc.)

Sommario
Copyright ©2009 della Alpego spa® - All rights are reserved. Reprinting or unauthorized use of this manual is strictly forbidden without written permission by Alpego spa
1. GENERAL INFORMATION........................................................................................................................................1
1.1. PURPOSE OF THE MANUAL .............................................................................................................................1
1.2. DOCUMENTS SUPPLIED WITH THE MACHINE...............................................................................................1
1.3. GUARANTEE.......................................................................................................................................................1
1.4. MACHINE IDENTIFICATION...............................................................................................................................2
2. TECHNICAL SPECIFICATIONS................................................................................................................................3
2.1. MACHINE DESCRIPTION...................................................................................................................................3
2.2. AS1 SEEDER COMPONENTS............................................................................................................................3
2.3. TECHNICAL DATA TABLE..................................................................................................................................4
2.4. SOUND LEVEL....................................................................................................................................................4
3. SAFETY REGULATIONS ..........................................................................................................................................5
3.1. USING THE MACHINE SAFELY.........................................................................................................................5
3.2. HYDRAULIC CONNECTIONS.............................................................................................................................6
3.3. CARRYING OUT MAINTENANCE SAFELY .......................................................................................................6
3.4. CLOTHING...........................................................................................................................................................6
3.5. CIRCULATING ON ROADS.................................................................................................................................7
3.6. ECOLOGY............................................................................................................................................................7
3.7. SAFETY SIGNALS...............................................................................................................................................7
4. INSTALLATION .........................................................................................................................................................9
4.1. LIFTING THE MACHINE .....................................................................................................................................9
4.2. APPLYING THE SEED BOX FAST COUPLING .................................................................................................9
4.3. APPLICATION ON HARROWS.........................................................................................................................10
4.4. ASSEMBLING THE SEEDER BAR...................................................................................................................11
4.5. ASSEMBLING THE SOWING WHEEL..............................................................................................................11
4.5.1. SHORTENING THE UNIVERSAL JOINT WITH A RILSAN COATING......................................................13
4.6. ASSEMBLING THE RADAR..............................................................................................................................13
4.7. ASSEMBLING THE SEED COVERING HARROW...........................................................................................14
4.8. ASSEMBLING THE REAR LIGHTS ..................................................................................................................14
4.9. ASSEMBLING THE SEEDER PIPES................................................................................................................14
4.10. CHECKING THE RAISING CAPACITY AND TRACTOR STABILITY............................................................18
5. USER INSTRUCTIONS............................................................................................................................................20
5.1. MECHANICAL BLOWER MOVEMENT.............................................................................................................20
5.2. OLEODYNAMIC BLOWER MOVEMENT..........................................................................................................20
5.2.1. HYDRAULIC CONNECTION WITH THE TRACTOR .................................................................................21
5.2.2. ADJUSTEMENT OF THE OIL FLOW WITHOUT A VARIABLE DISPLACEMENT PUMP........................21
5.2.3. STARTING ..................................................................................................................................................21
5.2.4. OIL COOLING.............................................................................................................................................22
5.3. DISTRIBUTION..................................................................................................................................................22
5.4. UNCOUPLING THE SEEDER...........................................................................................................................22
6. MAINTENANCE .......................................................................................................................................................23
6.1. CHECKS AND CONTROLS...............................................................................................................................23
6.2. LUBRICATION...................................................................................................................................................23
6.2.1. TURBINE OVERGEAR LUBRICATION......................................................................................................24
6.2.2. WHEEL REDUCER LUBRICATION............................................................................................................24
6.2.3. GREASER LUBRICATION..........................................................................................................................24
6.3. REMOVING THE SEEDS FROM THE HOPPER..............................................................................................25
6.4. END OF SEASON OPERATIONS.....................................................................................................................25
7. ACCESSORIES........................................................................................................................................................26
7.1. ROW MARKING DISC (upon request for AS1 STANDARD, standard supply with AS1 PLUS).......................26
7.2. PRE-SPROUTING DISCS (available upon request for AS1 PLUS)................................................................26
7.3. HYDRAULIC SEEDING EXCLUSION (upon request with AS1 STANDARD) ..................................................27
7.4. DEPTH LIMITING WHEEL (upon request for AS1 Standard and AS1 Plus)...................................................27
7.5. HOPPER EXTENSION (upon request with AS1 Standard and AS1 Plus).......................................................27
OWNER'S MANUAL OF SEEDING
-
DRILL AS1
Old Cod.Q00A00136
New Cod. MANT2010/00634 R.2
GENERAL INFORMATION - 1
Copyright ©2009 della Alpego spa® - All rights are reserved. Reprinting or unauthorized use of this manual is strictly forbidden without written permission by Alpego spa
1. GENERAL INFORMATION
1.1. PURPOSE OF THE MANUAL
•This manual was created by the machine producer and is an integral part of the documentation that
accompanies the machine.
•The manual defines the purpose for which the machine was produced, it establishes correct machine application
and limits of use.
•The constant application of the indications given in this manual guarantees the safety of those who use the
machine, as well as working economy and longer machine duration.
•This manual has been divided into sections. To make it easier to find a specific topic, consult the initial index.
•The images that appear in this manual are given as an example. Even if substantially different from the machine
you possess, the safety and information are guaranteed.
1.2. DOCUMENTS SUPPLIED WITH THE MACHINE
The following documents should be supplied with the machine:
User and maintenance manual
Spare parts catalogue
EC Conformity Declaration
The machine may be supplied complete with different options/fittings. For the assembly and the use of those check
the specific manuals supplied with the documents of the machine
COD.
DESCRIPTION
Q00A00135
Owner’s Manual of the
plastic metering unit
D16555
Owner’s Manual of the
DOSAL metering unit
Q00A00119
Owner’s Manual of the
row
-
marking discs
Q00A00134
Owner’s Manual of the
seeding bar
Q00A00132
Owner’s Manual of the
fol
lowing harrow
D12338
Owner’s Manual of the
“Standard” Computer
D12339
Owner’s Manual of the
“Plus” Computer
D15686
Owner’s Manual of the
“Super Plus” Computer
1.3. GUARANTEE
When delivered, make sure that the machine and any accessories were not damaged during transport.
Any complaints should be presented in writing within 6 days from the date of delivery.
GUARANTEE FORFEITURE
The guarantee is rendered null and void immediately if:
•there is a manoeuvring error
•the instructions described in this manual are not followed
•original spare parts are not used
•any modification is made to the machine without having obtained authorisation from the manufacturer.

OWNER'S MANUAL OF SEEDING
-
DRILL AS1
Old Cod.Q00A00136
New Cod. MANT2010/00634 R.2
GENERAL INFORMATION - 2
Copyright ©2009 della Alpego spa® - All rights are reserved. Reprinting or unauthorized use of this manual is strictly forbidden without written permission by Alpego spa
1.4. MACHINE IDENTIFICATION
At the 3 points of connection to the tractor is placed the identification plate of the machine bearing the following data:
•Model of the machine
•Serial number
•Maximum weight of the machine
•Costruction year [es: 1305 = 13 (2013) + 05 (may)]
The specified weight refers to the machine provided with the
accessories.

OWNER'S MANUAL OF SEEDING
-
DRILL AS1
Old Cod.Q00A00136
New Cod. MANT2010/00634 R.2
TECHNICAL SPECIFICATIONS - 3
Copyright ©2009 della Alpego spa® - All rights are reserved. Reprinting or unauthorized use of this manual is strictly forbidden without written permission by Alpego spa
2. TECHNICAL SPECIFICATIONS
2.1. MACHINE DESCRIPTION
•The mod. AS1 seeder should only be used for working agricultural ground. If used in manners other than those described in
this manual, the machine can be damaged and become dangerous for the user.
•The mod. AS1 seeder can be used with equipment for working the ground in combination with a suitable assembly kit.
•The mod. AS1 seeder is suitable for sowing cereal: wheat, barley, rye, oats, rice; fine seeds and fodder: rape, clover, alfalfa;
large seeds: soy, peas.
•The seeds are deposited on the ground by coulter organs, cutter bars or discs, and are distributed continuously. The quantity
to be distributed is regulated by a special rotating doser, which moves by way of a wheel that adheres to the ground.
•The seeds are distributed and transported to the coulters by compressed air. The air is produced by a fan that is moved by
the tractor power takeoff, or hydraulically in the Vers Plus version.
•The disc or sprint boot coulter is mounted on a super-elastic support that gives excellent depth and pressure on the ground,
regulating the height of the seed bar.
The machine will operate well if used correctly and if the correct maintenance is carried out. It is therefore advisable to follow
what is indicated in this manual in order to prevent any inconvenience that could prejudice good machine operation and long
duration.
The Manufacturer denies all responsibility for accidents/injury/damage caused by negligence and the non-observation of the
regulations given in this manual.
The Manufacturer is, however, at your complete disposal to guarantee technical assistance and anything that may be necessary
for optimum performance and maximum return.
For the plan and the realization of the machine in object they have been examined and continuations the Norms of the directive
98/37CE which
UNI EN 14018 UNI EN 1553 UNI EN 982 ISO 11684 ISO 3757-2
Seed drills AS1 have been realized for the combination with rotary harrow type “ALPEGO” who guarantee the respect of norm EN
708
2.2. AS1 SEEDER COMPONENTS
ASeed hopper
BCoulters
CFan
DSeed bar fast connection
FRear seed covering harrow
GSowing wheel o radar
HRow marking discs
LHopper loading ladder
M Doser
NRear light

OWNER'S MANUAL OF SEEDING
-
DRILL AS1
Old Cod.Q00A00136
New Cod. MANT2010/00634 R.2
TECHNICAL SPECIFICATIONS - 4
Copyright ©2009 della Alpego spa® - All rights are reserved. Reprinting or unauthorized use of this manual is strictly forbidden without written permission by Alpego spa
2.3. TECHNICAL DATA TABLE
type
Working
width
cm.
Transport
width
cm.
Nr.
rows
Distance
between
rows
cm.
Hopper
capacity
litres
p.t.o.
revs.
n°**
Tractor oil
capacity
Litres
weight
Kg.*
AS1
-
300
AS1-350
AS1-400
300
350
400
300
350
400
24
28
32
12.5 1400 1000 -
610
660
710
AS1
-
300 Plus
AS1-350 Plus
AS1-400 Plus
300
350
400
300
350
400
24
28
32
12.5 1400 - 50
620
670
725
* weight without seed bar
2.4. SOUND LEVEL
If the tractor is equipped with a cabin, the sound level will depend on the soundproofing level of the cabin itself. If
the tractor does not have a cabin or is used with the windows open, the noise level emitted by the machine while
working and measured at a distance of 200 mm. from the rear window exceeds 85 dBa. It is therefore advisable to
use protective earmuffs as indicated in the regulations of different countries.

OWNER'S MANUAL OF SEEDING
-
DRILL AS1
Old Cod.Q00A00136
New Cod. MANT2010/00634 R.2
SAFETY REGULATIONS - 5
Copyright ©2009 della Alpego spa® - All rights are reserved. Reprinting or unauthorized use of this manual is strictly forbidden without written permission by Alpego spa
3. SAFETY REGULATIONS
3.1. USING THE MACHINE SAFELY
•Read the user and maintenance manual carefully before starting to use and carry out maintenance on the equipment.
•The manufacturer cannot be held responsible for any damage caused to people, animals or things caused by the non-
observance of the safety regulations.
•It is forbidden to use the machine for purposes other than those expressly
indicated in this manual.
•It is forbidden for people to drive the tractor if they do not have a current driving
licence, if they do not have the necessary experience, or if they are not in good
health.
•Examine the stickers on the machine carefully and respect the indications they give.
•While manoeuvring, do not allow people or animals to enter the operating range of the machine.
•Do not allow people, animals or things to approach the machine while it is working in order to avoid being hit by the clods and
stones that the machine ejects.
•It is forbidden to enter the area between the tractor and the machine to activate the external commands of the hydraulic lifter.
•Always remain seated in the driving position of the tractor, and only come down when the tractor power takeoff is disabled
and the handbrake has been activated.
•During work pauses deactivate the power takeoff,
switch off the motor, position the machine on the
ground and activate the tractor handbrake.
•Do not work without the protections.
•Do not allow the machine to operate loadless (i.e.
while it is out of the ground).
•Do not turn sharply if the machine is embedded in the ground, and never work in reverse.
•Always raise the machine when changing direction and reversing.
•During transport, or each time the machine has to be lifted, it is advisable to regulate the tractor lifting group in such a manner
as to keep the machine at a height of minimum 45 cm from the ground. Avoid using public roads if the machine is dirty with
earth, grass or other things that produce dirt and can cause traffic blockage. Do not allow the machine to fall violently to the
ground; instead lower it slowly to permit the gradual insertion of the blades into the earth.
•Not following the points mentioned below causes all the machine components to oscillate strongly, which compromises their
integrity.
•While transporting on roads with the machine raised, lock the command lever of the tractor hydraulic lifter.
•The machine and its accessories (if present) should be equipped with suitable signals and protections when on the road.
•Do not use the machine as a means of transporting people, animals or things.
•Do not work on earth or in places that can compromise machine stability.
•Only use the cardan shaft supplied by the manufacturer, which is equipped with the relative safeties against overloads.

OWNER'S MANUAL OF SEEDING
-
DRILL AS1
Old Cod.Q00A00136
New Cod. MANT2010/00634 R.2
SAFETY REGULATIONS - 6
Copyright ©2009 della Alpego spa® - All rights are reserved. Reprinting or unauthorized use of this manual is strictly forbidden without written permission by Alpego spa
•The cardan shaft protection should always be reliable. It should be checked periodically
and fixed using the chains to prevent it from rotating.
•Always disable the Power Takeoff when the cardan shaft is at an angle of more than 15°,
see figure.
•The seeder can transport chemical substances that are mixed with the seeds. Do not allow adults, children or pets to
approach the seeder.
•No-one should approach or try to open the seed tank when the seeder is working or ready to be used.
3.2. HYDRAULIC CONNECTIONS
•When connecting the hydraulic pipes to the tractor hydraulic system, make sure that the hydraulic systems of the machine
tool and the tractor are not under pressure.
•In cases of operational connections of a hydraulic type between the tractor and the machine tool, all plugs and sockets
should be marked with colours in order to exclude errors. Should an exchange occur, the danger of accidents arises.
•The hydraulic system is pressurised. To avoid the danger of accidents, suitable auxiliary instruments should be used when
searching for leaks.
•Never exceed the indicated pressure of the oleodynamic system.
3.3. CARRYING OUT MAINTENANCE SAFELY
•Do not allow unauthorised people to carry out maintenance or tamper with the machine in any manner.
•Maintenance and repairs should be carried out in suitably equipped workshops.
•Always use original accessories and spare parts to respect the manufacturer’s requirements. Not using original parts and
accessories renders the guarantee null and void and can cause function irregularities that prejudice machine safety.
•When carrying out any operation on the machine always disable the tractor power takeoff, insert the handbrake, remove the
ignition key and make sure that nobody boards the tractor.
3.4. CLOTHING
Always wear safety gear and clothes. Make sure no dangling parts are present as they may get caught in moving parts.
For the same reasons please always remove watches, rings, necklaces, wristbands etc. Long hair may be a danger as well,
please keep them tied.
If it is Always wear safety gear as required by your local authorities
(safety shoes, gloves, earplugs, masks, etc.)

OWNER'S MANUAL OF SEEDING
-
DRILL AS1
Old Cod.Q00A00136
New Cod. MANT2010/00634 R.2
SAFETY REGULATIONS - 7
Copyright ©2009 della Alpego spa® - All rights are reserved. Reprinting or unauthorized use of this manual is strictly forbidden without written permission by Alpego spa
3.5. CIRCULATING ON ROADS
If necessary, the machine can be transported on the roads while hitched to the tractor. The operator must check, compare and
adapt the implement so that it fully complies with the Highway Code in force in the country of use. Bear in mind the following
recommendations:
1) Comply with the instructions in this manual when you hitch the machine to the tractor;
2) The machine must remain blocked and raised from the ground during transport.
3) You must take all possible precautions and comply with the pertinent laws in order to safeguard yourselves
and others.
4) Projecting parts and those beyond the width of the tractor must be fitted with the relative protections.
5) The entire implement must be equipped with its own lighting system complete with flashing lights and indicators.
6) Warning boards to indicate the projecting parts of the implement must be affixed where necessary.
7) The braking distance and steering capacity of the tractor are influenced by the weight of the machine hitched
to its power lift. When driving round bends, take great care and allow for the action of the centrifugal force that
shifts the machine’s center of gravity.
8) Comply with the load limits on the axles.
9) Bear in mind the limits imposed by the overhang and projection from the sides of the tractor
3.6. ECOLOGY
Respect current user country laws regarding the use and elimination of products used for lubrication, maintenance and machine
cleaning. Carefully observe the indications given on the packaging of the products themselves.
Respect current norms even when scrapping the machine.
3.7. SAFETY SIGNALS
The various adhesives on the machine are there to highlight the source of danger. Observe them carefully and follow the
indications for using the machine safely. The labels should be kept clean and be legible – if damaged they should be replaced.
figure
code
Indications
D02612 Before using the equipment it is obligatory to read the
user and maintenance manual and the advice on safety.
All instructions must also be observed during use
D02615 Indicates the need to switch off the tractor and remove
the ignition key during maintenance operations
D02627 Indicates the hooking point for loading the machine on
trucks and transporting it.

OWNER'S MANUAL OF SEEDING
-
DRILL AS1
Old Cod.Q00A00136
New Cod. MANT2010/00634 R.2
SAFETY REGULATIONS - 8
Copyright ©2009 della Alpego spa® - All rights are reserved. Reprinting or unauthorized use of this manual is strictly forbidden without written permission by Alpego spa
D02613 Indicates the danger of shearing while the machine is
working
D02624 Indicates danger caused by pressurised oil should the
hydraulic pipes break. Consult the instruction manual
before repairing the hydraulic systems
D02609 Indicates that it is forbidden to go on top of the machine
while working.
D02614 Indicates the danger of crushing from all the rotating
organs
D02608 Indicates the danger of kinking while working on the
cardan shaft. It is advisable not to approach moving
organs.
D02616 Indicates the position of a support leg which should
always be locked when not being used in order to
maintain machine stability.
D02621 During row marking disc closing operations, indicates
the danger of moving bodies and prohibits people from
remaining in the activity range of the machine
Q15A00531 The sticker depicts the compulsory PPE (Personal
Protective Equipment): coverall, mask, earplugs, safety
shoes, gloves

OWNER'S MANUAL OF SEEDING
-
DRILL AS1
Old Cod.Q00A00136
New Cod. MANT2010/00634 R.2
INSTALLATION - 9
Copyright ©2009 della Alpego spa® - All rights are reserved. Reprinting or unauthorized use of this manual is strictly forbidden without written permission by Alpego spa
4. INSTALLATION
4.1. LIFTING THE MACHINE
The lifting and transport operations should be carried out
using means that are suitable for the weight of the machine
and by people who are trained in these types of manoeuvre.
Should it be necessary to lift the machine, hook it as shown in
the figure and transport it. During this operation the machine
should not be lifted by more than 200 mm from the ground. To
avoid damaging the sheet, use homologated tape on the first
section.
4.2. APPLYING THE SEED BOX FAST COUPLING
All maintenance, adjustment and work preparation
operations should be carried out while the tractor is
switched off, with the ignition key out and with the seeder
positioned on the ground in a stable manner on its
support legs.
To apply the seeder to a machine for working the earth, just mount the
fast coupling Cto the piece of equipment in a stable manner and as
indicated in the figure. After this lock it using appropriate pins :
– A(D01609) on the third equipment point
– B(D03051) lower connections.
The fast coupling can only be used with ALPEGO machines.
In order to work, the rotating harrow or the tiller to which the seeder is to
be connected should be equipped with a rear takeoff power of 1000
revs/min. if transmission occurs with overgear, or if the turbine drive is
given by the hydraulic motor the requested tractor capacity should
be of at least 48 L/min and 150 Bar

OWNER'S MANUAL OF SEEDING
-
DRILL AS1
Old Cod.Q00A00136
New Cod. MANT2010/00634 R.2
INSTALLATION - 10
Copyright ©2009 della Alpego spa® - All rights are reserved. Reprinting or unauthorized use of this manual is strictly forbidden without written permission by Alpego spa
4.3. APPLICATION ON HARROWS
Applying things to the tractor is a very dangerous operation. Be very careful to complete the whole operation
and follow the given instructions. The operation should be carried out on a horizontal surface with the seeder
in a stable position and on its support legs.
Proceed as follows:
To use the “ALPEGO” fast coupling/uncoupling system
correctly, make sure that the seeder is in a stable position
on its legs at a minimum height of 1.5m from the ground,
and that the position of the foot regulation holes is the
same as the drawing on the right. This is necessary for
keeping the seeder sloped forward, in order to favour fast
coupling.
Once the fast coupling frame has been assembled on the harrow (par 4.2)
move the tractor closer to the seeder.
Using the lifter, move into a position that is vertical to the front pipe of the
seeder frame.
Raise the harrow and hook it to the upper pipe.
Once the fast coupling Cand the seeder frame Ehave connected, insert
and tighten the screws D M16X1.5X45 in order to lock the seeder to the
harrow frame.
Before tightening the screws completely, make sure that the seeder frame
rests correctly on the pins B.
Once this operation has been completed, the seeder is mounted sturdily
and safely to the harrow, therefore the support legs can be removed.

OWNER'S MANUAL OF SEEDING
-
DRILL AS1
Old Cod.Q00A00136
New Cod. MANT2010/00634 R.2
INSTALLATION - 11
Copyright ©2009 della Alpego spa® - All rights are reserved. Reprinting or unauthorized use of this manual is strictly forbidden without written permission by Alpego spa
4.4. ASSEMBLING THE SEEDER BAR
The operation should be carried out on a horizontal surface,
with the harrow in a stable position and the seed bar positioning
legs inserted.
Per il montaggio della barra di semina seguire le istruzioni riportate nel manual
dedicato
4.5. ASSEMBLING THE SOWING WHEEL
When the seed-drill
AS1
is delivered to the customer, the ground drive-wheel is not
assembled on the machine.
When the package is opened, the wheel is already pre-assembled in some of its
details, as shown in the picture
When opening the package mak
e sure that on the gear box there is
one of the following stickers identifying the width of the seed-drill,
which must be the same as shown on the sticker. THE GROUND
DRIVE-WHEELS ARE NOT ALL THE SAME!
Here below the table listing the diameters of the wheels with their
corresponding ratios of the gear box for each seed-drill width
After the seeding bar has been mounted on the quick-hitch kit, the ground drive-wheel must be mounted:
In order to do this correctly, follow the instructions below
Seed
-
drill width
3m
3.5 m
4 m
mm
670 750 670
1,9:1 1,35:1 1,35:1

OWNER'S MANUAL OF SEEDING
-
DRILL AS1
Old Cod.Q00A00136
New Cod. MANT2010/00634 R.2
INSTALLATION - 12
Copyright ©2009 della Alpego spa® - All rights are reserved. Reprinting or unauthorized use of this manual is strictly forbidden without written permission by Alpego spa
1) Mount the two side plates with holes
A
and
B
which you will find in the package without
blocking them completely on
the right-side seeding bar: this position coincides roughly with the position of the metering unit of the seed-drill
2) Mount the pre-assembled ground drive-wheel between the two plates
with holes. Insert the screw C M16x1.5 x 90 and tighten it so as to
guarantee a good oscillation of the wheel
Insert pin D under the supporting tube into one of the various holes. This is
useful in order to guarantee a minimum height from the ground necessary
when transporting the seed-drill.
Never insert pin D into the hole above the supporting tube to
block the oscillation: while the seed-drill is working this would
seriously damage both the gear box and the ground drive-
wheel
3) Connect the universal joint of the
ground drive-wheel with the
distribution shaft and block it with the
appropriate pin
- Align the hole of the free wheel of
the universal joint F with the rotation
shaft of the gear box and block it with
its appropriate pin.
- Align the hole of the distribution shaft
with the hole of the universal joint
yoke G and block it with the
appropriate pin.
F

OWNER'S MANUAL OF SEEDING
-
DRILL AS1
Old Cod.Q00A00136
New Cod. MANT2010/00634 R.2
INSTALLATION - 13
Copyright ©2009 della Alpego spa® - All rights are reserved. Reprinting or unauthorized use of this manual is strictly forbidden without written permission by Alpego spa
4.5.1. SHORTENING THE UNIVERSAL JOINT WITH A RILSAN COATING
The universal joint can only be shortened by an authorized workshop
•Take the two halves apart and keep them side by side in their minimum length position between the distribution shaft
and the ground drive-wheel (Pict. H).
•Mark the outside protection tube as shown in the drawing
•Take off the protection sleeves and cut the part marked Pict. 1
•Shorten the inner sleeve by the same length
•Cut the inner and outer structural steel tubes at the same length as the protection sleeves, debur and clean Pict. L
•Grease the inner profile
Pay the utmost attention when shortening the inner tube, since it is covered by a thin film of wear-resistant
material. It is advisable to make the cut slowly, so as to avoid overheating the inner tube, which would cause
the ungluing of the wear-resistant film
H
I
L
4) Check the sense of rotation of the wheel: the metering unit must be made to rotate only with the ground drive-
wheel activated in the forward direction. In the opposite direction the metering unit should never be set in
motion because of the action of the free wheel: if that happens, contact your local dealer or the Manufacturer
immediately
4.6. ASSEMBLING THE RADAR
After the seeding bar has been mounted on the quick-hitch kit, the radar must be mounted:
In order to do this correctly, follow the instructions below
1) Mount the two side plates with holes
A
and
B
which you will find in the package without
blocking them completely on
the right-side seeding bar: this position coincides roughly with the position of the metering unit of the seed-drill.

OWNER'S MANUAL OF SEEDING
-
DRILL AS1
Old Cod.Q00A00136
New Cod. MANT2010/00634 R.2
INSTALLATION - 14
Copyright ©2009 della Alpego spa® - All rights are reserved. Reprinting or unauthorized use of this manual is strictly forbidden without written permission by Alpego spa
2) Mount the pre-assembled radar unit parallel to the ground between the two plates
with holes and secure it by inserting the screw C
3) Block the arm with pin Das shown in the picture below
This way the radar works in its ideal position of ±37° in relation to the ground
(the height from the ground varies between 0.4 m. and 1 m.)
4.7. ASSEMBLING THE SEED COVERING HARROW
When the AS1 seeder is delivered, the seed covering comb is supplied separately from the machine.
Together with the documents of the machine you will find also the Instructions Manual concerning the
following harrow: it is mandatory to follow it scrupulously
4.8. ASSEMBLING THE REAR LIGHTS
When the AS1 seeder is delivered, the tables with rear lights and relative supports are supplied separately
from the machine. Inside the pack you will find the assembly instructions, which must be followed
scrupulously.
4.9. ASSEMBLING THE SEEDER PIPES
When the AS1 seeder is delivered, the seeder pipes are supplied disconnected from the seed bar. It may be
obligatory to connect all the pipes, according to the bar that is to be connected (cutter or disc). Remember to
follow the instructions.
To connect the pipes to the bar:
1) Make sure that the hopper is connected
to the machine frame correctly
(see par 4.3)
2) make sure that the seed bar is
connected to the harrow roller correctly
3) Position the lower pin Aof the roller
blade regulation for Alpego harrows
RK RH (see photo)
Never change the position of pin A.
Doing so could compromise pipe
RK
R
H

OWNER'S MANUAL OF SEEDING
-
DRILL AS1
Old Cod.Q00A00136
New Cod. MANT2010/00634 R.2
INSTALLATION - 15
Copyright ©2009 della Alpego spa® - All rights are reserved. Reprinting or unauthorized use of this manual is strictly forbidden without written permission by Alpego spa
connection to the cutter bar and the
distributor
4) Regulate the height (lengthening
tension rod Araises the bar,
shortening the tension rod
lowers it) and slope (tension
rod B) of the seed bar that is to
be used.
Make sure that the arrow on the
distributor is in the direction of
the hopper
5) Position the seeder pipes following the drawings.
Make sure that the arrow on the distributor is in the direction of the hopper

OWNER'S MANUAL OF SEEDING
-
DRILL AS1
Old Cod.Q00A00136
New Cod. MANT2010/00634 R.2
INSTALLATION - 16
Copyright ©2009 della Alpego spa® - All rights are reserved. Reprinting or unauthorized use of this manual is strictly forbidden without written permission by Alpego spa
This manual suits for next models
6
Table of contents
Other Alpego Seeder manuals
Popular Seeder manuals by other brands

Spudnik
Spudnik 8400 Owner's/operator's manual

Meridian
Meridian Bulk Seed Tender Seed Express 225RST Operator's manual

Billy Goat
Billy Goat OS901SPS owner's manual

GREAT PLAINS
GREAT PLAINS YP-30 Series Operator's manual

Gaspardo
Gaspardo CHRONO 300 Use and maintenance

Gaspardo
Gaspardo MTE-R Use and maintenance