Altina A700 User manual

User’s Manual in English
English Version
R02
April. 2008
Trademarks
All brand and product names are trademarks or registered trademarks of their
respective companies.
Note
The information in this manual is subject to change without notice.

2
Before You Start
※Precautions and Notices
※For your own safety, do not operate the controls of the product while
driving.
※Use this product prudently. The product is intended to be used only as a
navigation aid. It is not for precise measurement of direction, distance,
location or topography.
※The calculated route is for reference only. The traffic signs and local
regulations along the roads have to be followed.
※Your navigator is not appropriated for use in extreme hot/cold
temperatures and any such exposure may cause permanent
malfunction.
※GPS is operated by the United States government, which is solely
responsible for the performance of GPS. Any change to the GPS
system can affect the accuracy of all GPS equipments.
※GPS satellite signal is weak when your navigator is between solid
materials (except glass), such as when you driving through a tunnel or
buildings, GPS positioning may not available.
※A minimum of 4 GPS satellite signals is needed to determine current
GPS position. Signal reception can be affected by situations such as
bad weather or dense overhead obstacles (e.g. trees and tall buildings).
※The satellite signals might be interfered by wireless devices and it is
recommended that you use a car antenna to strengthen the signals.
※A car holder is needed when using the device in a car.It is
recommended not to interfere with your view of the road when placing
the holder.
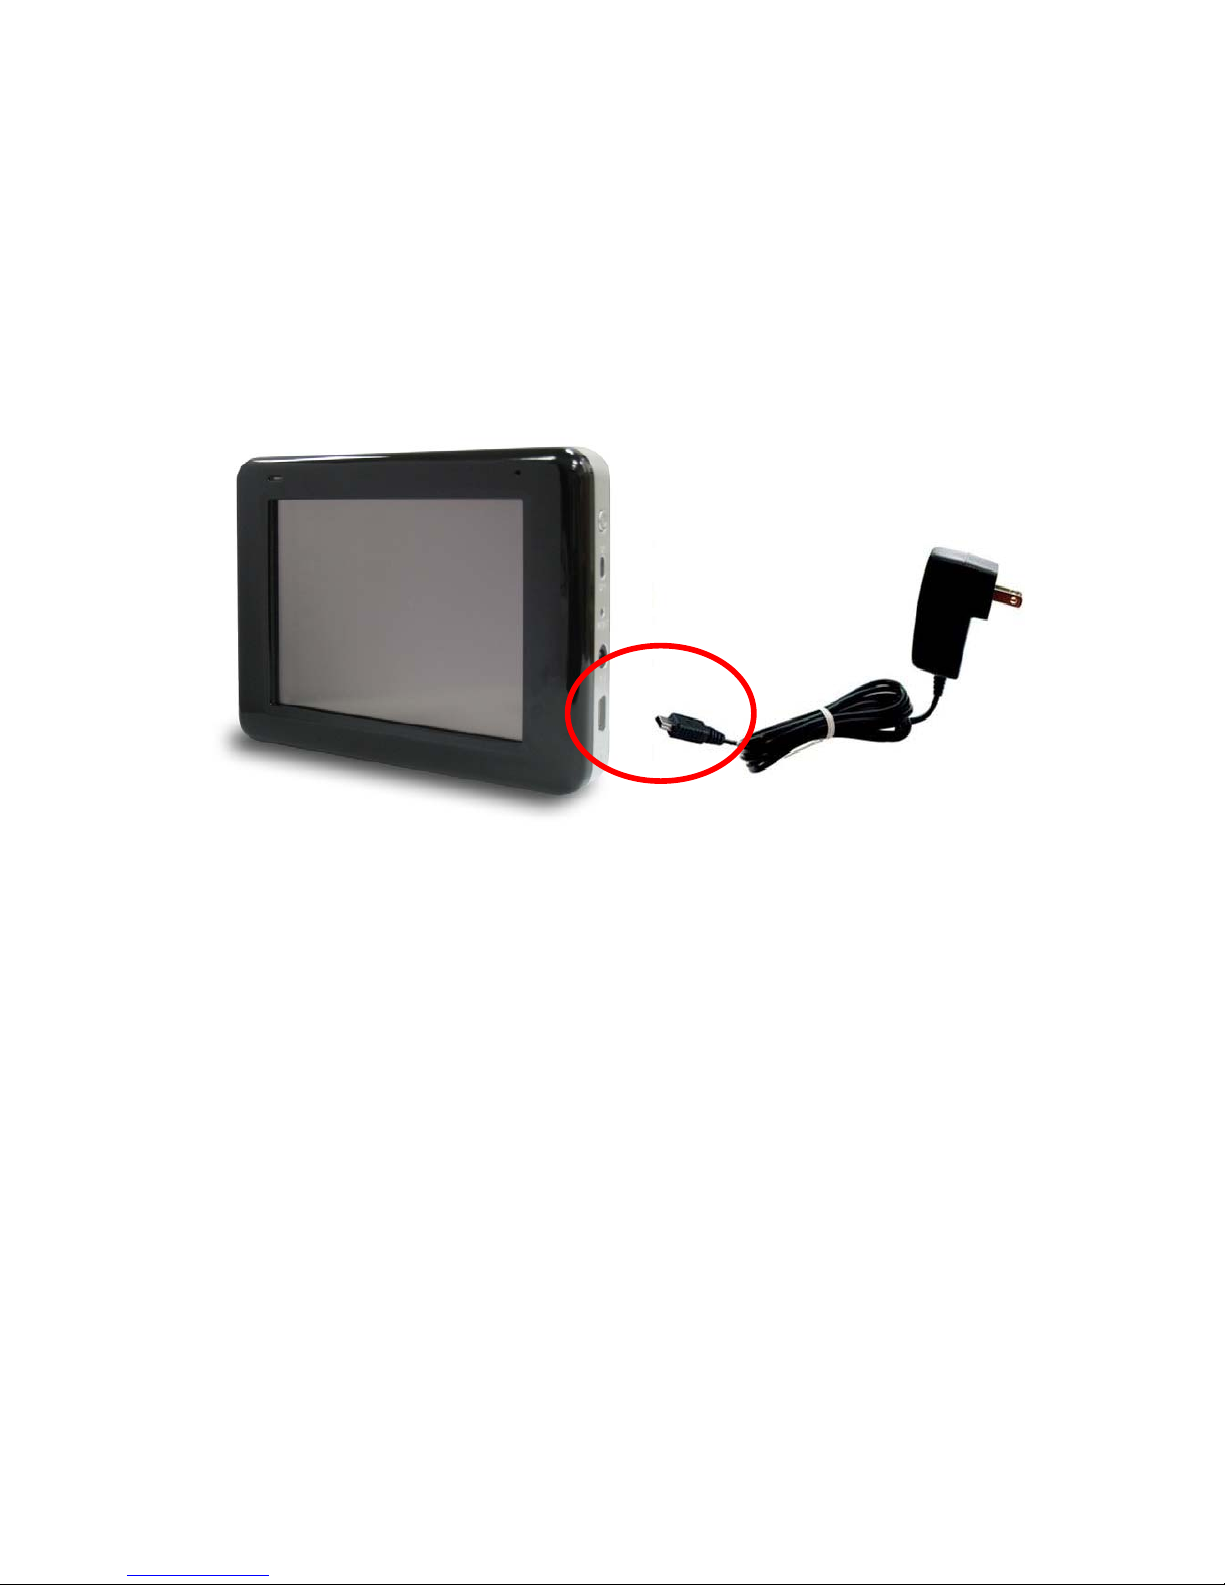
※When battery runs out, the device will automatically turn off the power.
So, when plug-in the car charger or power adaptor, please reset
ON/OFF switch to re-initiate the device.
※Overview
GPS Navigation Features
※ Electronic maps with roads, freeways, highways, railways, rivers, lakes,
points of interest, etc.
※ GPS positioning
※ Optimal route calculation and trip plan
※ Friendly and efficient navigation with turn-by-turn, voice, and visual
guidance
※ Various ways for searching a location on the map
- Using a known address
- Using a POI (point of interest)
- Using Favorites (personal stored locations)

3
- Using History (previous destinations)
※ Recording and playback of journeys
※ Viewing modes for different needs and situations:
- 2D or 3D
- Daytime or nighttime view
- Turn-by-turn view of the route
- Driving direction of the route
Other Features
※ Audio Player: Playing music
※ Photo Viewer
※ Movie Player: Playing movies in Wmv. Asf. format
About this Manual
There are three sections in this manual:
※ Part I “Basic Operations” provides you how to get your device running
and customize system settings.
※ Part II “Media” introduces Music Player, Photo Viewer, Video
Player.,etc.
※ How to use the navigation? Please see Navigation Manual attached to
the package and CD.

4
Part I. Basic Operations
Part I guides you through the process of getting your device running, familiarizes
you with the external components, and presents you how to customize system
settings

5
1. Getting Started
This chapter tells you how to perform the initial startup step by step and
introduces you to the external components of your device.
1.1 Setting the ON/OFF Switch
The ON/OFF switch should be set to the ON position for normal operation.
CAUTION: Always leave the ON/OFF switch in the ON position for normal
operation.
On / Off Switch
Reset

6
1.2 Connecting to AC Power and Charging the
Battery
We recommend that you fully charge your device in the first time. It takes a
couple of hours to charge the battery completely.
1. Connect the adapter cable to the right side of your device.
2. Plug the AC adapter (optional) into a wall outlet.
3. Switch on the device while battery is in charging.
※The charge indicator glows red static when charging is in progress. Do not
disconnect your device from AC power until the battery is fully charged.

7
1.3 Using Your Device in a Vehicle
A car holder and a car charger are supplied with your device.
Using the Car Holder
CAUTION:
1. Select an appropriate location for the car holder. Never place the holder where
the driver’s view is blocked.
2. Some vehicles have heat reflective shielding in the windscreen. This may
prevent your device from locating your current position. An external antenna
(optional) may be needed to route the antenna to the top of the car through a
window. When closing the car window, be careful not to pinch the antenna
cable. (Cars with an anti-jam window design may automatically leave
adequate space as needed.)
Ps. Subject to varied configurations, the car holders might be different.
The car holder consists of a bracket and a dashboard stand. Use the car holder
to mount your device in a vehicle.

8
Connecting the Car Charger
The car charger supplies power to your device when you are using the device in
a car.
※CAUTION : To protect your device against sudden surges in current, connect
the car charger only after the car engine has been started.
1.Connect one end of the car charger to the power connector of your device.
2.Connect the other end to the cigarette lighter in the car to power and charge
your device.

9
1.4 Understanding Hardware Features
NOTE: Depending upon the specific model purchased, the color of your device
may not exactly match the device shown in this manual.
Front Components
Ref Component Description
nCharge Indicator Battery Full – Green (Static)
Battery in charging -- Red (Static)
nCharge indicator

10
Back Components
Ref Component Description
nSpeaker Sends out music, sounds and voice.
YExternal Antenna
Connector This connector (under rubber dust cover) allows use of an
optional external antenna with magnetic mount, which may be
positioned on top of the car for better signal reception in areas
with poor reception.
nSpeaker
oExternal Antenna Connector

11
Left-Side Components
Ref Component Description
nVolume Increase Press the button to increase the volume
YVolume Decrease Press the button to decrease the volume
ZSD/MMC Slot SD (Secure Digitalcard is acceptable for accessing data such
as maps and music.
NOTE: Before using GPS navigation software and maps, you
need to insert the storage card included with your device. Do
not remove the card during GPS operation.
nVolume increase
oVolume decrease
pSD / MMC slot

12
Right-Side Components
Ref Component Description
nPower ON/OFF Turn on and turn off the power.
oON/OFF Switch The main power / battery cut off switch. Be sure to switch it on
while battery is in charging.
Ps. The battery can not be charged if switch it off. In stead,
the device will still function when plug-in with a power adaptor
or a car charger.
pReset button Restarts your device (soft reset).
qEarphone Connector Connects to stereo headphones.
rUSB port Use the USB port to connect to pc, or connect to a USB plug
of power adaptor for charging.
nPower ON/OFF
oON/OFF Switch
pReset button
qEarphone jack
rUSB port

13
2. Basic Skills
This chapter guides you through the process of using your device and
familiarizes you with the basic operations such as using the stylus pen and
navigation pad.
2.1 Turning On and Off Your Device
Use the power button on the right side of your device to turn on and off
your device.
When you turn on the device for the first time, the Main screen appears as
shown below. There are three categolaries on the Main screen: SETTINGS,
NAVIGATION, and MULTIMEDIA. Each one represents a function or feature. To
use a function, just tap the corresponding button. (For more information, refer to
the following chapters.)
When you turn the power off, it actually enters sleep mode and will resume once
turning it on again.

14
2.2 Operating Your Device
To operate your device, use the hardware buttons and/or the stylus pen.
Using Hardware Buttons
Button Name Description
Power On/Off Turns on and off the LCD panel, and enter to sleep mode.
Volume Volume Increase
Volume Volume Decrease

15
3. System Settings
Your device is supplied with default settings. You may also customize the
settings to suit your personal needs. Once you change settings, your new
settings will remain until either you change them again, or until battery cut off
switch is turned off and then back on again, which resets the unit to factory
defaults.
3.1 Using System Settings
Tap the SETTING button on the Main screen.

16
3.2 Backlight
1. Tap SETTING on the Main screen to enter the backlight setting as shown
below.
Setting the backlight level
Tap the button to increase the backlight level, and tap the to
decrease the backlight level.
3.3 Calibration
You can calibrate the touch screen if it is not responding accurately. If screen
loses alignment, please calibrate the screen to get back to normal display.
1. Tap SETTING on the Main screen.
2. Tap the Calibration button on the screen as shown below.

17
3. Tap and hold the center of the target.
4. When the target moves to another position, tap and hold at the center of the
new target. Repeat each time to complete the calibration process.
5. When completed, tap anywhere on the screen to finish the calibration.

18
Part II. Media
Part II Introduces Music player, Photo Viewer, Video Player., etc

19
Using Media
Tap the Meida button on the Main screen as shown below.
The Media screen contains three buttons as shown below. The following
sections describe the funciton of each icon.

20
4.Using Music Player
This chapter introduces you how to play music files with your device
The Music Player program turns your device into a music player. It features:
※ Playback of all music files
※ Basic playback controls such as play, pause, stop, next and previous
※ Playback includes single selection playback, repeat, single repeat, normal
sequence and random sequence.
※ Play list support
4.1 Starting and Exiting Music Player
Tap Music Player on the Media screen to switch to the program.
The control panel will appear on the screen. You can now easily control the
music player by tapping the control buttons.
Table of contents
Other Altina GPS manuals
Popular GPS manuals by other brands

Prazza
Prazza Golf ball tracker instruction manual

Easy PocketNAV.com
Easy PocketNAV.com OnCourse Navigator 5 user manual

NorthStar
NorthStar 8700 Technical reference manual

Eagle
Eagle IntelliMap 502C iGPS Installation and operation instructions

Garmin
Garmin Zumo XT owner's manual

I.Trek
I.Trek M7 user manual