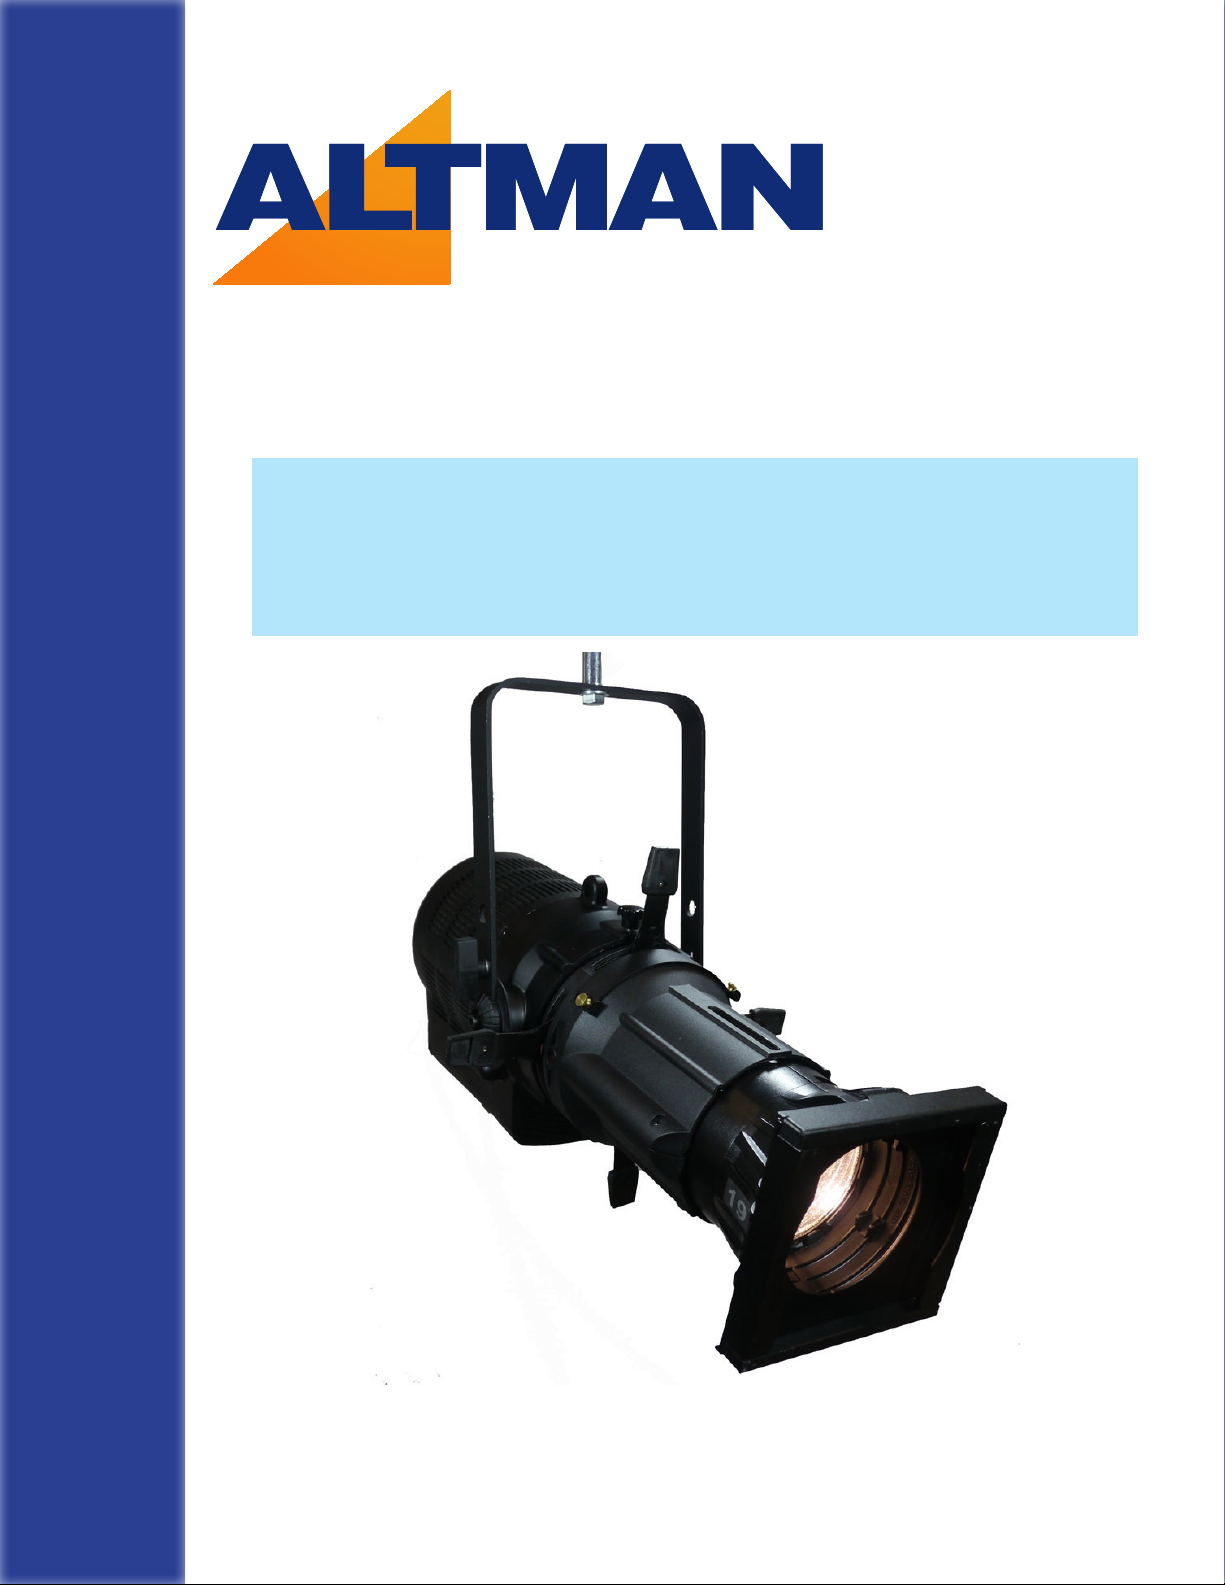
PHX LED Ellipsoidal Installation & User’s Manual
PAGE 5
INCLUDED ACCESSORIES - ZOOM FIXTURES
ADDITIONAL ACCESSORIES
6-CF* Color Frame, 7½” x 7½”
510 Malleable Iron Pipe Clamp
SC-36-BK 36” Black Safety Cable with Spring Clamp
PHXZ-SFLGSB PHX Soft Focus lens with B Size Pattern Holder
PCL-PBG-12-* 5’ 20A powerCON with Parallel Blade U Ground (Edison)
Available Pattern Holders For Fixed Focus
PHX-PHGSA A Size Steel Pattern Holder (100mm OD/75mm IA)
PHX-PHGSB B Size Steel Pattern Holder (86mm OD/64.5mm IA)
PHX-PHGSB-GLS B Size Glass Pattern Holder (82mm OD/64.5mm IA)
PHX-PHGS86-GLS B Size Glass Pattern Holder (86mm OD/ 64.5mm IA)
PHX-PHISB B Size Steel Pattern Holder (86mm OD/64.5mm IA)
PHX-PHISA-GLS A Size Glass Pattern Holder (100mm OD/75mm IA) for Iris Slot
PHX-PHISB-GLS B Size Glass Pattern Holder (82mm OD/ 64.5mm IA) for Iris Slot
PHX-PHIS86-GLS B Size Glass Pattern Holder (86mm OD/ 64.5mm IA) for Iris Slot
INCLUDED ACCESSORIES - FIXED FOCUS FIXTURES
4.5-CF* Color Frame, 6¼” x 6¼” (Included with 19°, 26°, 36°, 50°)
10-CFB Black Color Frame, 12” x 12” (Included with 10°)
12-CFB Black Color Frame, 14” x 14” (Included with 5°)
510 Malleable Iron Pipe Clamp
SC-36-BK 36” Black Safety Cable with Spring Clamp
PHX-SFLA PHX Soft Focus lens with A Size Pattern Holder
PCL-PBG-12-* 5’ 20A powerCON with Parallel Blade U Ground (Edison)
Other Available Accessories
PCL-2P&G-12-5-* 5’ 20A powerCON with 2P&G Stage Pin
Connector, Male
PCL-TLG-12-5-* 5’ 20A powerCON with L5-20P Twist
Locking Ground Connector, Male
PCL-BARE-12-5-* 5’ 20A powerCON with Bare End Lead
510-HD Heavy Duty Malleable Iron Pipe Clamp
6-DN 7½” x 7½” w/ 3” Hole Donut, Black (For
19°, 26°, 36°, 50° and Zoom)
Available Pattern Holders For Zoomable Focus
PHXZ-PHGSB B Size Steel Pattern Holder (86mm OD/ 64.5mm IA)
PHXZ-PHGSB-3T B Size Steel Pattern Holder (86mm OD/ 64.5mm IA) 3 Tab Style
PHX-PHISB B Size Steel Pattern Holder (86mm OD/ 64.5mm IA) for Iris Slot
PHX-PHISA-GLS A Size Glass Pattern Holder (100mm OD/75mm IA) for Iris Slot
PHX-PHISB-GLS B Size Glass Pattern Holder (82mm OD/ 64.5mm IA) for Iris Slot
PHX-PHIS86-GLS B Size Glass Pattern Holder (86mm OD/ 64.5mm IA) for Iris Slot