Alton ECOMAX ELG03 User manual

INSTRUCTION MANUAL
18V CORDLESS STRING TRIMMER
Model:ELG03

CONTENTS
PURPOSE
01
DESCRIPTION OF SYMBOLS
01
SYMBOLS
03
ACCESSORY INFORMATION
03
TECHNICAL DATA
04
COMPONENTS
05
OPERATION
06
CHARGER & BATTERY
14

01
02
Wear safety footwear.
Positive terminal.
Beware of blade thrust.
Negative terminal.
Thrown objects can ricochet and result in personal injury or
property damage. Wear protective clothing and boots.
Thrown objects can ricochet and result in personal injury or
property damage. Wear protective clothing and boots.
PURPOSE
This machine is used to cut grass, light weeds, and other similar vegetation at or
around ground level. The cutting plane must be approximately parallel to the
ground surface. You cannot use the machine to cut or chop hedges, shrubs,
bushes,flowers and compost. flowers and compostflowers and compost
DESCRIPTION OF SYMBOLS
The rating plate on your tool may show symbols. These represent important
information about the product or instructions on its use.
Read and understand all instructions before operating the
product, and follow all warnings and safety instructions.
Precautions that involve your safety.
Always wear eye protection with side shields marked to comply
with ANSI Z87.1 when operating this equipment
Thrown objects can ricochet and result in personal injury or
property damage. Wear protective clothing and boots.
Wear non-slip, heavy duty gloves.
Do not use saw blades.
Do not expose the product to rain or moist conditions.
Keep all bystanders at least 50 feet away.
Batteries may enter water cycle if disposed improperly, which can
be hazardous for ecosystem. Do not dispose of waste batteries as
unsorted municipal waste.
of waste batteries as unsorted municipal waste
Do not burn.
Li-ion battery. This product has been marked with a symbol
relating to ‘separate collection’ for all battery packs and battery
pack. It will then be recycled or dismantled in order to reduce the
impact on the environment. Battery packs can be hazardous for
the environment and for human health since they contain
hazardous substances.

03
04
SYMBOLS
The label on your tool may include the following symbols. The symbols and
their definitions are as follows.
V
Voltage
A
Ampere( Current)
W
Watt(Power)
main
Time
/min
Revolutions/minimum
Direct current
HZ
~
Hertz
Alternating current
Kg
Kilograms
n。
No load speed
mm
Millimetres
dB
Decibel
°C
Degrees centigrade
Li-ion
Lithium ions
Wh
Watt-hours
ACCESSORY INFORMATION
Battery pack
1pcs 2.0Ah Li-ion battery
Charger
1pcs quick charger
Accessories
2pcsrepplacement spool
We recommend that you purchase your accessories from the same store that
sold you the tool. Refer to the accessory packaging for further details. Store
personnel can assist you and offer advice.
TECHNICAL DATA
WARNING! Read all safety warnings and all instructions.
Failure to follow the warnings and instructions may result in electric shock, fire
and/or serious injury. Save all warnings and instructions for future reference.
The term" power tool "in the warnings refers to your mainsoperated(corded)
power tool or battery-operated (cordless) power tool.
Voltage
18V DC
No load speed
7500±10%min-1
Cutting line diameter
0.06inch( Ф1.6mm )
Cutting path diameter
12inch( Ф300mm )
Weight (without battery pack)
3.68lbs( 1.67Kg )

05
06
COMPONENTS
Switch button
Safety lock button Guard
Rear handle shell
The auxiliary handle rotates the button
Auxiliary handle
Battery pacl
Aluminum tube(top)
Aluminum tube lock turn knob
Aluminum tube( bottom)
Work head rotation button
Work head shell
A wire frame for protecting flowers
Guard cover
Cutting head assembly
OPERATION
WARNING! Before any replacements, switch the tool off, wait for it to
come to a standstill, and take the battery out of the tool.
WARNING! It is not necessary to assemble the machine.
1. ATTACH THE GUARD
WARNING! Do not touch the cut-off blade.
1). As shown in Figure 1,
first
install the steel a wire frame for protecting
flowers and guard cover on the working head shell.
2). Tighten the screws as shown in Figure 2.
( Figure 1 ) ( Figure 2 )
2. ATTACH THE AUXILIARY HANDLE
1). Install the auxiliary handle onto the machine as shown in Figure 3.
Insert the auxiliary
handle into the rotary
seat as shown below
Press the button on the pivot
seat of the auxiliary handle
until it is fully in place
( Figure 3 )
8
9
10
11
12
13
14
1
2
3
4
5
6
7
8
9
11
12
14
10
13
1
2
3
4
5
6
7

07
08
After Loading Completed
( Figure 4 )
3. INSTALL THE BATTERY PACK
1). Align the lift ribs on the battery pack with the grooves in the battery
compartment.
2). Push the battery pack into the battery compartment until the battery pack
locks into place.
3). When you hear a click, the battery pack is installed.
WARNING! If the battery pack or charger is damaged, replace the
battery pack or the charger.
WARNING! Stop the machine and wait until the motor stops before you
install or remove the battery pack
WARNING! Read and understand the instructions in the battery and
charger manual.
4. REMOVE THE BATTERY PACK
1). Push and hold the battery release button.
2). Remove the battery pack from the machine.
5. CONTROLS
1). As shown in Figure the left hand operates the auxiliary handle"4" and the
right hand controls the rear handle "3".
WARNING! Do not keep your finger on the button when you move the
machine to prevent accidental start.
4
3
( Figure 5 )
6. START THE MACHINE
1). Pull the safety button"1"in Figure 6.
2). Pull the switch button"2"in Figure 6.
WARNING! Hold the machine with hands during operation.
1
2
( Figure 6 )

09
10
7. STOP THE MACHINE
Release the switch button 2 in Figure 6.
8. OPERATION TIPS
WARNING! Keep clearance between the body and the machine.
Do these tips when you use the machine:
Keep the machine connected to the correctly worn harness
Keep a firm hold with the two hands on the machine while you
operate the machine
Cut tall grass from the top down
10. CUTTING TIPS
Tilt the machine toward the area to be cut. Use the tip of the cutting line to
cut grass, as shown in figure 9
Move the machine from right to left to prevent thrown debris toward the
operator
Do not cut in the dangerous area
Do not force the trimmer head into uncut grass
Wire and picket fences cause cutting line wear and breakage. Stone and
brick walls, curbs, and wood can wear the cutting line quickly
The cutting Angle of the cutting head can be adjusted according to the
actual cutting requirements. The cutting Angle can be adjusted from 0-
22.5-45-67.5-90, as shown in figure 9
If grass winds around the trimmer head:
Remove the battery pack
Remove the grass
9. LINE CUT-OFF BLADE
This trimmer is equipped with a line cut-off blade (Figure 7)on the guard. The
90°
67.5°
45°
22.5°
0°
Direction
Of Rotation
line cut off blade continuously trims the line to ensure a consistent and
efficient cut diameter. Advance line whenever you hear the engine running
faster than normal, or when trimming efficiency diminishes. This will maintain
Press this
button first
Best Cutting Area
Danger
Area
best performance and keep line long enough to advance properly.
( Figure 7 )
( Figure 8 ) ( Figure 9 )
11. TRIMMER EDGES
WARNING! Risk of injury! When using e cutting head upright, particular
care should be taken. Always maintain sufficient distance to the cutting
head.
NOTE: Risk of damage to the unit! Avoid contact with solid surfaces to
prevent rapid wear of the thread.
NOTE: The heel assembly only serves for easier guidance when trimming
edges. It should not be used for brush cutting and no influence on the
cutting height.
Remove the battery pack from the lawn trimmer.
Press the work head rotation button in the figure 10. Rotate to 0°.
Press the work head rotation button in the Figure 10, Rotate the Aluminum
tube 90°.
Once the adjustment is complete, as shown in Figure 11 you can edge
trimming.

11
12
Handle Rotation Button
Work Head
Rotation Button
13. AUXILIARY HANDLE ANGLE ADJUSTMENT
Press the auxiliary handle rotation button in Figure 13 below. Turn the auxiliary
handle to the Angle you want.
( Figure 10 ) ( Figure 11 )
12. REPLACING THE SPOOL
WARNING! Risk of injury! When using the cutting head upright,
particular care should be taken. Always maintain sufficient distance to
the cutting head.
a. Press the locking clips(A)in.
b. Remove the cover(B).
c. Pull out the cord spool.
d. Feed the thread in the opening(C)of the spool housing.
e. Press the thread spool into the spool housing. Pull the thread out through
the opening(C).
f. Mount the cover (B)and allow to engage.
14. TELESCOPIC ALUMINIUMTUBE
a). Turn the aluminum tube lock knob shown in Figure 14 counterclockwise,
then lengthen or shorten the aluminum tube to the desired length.
b). After the length is adjusted, turn the aluminum tube lock knob clockwise
until e aluminum tube is completely locked.
Aluminum tube lock knob
( Figure 12 )
( Figure 14 )
B
C
A
Auxiliary handle rotation button
( Figure 13 )

13
14
15. MAINTENANCE
CAUTION! Do not let brake fluids, gasoline, petroleum-based materials
touch the plastic parts. Chemicals can cause damage to the plastic, and
make the plastic unserviceable.
CAUTION! Do not use strong solvents or detergents on the plastic
housing or components.
WARNING! Remove the battery pack from the machine before
maintenance.
16. CLEAN THE MACHINE
WARNING! Keep the machine and the motor free of leaves, branches or
excessive oil to prevent fire risks.
Clean the machine after use with a moist cloth dipped in neutral detergent.
Do not use aggressive detergents or solvents to clean the plastic parts or
handles.
Keep the trimmer head free of grass, leaves, or excessive grease.
Keep the air vents clean and free of debris to avoid overheating and
damage to the motor or the battery.
Do not spray water onto the motor and electrical components.
17. OVERLOAD PROTECTION
When overloaded, the motor comes to a stop Relieve the load on the machine
immediately and allow cooling for approx. 30 seconds.
18. TEMPERATURE DEPENDENT OVERLOAD PROTECTION
When using as intended the power tool cannot be subject to overload. When
the load is too high or the allowable battery temperature of 75 C is exceeded,
the electronic control switches off the power tool until the temperature is in
the optimum temperature range again.
19. PROTECTION CONTRE LES DECHARGES PROFONDES
The Li-ion battery is protected against deep discharging by the"Discharging
Protection System When the battery is empty, the machine is switched off by
means of a protective circuit:
The inserted tool no longer start.
CHARGER & BATTERY
CHARGING THE BATTERY
1. REMOVING THE BATTERY
If the Battery does not slide into the charger easily, do not force it. Instead,
slide the Battery out of the charger again, check the top of Battery and the tool
battery slot are clean and undamaged and that the contacts are not bent.
Setting up the battery charger.
1 ). If fitted, remove any Battery(B)from the Battery Charger(A).
2).Insert the Battery Charger mains plug into a suitable mains socket.
WARNING! Use this charger only to charge the supplied battery or
additional purchased batteries that are specifically distance to the
cutting head designed for this tool.
WARNING! The charger is designed for indoor use only, and must not
be used in damp or wet conditions.
2. PUT IN THE BATTERY TO CHARGER
B
A
battery
Insert
WARNING! Failure to follow the correct procedure when charging
batteries will result in permanent damage.
Note: Normal charging time is approximately 70 minutes for a recently
discharged 2.0Ah capacity battery. However, if the Battery has been left in a
discharged state for some time, it may take additional time to charge.
LED indicate
Nummer
Charger status
LED status
Green light
1
Charging
ON
OFF
2
Finished charging
OFF
ON
3
Battery failure
OFF
OFF
Remark battery operating temperature 0±3°C<T<50±3°C

15
16
NOTE: ABOUT BATTERY CHARGING:
01) The battery should be charged at ambient temperatures between 10 and
40°C. (ideally around 20°C).
02) After discharging the battery, please wait 10 minutes for the battery to
cool down before charging.
03) After charging, allow 15 minutes for the battery to cool before use.
04) Ensure that the charger is disconnected from the mains supply after use,
and is stored correctly.
05) Do not leave batteries on charge for extended periods and never store
batteries on charging.
06) The Battery Charger monitors battery temperature and voltage while
charging. Remove the battery once charging is complete to maximise
charge cycles of the battery and not waste power.
07) Batteries can become faulty over time, individual cells in the battery can
fail and the battery could short. The charger will not charge faulty
batteries. Use another battery if possible, to check correct functionality
of the charger and purchase a replacement battery if a faulty battery is
indicated.
08) Do not store lithium-ion battery packs in a discharged state over a long
period as this can damage the lithium-ion cells.
09) For long-term storage, store batteries in a high charge state disconnected.
10) The capacity of batteries will reduce over time. After 100 charge cycles,
the battery
�
s operation time and the maximum torque performance of the
driver will slightly reduce. This decline will continue until the battery has
minimal capacity after 250 charge cycles. This is normal and not a fault
with the battery pack.
11) When battery pack is not in use, keep it away from other metal objects,
like paper clips, coins, keys, nails, screws or other small metal objects,
that can make a connection from one terminal to another. Shorting the
battery terminals together may cause burns or a fire.
12) Under abusive conditions liquid may be ejected from the battery; avoid
contact. If contact accidentally occurs, flush with water. If liquid contacts
eyes, additionally seek medical help. Liquid ejected from the battery may
cause irritation or burns.
13) If the tool will not be used for long periods of time, charge the battery
every 3-6 months.
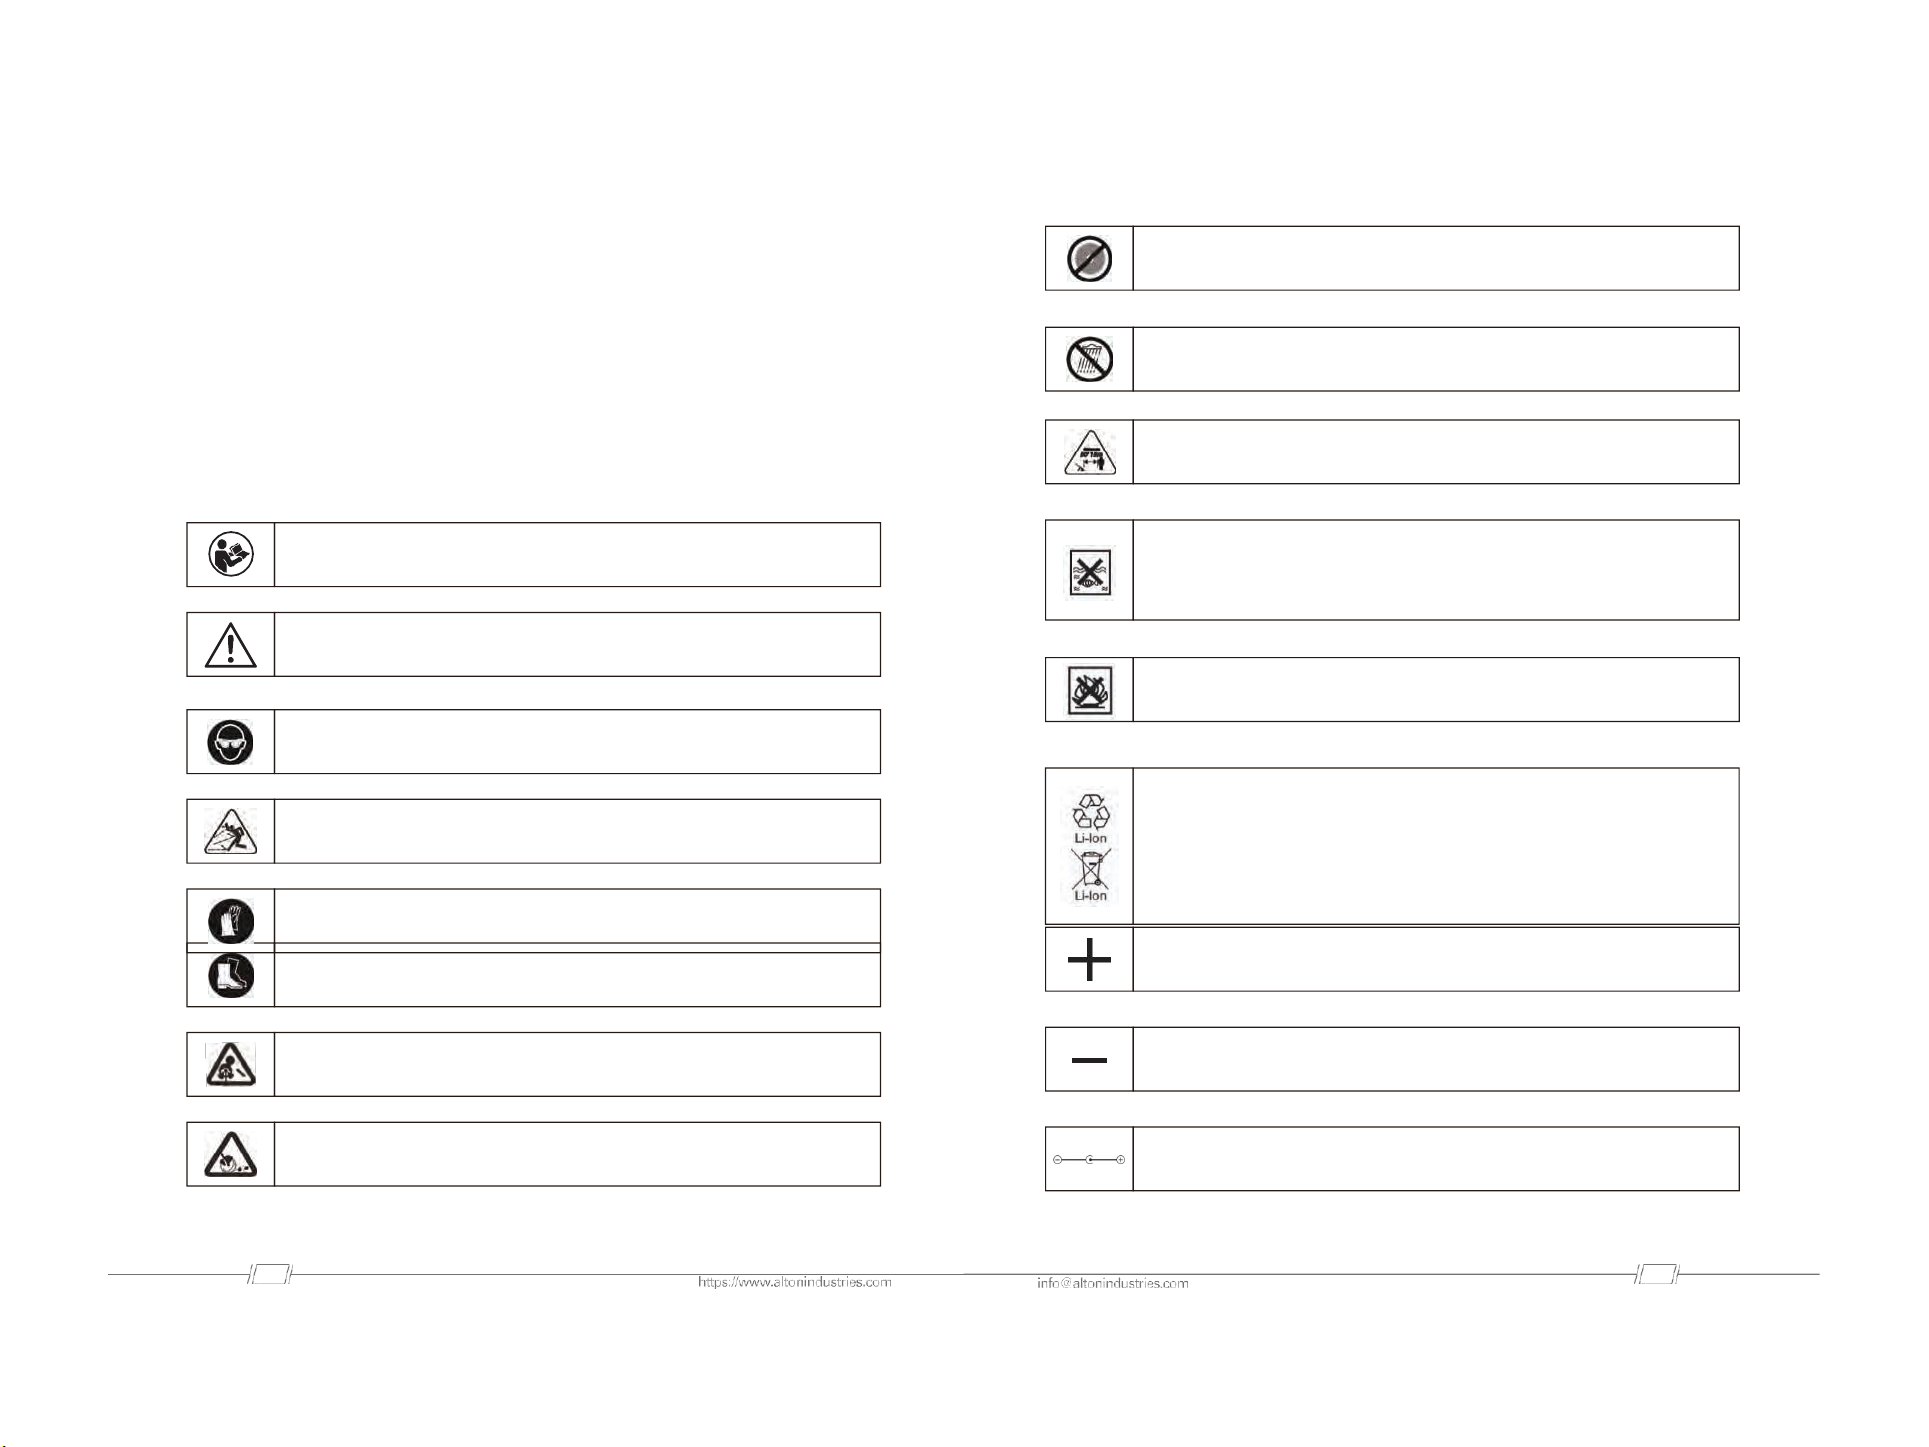
ADDITIONAL SAFETY NSTRUCTIONS FOR YOUR BATTERY
CHARGER
01. Before charging, read the instructions.
02. For charging Li-ion battery packs only.
03. If the supply cord is damaged, it must be replaced by the manufacturer, its
service agent or similarly qualified persons in order to avoid a hazard.
04. After charging, disconnect the battery charger from the supply mains. Then
remove the chassis connection and then the battery connection.
05. Do not charge a leaking battery.
06. Do not use chargers for work other than those for which they are designed.
07. Before charging ensure your charger matches the local AC supply.
08. The charging device must be protected from moisture.
09. Do not use the charging device in the open.
10. Do not short out the contacts of battery or charger.
11. Respect the polarity"+/-"when charging.
12. Do not open the unit and keep out of the reach of children.
13. Do not charge the batteries of other manufactures or ill-suited models.
14. Ensure that the connection between the battery charger and battery is
correctly positioned and is not obstructed by foreign bodies.
15. Keep battery chargers slots free of foreign objects and protect against dirt
and humidity. Store in a dry and frost-free place.
16. When charging batteries, ensure that the battery charger is in a well-
ventilated area and away from inflammable materials. Batteries can get
hot during charging. Do not overcharge any batteries. Ensure that
batteries and chargers are not left unsupervised during charging.
17. Do not recharge non-rechargeable batteries, as they can overheat and
break.
18. Charge only battery pack of the same model provided by ECOMAX and of
models recommended by ECOMAX.
TRANSPORTATION AND STORAGE
WARNING! Remove the battery pack from the machine before tranpor-
tation and storage.
STORE THE MACHINE
Clean the machine before storage.
Make sure that the motor is not hot when you store the machine.
Make sure that the machine does not have loose or damaged parts. If it is
necessary, do these steps.

17
18
INSTRUCTIONS
Replace the damaged parts.
Tighten the bolts.
Speak to a person of an approved service center.
Store the machine in a dry area.
Make sure that children cannot come near the machine.
THE RECOMMENDED AMBIENT TEMPERATURE RANGE:
Item
Temperature
String trimmer storage temperature range
-4°F(-20°C) - 158°F(70°C)
String trimmer operation temperature range
-4°F(-20°C) - 104°F(40°C)
Battery charging temperature range
39°F(4°C) - 104°F(40°C)
Charger operation temperature range
39°F(4°C) - 113°F(45°C)
Battery storage temperature range
1 year:32°F(0°C) - 73°F(23°C)
3 months:32°F(0°C)113°F(45°C)
1 months:32°F(0°C)140°F(60°C)
Battery discharging temperature range
6.8°F(-14°C) - 113°F(45°C)
IMPORTANT SAFETY INSTRUCTIONS
READ ALL INSTRUCTIONS BEFORE USING
(THIS POWER TOOL)
WARNING! Read and understand all instructions before using this
product. Failure to follow all instructions listed below may result in
electric shock, fire, and/or serious personal injury. When using an
electrical appliance, basic precaution should always be followed,
including the following:
Do not use on wet surfaces.
Do not charge the unit outdoors.
For household use.
Do not allow to be used as a toy. Close attention is necessary when used by
or near children.
Use only as described in this manual. Use only manufacturer
�
s recommended
attachments.
If appliance is not working as it should, has been dropped, damaged, left
outdoors, or dropped into water, return it to a service center.
Do not handle appliance with wet hands.
Do not put any object into openings. Do not use with any opening blocked;
keep free of dust, lint, hair, and anything that may reduce air flow.
Keep hair, loose clothing, fingers and all body parts away from openings and
moving parts.
Use extra care when cleaning on stairs.
Do not operate power tools in an explosive atmosphere, such as in the
presence of flammable liquids, gases, or dust Power tools create sparks that
may ignite the dust or fumes.
Store indoors. Do not expose to rain or water. Avoid direct sunshine.
Never allow children to operate the equipment. Never allow adults to operate
the equipment without proper instruction.
Wear heavy long pants, boots, and gloves. Avoid loose garments orjewellery
that could get caught in moving parts of the machine or its motor.
Do not force tool. Use the correct tool for your application. The correct tool
will do the job better and safer at the rate for which it is designed.
Keep firm footing and balance. Do not overreach. Overreaching can result in
loss of balance.
Do not use e tool if e w ch es not urn it on or off Any tool that cannot be
controlled with the switch is dangerous and must be repaired.
Do not operate this unit when you are tired, ill, or under the influence of
alcohol, drugs, or medication.
Do not operate in poor lighting.
Do not use to pick up flammable or combustible liquids, such as gasoline, or
use in areas where they may be present.
Do not pick up anything that is burning or smoking, such as cigarettes,
matches, or hot ashes.
Do not use without collection bag, gate or tubes in place(if applicable).
Check the work area before each use. Remove all objects such as rocks,
broken glass, nails, wire, or string which can be thrown or become entangled
in the machine.
Use only identical manufacturers replacement parts and accessories. Use of
any other parts may create a hazard or cause product damage.

19
20
BATTERYOPERATED POWER TOOLS
Do not use battery-operated appliance in rain.
Turn off all controls before removing the battery.
Recharge only with the charger specified by the manufacturer. A charger that
is suitable for one type of battery pack may create a risk of fire when used with
another battery pack.
Use only the charger supplied by the manufacturer to recharge.
Use appliances only with specifically designated battery packs. Use of any
other battery packs may create a risk of injury and fire
Prevent unintentional starting. Ensure the switch is in the off-position before
connecting to battery pack, picking up or carrying the appliance. Carry the
power tool with your finger on the switch or energize power tool that have the
switch on invites accidents.
Disconnect the battery pack from the power tool before making any
adjustments, changing accessories, or storing the power tool. Such preventive
safety measures reduce the risk of starting the power tool accidentally.
When battery pack is not in use, keep it away from other metal objects like
paper clips, coins, keys, nails, screws or other small metal objects that can
make a connection from one terminal to another. Shorting the battery
terminals together may cause burns or a fire.
Under abusive conditions, liquid may be ejected from the battery: avoid
contact. If contact accidentally occurs, flush with water. If liquid contacts eyes,
additionally seek medical help. Liquid ejected from the battery may cause
irritation or burns.
Do not incinerate the appliance even if it is severely damaged. The batteries
can explode in a fire.
Do not use a battery pack or appliance that is damaged or modified.
Damaged or modified batteries may exhibit unpredictable behavior resulting
in fire, explosion or risk of injury.
Do not expose a battery pack or appliance to fire or excessive temperature
Exposure to fire or temperature above 265°F(130°C) may cause an explosion.
Have servicing performed by a qualified repair person using only identical
replacement parts. This will ensure that the safety of the product is maintained
Don
�
t modify or attempt to repair the appliance or the battery pack(as
applicable)except as indicated in the instructions for use and care.
Follow all charging instructions and do not charge the battery pack or
appliance outside of the temperature range specified in the instructions.
Charging improperly or at temperatures outside of the specified range may
damage the battery and increase the risk of fire.
CHILD SAFETY
Tragic accidents can occur if the operator is not aware of the presence of
children.
Keep children out of the working area and under the watchful care of a
responsible adult.
Do not allow children under the age of 14 to operate this machine. Children
who are 14 years of age and older must read and understand the operating
instructions and safety rules in this manual and must be trained and
supervised by a parent.
Stay alert, and turn the machine off if a child or any other person enters the
working area.
Use extreme care when approaching blind corners, doorways, shrubs, trees,
or other objects that may obscure your view of a child who may run into the
path of the machine.
RECYCLE
The toxic and corrosive materials below are in the batteries used in this
machine: Lithium-lon, a toxic material.
WARNING! Discard all toxic materials in a specified manner to prevent
contamination of the environment. Before discarding, damaged orworn
out Li-ion batter contact your local waste disposal agency, or the local
Environmental Protection Agency for information and specific
instructions. Take the batteries to a local recycling an/or disposal center,
certified for lithiumion disposal.
WARNING! If the battery pack cracks or breaks, with or without leaks, do
not recharge it and do not use. Discard it and replace with a new battery
pack. DO NOT TRY TO REPAIR IT! To prevent injury and risk of fire,
explosion, or electric shock,and to avoid damage to the environment:
Cover the terminals of the battery with heavy-duty adhesive tape.
Separate collection. You must not scar with usual household waste. If it
is necessary to replace the machine, or it is no more use to you, do not
discard it with household waste. Make this machine available for sepa-
rate collection.

21
22
Separate collection of used machine and packaging let you recycle
materials and use them again. Use of the recycled materials helps
prevent environmental pollution and decreases the requirements for
raw materials.
At the end of their useful life discard batteries with a precaution for our
environment. The battery contains materials that is dangerous to you
and the environment. You must remove and discard these materials
separately at a equipment that accepts lithium-ion batteries.
TROUBLESHOOTING
The machine
smokes during
operation.
The motor is overloaded.
1. Remove the trimmer
head from the grass
2. The motor will recover
to work as soon as the load
is removed
3. When you cut, move the
trimmer head in and out
of the grass to be cut and
remove no more than 8"in
pass.
The battery pack or
machine is too hot.
1. Cool the battery pack
until its function returns
to normal
2. Cool the machine for
approximately 10 minutes
The battery pack is
disconnected from the
tool.
Install the battery pack
again.
The battery pack is
depleted.
Charge the battery pack.
The line does not
advance.
Lines are welded to
themselves.
Lubricate with silicone
spray.
Not enough line on
spool.
Install more line.
Lines are worn too short.
Advance the cutting line.
Lines are tangled on
spool
1. Remove the lines from
the spool.
2. Wind the lines.
PROBLEM
POSSIBLE CAUSE
SOLUTION
The machine does
not start when you
push the trigger.
No electrical contact
between the machine
and the battery pack.
1. Remove battery pack.
2. Check contact and install
the battery pack again.
The battery pack is
depleted.
The battery pack is
depleted.
The lock-out button and
trigger are not pushed
at the same time.
The lock-out button and
trigger are not pushed
at the same time.
The machine
smokes during
operation.
The guard is not
attached to the machine.
Remove the battery pack
and attach the guard to the
machine
Heavy cutting line is
used.
Use only with the nylon
cutting line of 2.0 mm
diameter.
The grass winds around
the motor shaft or the
trimmer head.
1. Stop the machine.
2. Remove the battery pack.
3. Remove the grass from
the motor shaft and
trimmer head.

23
24
WARRANTY
The line keeps
breaking.
The machine is used
incorrectly.
1.Cut with the tip of the
line, avoid stones walls and
other hard objects.
2. Advance the cutting line
regularly to keep full
cutting width.
The grass winds
around the
trimmer head and
motor housing.
Cut tall grass at ground
level.
1. Cut tall grass from the
top down.
2. Remove no more than 8
in each pass to prevent
wrapping.
Table of contents