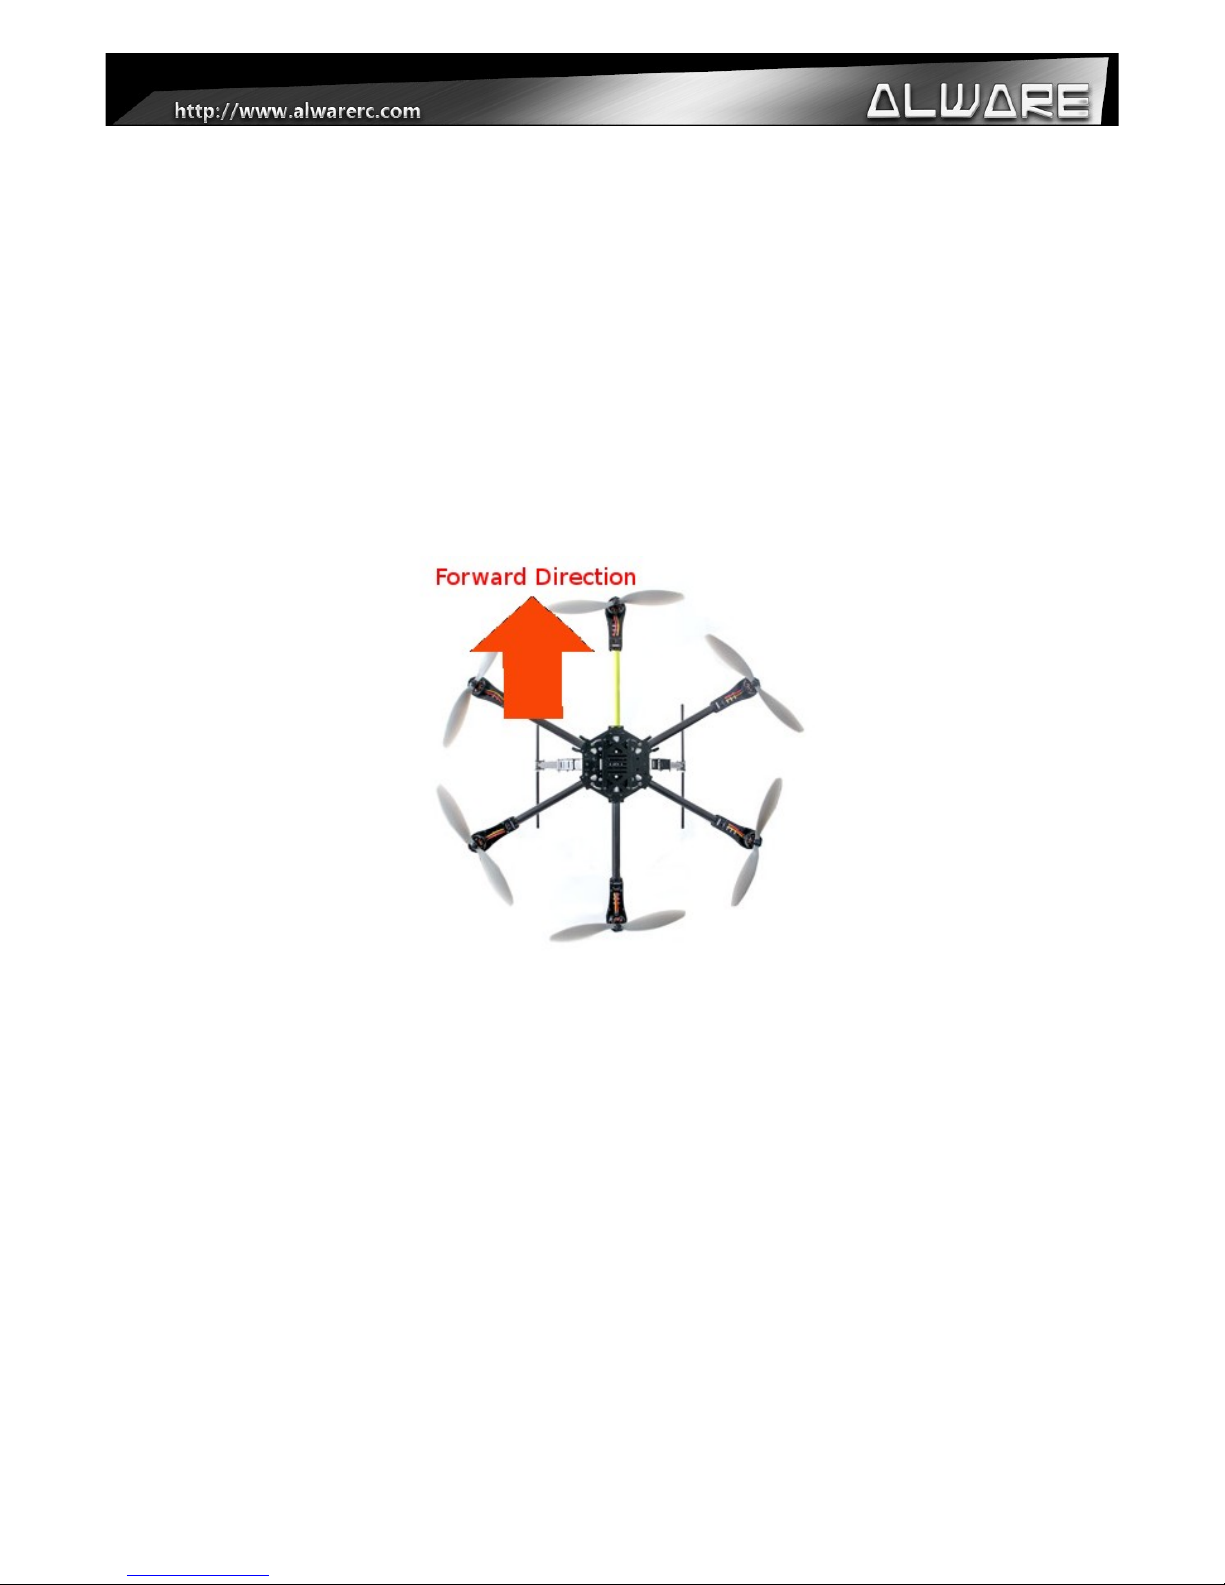
Alware STREAK 800 User manual

STREAK 800 HEXACOPTER
Instruction Manual
1

Contents
1. Introduction.........................................................................................................................................................3
2. Safety Notes........................................................................................................................................................5
3. Equipment Required For Assembly....................................................................................................................
4. Check List............................................................................................................................................................7
5. Soldering Job.....................................................................................................................................................10
.0 Assembly Steps - Quick Collapsible Illustration.............................................................................................11
.1 Assembly Steps - Flight direction indicator....................................................................................................13
.2 Assembly Steps – Motor..................................................................................................................................14
.3 Assembly Steps – Motor Mount .....................................................................................................................15
.4 Assembly Steps – Gimbal Mounting...............................................................................................................1
.5 Assembly Steps – ESC and ESC board...........................................................................................................18
. Assembly Steps – Motors & Propellers...........................................................................................................20
.7 Assembly Steps – Bipod Landing Gear...........................................................................................................22
.8 Assembly Steps –
Multicopter Controller Mounting Illustration.......................................................................................................24
8. Specification......................................................................................................................................................25
End Of Manual......................................................................................................................................................2
2

1. Introduction
Alware's Streak 800 Hexacopter is the next generation aircraft for professional aerial filming with
big Cameras, long flying time FP , search and rescue activities in the air with minimum budget.
Quick Collapsible Design:
Unlike other huge multicopters, Streak 800 has
an extremely convenient collapsible structure
design. Four arms can be folded together within
1 min without using any tools. This greatly
reduce the effort used in transportation.
User Friendly Design-Capable With Many
Gimbals:
Besides, Streak 800 has a user friendly design. It
comes with an high strength, large clearance
landing gear which is made of carbon fiber
booms and CNC metal mounts. It is capable with
many other common Gimbals in the current
market without any modification. Capable
Gimbals including Alware Pro 3 Camera Mount
Series, GAUI CRANE 3 and CRANE 2 Gimbals, STO
S-903(3-axis) Gimbal, STO Camera Mount Kit S-
550 etc. Now you can choose any Gimbal as you
like without limitation.
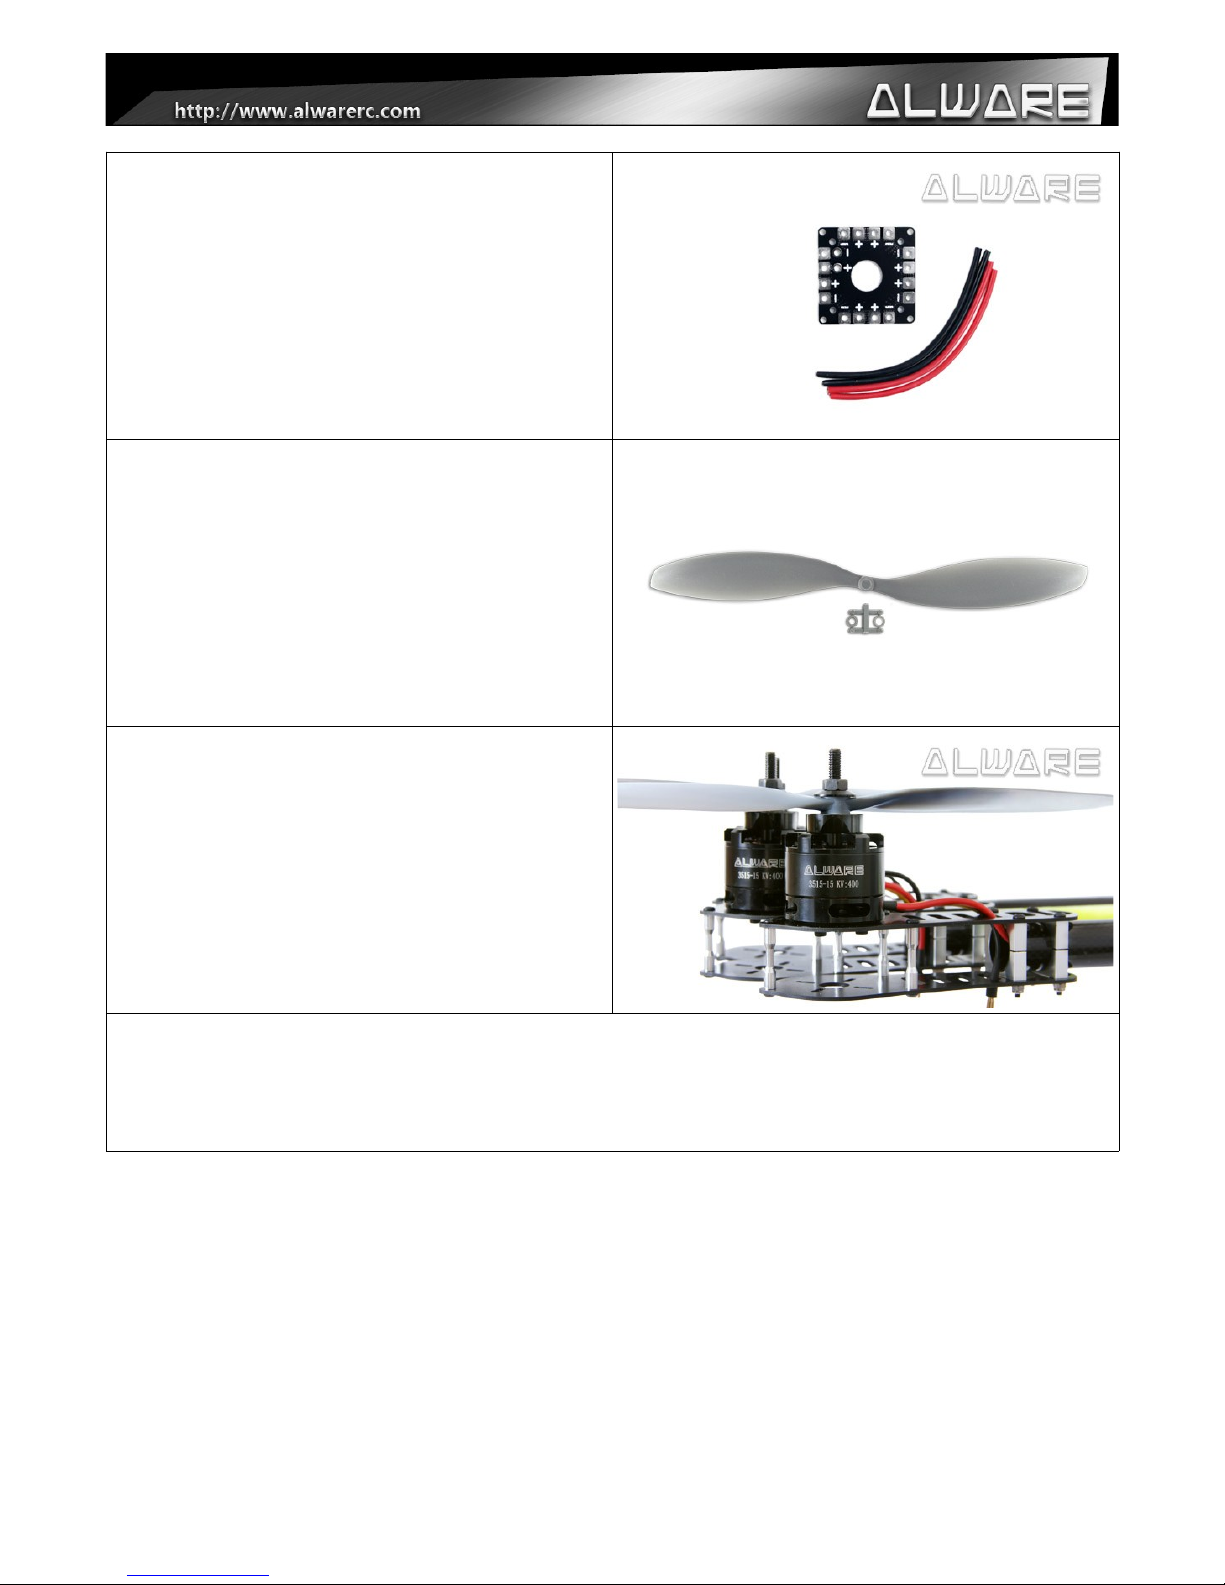
Innovatice Motor Mount:
With innovative design of the motor mounts,
speed controller could be put next to the motor
and far away from the main controller and
receiver. This minimizes the interference to the
radio signal to give safer and more stable flying.
At the same time, putting speed controllers
near the motors thus the props, it provides
better cooling effect to the controllers. This
highly increase the efficiency for flying.
Moreover, this benifit design give you the
maximum freedom to use any brands of ESC (for
6S Lipo, 40A or above) you like. (Recommended
ESC: HobbyWing FlyFun-40A ESC.)
3

Large Current Power/ESC Board:
Streak 800 comes with a large current
distribution board. The whole board as a
conductor, it support up to 100A input which is a
lot more enough for Steak 800. It distributes a
power imput to six speed controllers within the
board in a clear way. This does not produce
magnetic thus less influence to sensors.
High Efficient APC Propellers:
Streak 800 comes with 3 pairs of Genuine APC
Composite 14x4.7 Propellers. APC Propellers are
the most carefully and accurately molded in the
USA. The blade shapes are rated as the most
efficient and silent manufactured in the aircraft
models.
High Performance Brushless Motors:
Motor is the heart of a machine. Alware
Brushless Motor 3515-15 K 400 is designed
mainly for heavy Multicopters. It has high
performance, high efficiency, less vibration and
smooth turning. Every motor will be
accomplished by an professional dynamic
balance process to keep the quality in high
standard.
Easy Assembly Steps:
Every Streak 800 Kit will be installed(90% complete) by well-trained technicians and checked
carefully before shipping. You will need only to put the electronic controllers to the body when
you got the Kit. Clear instruction manual could be downloaded easily online.
4

2. Safety Notes
Do fly only in safe areas and always away from other people! Do not operate RC aircraft within the
vicinity of homes or crowds of people. RC machine are prone to accidents, failures, and crashes
due to a variety of reasons including pilot error, radio interference, and lack of maintenance. Pilot
are responsible for their actions and damage or injury occuring during the operation of RC aircraft
machine.
When flying the aicraft, the fast rotating props of Streak 800 may cause serious injuries with any
accident occurred. Therefore please keep in mind that safety at first during the flight.
The ONLY Flying direction suitable for Streak 800:
Make sure you have installed your own Hexacopter Controller and the Props in the correct direction
according to the factory's manual of the Controller.
5

3. Equipment Required For Assembly
6pcs-- 40A ESC(6S
22.2 ) (e.g. HobbyWing
FlyFun 40A ESC)
18pcs-- 3.5mm Bullet
Connector (Female) for
6pcs ESC
1pcs-- “+” Mode
Hexacopter Controller
2pcs-- 6S LiPo Battery
4500-7500mAh 22.2
( Will be connect in
Parallel)
2pair-- Connectors For
Batteries and Power
Board
1pcs-- Transmitter 1pcs-- Receiver 1pcs-- Lipo Charger &
the connector to fit the
Lipo Battery.

4. heck List
Please Check the Follo parts.
Alware Multicopter Brushless Motor
3515-15 K 400 (ALS800KIT not include.)
6 Pack
Screw set come with Motor.
6 Set
Apc Propeller 14x4.7SFP (CW)
3 Pcs
Apc Propeller 14x4.7SFP (CCW)
3 Pcs
Large Current Po er/ESC Board ith
2 pairs Battery Cable.
Servo Extension Wire ( 15cm )
6 pcs
7

AWG wire Black ( 33cm )
6 pcs
AWG wire Red ( 33cm )
6 pcs
Frame parts.
Motor Mount
6 Pcs
Carbon Fiber Leading Gear Assembly
2 Pcs
Landing Gear Skid (420 mm)
2 Pcs
System Platform Protection Frame
1 Pcs
8

Other parts :
4pcs x Hex Cap Screw M3x8mm 16pcs x Round Cap Screw
M3x6mm
4pcs x Hex Cap Screw M3x16mm
24pcs x 3mm Washers 8pcs x Nylon Washer 3x7x6mm 8pcs x Battery Support Damper
1pcs x Direction Indicating
Sticker
9

5. Soldering Job
Solder 2 pairs Battery Cable to the Large Current
Power/ESC Board and connect the other end to the
Battery Connectors. (Red = +ve , Black = -ve) Do not
short circuit two polarities!
1.) Solder Black and Red AWG wires to the ESC.
2.)Solder 3pcs 3.5mm Bullet Connectors (Female) to
the ESC.
3.)Connect Servo Extension Wire to the Signal
Connector of ESC and secure it using Adhesive Tape.
Solder the AWG wires (which is connected to the
ESC) to the Large Current Power/ESC Board after
installed to the Motor Mount
(Please refer to page 19 ).
10

6.0 Assembly Steps - Quick ollapsible Illustration
With the Quick Collapsible Design, you can
fold four arms of Streak 800 easily for easy
transportation and storage. However you
must follow the coming step by step to fold
the arms correctly, otherwise the Quick
Lock Key may damage!
Step 1a.
Facing to the Bottom Side of the Streak 800
Body. Indicate the Forward Direction and
corresponding Arm “A”, Arm “B”, Arm “C” and
Arm “D” position. Only those four Arms will be
foldable.
Step 1b.
Holding one Fixed Arm and extends
Arm “A”. (Four Arms “A” to “D” have been
installed from the factory with certain
friction which is necessary for safety flying.
Keep the same friction if you replace the
foldable arms.)
Step 1c.
Holding one Fixed Arm and extends
Arm “B”.
11

Step 1d.
Holding one Fixed Arm and use the Thumb
to push the Quick Lock Key into the Collar
of Streak 800 Body.
Step 1e.
Repeat Step 1a to 1d to fold Arm “C”, Arm
“D”. Now Streak 800 is in the Flight
Position.
Steps sequence to convert Streak 800 from the Flight Position to Storage Position.
(**Quick Lock Key must released first before folding the Arms to prevent damage to the frame.)
Step 2a.
Holding one Fixed Arm and use the Index
Finger to release the Quick Lock Key from
the Collar of Streak 800 Body.
Step 2b.
Holding one Fixed Arm and fold Arm “A”.
Step 2c.
Holding one Fixed Arm and fold Arm “B”. Then repeat Step 2a to 2c to release second Quick
Lock Key and fold Arm “C” and Arm “D” to bring Streak 800 back to Storage Position.
12

6.1 Assembly Steps - Flight direction indicator
Step 1.
Cut the Direction Indicating Sticker with a
width of around 100mm.
Step 2.
Tear the cover layer of the Sticker before
stick to the front Carbon Arm Boom.
Step 3.
Stick the Direction Indicating Sticker
(100mm Width) to the Fixed Carbon Arm
Boom as to indicate the Forward Flying
Direction.
Step 4.
Use three pieces of Adhesive Tape to secure
the Direction Indicating Sticker.
Complete Flight direction indicator installation.
13

6.2 Assembly Steps – Motor
Step 1.
You will received 6 motors in
ALS800-CB.
Step 2.
For new motors, Thread Lock must be
applied to the two M3 Set Screws which is
pre-inserted in the motor.
(This is a must for safety flying.)
Step 3.
Install the Porp Mount to the motor using
3pcs M3 Hex Cap Screw. (Apply little
amount of Thread Locker when assembly
metal to metal parts.)
Step 4.
Double check the prop mount which must be
installed to the motor securely.
14

6.3 Assembly Steps – Motor Mount
Step 1.
Loosen the screws before insert the motor
mount to the Carbon Arm Boom.
Step 2.
Insert the Motor Mount to the boom and
stop until the boom edge is touching the
Inner Motor Metal Mount surface.
Step 3.
Adjust the Motor Mount to parallel to the
Streak 800 body before tighten the screws.
Step 4.
Secure the Motor Mount by tighten the
screws on the Metal Mount.
Repeat Step 1 to 4 to install other Motor Mounts to the Carbon Boom Arms.
15

6.4 Assembly Steps – Gimbal Mounting
Step 1.
Uninstall the System Platform Frame.
Step 2.
Uninstall the Up Gimbal Mounting Frame
before install the Gimbal to Streak 800.
(Skip this step if you do not have Gimbal.)
Step 3.
Prepare 4pcs M3x16mm screws and 6pcs
Nylon Washer when installing STO S-903(3-
axis) Gimbal or STO Camera Mount Kit S-550
STO S-903(3-axis) Gimbal mounting
position.
STO Camera Mount Kit S-550 mounting
position.
Mounting position for Alware Pro 3 Camera
Mount , GAUI CRANE 3 or CRANE 2 Gimbals.
1

Step 4.
Install the Up Gimbal Mounting Frame back
into the Streak 800 Body with 5pcs Screws.
Remarks: an 1.5mm fiber asher is
needed to the center scre .
Step 5.
Up Gimbal Mounting Frame installed back
into the Streak 800 Body.
Now you can move to next page -- 6.5
Assembly Steps – ESC and ESC board.
17

6.5 Assembly Steps – ES and ES board.
Step 1.
Prepare the Power/ESC Board with
connectors soldered. (Refer to Soldering
Job shown above for more details.)
Step 2.
Prepare 6pcs ESC with connectors soldered.
(Refer to Soldering Job shown above for
more details.)
Step 3.
Insert the Battery Power Cable and Signal
Wire of the ESC into the Carbon Boom Arm.
Step 4.
Pick up the Battery Power Cable and Signal
Wire of the ESC through the specific hole of
Upper Main Frame.
18

Step 5.
Insert the ESC into the Motor Mount
completely. Repeat above steps to install
the other five ESCs.
Step 6.
Install ESC Board onto the Nylon Rods on
the Streak 800 body with 4pcs M3x6mm
Round Cap Screws.
Step 7.
Solder Battery Power Wire of ESC to the ESC
Board. (Red wire = +ve , Black wire = -ve)
Step 8.
Repeat Step 7 for other five ESCs.
Step 9.
Install the System Platform Frame back to
the Streak 800 body.
Step 10.
Stick 4pcs Battery Support Dampers onto
the upper Main Frame of Streak 800 to
support battery. Same for oppose site .
19

6.6 Assembly Steps – Motors & Propellers.
Step 1.
Prepare 4pcs M3x8mm HexCap Screws with 4pcs
3mm Washers to install the motors to the Motor
Mounts.
Step 2.
Insert a M3x8mm Screw into a 3mm Washer then
insert to the motor mount slot as to mount the Motor
to it. (Apply little amount of Thread Locker
when assembly metal to metal parts.)
Step 3.
Secure the motor to the motor mount with 4pcs
screws and washers.
Step 4.
Insert the Motor Wires into the slot of motor mount
and connect with motors.
20
Table of contents
Other Alware Toy manuals
Popular Toy manuals by other brands

Horizon Hobby
Horizon Hobby E-flite Twin Otter 1.2m BNF Basic/PNP Manual addendum

marklin
marklin Doppelstockwagen user manual

Makrlin
Makrlin 37503 user manual

BABY born
BABY born SURPRISE 918230C3 quick start guide

Faller
Faller Modern bicycle shelter Assembly instructions

M.T.H.
M.T.H. PREMIER DASH-9 operating instructions

Fisher-Price
Fisher-Price DWC31 owner's manual

Hobbico
Hobbico Novus UH-1D Huey instruction manual

Little Tikes
Little Tikes OLD SCHOOL RAINBOW REMIX MUSIC PLAYER quick start guide

VTech Baby
VTech Baby Little Friendlies Happy Hippo Teether Parents' guide

REVELL
REVELL Stearman KAYDET Assembly manual

Fisher-Price
Fisher-Price CDM85 manual