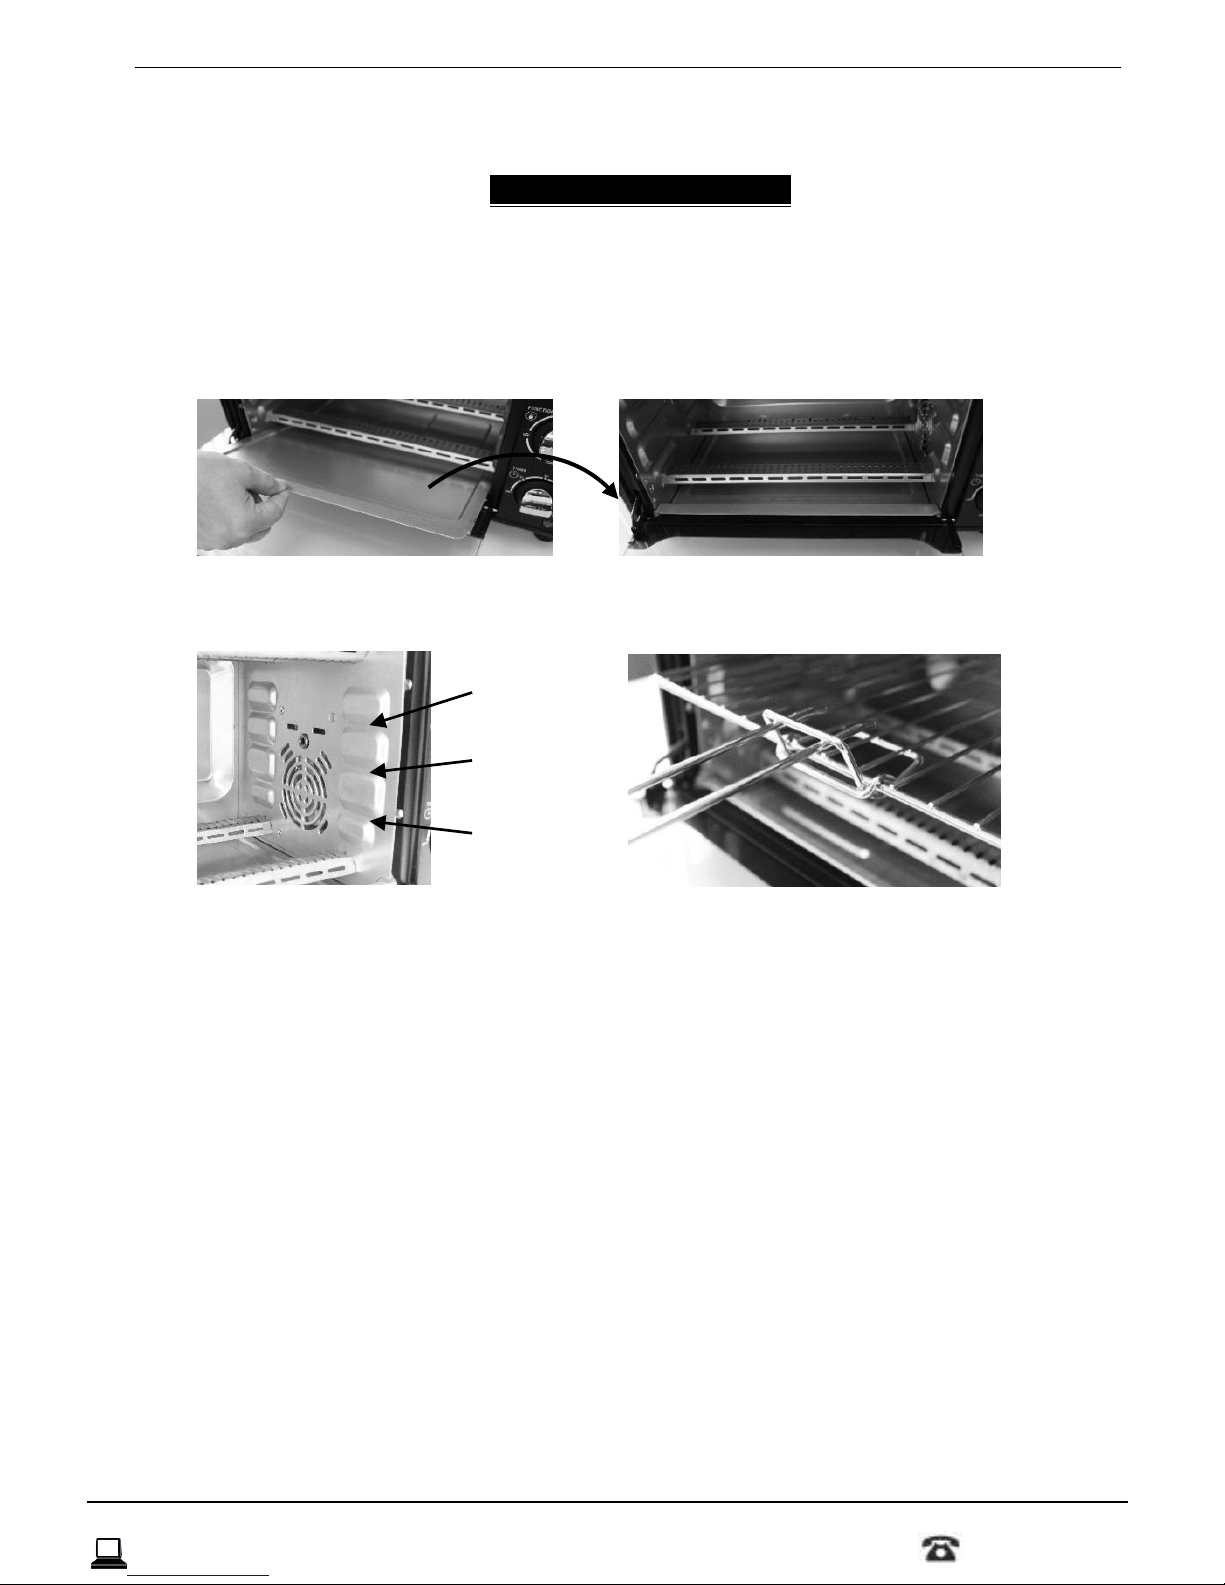
Convection Oven General Information
AFTER SALES SUPPORT 5
GENERAL INFORMATION
When using the Convection Oven, basic safety precautions should be observed.
PLEASE READ AND SAVE ALL INSTRUCTIONS BEFORE USING THE
CONVECTION OVEN.
1. Convection Ovens use an internal fan within the oven to help distribute the
heat evenly.
2. To protect against electrical shock, do not immerse power cord, plug or
convection oven unit in water or any other liquid.
3. Always operate this unit on a flat stable surface. Do not tilt the convection
oven.
4. Do not use the convection oven for other than intended use. Do not use
outdoors. For household use only.
5. Close supervision is necessary when any appliance is being used by or near
children. This convection oven is not intended for use by persons (including
children) with reduced physical, sensory or mental capabilities, or lack of
experience and knowledge, unless they have been given supervision or
instruction concerning the use of the convection oven by a person responsible
for their safety.
6. Always unplug this unit from the electrical outlet when not in use or before
cleaning. Allow the convection oven to cool completely before removing parts
or cleaning.
7. To disconnect, turn the function and timer knobs to OFF and remove the plug
from the outlet. Do not pull on the cord.
8. Extreme caution must be used when moving a hot container with hot oil or
other liquids.
9. Do not operate the convection oven with a damaged power cord or plug or
after the appliance malfunctions or is dropped or damaged in any manner.
Contact the warranty center for instructions. See warranty page. Do not
attempt to repair the convection oven yourself.
10. Do not let the power cord hang over the edge of a table or counter or touch
any hot surface.
11. The use of accessories not recommended by the manufacturer may result in
fire, electrical shock, or risk of injury.
12. Do not place the convection oven on or near hot gas or electric burner, or in a
heated oven.
13. Keep the convection oven a MINIMUM of 4” away from other objects to allow
proper ventilation. Keep the convection oven away from flammable material
including drapes, curtains, walls and cabinets. Do NOT store any items on top
of the unit while in use.
14. Do not insert any objects into the convection oven.
15. DO NOT touch hot surfaces. Use oven mitts when the oven is in use.