Version 1.1 ©Copyright 2022, Ambient LLC. All Rights Reserved. Page 1
Ambient Weather OBSERVERIP2.0 Receiver User Manual
Table of Contents
1. Introduction ..................................................................................................................................... 2
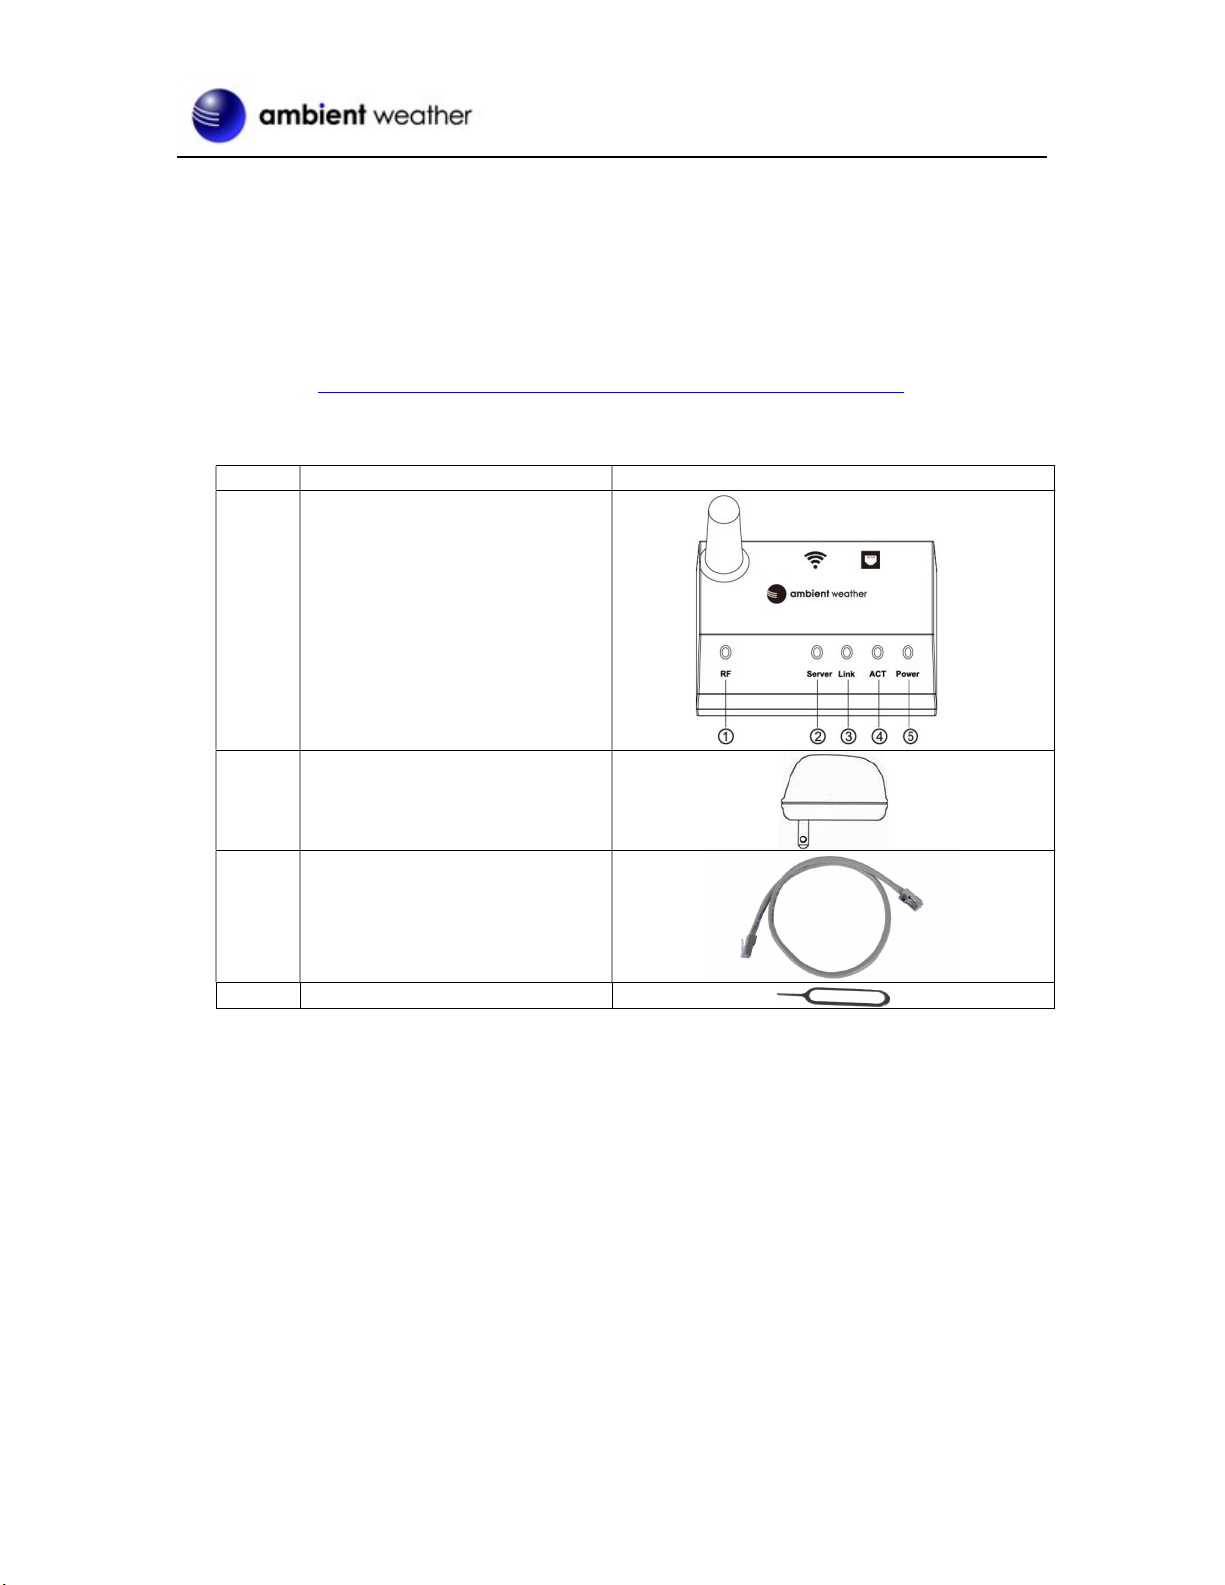
2. OBSERVERIP2.0 Receiver ............................................................................................................ 2
2.1 Hardware Requirements .......................................................................................................... 2
2.2 Software Requirements ........................................................................................................... 2
2.3 OBSERVERIP2.0 Network Connection Options .................................................................... 2
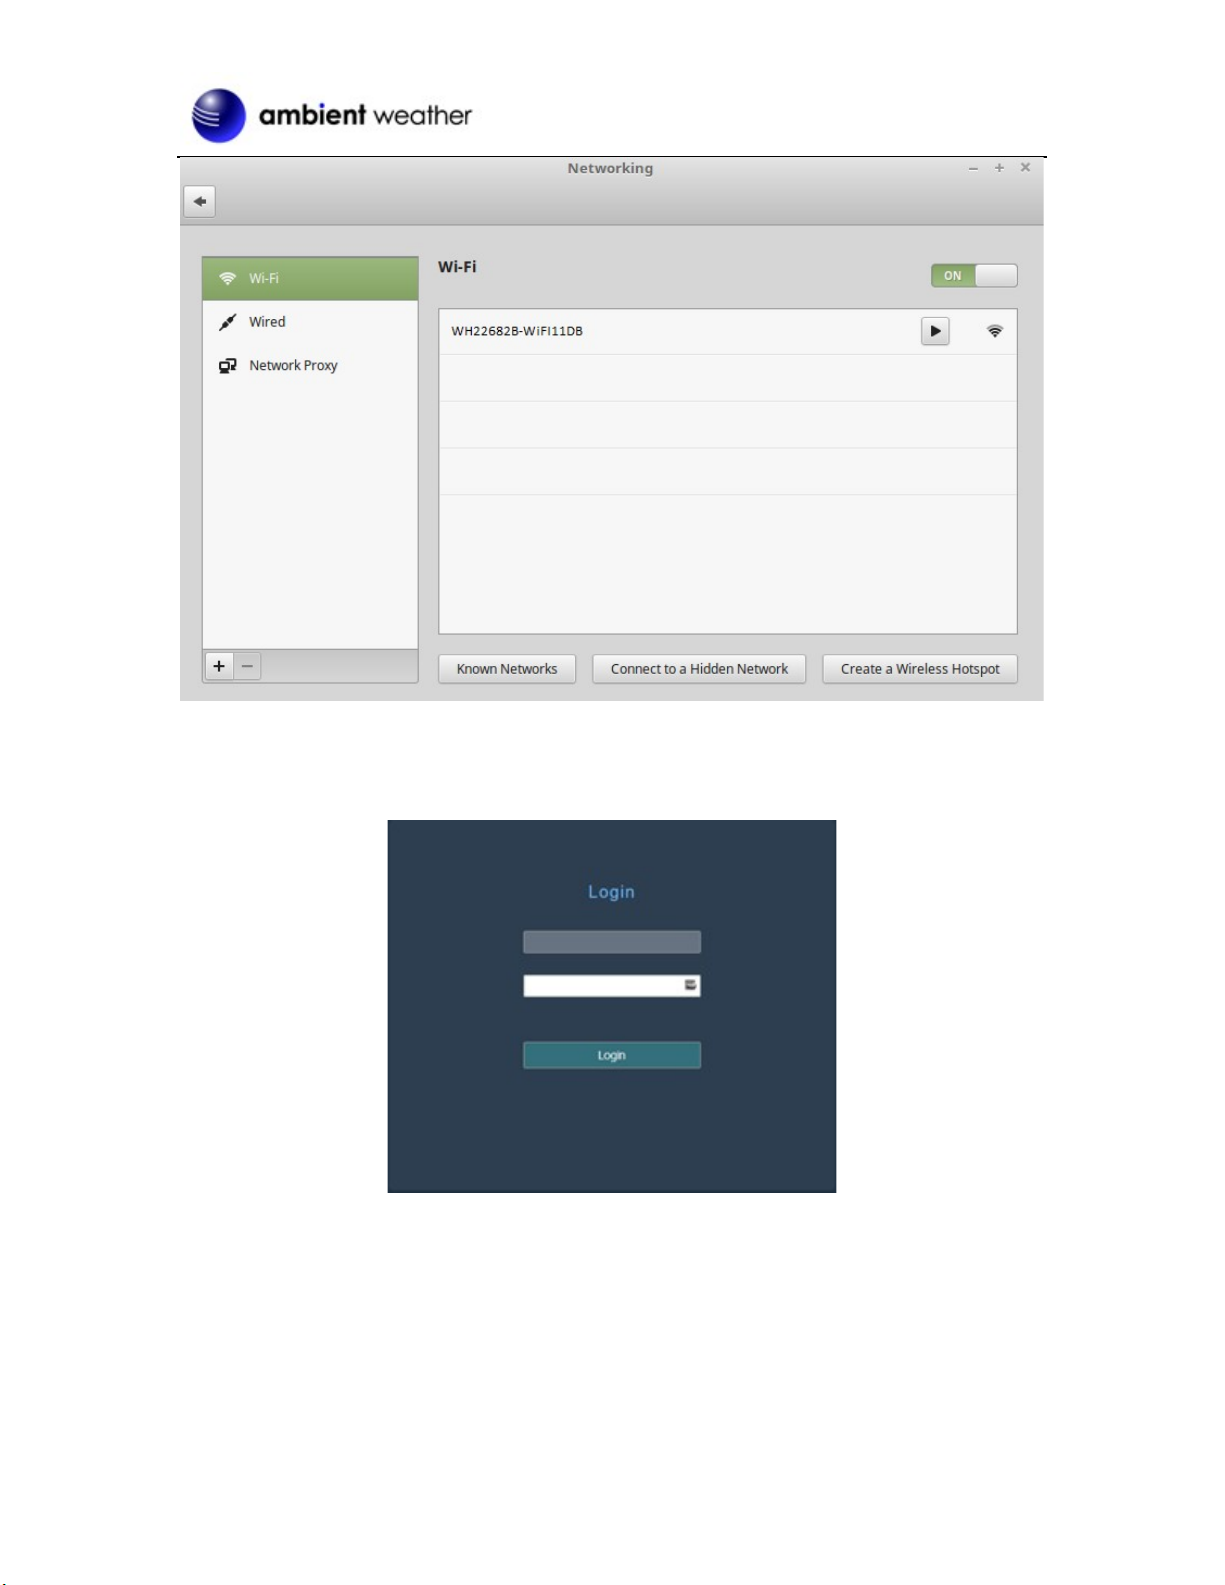
2.4 Finding the OBSERVERIP2.0 from your device (computer, smart phone, or tablet with a
browser) when connected to your network via WiFi .......................................................................... 4
2.4.1 PC Users ................................................................................................................................. 4
2.4.2 Mac Users .............................................................................................................................. 5
2.4.3 Linux Users ............................................................................................................................ 6
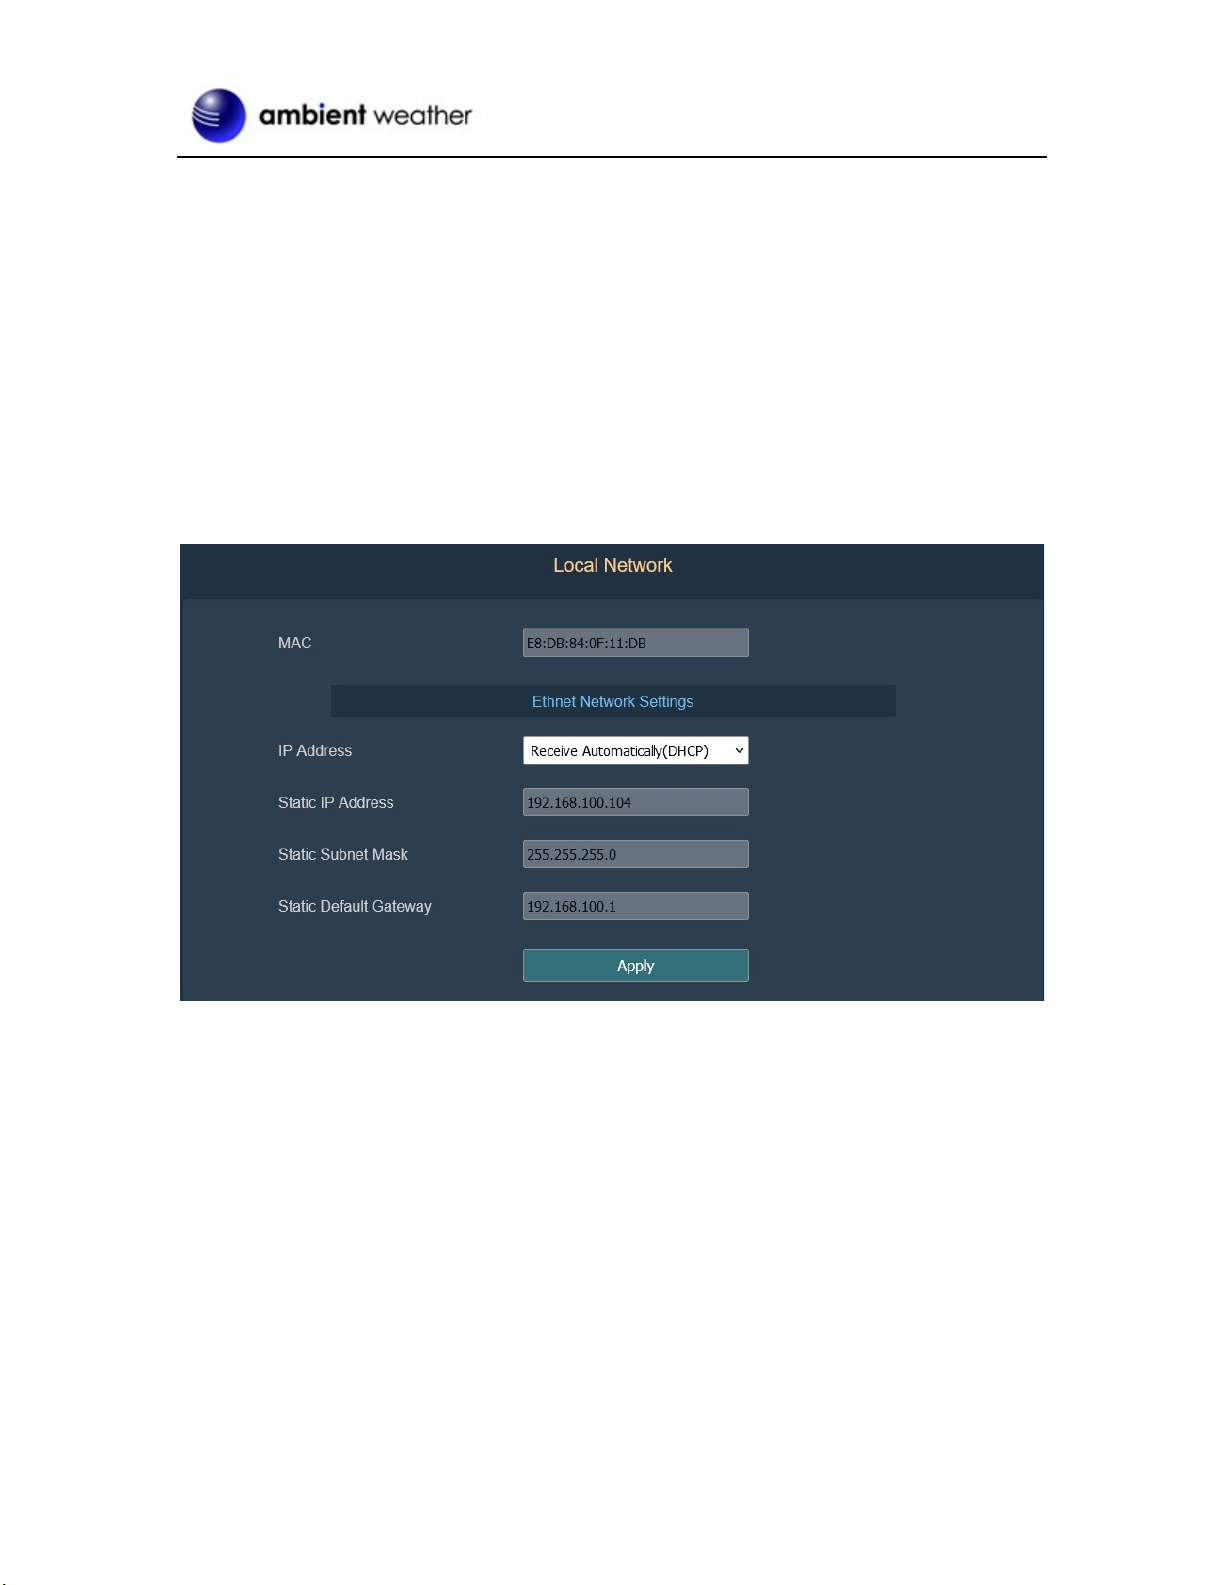
2.5 Finding the OBSERVERIPIP2.0 from your device (computer, smart phone, or tablet with a
browser) when connected to your Local Area Network via Ethernet" ................................................ 7
2.6 Weather Network Settings ....................................................................................................... 8
2.6.1 AmbientWeather.net ........................................................................................................... 9
2.6.2 Additional AmbientWeather.net Features ........................................................................... 9
2.6.2.1 IFTTT ........................................................................................................................ 9
2.6.2.2 Compatible with Alexa .............................................................................................. 9
2.6.2.3 Works with Google Assistant ................................................................................... 10
2.7 Station Settings ..................................................................................................................... 10
2.8 Weather Station Settings ....................................................................................................... 10
2.8.1 Time Zone Setting ............................................................................................................ 10
2.8.2 Daylight Savings Time ..................................................................................................... 11
2.8.3 Units of Measure .............................................................................................................. 11
2.9 Live Data ............................................................................................................................... 13
2.9.1 Reset and Change Rain Totals .......................................................................................... 13
2.10 Calibration ............................................................................................................................. 15
2.10.1 Relative Barometric Pressure Calibration Example ..................................................... 15
2.11 Adding Additional Sensors ................................................................................................... 18
2.11.1 Accessories .................................................................................................................. 20
2.11.2 Indoor/Outdoor Thermo-Hygrometer, 8 Channel (optional, Model WH31E) ............. 20
2.11.3 Sensor Placement ......................................................................................................... 25
3. Updating Firmware ....................................................................................................................... 26
3.1 PC Users ................................................................................................................................ 26
3.2 Mac Users ............................................................................................................................. 27
3.3 Linux Users ........................................................................................................................... 28
4. Glossary of Terms ......................................................................................................................... 30
5. Specifications ................................................................................................................................ 31
5.1 Wireless Specifications ......................................................................................................... 31
5.2 Power Consumption .............................................................................................................. 31
6. Troubleshooting Guide .................................................................................................................. 31
7. Liability Disclaimer ...................................................................................................................... 33
8. FCC Statement .............................................................................................................................. 33
9. Warranty Information .................................................................................................................... 34