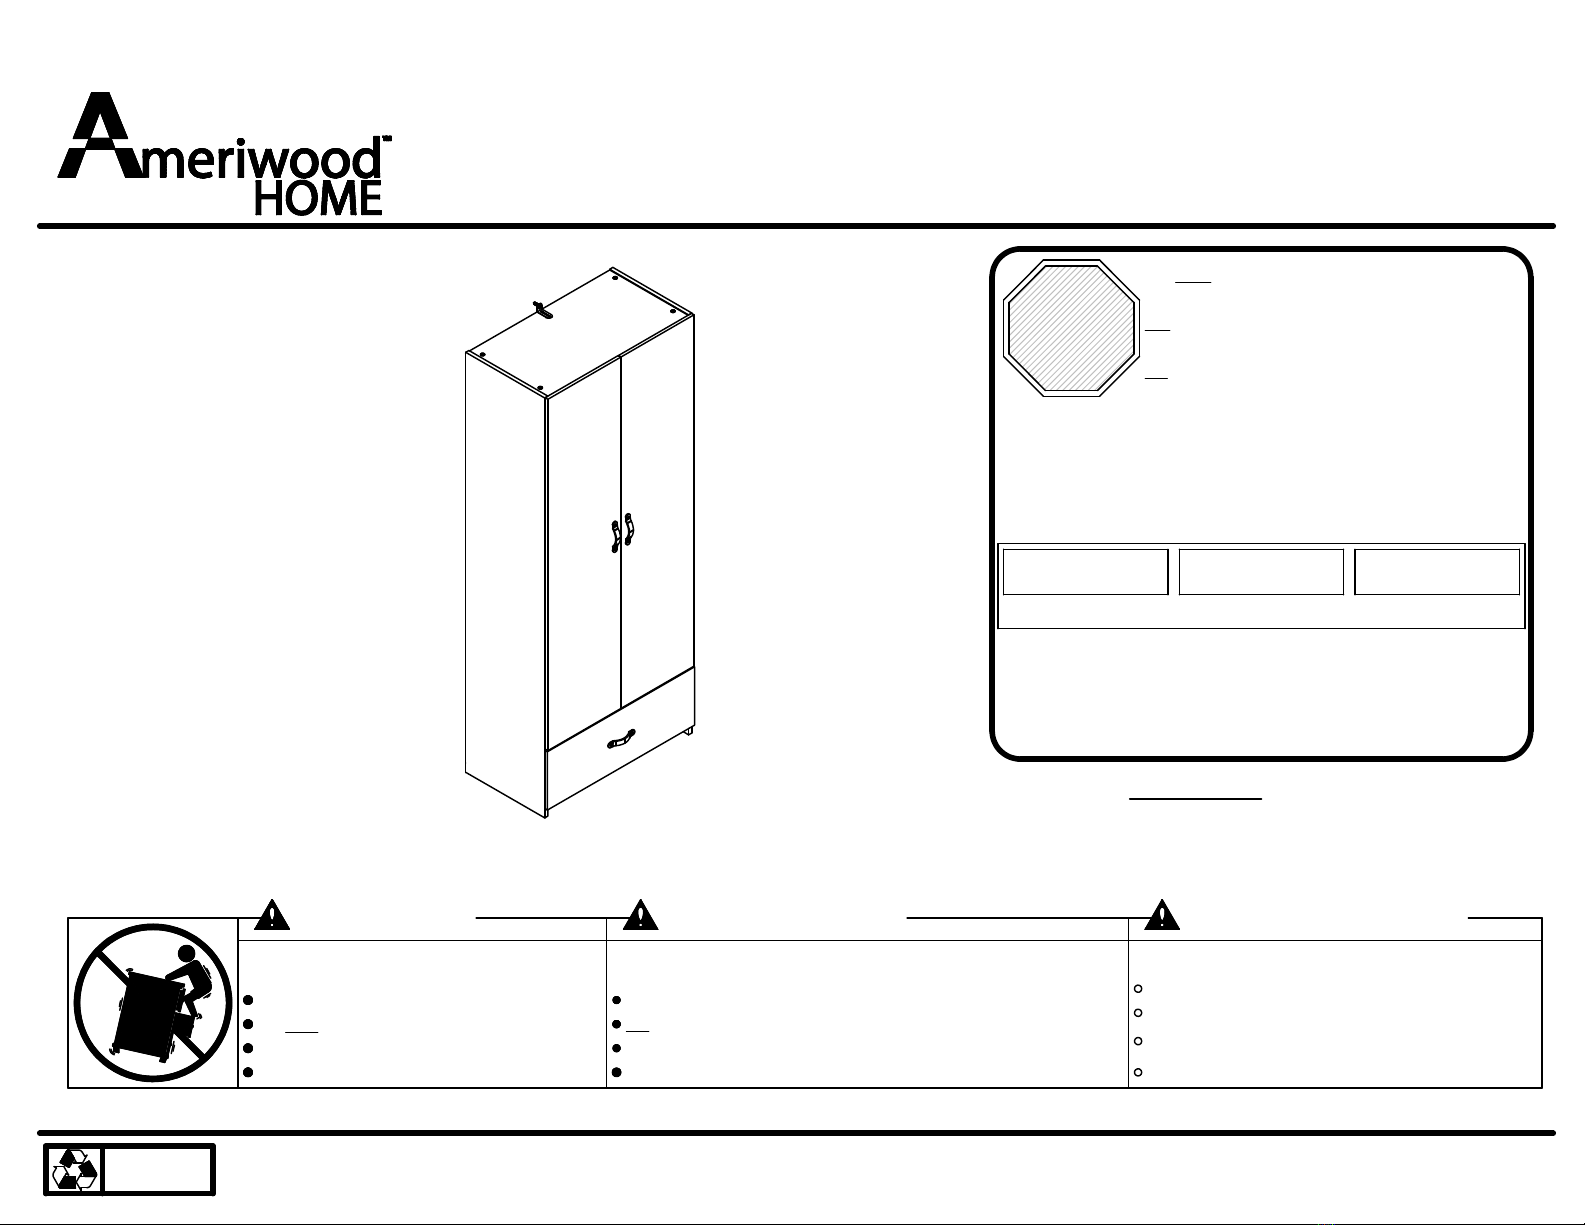
Ameriwood HOME 9450333EBL User manual
Other Ameriwood HOME Indoor Furnishing manuals

Ameriwood HOME
Ameriwood HOME Systembuild Evolution 8847408COM User manual

Ameriwood HOME
Ameriwood HOME Ellington Double Door Cabinet User manual

Ameriwood HOME
Ameriwood HOME Armada 5990837COM User manual

Ameriwood HOME
Ameriwood HOME 5317340EBL User manual

Ameriwood HOME
Ameriwood HOME 5054196COM User manual

Ameriwood HOME
Ameriwood HOME 5758341COM User manual

Ameriwood HOME
Ameriwood HOME 5206412COM User manual

Ameriwood HOME
Ameriwood HOME 6972015COM User manual

Ameriwood HOME
Ameriwood HOME 5997015WCOM User manual

Ameriwood HOME
Ameriwood HOME 5206301PCOM User manual

Ameriwood HOME
Ameriwood HOME Monticello 7962319COM User manual

Ameriwood HOME
Ameriwood HOME 7027013COM User manual

Ameriwood HOME
Ameriwood HOME 5984303WCOM User manual

Ameriwood HOME
Ameriwood HOME Fairmont Accent Table 8969013COM User manual

Ameriwood HOME
Ameriwood HOME Colebrook 5966503COM User manual

Ameriwood HOME
Ameriwood HOME 4432855COM User manual

Ameriwood HOME
Ameriwood HOME 3576301PCOM User manual

Ameriwood HOME
Ameriwood HOME 9230339COM User manual

Ameriwood HOME
Ameriwood HOME 5322222COM User manual

Ameriwood HOME
Ameriwood HOME 3341335COM User manual


Popular Indoor Furnishing manuals by other brands

Regency
Regency LWMS3015 Assembly instructions

Furniture of America
Furniture of America CM7751C Assembly instructions

Safavieh Furniture
Safavieh Furniture Estella CNS5731 manual

PLACES OF STYLE
PLACES OF STYLE Ovalfuss Assembly instruction

Trasman
Trasman 1138 Bo1 Assembly manual

Costway
Costway JV10856 manual