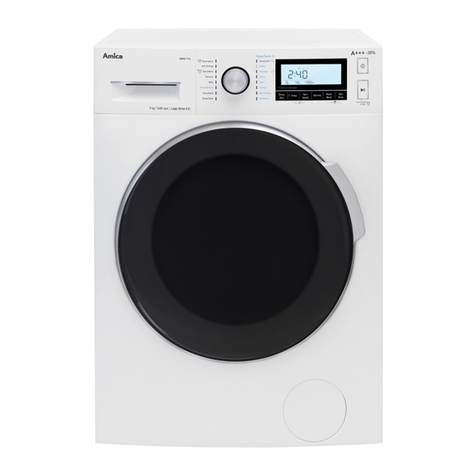
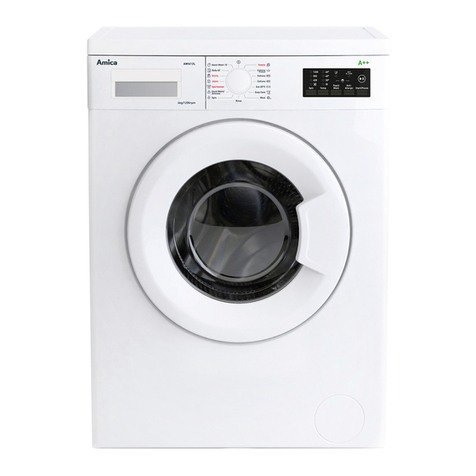
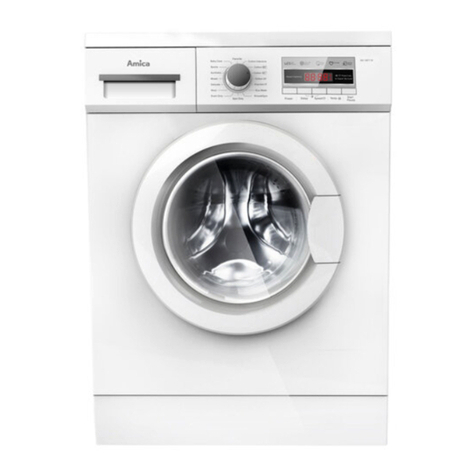
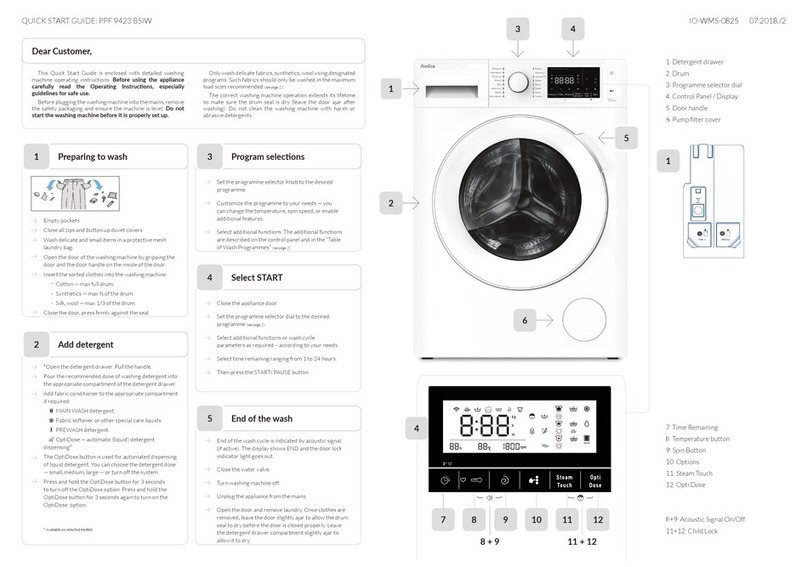
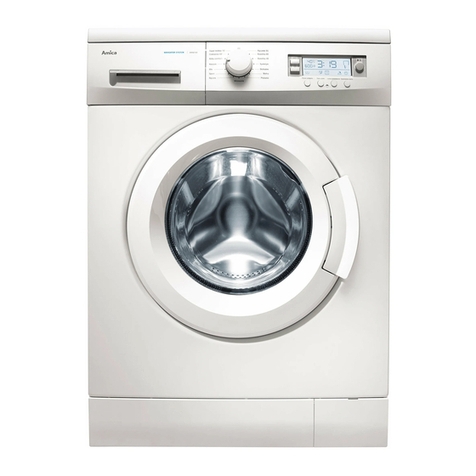
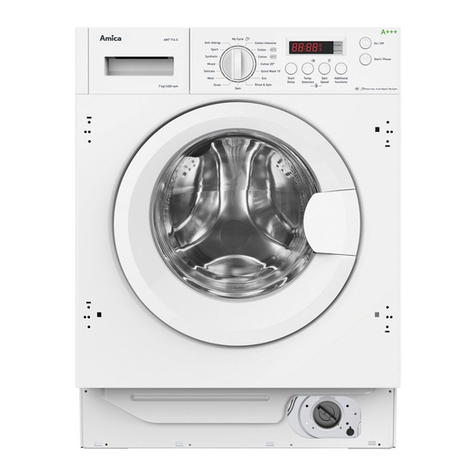
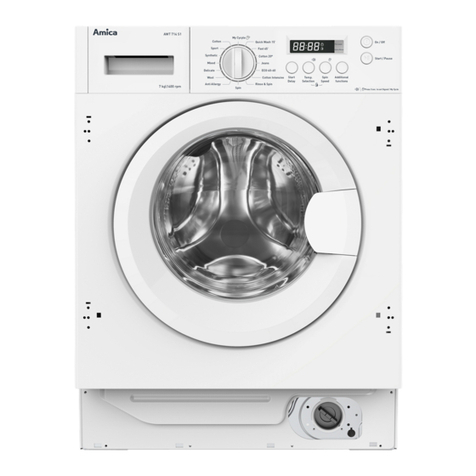
Amica WME610/1 User manual

WASHING MACHINES
WME610/1
OPERATING
INSTRUCTIONS
EN
ONLY USE THE APPLIANCE WHEN YOU HAVE
READ AND UNDERSTAND THE OPERATING
INSTRUCTIONS

2
ECOLOGY IN PRACTICE
BASIC INFORMATION
SAFETY AND GERMENT CARE LABELS
INSTALL THE APPLIANCE
PRODUCT DESCRIPTION
TROUBLESHOOTING
PRACTICAL TIPS ON WASHING
3
5
6
11
14
18
22
CONTENTS
In accordance with European Directive 2012/19/EU and Polish legislation regarding used
electrical and electronic goods, this appliance is marked with the symbol of the crossed-out
This marking indicates that the appliance must not be disposed of together with other
-
handling of used electrical and electronic goods helps avoid environmental and health haz-
ards resulting from the presence of dangerous components and the inappropriate storage

3
The development of technology has enabled our factories to become more environmentally
friendly – we use less and less water, electricity and less waste water and solid waste is gener-
ECOLOGY IN PRACTICE

4
Dear customer!
Thank you for choosing an Amica product. For years we have deliv-
ered high-quality appliances, so that household chores become
a real pleasure. Before being packaged and leaving the manufac-
turer, the appliance was thoroughly checked with regard to safety
and functionality. We also endeavour to make sure that modern
technology in Amica products always goes hand in hand with a
unique design.
Before using the appliance, please carefully read these Operating
Instructions Follow these instruction to avoid improper use and
ensure long and reliable operation of the appliance. Learn the
principles of the safe use to avoid accidents.
Store these operating instructions in a safe place to use them for
reference whenever needed. These Operating Instructions contain
all the necessary information that will make the use of your Amica
appliance simple and fun. We also encourage you to nd out more
about other Amica appliances.
We hope using your new appliance is a pleasure.
MANUFACTURER’S DECLARATION

BASIC INFORMATION
Before plugging the washing machine into the mains, remove the safety packaging and
Temperatures below 0°C can damage the washing machine! In the event
of the machine being stored or transported in sub-zero temperatures, it
should be left to acclimatise in a temperature above 0°C for 8 hours before
This washing machine is intended for domestic use only to wash tex-
The manufacturer hereby declares that this product
meets the requirements of the following European
directives:
Low Voltage Directive, 2014/35/EU,
Electromagnetic Compatibility (EMC) Directive
2014/30/EE,
Eco-design Directive2009/125/EU,
2011/65/EU,
and has been marked with the symbol and issued
with a declaration of compliance made available to
market regulators.
Never use the appliance outdoors or anywhere the temperature may fall below
The machine should not be operated by children or anyone who has not read the
USAGE
MANUFACTURER’S DECLARATION

SAFETY AND GERMENT CARE LABELS
The risk of death! This appliance should not be used by
children under 8 years of age, per-
sons with reduced physical or men-
tal capabilities, and persons who
do not have sufficient skills to use
should be offered proper supervi-
sion or instructions on safe handling
-
dren must not play with the appli-
ance or perform any maintenance-
years of age must be kept away from
the appliance unless continuously
Children could get caught inside the
appliance and get into a life-threat-
Animals and children may climb into
Kids should be supervised that they
Glass door may be very hot during
away from the machine during the
operation very wet rooms as well as
in the rooms with explosive or caus-
Remove all packages and transport
Otherwise, serious damage may
6

Plug must be accessible after
Risk of explosion! Do not wash or dry articles that
have been cleaned in, washed
in, soaked in, or dabbed with
combustible or explosive
substances (such as wax, oil,
paint, gasoline, degreasers,
dry-cleaning solvents, kerosene,
Before hand thoroughly rinse
Installing the product! This washing machine is for
It isn’t intended to be built-in
The openings must not be ob-
Washing machine shall not be
installed in bath room or very
wet rooms as well as in the
rooms with explosive or caustic
The washing machine with sin-
gle inlet valve only can be
connected to the cold water
double inlet valves should be
correctly connected to the
SAFETY AND GERMENT CARE LABELS
7

SAFETY AND GERMENT CARE LABELS
Installing the product! Plug must be accessible after
Remove all packages and trans-
port bolts before using the appli-
Risk of damaging
appliance! Your product is only for home use
and is only designed for the tex-
tiles suitable for machine wash-
Do not climb up and sit on top
Cautions during Handling Ma-
chine:
-
stalled to the machine by a spe-
Never hold each protruded part
-
chine door can not be used as the
Please do not close the door with
difficult to close the door, please
check if the clothes are put in or
8

Risk of damaging
appliance!
Operating the appliance! Before washing the clothes at
first time, the product shall be
operated in one round of the
whole procedures without the
Flammable and explosive or
Please only select the deter-
gents suitable for machine
Make sure that all pockets are
such as coin,brooch,nail,screw
Please check whether the wa-
ter inside the drum has been
Please do not open the door if
Be careful of burning when the
product drains hot washing
Never refill the water by hand
After the program is completed,
Please wait for two minutes to
SAFETY AND GERMENT CARE LABELS
9

SAFETY AND GERMENT CARE LABELS
UNDERSTANDING THE SYMBOLS ON CLOTHES LABELS
Washing
boil at 90°C normal wash at 60°C normal wash at 40°C Do NOT wash!
delicate handwash
Chemical cleaning
all solvents all except TRI petrol only NO
Dry clean!
Tumble dryer
normal low high Do NOT dry!
Ironing
110°C 150°C 200°C Do NOT Iron
10 Always pay attention to the symbols on garment labels

UNDERSTANDING THE SYMBOLS ON CLOTHES LABELS
11
INSTALL THE APPLIANCE
unscrew the 4 transit bolts with a spanner,
remove the rubber and plastic transport brackets from
stop up the holes with the stoppers enclosed
place the washing machine on a solid, level surface,
Level the appliance by adjusting the legs (1)
1
2
Remove the transit bolts
machine is used!
After positioning and levelling the appliance, check that it is stable by pressing
down each corner and ensuring it does not move!
Position and level the washing machine
.
.
-
,
.
.
-
.
.
.
.
,
,
,
.
.
-
.
-
,
.
.
.
-
,
.
.
-
.
.
.
.
,
,
,
.
.
-
.
-
,
.

4
3
Connect the water supply
Water drain
12
Connection on the left Connection on the right
(1)

5
Electrical wall outlet where the appliance is connects must be
in a visible and accessible place,
Only plug the appliance into a properly installed socket with an
earthing pin,
Do not use an extension cord to connect the appliance,
in the event of the power cord being damaged,
it must be replaced by an authorised service
technician,
the electrical system to which the appliance is to be connected must
Connect to power supply
13
laundry and the washing machine, you should therefore follow a few
important recommendations:
mesh laundry bag
R
Prepare to wash:

14
FEATURES AND
COMPONENTS
DESCRIPTION OF THE APPLIANCE
Accessories:
Transport
hole plug Supply hose
cold water
Supply hose hot
water (optional)
Drain hose
support
(optional)
User manual

15
DISPLAY AND CONTROL PANEL
1234
Choose the appropriate wash programme as required, depending on the degree
of soil, and type and amount of laundry loaded, which ensures better results
and more eective washing. Once the wash programme has started, turning
the programme selector dial to another position does not change the settings of
previously selected programme.
1Programme selector dial
The Prewash function can get an extra wash before main wash,it is suitable for
washing the dust rises to surface of the clothes;You need to put detergent into the
Case (I) when select it.
2
Prewash button
The laundry will undergo extra rinse once after you select it.
3Extra rinse button
Press [Start/Pause] to start or pause a programme. When the washing machine
operates, START/PAUSE indicator light is on. When you PAUSE a programme,
START/PAUSE indicator light is o.
The PAUSE mode can be used to soak the laundry. Once the selected program-
me has started wait for about 10 minutes and then press the START/PAUSE
button. When the laundry is soaked as required, press the START/PAUSE button
again to resume the programme. Soaking will improve washing results for heavily
soiled laundry.
5
Start/Pause button
5
34
+
It will not spin if you choose this function.
4
Skip spin button

16
Chose the Programme, press the /Prewash/ button for 3 sec. the buzzer is mute.
To act buzzer function, press the button again for 3 seconds. The setting will be
kept until the next reset.
Acoustic Signal On/O
This function locks function buttons to prevent settings being changed or
3+4
Child Lock
When If the Child Lock function is activated, the display will show the

DESCRIPTION OF THE APPLIANCE
17
When wash cycle is completed, START/PAUSE indicator is
ashing and an acoustic signal is sounded (if enabled).
Turn o the water valve.
Turn o the main switch
Unplug the appliance from the mains.
Open the door and remove laundry.
The door lock and the [Start / Pause ] lights ash with the buzzer beeping or two
small points ash on the digital screen.
2
3
End of the wash cycle
After Washing
USING THE APPLIANCE
Set the programme selector knob to the desired programme (see the table further
on).
Change spin speed or temperature to modify the programme to your individual
needs.
1
Select Programme

TROUBLESHOOTING
18
The start of the appliance does not work or it stops during operation.
First try to nd a solution to the problem, If not, contact the service centre.
Description Reason
Washing machine
cannot start up
Door is not closed properly Restart after the door is
closed
Check if the clothes is stuck
Door can’t be
opened
Washer’s safety
protection design is working
Disconnect the power, restart
the product
Water leakage The connection between
inlet pipe or outlet hose is
not tight
Check and fasten water pipes
Clean up outlet hose
Detergent residues
in the box
Detergent is dampened
or agglomerated
Clean and wipe the detergent
box
Indicator or display
does not light
Disconnect the power
PC board or harness has
connection problem
Check if the power is shut
down and the power plug is
connected correctly
Abnormal noise Check if the fixing (bolts)
have been removed
Check it’s installed on a solid
and level floor

01 88 2010
For the UK: please call
01949 862012
TROUBLESHOOTING
19
Description Reason Solution
Pause/Start
No Spin
Extra Rinse
Prewash
Flash
O
O
O
O
O
Door is not closed
properly
Restart after the
door is closed.
Check if the clo-
thes is stuck.
O
O
O
Flash
O
O
Water injecting
problem while
washing
Check if the water
pressure is too low
Straighten the
water pipe.
Check if the
inlet valve lter is
blocked.
O
O
Flash
Flash
O
O
Overtime water
draining
Check if the drain
hose is blocked
O
O
O
O
Flash
O
Water overow Restart the
washer
Please try again rst, call up service line if there are still troubles

20
MAINTENANCE AND CLEANING
surface can be cleaned with diluted non-abrasive neutral detergents when
1
Cleaning The Cabinet
Formic acid and its diluted solvents or equivalent are forbidden, such as alcohol, solvents
The rusts left inside the drum by the metal articles shall be removed immediately
2
Cleaning The Drum
3
Cleaning The Door Seal And Glass
Never clean the appliance body or plastic parts using solvents or harsh, abrasive deter-
This manual suits for next models
1
Table of contents
Other Amica Washer manuals

Amica
Amica WA 14690-1 W User manual

Amica
Amica AWB814L User manual

Amica
Amica AWSN 10DA User manual

Amica
Amica AWI612L User manual

Amica
Amica AWT714S User manual

Amica
Amica WA 484 081 User manual

Amica
Amica IO-WMS-0825 User manual

Amica
Amica WA 474 030 User manual

Amica
Amica AWSM12D User manual
Amica
Amica AWI814D User manual

Amica
Amica WMA510 User manual

Amica
Amica WMA612 User manual

Amica
Amica AWT714S User manual

Amica
Amica AWE512L User manual

Amica
Amica WME610 User manual

Amica
Amica WA484100W User manual

Amica
Amica AWB510LP User manual

Amica
Amica AWB612L User manual

Amica
Amica WT 473 710 User manual

Amica
Amica AWCM 10L User manual