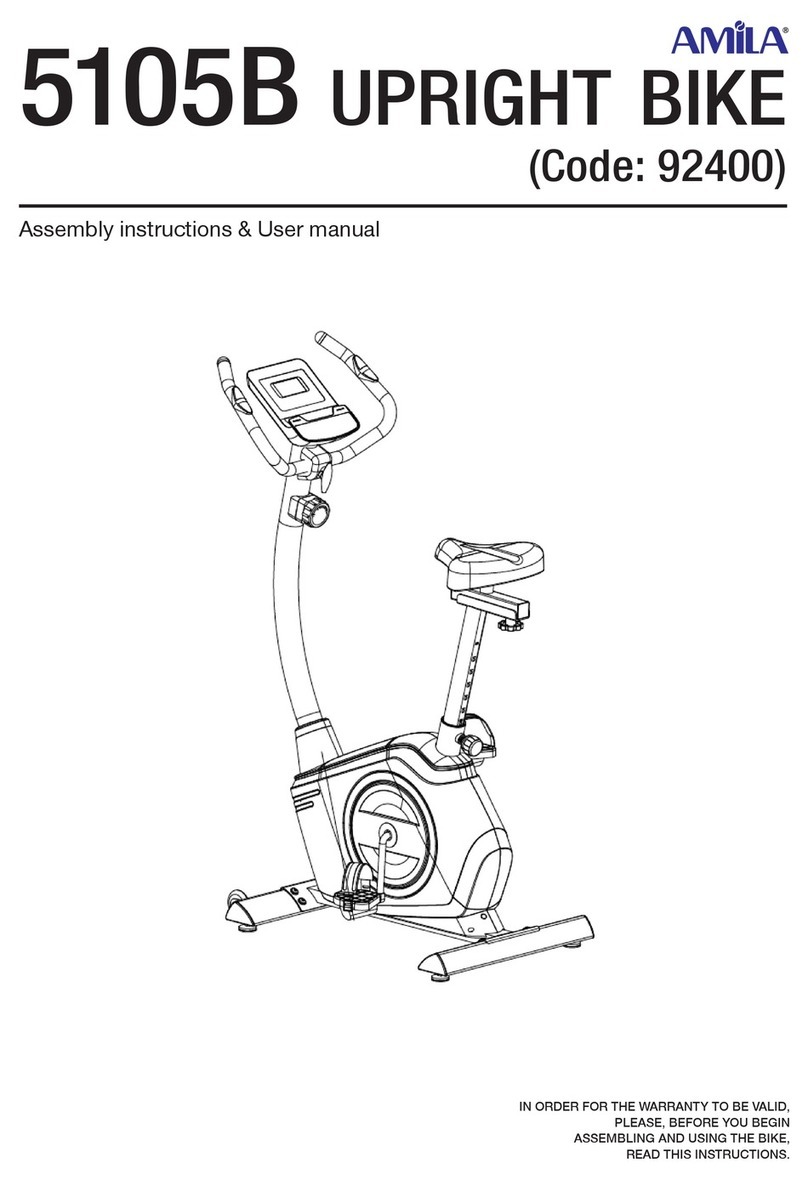
Amila ATLAS 600R User manual

ATLAS 600R
(code:
92451)
IN ORDER FOR THE WARRANTY TO BE VALID,
PLEASE, BEFORE YOU BEGIN
ASSEMBLING AND USING THE BIKE,
READ THIS INSTRUCTIONS.
Assembly instructions & χρήσης

— 2 —
EXPLODED VIEW

— 3 —
ASSEMBLY INSTRUCTIONS
Step 1
•Attach the front stabilizer (3) to the main frame (1) with M8x55 hexagon socket head bolts (12),
Ø8×1.5ר25 arc washers (13) and Ø8 spring washers (18).
•Attach the lifting handle (10) to the rear stabilizer (4) with M8x93 hexagon socket head bolt (11),
Ø8×1.5ר20 arc washers (14) and Ø8 spring washers (18).
•Attach the rear stabilizer (4) to the main frame (1) with M8x55 hexagon socket head bolt (12),
Ø8spring washers (18) and Ø8×1.5ר25 arc washers (13).
Step 2
•Screw the pedals (43L/R) to the crank (24L/R) with wrench. Keep in mind that left pedal (24L) must
be screwed in counter-clockwise direction, where the right pedal (24R) in a clockwise direction as
shown, making sure that the pedals
are secured tightly, otherwise the
pedal teeth might break.

— 4 —
Step 3
•Place the front cover (28) over the lower part of
the handlebar post (2).
•Connect the lower pulse wire (55) and sensor wire
(57) from the main frame (1) to the correspondig
wires (56 & 54) from the handlebar post (2).
•Connect the tension wire (58) with the tension
controller (47) as shown in the smaller picture A.
•Secure the handlebar post (2) on the main frame
(1) with Ø8×16 hexagon socket head screws (22),
Ø8 spring washers (18) and Ø16ר8×1.5 flat
washers (16) and then put down the front cover
(28).
•Lock the tension controller (47) on the handlebar
post (2) with M5×55 cross pan head screw (51)
and Ø5 arc washer (52).
Step 4
•Attach the handlebar (6) to the handlebar post
(2) with the plastic handle knob (42), handlebar
cover (29), spacer (25) and Ø13ר8×1.5 at
washer (15).

— 5 —
Step 5
•Connect the pulse wire (56) and sensor wire (54) from
the top of the handlebar post, with the corresponding
wires from the back of the computer (46).
•Attach the computer (46) to the computer bracket on
the top of the handlebar post (2) with cross pan head
screws (26).
•Secure the front cover (29) and rear cover (30) on to the
handlebar post (2) with a ST4.2×18 cross head screw
(23).
Step 6
•Secure the handle (8) to the eccentric
shaft (53) with M6×10 hexagon socket
head screws (19).
•Connect the pulse wire (27) with the
corresponding wire (55) on the back of
the bike and then secure together the
seat tube (7) and the seat tube (5) with
M8×12 hexagon pan head screws (21)
and Ø16ר8×1.5 at washers (16).

— 6 —
Step 7
•Secure the seat (44) on the seat tube (5) with Ø8×16 hexagon socket head screws (22) and
Ø16ר8×1.5 at washers (16).
•Secure the backrest (45) on the seat tube (5) with M6×10 hexagon socket pan head screws (20) and
Ø8 at washers (17).
•Finaly, secure the protective cap (31) to the seat tube (5) with a ST4.2×18 cross head screw (23).
COMPUTER OPERATION
KEY FUNCTION
Mode While exercising, change display.
While setting, choose parameter to set.
Up/Recovery While setting, increase value in relevant ashing window.
While non-setting and non-exercising, start recovery function.
Down While setting, decrease value in relevant ashing window.
Reset/Go While setting, reset value in relevant ashing window. Keep pressed for 3 sec-
onds to reset value to zero.
While setting parameters for body fat, enter body fat test.
Body fat While non-exercising, enter/exit body fat parameters set-up.
DISPLAY FUNCTIONS
SPEED/FAT%/RPM Displays current training speed. Maximum speed is 99.9 KM/H.
Displays repetitions/minute (RPM) while exercising, which is the pedal frequen-
cy, range 0~1500.
Displays the Body Fat Ration (%).
TIME/BMI Count up, no preset target: It will count up from 00:00 up to 99:59.
Count down: If training with preset Time, Time will count down from preset to
00:00, with a 10 seconds alarm sound.

— 7 —
Displays the Body Mass Index.
DISTANCE/BMR Count up, no preset target: It will count up from 0.00 up to 99.99 KM.
Count down: If training with preset Distance, Distance will count down from
preset to 0.0, with a 10 second alarm sound.
Displays the Basal metabolic Rate.
CALORIES/TEMP Count up, no preset target: Total calorie consumption during training from 0 to
999Kcal (This data is a rough guide for comparison of dierent exercise sessions
which can not be used in medical treatment).
Count down: If training with preset Calories, Calories will count down from pre-
set to 0.0, with a 10 second alarm sound.
When idle, it displays the room temperature.
PULSE Your heart rate per minute, range 40~240rpm. You will see a display of“P” when
there is no pulse signal for over 60”. Press Up/Down to try again.
OPERATION
POWER ON/OFF
After 8 minutes without pedaling, pulse input or button press, the console will turn o automatically
and the memorry will be erased, except body fat parameters and temperature. Start pedaling to
wake the console up.
WORKOUT PARAMETERS SETTING
Press MODE to choose the parameter you wish to pre-set, the value must be asshing. Then, press
Up/Down to change the value. You may reset the value with the RESET button.
PULSE MEASUREMENT
Press any botton to change “P” into“0” in the window. Place both of your palms on the contact pads
and you will see your heart rate after 3-4 seconds. Remark: During the process of pulse measure-
ment, because of the contact jamming, the measurement value may be higher than the virtual pulse
rate during the rst 2-3 seconds, then will return to normal level. The measurement value cannot be
regarded as the basis of medical treatment.
RECOVERY FUNCTION
Press the Recovery/Up botton. The display will show a one minute countdown and your pulse rate.
Hold the pulse sensors until the countdown nishes. Then you rill see your recovery level as F1, F2…
to F6. F1 is the best, F6 is the worst. Press the Recovery/Up button again to exit.
BODY FAT, BMI and BMR
Press the Body Fat button to enter parameters concerning your body, such as user number (1~8),
weight (in kg), height (in cm), age and gender. You enter the parameteres using the Up/Down but-
tons and pressing Mode for the next parameter.
After entering the parameters, press Reset/Go and grab the pulse sensors. You will see your body
fat percentage in about 6 seconds. Exit by pressing Body Fat again. You may interpret the result on
screen by using the following table:
Gender/Age Underweight Healthy Slightly
Overweight
Overweight Obese
Male/ ≤ 30 < 14% 14%~20% 20.1%~25% 25.1%~35% > 35%
Male/ > 30 < 17% 17%~23% 23.1%~28% 28.1%~38% > 38%
Female/≤ 30 < 17% 17%~24% 24.1%~30% 30.1%~40% > 40%
Female/ > 30 < 20% 20%~27% 27.1%~33% 33.1%~43% > 43%
BATTERY REPLACEMENT: Replace battery when the display becomes dim or illegible.

1. Quadriceps stretch: Lean against the wall using your
right hand while bending your left leg backwards and
holding it with the other hand. Try to bend the leg as much
as you can. Hold this position for 15 seconds. Repeat for
the right leg.
2. Adductor stretch: Sit down pulling your feet towards
you, knees bent and the soles pressed together. Then use
your elbows to press your knees towards the oor. Perform 15
repetitions.
3. Touch your toes: Bend your waist slowly forward with your
knees slightly bent and your hands trying to grip the toes.
Hold this position for 15 seconds.
4. Hamstring stretch exercise: Sit with your right leg
outstretched towards the front and the left one tucked
in with the sole touching the right leg. Lean forward
trying to grab the toes of the outstretched foot. Perform
15 repetitions. Rest for a while and repeat with the other
leg outstretched.
5. Neck stretching (Head rolling): Tilt your head to the
right, feeling the stretching of the left side of the neck. Then
tilt your head towards the other side. Finally, tilt the head once
forward and once backwards.
6. Shoulder lift: Raise your right shoulder as close as you can
to your ear. Repeat with the left shoulder. This exercise should
be performed at a slow pace.
7. Achilles tendon stretch: This exercise is performed by
leaning on a wall, which you press with your hands. The right
foot should be bent at the knee and the left one stretched
backwards, the soles of both feet touching the ground. Repeat
the exercise by reversing the feet.
8. Side stretching: Stretch your hands upwards and try to lift
your left outstretched hand as high as possible, so that you
feel your left side being pulled. Repeat for the right hand.
56
7
8
1
4
2
3
WARMUP EXERCISES
A proper workout consists of warm-up, aerobic exercise and relaxation. Repeat the program 2 or,
preferably, 3 times a week, relaxing one day in between. After a few months you will be able to
increase the frequency of your workouts to 4 or 5 times per week. Warming up should be a key part
of your exercise, something not to be missed. It prepares your body for more strenuous exercises by
warming and stretching your muscles, increasing blood circulation and heart rate and sending more
oxygen to your muscles. Repeat these exercises after your workout to minimize muscle soreness. We
suggest the following exercises:
This manual suits for next models
1
Table of contents
Other Amila Exercise Bike manuals
Popular Exercise Bike manuals by other brands

Stamina
Stamina AVARI 2000C Upright Bike owner's manual

Keys Fitness
Keys Fitness CardioMax 560 Upright owner's manual

GREEN SERIES FITNESS
GREEN SERIES FITNESS CIR-RB7000-G owner's manual

Stamina
Stamina AVARI fitness owner's manual

Schwinn
Schwinn IC2 Indoor Cycling Bike Assembly manual

Spokey
Spokey GRIFFIN user guide