>
Note: Four (4) “C” Cell batteries are factory installed
®
inside the HYBRIDFLUSH unit. The unit is
shipped from factory with battery tray unplugged
and must be plugged in to activate.
®
To activate the HYBRIDFLUSH unit:
Adjusting Sensor Distance
?
Electronic
Push Button
Red LED
C
A - Press and hold electronic push button until you see
a blinking red LED in sensor window (unit will flush once).
Release electronic push button, wait one second, then
press and release electronic push button once again.
Unit will go into setup mode.
B - While in setup mode, stand at desired distance
(red LED will continuously blink as long as you are
within the allowed sensor range).
C - Remain at desired distance until red LED becomes solid
(unit will flush once).
Sensor distance is now locked at the new setting.
Adjusting Modes of Operation
@
1 2 3
ON
Mode Adjustment Guide
Switch #1: Water Saver Mode
OFF - Standard flush mode
ON - Flushes every other user for water savings (for use on urinal only)
Switch #2: 24-Hour Ghost Flush Mode
OFF - Ghost flush mode is off
ON - Ghost flush mode is on (flushes once every 24 hours after last use)
Switch #3: Flush Delay Mode
OFF - 3-second flush delay before flush (ideal for toilet)
ON - No flush delay before flush (ideal for urinal)
= Switch
®
The HYBRIDFLUSH unit includes different modes of operation. Remove side cover using battery compartment wrench and
refer to the “Mode Adjustment Guide” for switch settings (see diagram below).The “Mode Adjustment Guide” can also be
found on the inside of side cover for your convenience.
Page 2
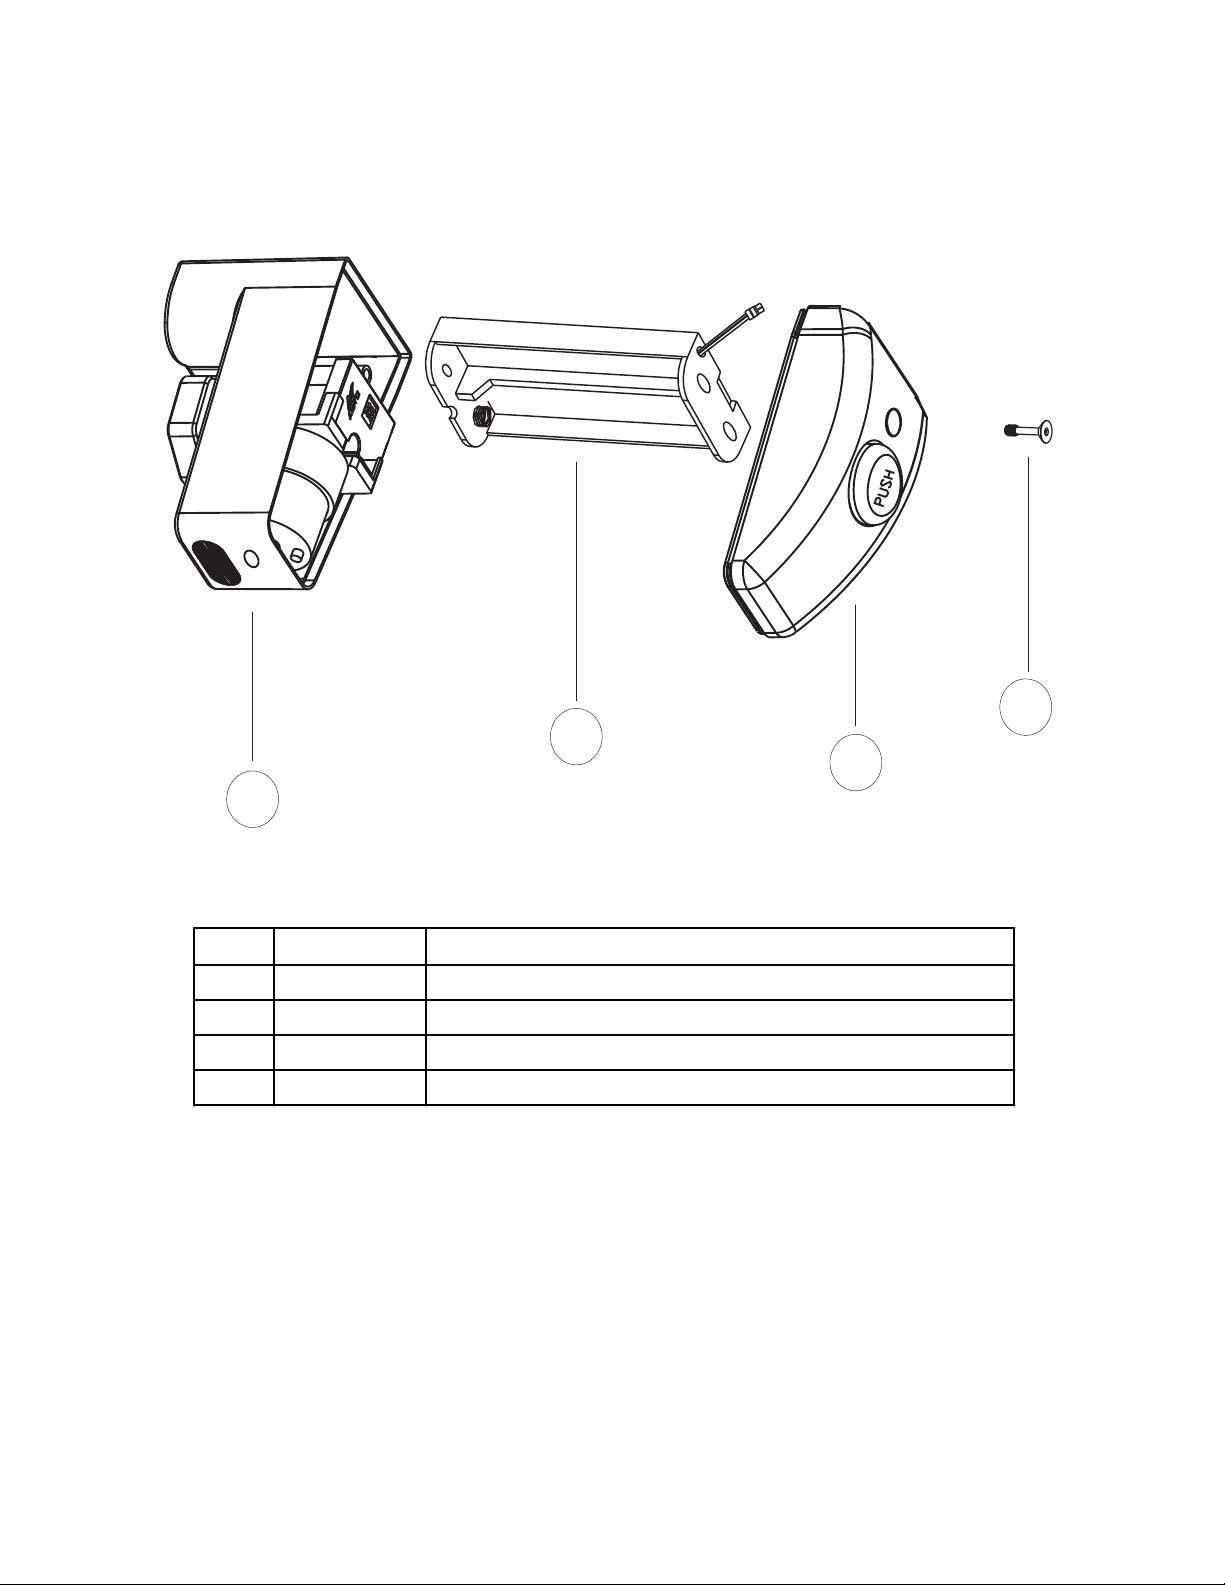
Activation
A - Using supplied battery compartment wrench, remove
side cover.
B - Plug in battery connector.
C - Reinstall side cover using battery compartment
wrench.
®
Note: The HYBRIDFLUSH unit comes preset from
the factory. If special circumstances require
adjustments, see STEP 4 “Adjusting Sensor
Distance” and/or see STEP 5 “Adjusting Modes of Operation”.
+
+
+
+
Battery
Connector
Battery
Tray
ON OFF