manuals.online logo
Brands
  1. Home
  2. •
  3. Brands
  4. •
  5. AMX
  6. •
  7. Switch
  8. •
  9. AMX Energy Management Modules RDM-3EM Assembly instructions

AMX Energy Management Modules RDM-3EM Assembly instructions

This manual suits for next models

1

Other AMX Switch manuals

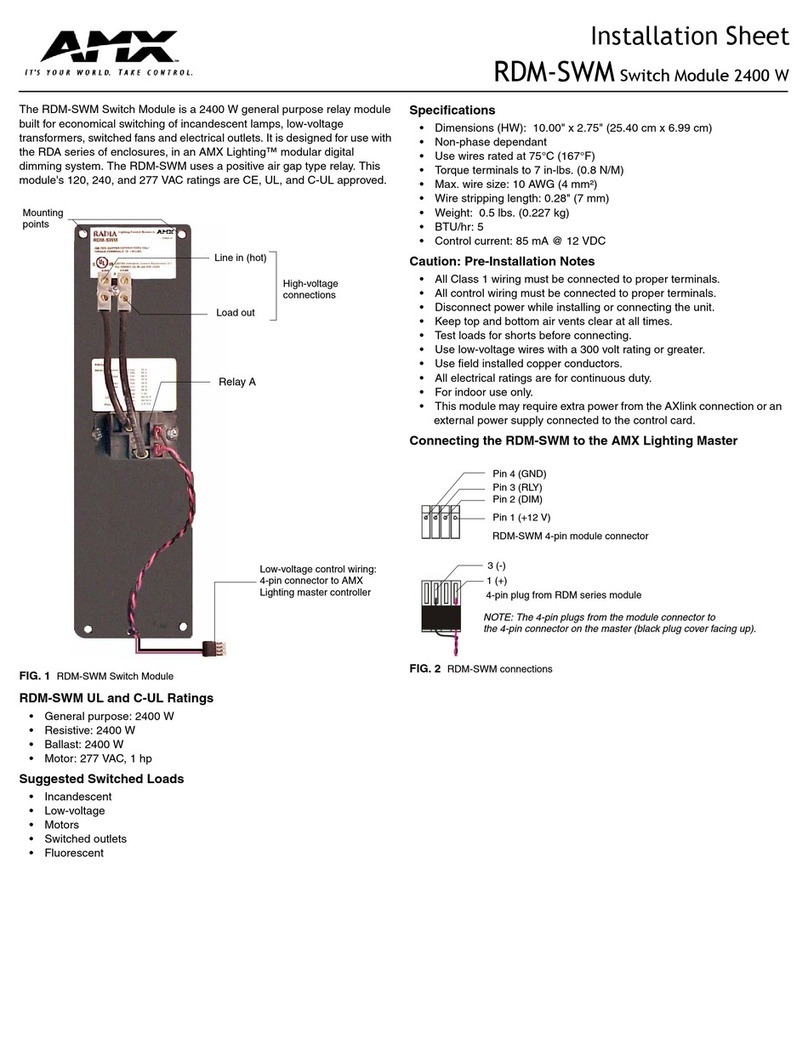
AMX NXC-NH Guide

AMX

AMX NXC-NH Guide

AMX Enova DVX-2110HD-SP User manual

AMX

AMX Enova DVX-2110HD-SP User manual

AMX Endeleo UDM-0102 Parts list manual

AMX

AMX Endeleo UDM-0102 Parts list manual

AMX Enova DVX-3150HD-SP User manual

AMX

AMX Enova DVX-3150HD-SP User manual

AMX Solecis AVS-SL-PR-0201-0301 User manual

AMX

AMX Solecis AVS-SL-PR-0201-0301 User manual

AMX NXA-ENET24POE User manual

AMX

AMX NXA-ENET24POE User manual

AMX Enova DGX 32 User manual

AMX

AMX Enova DGX 32 User manual

AMX SDX-510M-DX User manual

AMX

AMX SDX-510M-DX User manual

AMX Multi Preview Parts list manual

AMX

AMX Multi Preview Parts list manual

AMX AV2SM User manual

AMX

AMX AV2SM User manual

AMX NXA-ENET8-2POE User manual

AMX

AMX NXA-ENET8-2POE User manual

AMX RDM-2SWM DUAL SWITCH MODULE 20A Assembly instructions

AMX

AMX RDM-2SWM DUAL SWITCH MODULE 20A Assembly instructions

AMX Enova DVX-315 HD Series User manual

AMX

AMX Enova DVX-315 HD Series User manual

AMX NXC-HS User manual

AMX

AMX NXC-HS User manual

AMX PT10-PRV 2 X 1 User manual

AMX

AMX PT10-PRV 2 X 1 User manual

AMX DVX-2150HD-SP (FG1905-11) User manual

AMX

AMX DVX-2150HD-SP (FG1905-11) User manual

AMX DCP-MTX User manual

AMX

AMX DCP-MTX User manual

AMX Enova DGX 8 User manual

AMX

AMX Enova DGX 8 User manual

AMX endeleo UDM 1604 User manual

AMX

AMX endeleo UDM 1604 User manual

AMX RDM-3SWM Assembly instructions

AMX

AMX RDM-3SWM Assembly instructions

AMX RDM-3HSW Quick start guide

AMX

AMX RDM-3HSW Quick start guide

AMX AV2SM User manual

AMX

AMX AV2SM User manual

AMX Solecis AVS-SL-0201-824 User manual

AMX

AMX Solecis AVS-SL-0201-824 User manual

AMX Enova DGX User manual

AMX

AMX Enova DGX User manual

Popular Switch manuals by other brands

SMC Networks SMC6224M Technical specifications

SMC Networks

SMC Networks SMC6224M Technical specifications

Aeotec ZWA003-S operating manual

Aeotec

Aeotec ZWA003-S operating manual

TRENDnet TK-209i Quick installation guide

TRENDnet

TRENDnet TK-209i Quick installation guide

Planet FGSW-2022VHP user manual

Planet

Planet FGSW-2022VHP user manual

Avocent AutoView 2000  AV2000BC AV2000BC Installer/user guide

Avocent

Avocent AutoView 2000 AV2000BC AV2000BC Installer/user guide

Moxa Technologies PT-7728 Series user manual

Moxa Technologies

Moxa Technologies PT-7728 Series user manual

Intos Electronic inLine 35392I operating instructions

Intos Electronic

Intos Electronic inLine 35392I operating instructions

Cisco Catalyst 3560-X-24T Technical specifications

Cisco

Cisco Catalyst 3560-X-24T Technical specifications

Asante IntraCore IC3648 Specifications

Asante

Asante IntraCore IC3648 Specifications

Siemens SIRIUS 3SE7310-1AE Series Original operating instructions

Siemens

Siemens SIRIUS 3SE7310-1AE Series Original operating instructions

Edge-Core DCS520 quick start guide

Edge-Core

Edge-Core DCS520 quick start guide

RGBLE S00203 user manual

RGBLE

RGBLE S00203 user manual

Thrustmaster FLIGHT SIMULATOR X quick guide

Thrustmaster

Thrustmaster FLIGHT SIMULATOR X quick guide

Southwire SURGE GUARD 41390 RVC troubleshooting guide

Southwire

Southwire SURGE GUARD 41390 RVC troubleshooting guide

Buhler Nivotemp NT 61 Brief instructions

Buhler

Buhler Nivotemp NT 61 Brief instructions

Kramer VS-41HDCP user manual

Kramer

Kramer VS-41HDCP user manual

Techly IDATA AU-270 user manual

Techly

Techly IDATA AU-270 user manual

Belkin F1U109 user manual

Belkin

Belkin F1U109 user manual

manuals.online logo
manuals.online logoBrands
  • About & Mission
  • Contact us
  • Privacy Policy
  • Terms and Conditions

Copyright 2025 Manuals.Online. All Rights Reserved.

Installation Sheet
RDM-3EM and RDM-6EM Energy Management Modules
The RDM-3EM (FG606-81) and RDM-6EM (FG606-80) are 3 and 6
channel switching energy management modules. They are designed for use
with the RDA series of enclosures in an AMX Lighting™ system.
For more detailed installation and operating instructions, refer to the Radia
Lighting Control System Instruction Manual, available on-line at
www.amx.com.
The RDM-3EM and RDM-6EM are designed with the most advanced
latching energy management relays to support heavy duty commercial
applications, building automation, and loadside management. Equipped
with on-board module microprocessors, both support relay control and
sequencing. Features include:
• User selectable delays in sequencing mode to minimize inrush current
and stress on the electrical distribution system.
• Selectable strapping facilitates multiple relays on one Radia control
channel for large area control.
• Manual on/off override on each relay independent of control system.
• Relays retain their state during power and control system outages.
• Visual Status Indicators on each relay.
• Latching relays do not consume any control current, except when they
change state, eliminating the need for additional Radia power supplies.
Specifications
• Dimensions (HW): 10.00" x 2.75" (25.40 cm x 6.99 cm)
• Non-phase dependant
• Use wires rated at 75°C (167°F)
• Torque terminals to 4.4 in lbs.
• Wire size: 26 AWG to 10 AWG
• Wire stripping length: 0.28" (7 mm)
• Weight: 15 oz. (RDM-3EM) and 1.5 lbs. (RDM-6EM)
Included Accessories
• 4 mounting screws
• Control wiring harness
RDM-3EM and RDM-6EM UL and C-Ul Ratings
• General purpose: 120, 240, 277, and 347*VAC, 20 A
• UL/CUL916 Energy Management Systems.
• UL/CUL508 Industrial Control Systems.
Suggested Switched Loads
• Incandescent
• Fluorescent
• Transformer
• Low voltage
• General purpose
Caution: Pre-Installation Notes
• All Class 1 wiring must be connected to proper terminals.
• All control wiring must be connected to proper terminals.
• Disconnect power while installing or connecting the unit.
• Keep top and bottom air vents clear at all times.
• Test loads for shorts before connecting.
• Use low voltage wires with a 300 volt rating or greater.
• Use field installed copper conductors.
• All electrical ratings are for continuous duty.
• For indoor use only.
FIG. 1 RDM-6EM
Mounting
points
Relays
Sequencing
Delay Jumpers
(JP1 and JP2)
Control
Port
Strapping
Jumpers
(JP3 - JP7)
(1-6)
1
2
3
4
5
6
Mounting points
FIG. 2 RDM-3EM
Mounting
points
Relays
Sequencing
Delay Jumpers
(JP1 and JP2)
Control
Port
Strapping
Jumpers
(JP3 - JP4)
(1-3)
1
2
3
Mounting points
*Agency approval pending
AMX Corporation reserves the right to alter specifications without notice at any time.
For full warranty information, refer to the AMX Instruction Manual(s) associated with your Product(s).
043-004-2729 05/03 ©2003
AMX Corporation. All rights reserved. The AMX logo is a trademark of AMX Corporation. AMX reserves the right to alter specifications without notice at any time.
3000RESEARCHDRIVE,RICHARDSON, TX75082• 800.222.0193 •fax469.624.7153 •technical support800.932.6993•www.amx.com
9
3-0606-80 REV: A
Jumper Information
Jumpers provide user-selectable configuration options on the Radia
Energy Management Modules.
The following table describes the jumper settings for various delays and
strapping:
Visual Status Indicators/Manual Override
Each relay includes a green lever that serves as both a status indicator
and manual override switch. With the lever to the left (towards the wire
terminals) the relay is in the OFF position. With the lever to the right the
relay is in the ON position.
Connecting the RDM-3EM/6EM
Connect pins 1, 3 and 4 on the “A” connector only:
Connect only pin 3 on the remaining connectors ( “B” through “F”):
Connect the LINE IN and LOAD wiring on the (orange) 2-pin Channel
connectors, as shown below:
AMX Lighting Warranty Information
AMX Lighting products are guaranteed to switch on and off any load that
is properly connected to our lighting products, as long as the AMX Lighting
products are under warranty. AMX Corporation does guarantee the control
of dimmable loads that are properly connected to our lighting products.
The dimming performance or quality cannot be guaranteed due to the
random combinations of dimmers, lamps and ballasts or transformers.
Jumper Information
Sequencing Delay
Jumpers (JP1 and JP2)
The sequencing delay jumpers are set to short (0.5
sec.) delay by default. Installers can also select set-
tings of no delay, medium delay (1.0 sec.) and long
delay (1.5 sec.) between relays to minimize inrush
current and stress on the electrical system.
Control Port Strapping
Jumpers (JP3 - JP7)
Each relay is set to an individual Radia port by default.
Installers have the option of setting multiple relays to an
individual Radia port for large area control.
For example, to combine A and B set JP3 to the ON
position.
JP1 - JP2 Jumper Settings
JP1 JP2 Delay
off off no delay
off on short delay (0.5 sec.)
on off long delay (1.5 sec.)
on on medium delay (1.0 sec.)
FIG. 3 RDM-3EM/6EM wiring connections - Connector “A” only
FIG. 4 RDM-3EM/6EM wiring connections - Connectors “B” through “F”
Pin 4 (GND)
Pin 3 (RLY)
Pin 1 (+12V)
Pin 4 (GND)
Pin 3 (RLY)
Pin 1 (+12V)
RDM-3EM/6EM 4-pin connector
4-pin connector from Radia Master
Pin 3 (RLY)
Pin 3 (RLY)
RDM-3EM/6EM 4-pin connector
4-pin connector from Radia Master
FIG. 5 2-pin Channel connectors
LINE
LOAD