10
DAILY CLEANING PROCEDURE
NOTE: Cleaning is recommendedat the end of a
workday, topreparethe fryer forproper operation
thenext timeit is tobe used.
DANGER
DONOTmovethefryerwhileitcontains
HOT shortening. Allow it to cool and
drain the shortening from the fryer be-
fore moving it for service, cleaning, or
maintenance to avoid spilling or splash-
ing. [Refer to steps 1 through 7.] Burns
from HOT shortening can cause seri-
ous injury or death.
Whencleaning,ifrelocation ofyourfryeris
necessary,disconnect thegassupplylineto the
fryer. Movethe fryeras necessary toallow the
followingcleaningproceduretooccur:
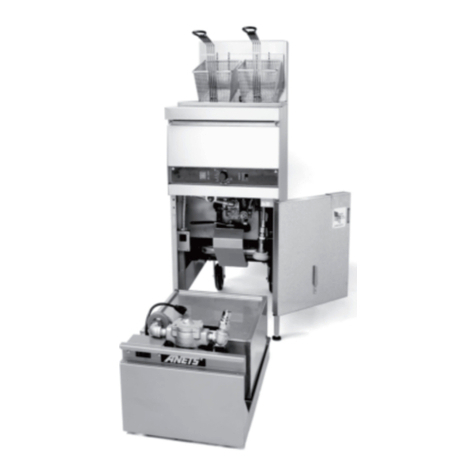
1. Open thefront door ofthe fryer. Attachthe
drainextensiontothedrain ballvalve.
2. Perform theShutdownProcedure. Ensure
thatthegassupplyline inletvalveisclosed
(handlecross-wise topipe line)and thepilot
flameisextinguished.
3. Position asteeldrum [NEVERuseplastic!]
withafiltercone, directlybeneaththedrain
extensionend.
4. Remove thefryer basketsfromthekettle.
Thoroughlyclean,andrinse,theseitemsin
thesink. MAKE SURE thatthese itemsare
completelydrybefore theirnextuse.
5. Allowtheshorteningtocoolbeforedraining.
Slowlyopenthe drainballvalve todrainthe
shortening. Takecare toavoidspilling or
splashingtheshortening.
6. Flushout all sedimentinthebottomof the
kettlebypouringfiltered,liquidshortening
intothekettleuntiltheshorteningbeing
drainedrunsclear.
FRFR
FRFR
FRYER OPERAYER OPERA
YER OPERAYER OPERA
YER OPERATING INSTRTING INSTR
TING INSTRTING INSTR
TING INSTRUCTIONSUCTIONS
UCTIONSUCTIONS
UCTIONS (Continued)
7. Close thedrain ballvalve,after thekettle is
completelyemptyofshorteningand sedi-
ment. Detachthe drainextension. Clean,
rinse,anddry itbefore storing.
WARNING
Wait until the kettle has cooled
beforeperforming step8,to avoid
injury from burns.
8. Thoroughlywipethekettleinteriorusing
cleancloths.
9. Periodically performthe“BOILOUT”
Instructionstoensurethorough cleaningof
thekettle. ( Refertothe earlierFRYER
PREPARATIONFOR USE section.)
10. Returnthe fryertoits normaloperatingloca-
tionandreconnect boththegas supplyline
andthemovement-limitingcable. (For
caster-equippedfryers, lockthe lockingcas-
terstoprevent movement.)
11. Refillthekettlewithfiltered(orfresh)liquid
shorteningtothe desiredindent markonthe
rearwall ofthe kettle,onlyif fryeroperation
istocontinueduringasubsequent shift.
Otherwise,meltshorteningintoitsliquidstate
andrefillthe kettlebefore fryeroperation is
scheduledduringthenextworkingshift.
12. Returnthe screento itsproper positionin the
kettle. Placethe fryer baskets on thebasket
hanger,readyforuse.
13. Performthe LightingProceduretoreturn
thefryer tooperation, whendesired.
DAILY CLEANING PROCEDURE
(Continued)
!
™
