AngioCode 301 User manual


Health Tracker AngioCode-301. Quick Reference.I
© 2022 AlmaCode
Table of Contents
Chapter I Introduction 1
Chapter II Safety and terms of use 5
.................................................................................................................... 6
1 Safety warning
......................................................................................................................... 6
2 Precautions
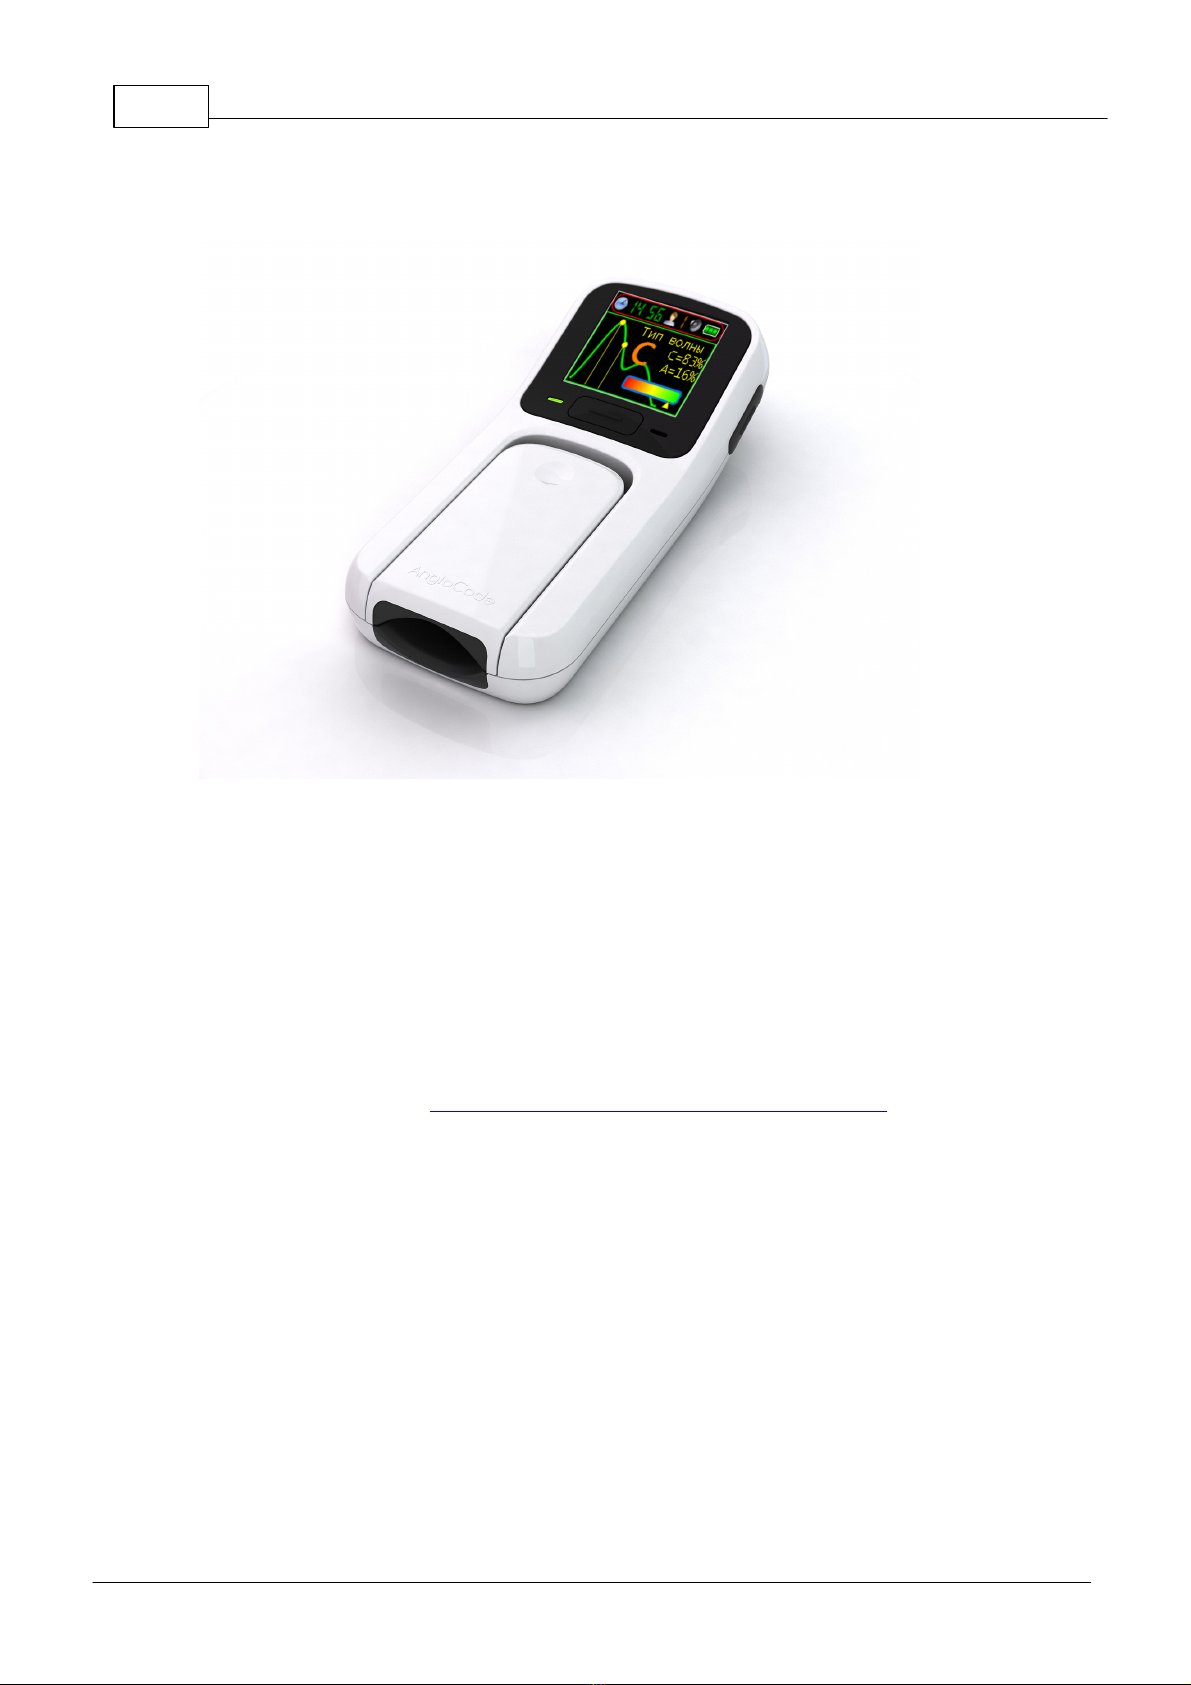
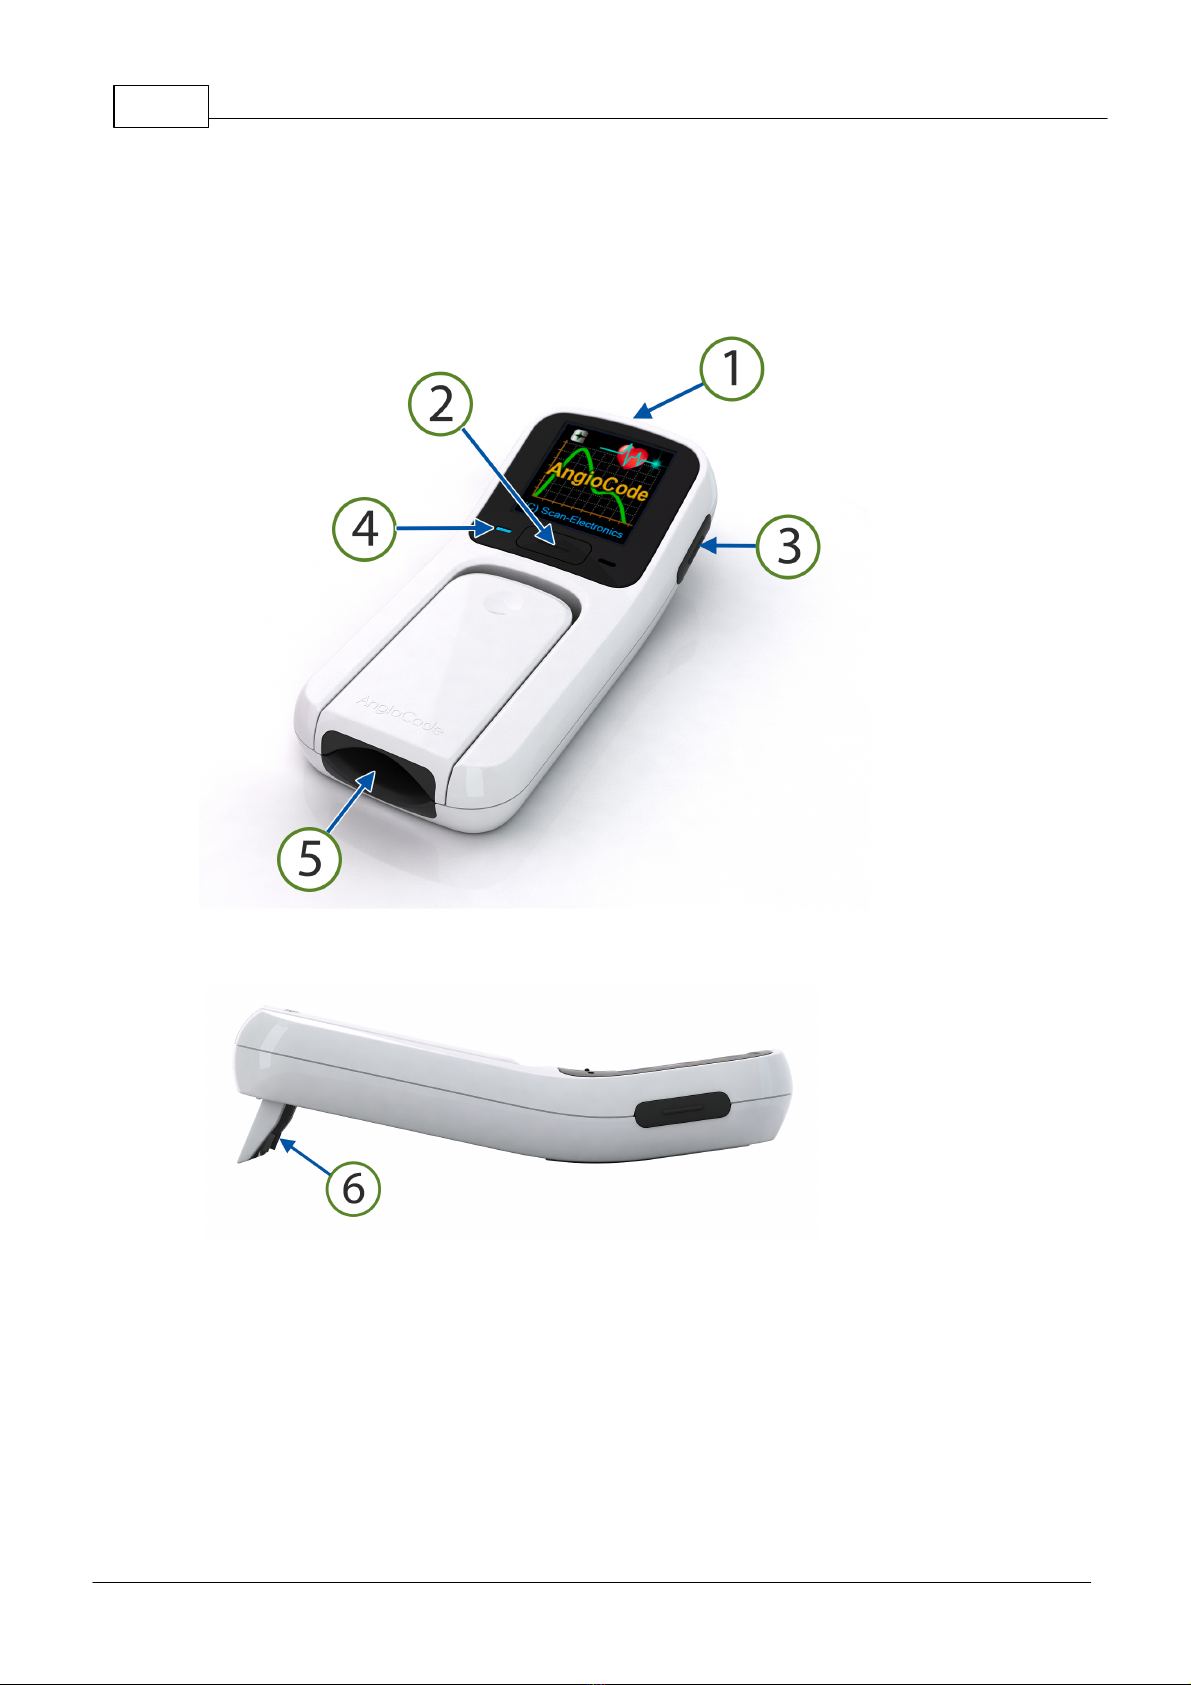
Chapter III Appearance and design of AngioCode-301
device 7
Chapter IV How to turn the device on and off 11
Chapter V How to navigate the device menu 13
Chapter VI How to set the date and time 15
........................................................................................................................ 16
1 Date setting
....................................................................................................................... 16
2 Time setting
Chapter VII How to select the right user number and
enter his/her personal data 17
........................................................................................................... 18
1 User number setting
..................................................................................................... 18
2 Setting the date of birth
..................................................................................................................... 19
3 Height setting
Chapter VIII How to start test and view its results 21
......................................................................................................... 22
1 Preparing for the test
..................................................................................................... 22
2 Behavior during the test
............................................................................................................... 22
3 Conducting a test
................................................................................................................. 23
4 View test results
Chapter IX View previous test results 25
Chapter X How to evaluate your test results on the
device 29
........................................................................................................................... 31
1 Pulse rate
.............................................................................................................. 31
2 Oxygen saturation
.................................................................................................................. 32
3 Perfusion index
...................................................................................................................... 33
4 Vascular age
............................................................................................................... 33
5 Vascular stiffness
................................................................................................................. 33
6 Pulse wave type
................................................................................................................. 34
7 Systole duration
........................................................................................................................ 35
8 Stress level
Index 37


2
© 2022 AlmaCode
Introduction
1 Introduction
AngioCode-301
Thank you for purchasing our product!
We hope that the AngioCode-301 device will become a reliable guide to the world of a healthy lifestyle
and longevity for you and your family!
The AngioCode-301 device itself is intended for independent monitoring of the state of the human body,
in particular - the assessment of psycho-emotional balance, reserves of the cardiovascular system.
Warning! AngioCode-301 is not a medical device! This is a device for monitoring physiological
parameters at home. Any data obtained using the device is for informational purposes only and
cannot be used for diagnosis, treatment or therapy. For all questions about the operation of the
device, you can contact Customer service https://angiocode.com/support
The AngioCode-301 device can work offline, under the control of a mobile device with Android or under
the control of a personal computer with the Windows operating system.
In offline mode, the device allows running tests and storing their results in the internal memory of the
device. These results are available for viewing on the screen of the device itself.
Built-in memory provides data storage for at least one hundred tests.
To work together on an Android mobile device, you need to install the AngioCode application on it, it is
available by the link https://angiocode.com/en_a301. The description of the mobile application is
available in it and by the link https://angiocode.com/en_apdf301. Mobile device requires Android OS 6.0
or later and Bluetooth 4.0 or later.
The device can be connected to a personal computer via a USB cable. On a personal computer, before
connecting the device for the first time, it is necessary to install the AngioCode software, it is available
on the website https://angiocode.com/en_w301. A description of how to work with a personal computer
is available after installing the program. You can download this description by this link

Introduction 3
© 2022 AlmaCode
https://angiocode.com/en_wpdf301. The personal computer must be running Windows 10©, Windows 8©
or Windows 7©.
With the help of the AngioCode program and AngioCode application you can copy test data, view test
results and graphs of test results over time, delete unnecessary test records from the device's memory,
and perform other useful functions.
This brief instruction manual contains information about the most basic functions of the device in offline
use. To explore all the features of the product, both offline and accessible via a personal computer or
mobile application, please refer to the respective User Manuals.
Minimum knowledge required to use the device:
1. How to turn the device on and off.
2. How to navigate through the device menu.
3. How to set date and time.
4. How to select the desired user number and enter its individual parameters.
5. How to conduct a test and see its results.
6. How to view the results of previous tests.
7. How to evaluate your test results.


6
© 2022 AlmaCode
Safety and terms of use
2 Safety and terms of use
Read the instructions before using the device.
2.1 Safety warning
·
Keep the device out of the reach of children and pets. To avoid accidents, keep the device and
accessories out of the reach of children and pets.
·
Do not use the device in a potentially explosive or flammable environment. Keep the device
switched off at petrol stations and near containers with flammable liquids. Do not store or transport
flammable liquids, gases or explosives together with the device, its components and accessories.
·
Have the device repaired only by qualified personnel. Do not disassemble it yourself.
2.2 Precautions
·
Before using the device, read the user manual.
·
Do not expose the device to extreme temperatures (below 0 °C or above 45 °C). If the temperature is
too high or too low, it will reduce the capacity and shorten the battery life.
·
Do not use defective chargers.
·
Do not squeeze the device hard in your hand, press the button lightly.
·
Avoid getting the device wet. Moisture can cause serious damage to the device. Moisture entering the
device will void the manufacturer's warranty.
·
Do not use or store the device in contaminated areas. This can cause damage to moving parts of the
device and reduce diagnostic quality.
·
External shocks and rough handling can cause serious damage to the electronics.
·
The action of the electromagnetic field can damage the device. Avoid exposing the device to strong
electromagnetic fields.
·
Light sources, electronic and household appliances, and wireless phones can interfere with the
operation of the device.
·
If you bring the package with the device from the cold into a warm room, leave it warm for two hours
without opening it. Otherwise, moisture condensation can cause the device to malfunction.
·
Handle the device with care, the display is made of glass and can be broken if handled carelessly.
·
Do not disconnect the device from the computer, when updating the firmware. Attempting to disrupt the
loading process may cause the device to malfunction that can only be repaired by a service center.


8
© 2022 AlmaCode
Appearance and design of AngioCode-301 device
3 Appearance and design of AngioCode-301 device
.AngioCode-301 common view,
There is a display on the front panel of the device. The main units and controls are marked with numbers:
1. miniUSB connector for charging the built-in battery and transferring data to a computer;
2. main control button for turning on the device and controlling it;
3. side button to return to the main menu and turn off the device;
4. charging indicator;
5. sensor with normalized hold-down for finger fixation during the test;
6. stand, needs to be installed to ensure the correct position of the finger;

Appearance and design of AngioCode-301 device 9
© 2022 AlmaCode
The device is equipped with a Bluetooth module for communication with mobile devices running Android
6.0 and later.
The built-in rechargeable battery allows dozens of tests to be performed in offline mode.
The AngioCode-301 non-volatile memory can store at least a thousand test results.


12
© 2022 AlmaCode
How to turn the device on and off
4 How to turn the device on and off
·
To turn on, press and hold the main button for three seconds before
turning the device on.
·
The splash screen will be displayed and an audible greeting will be
played.
·
After the splash screen, the home page of the menu will be
presented.
·
Pay attention to the battery charging icon - if it looks like or
, the battery is discharged and should be recharged before the
device can be used. Connect the device to the charger or your
computer.
·
The device can be turned off via the menu or by long tapping on the
side button.
·
If you do not perform the test and do not tap any buttons, the device
will turn off automatically after 2 minutes.


14
© 2022 AlmaCode
How to navigate the device menu
5 How to navigate the device menu
·
The device is controlled by two buttons: the main one, located under the screen,
and the side button, located to the right of the screen.
·
There are two types of button taps:
- short - less than one second;
- long - more than one second.
·
Short tap on the main button moves the cursor to the next menu item or the next
input parameter. Short tap during the test - ends the test.
·
Long tap on the main button moves to the next menu page, returns to the
previous menu level, changes value of the selected option.
·
Short tap on the side button quickly moves to the main menu.
·
Long tap on the side button turns off the device.


16
© 2022 AlmaCode
How to set the date and time
6 How to set the date and time
When you turn on the device for the first time, it is important to set the current date and time, because
when the test results are saved in the device's memory, the date and time values are fixed according to
the device's clock. Correctly setting the device's clock will make it easier to find and analyze stored
results.
6.1 Date setting
To set the current date use the [Device options], [Date] submenu.
·
With short taps on the main button, move the cursor to the
[Device options] position.
·
Tap and hold the button until you get to the general settings
submenu.
·
Tap and hold the button on the [Date] item before proceeding
to the date setting.
·
Tap and hold the button until tens of years are set.
·
Short tap to move the cursor to the years field.
·
Tap and hold the button until the current year is set.
·
Short tap to move the cursor to the month field.
·
Tap and hold the button until the desired month is selected.
·
Short tap to move the cursor to the field with the number.
·
Tap and hold the button until the desired number is set.
·
The next short tap on the main button will take you to the
previous menu level.
6.2 Time setting
To set the current time use the [Device options], [Time] submenu.
·
Short taps on the main button move the cursor to the [Time]
position
·
Tap and hold the button until you get to the time settings.
·
Tap and hold the button to set tens of hours. Release the
button.
·
Short tap to move the cursor to the hours field.
·
Tap and hold the button until the hours are set.
·
Short tap to move the cursor to the tens of minutes field. Long
tap to set the desired value.
·
Set the minutes in the same way.
·
Next, after setting the minutes, a short tap on the main button
will cause the transition to the previous menu level.


18
© 2022 AlmaCode
How to select the right user number and enter his/her personal data
7 How to select the right user number and enter his/her
personal data
The properties of the vascular system are interconnected with the properties of your body and its
condition. As you age, your blood vessels become stiffer. What is normal for a middle-aged person may
be a sign of illness for a young person. Another important parameter on which the evaluation of test
results depends is the height of the person. For proper interpretation of the test results, they should be
correlated with the age and height of the subject.
The device can independently manage up to nine users. You need to set individual values for age and
height of them all. Before entering these parameters, select the desired user number.
To enter individual parameters, use the [User] submenu.
7.1 User number setting
To select the user number use the [User], [Number in database] submenu.
·
Short tap on the main button to move the cursor to the [User] position on the
first page of the menu
·
Tap and hold down the button until the [User] submenu is displayed.
·
Tap and hold the button on the [Number in database] item before proceeding to
the user number selection.
·
Tap and hold the main button until the desired user number is selected.
·
The next short tap on the main button will take you to the previous menu level.
7.2 Setting the date of birth
To enter user birthday use the [User], [Birthday] submenu.
·
Briefly tap the main button to move the cursor to the
[Birthday] item
·
Tap and hold down the button until the [Birthday] submenu is displayed.
·
Tap and hold the button until the desired century is set.
·
Move the cursor to the tens of years setting field with a short tap.
·
Tap and hold the main button until you set the tens. Release the button.
·
Short tap to move the cursor to the field with the year.
·
Tap and hold the button until the desired year is set. Release the button.
·
Short tap to move the cursor to the month selection field.
·
Tap and hold the button until the desired month is set. Release the button.
Other manuals for 301
1
Table of contents
Other AngioCode Personal Care Product manuals