manuals.online logo
Brands
  1. Home
  2. •
  3. Brands
  4. •
  5. Antec
  6. •
  7. Enclosure
  8. •
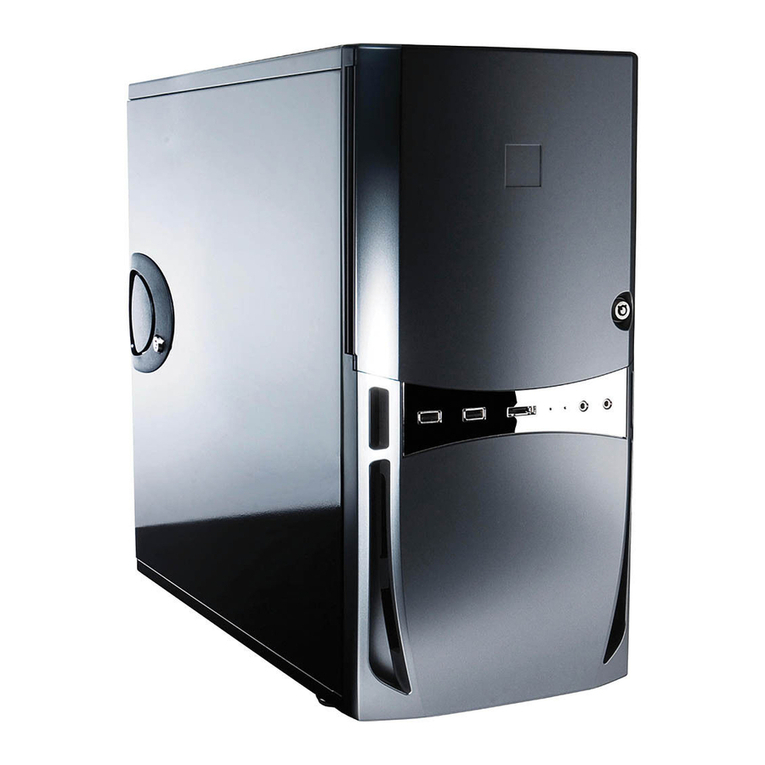
  9. Antec Super LANBOY User manual

Antec Super LANBOY User manual

Other manuals for Super LANBOY

3

Other Antec Enclosure manuals

Antec VSK-2450 User manual

Antec

Antec VSK-2450 User manual

Antec Sonata User manual

Antec

Antec Sonata User manual

Antec SONATA III 500 User manual

Antec

Antec SONATA III 500 User manual

Antec ISK 100 User's User manual

Antec

Antec ISK 100 User's User manual

Antec Plus800 Series User manual

Antec

Antec Plus800 Series User manual

Antec Dark fleet DF-10 User manual

Antec

Antec Dark fleet DF-10 User manual

Antec Solution SLK2650-BQE User’s User manual

Antec

Antec Solution SLK2650-BQE User’s User manual

Antec Solution SLK3700AMB User’s User manual

Antec

Antec Solution SLK3700AMB User’s User manual

Antec P280 User manual

Antec

Antec P280 User manual

Antec Ruby / Sapphire User manual

Antec

Antec Ruby / Sapphire User manual

Antec NSK 3300 User manual

Antec

Antec NSK 3300 User manual

Antec UCC13# 0761345-15300-3 NA User manual

Antec

Antec UCC13# 0761345-15300-3 NA User manual

Antec Mini P180 White User manual

Antec

Antec Mini P180 White User manual

Antec P190 User manual

Antec

Antec P190 User manual

Antec VERIS MX-1 User manual

Antec

Antec VERIS MX-1 User manual

Antec Veris Fusion Remote Max Quick start guide

Antec

Antec Veris Fusion Remote Max Quick start guide

Antec Veris Fusion Remote Black Quick start guide

Antec

Antec Veris Fusion Remote Black Quick start guide

Antec P160 User manual

Antec

Antec P160 User manual

Antec Super LANBOY User manual

Antec

Antec Super LANBOY User manual

Antec NINE HUNDRED TWO V3 User's User manual

Antec

Antec NINE HUNDRED TWO V3 User's User manual

Antec VERIS MX-100 User manual

Antec

Antec VERIS MX-100 User manual

Antec MINUET 300 User manual

Antec

Antec MINUET 300 User manual

Antec SX1240 User manual

Antec

Antec SX1240 User manual

Antec MX-25 User manual

Antec

Antec MX-25 User manual

Popular Enclosure manuals by other brands

ENERMAX iVektor.Q ECA 3371 Series user manual

ENERMAX

ENERMAX iVektor.Q ECA 3371 Series user manual

Lindy 43095 user manual

Lindy

Lindy 43095 user manual

SICK C4000 Select operating instructions

SICK

SICK C4000 Select operating instructions

Geeek A60 PLUS installation guide

Geeek

Geeek A60 PLUS installation guide

OVE SYDNEY 48 installation manual

OVE

OVE SYDNEY 48 installation manual

SilentiumPC Armis AR5 Hardware installation

SilentiumPC

SilentiumPC Armis AR5 Hardware installation

Pulsar 17/TRP80/DSPR Assembly instructions

Pulsar

Pulsar 17/TRP80/DSPR Assembly instructions

MSI MPG SEKIRA 500X quick start guide

MSI

MSI MPG SEKIRA 500X quick start guide

Peavey DS 1502 Specifications

Peavey

Peavey DS 1502 Specifications

D-Link ShareCenter Pro DNS-1550-04 user manual

D-Link

D-Link ShareCenter Pro DNS-1550-04 user manual

Rosewill RX82-U(JBOD) user manual

Rosewill

Rosewill RX82-U(JBOD) user manual

QNAP SAS JBOD CLI 1.0 user guide

QNAP

QNAP SAS JBOD CLI 1.0 user guide

GAMDIAS Talos P1 Quick installation guide

GAMDIAS

GAMDIAS Talos P1 Quick installation guide

Auvs KR615 user manual

Auvs

Auvs KR615 user manual

CommScope FDH 3000 user manual

CommScope

CommScope FDH 3000 user manual

FS FHD-FWME4 quick start guide

FS

FS FHD-FWME4 quick start guide

JBL CS1215T owner's manual

JBL

JBL CS1215T owner's manual

Pulsar ARAD-S4 manual

Pulsar

Pulsar ARAD-S4 manual

manuals.online logo
manuals.online logoBrands
  • About & Mission
  • Contact us
  • Privacy Policy
  • Terms and Conditions

Copyright 2025 Manuals.Online. All Rights Reserved.

User’s Manual
Antec, Inc.
47900 Fremont Blvd.
Fremont, CA 94538
tel: 510-770-1200
fax: 510-770-1288
Antec Europe B.V.
Sydneystraat 33
3047 BP Rotterdam
The Netherlands
tel: +31 (10)462-2060
fax: +31 (10)437-1752
Technical Support:
US & Canada
1-800-22ANTEC
[email protected]
Europe
+31 (10)462-2060
[email protected]
www.antec-inc.com
www.antec-europe.com
c Copyright 2002 Antec, Inc. All rights reserved.
Reproduction in whole or in part without written permission is prohibited. Printed in China.
Version 0.1 11/18/2002
LANBOY User’s Manual
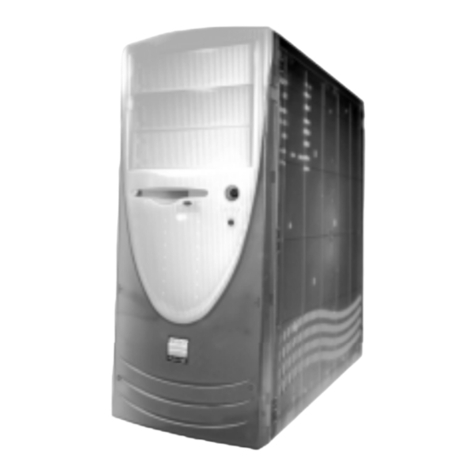
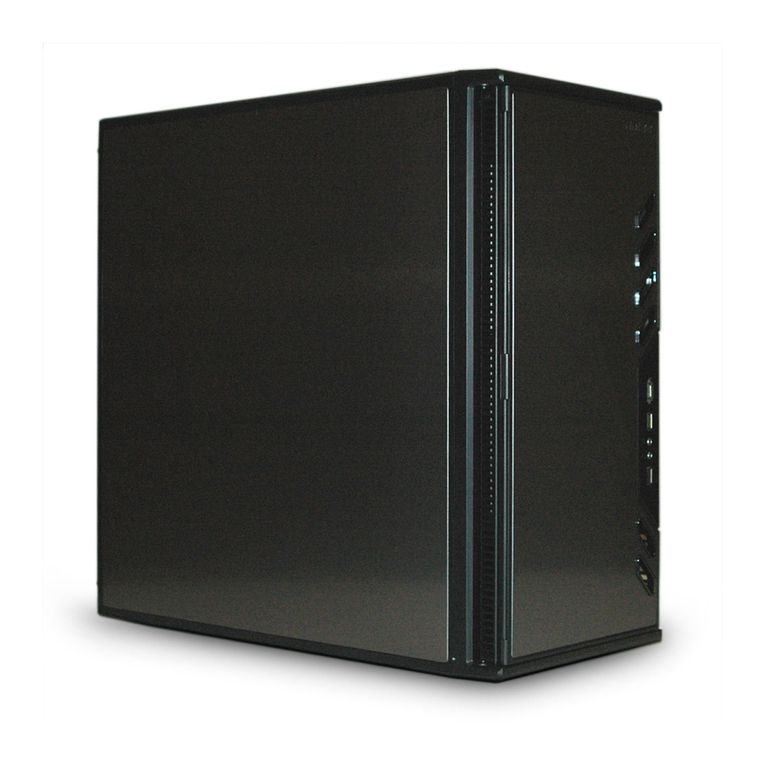
LANBOY - Aluminum Mini Tower Case
The LANBOY case comes with the Antec’s SmartBlue power supply with blue
LED illumination. SmartBlue comes with a main power switch. Make sure you
turn the switch to the ON ( I ) position before you boot up your computer for
the first time. In normal operation there is no need to turn the switch to the
OFF (O) position since the power supply is equipped with a soft on/off feature
which turns your computer on and off through the soft switch on your computer
case.You may need to turn the switch to the OFF position occasionally should
your computer crash and you cannot shut it down through use of the soft
switch.
Set Up
1. Take the case out of the box. Remove the Styrofoam. Remove the plastic bag.
2. Place the case upright with the power supply fan at the back facing you.
You will find an Expansion Slot Protective Cover mounted right above the
expansion slots. This cover has a compartment marked “hardware” to store
your hardware (screws, brass standoffs, plastic stands, etc).
3. Remove the screws from the right side panel. Grip the panel at the finger-
grip indent and slide it towards you to open the case.
4. Inside the case you should see the power supply, some wiring with marked
connectors (USB, PWR etc.), an installed I/O panel and a power cord.
5. Press the tab on the Protective Cover to remove the cover for expansion
card installation
Motherboard Installation
This manual is not designed to cover CPU, RAM, or expansion card installation.
Please consult your motherboard manual for specific mounting instructions and
troubleshooting.
1. Lay the case down so that the open side is up. You should be able to see
the drive cage and power supply.
2. Make sure you have the appropriate I/O panel for your motherboard. If the
panel provided is not suitable for your motherboard, please contact your
motherboard manufacturer for the correct I/O panel.
3. Line up your motherboard with the standoff holes, and determine which
ones line up and remember where they are. Not all motherboards will match
with all of the provided screw holes and this is not necessary for proper
functionality. (In other words there will likely be extra holes.) Some standoffs
may be pre-installed for your convenience.
4. Lift up and remove your motherboard.
Disclaimer
This manual is intended only as a guide for Antec's Computer Enclosures. For more comprehensive
instructions on installing your motherboard and peripherals, please refer to the user's manuals
which come with your components and drives.
5. Screw in the brass standoffs to the threaded holes that line up with your
motherboard.
6. Place your motherboard on the brass standoffs.
7. Screw in your motherboard to the standoffs with the provided metallic
Phillips-head screws. Your motherboard is now installed.
Power/LED Connections
The Antec SmartBlue power supply is an ATX12V form factor power supply
with a single 20-pin Main Power Connector, a 6-pin AUX Power Connector,
and a 4-pin +12V Power Connector for the motherboard. It also comes with
five to seven 4-pin Peripheral Power Connectors and one to two 4-pin Floppy
Drive Power Connectors for your drives. It is backwards compatible to previous
ATX form factor power supplies. If your motherboard does not support the
AUX Power Connector or the +12V Power Connector, you can still use this
power supply.
The power supply is also equipped with a 3-pin fan signal connector. Connect
it to one of the fan connectors on your motherboard. You may monitor the
speed of the rear power supply fan through your motherboard BIOS or through
the monitoring software that comes with your motherboard. Note: The speed
of the fan may be as low as 1500 RPM when temperatures are low. At these
speeds some motherboards may not be able to properly detect the fan speed
and may generate false warnings of fan failure. Please refer to your mother-
board manual for proper fan monitoring set up.
1. Connect the 20-pin ATX power connector (and AUX or +12V connectors
if appropriate) to your motherboard.
2. Reset switch (labeled RESET SW) connects to your motherboard at the RST
connector. The colored wire should be attached to Pin 1 and the black wire
to ground. This applies for all of the following connectors as well.
3. Power Switch (labeled POWER SW) connects to the PWR connector on the
4. The Power LED, Hard Drive LED, and Speaker connectors all share a
single ribbon cable. Attach the POWER LED, HDD LED connector and
SPEAKER connectors to the appropriate headers on your motherboard.
USB Connection
There are 8 wires with connectors coming out from the front mounted USB
ports of the case.
1. Locate the internal USB port on your motherboard. They consist of 10-pins
in two rows. Note: On some motherboards one or two pins may be marked
as NC. This indicates no contact. It is an empty pin. You don’t need to use
it. On some motherboards one pin may be missing on either one or both
rows. Don’t worry about it. You only need 8 pins to connect to.
2. Consult your motherboard manual to get each of the pin-out positions.
3. Power Pins: There are two power pins, one on each row. They are usually
marked as Power, Vcc or +5V. Connect the two +5V connectors to the
two power pins. Each connector can go to either pin.
4. Ground Pins: There are two ground pins, one on each row. They are usually
marked as GROUND or GND. Connect the two GROUND connectors to the
two ground pins. Each connector can go to either pin.
12
3
Note: On some motherboards, there may be two ground pins on one row.
You don’t need to use all of them. Make sure to connect one ground pin on
each row.
5. Data Pins: There are two plus data pins, one on each row, and two minus
data pins, one on each row. They are usually marked as USBD2+, USBD3+
and USBD2-, USBD3- or USBP2+, USBP3+ and USBP2-, USBP3- respectively.
a. Connect the (1) +D connector to any of the two plus data pins. It can go to
either of the plus pins.
b. Connect the (1) - D connector to the minus data pin in the same row with
the plus data pin that (1) +D connector has just connected to.
c. Repeat the same procedures to connect the (2) +D and (2) - D to the
motherboard. Make sure they are in the same row.
3.5” Device Installation
There is a 3.5” drive cage inside the case. It can hold 2 external 3.5” drives
and 2 internal drives.
1. Pull the quick release lever towards the rear of the case and release the
cage. Put the cage on a flat surface.
2. Mount your floppy drives or other external devices to the top two drive bays.
3. Mount your hard drive or other internal 3.5” devices into the lower drive bays.
4. Slide and lock the drive cage back into the case.
5. Find a small 4-pin white connector on the power supply and connect it to
the male 4-pin connector on the floppy drive.
6. Connect a large 4-pin white connector from the power supply to the male
4-pin connector on each of the other devices.
5.25” Device Installation
1. There are four metal plates covering the front openings of the 5.25” drive
bays. Each comes with a drive rail attached on the front of it. For each
drive bay you wish to use, carefully use your hands to twist the metal plate
back and forth until it breaks off.
Note: Be careful of the newly exposed metal where the grills were
attached, as these areas are likely to be sharp. Don’t break off the plates
covering the drive bays that you are not using now.
2. Remove the drive rail from the metal plate by gently lifting the release tab
(left end) with one finger and sliding the drive rail to the left. Fasten the
drive rail to the right side of the drive (as seen from the front) with the
screws provided. Use the third (rearmost) round hole to align with the hole
on the drive. Make sure the release tab is facing towards the front of the drive.
3. Slide the device into the drive bay until it is fully seated. Fasten the left side
of the drive to the drive enclosure with the screws provided.
4. Connect a large 4-pin white connector from the power supply to the male 4-pin
connector on each of the devices.
5. Repeat this procedure to mount other devices.
Data Cable Connection
After you have connected the devices to the power supply, you need to
connect the data cables between the devices and the motherboard. The data
cables are not included with the case; we include this information only as an aid.
1. For hard drives and CD-ROM’s, use the 40-pin IDE ribbon cables. For floppy
drives, use the 34-pin ribbon cables. These should come with your devices
and have a red strip on side indicating pin number 1. When you connect a
ribbon cable to a device, make sure that the red strip is on pin 1, usually
toward the power connector.
2. The end that attaches to devices should be the end that has 2 connectors.
This will enable you to connect another device if you wish.
3. Connect the far end of the cable to your motherboard on the IDE port, either
IDE 1 or IDE 2, or the FLOPPY port.
Fan Installation
The case has one optional 80mm cooling fan mount in the rear and one optional
80mm cooling fan in the front.
The rear fan should be installed so that the air is blowing out of the case.
1. Attach the fan with the provided screws to the rear fan mount.
2. Connect a large 4-pin white connector from the power supply to the male
4-pin connector on the fan.
The front fan should be installed so that the air is drawn into the case from the front.
1. Squeeze the tabs on fan cage to release it.
2. Drop the fan into the cage and push it in until it snaps in.
3. Snap the cage with fan back into its place.
4. Connect a large 4-pin white connector from the power supply to the male
4-pin connector on each of the fans.
Carrying Strap
For ease of transportation, Antec has included a nylon carrying strap with your
LANBOY case. Use as shown in picture below.
4