Table of Contents
Overview ....................................................................................................1
Introduction ....................................................................................................................... 1
Features ............................................................................................................................. 2
System req uirements ......................................................................................................... 2
The Local GUI............................................................................................4
Introduction.........................................................................................................................4
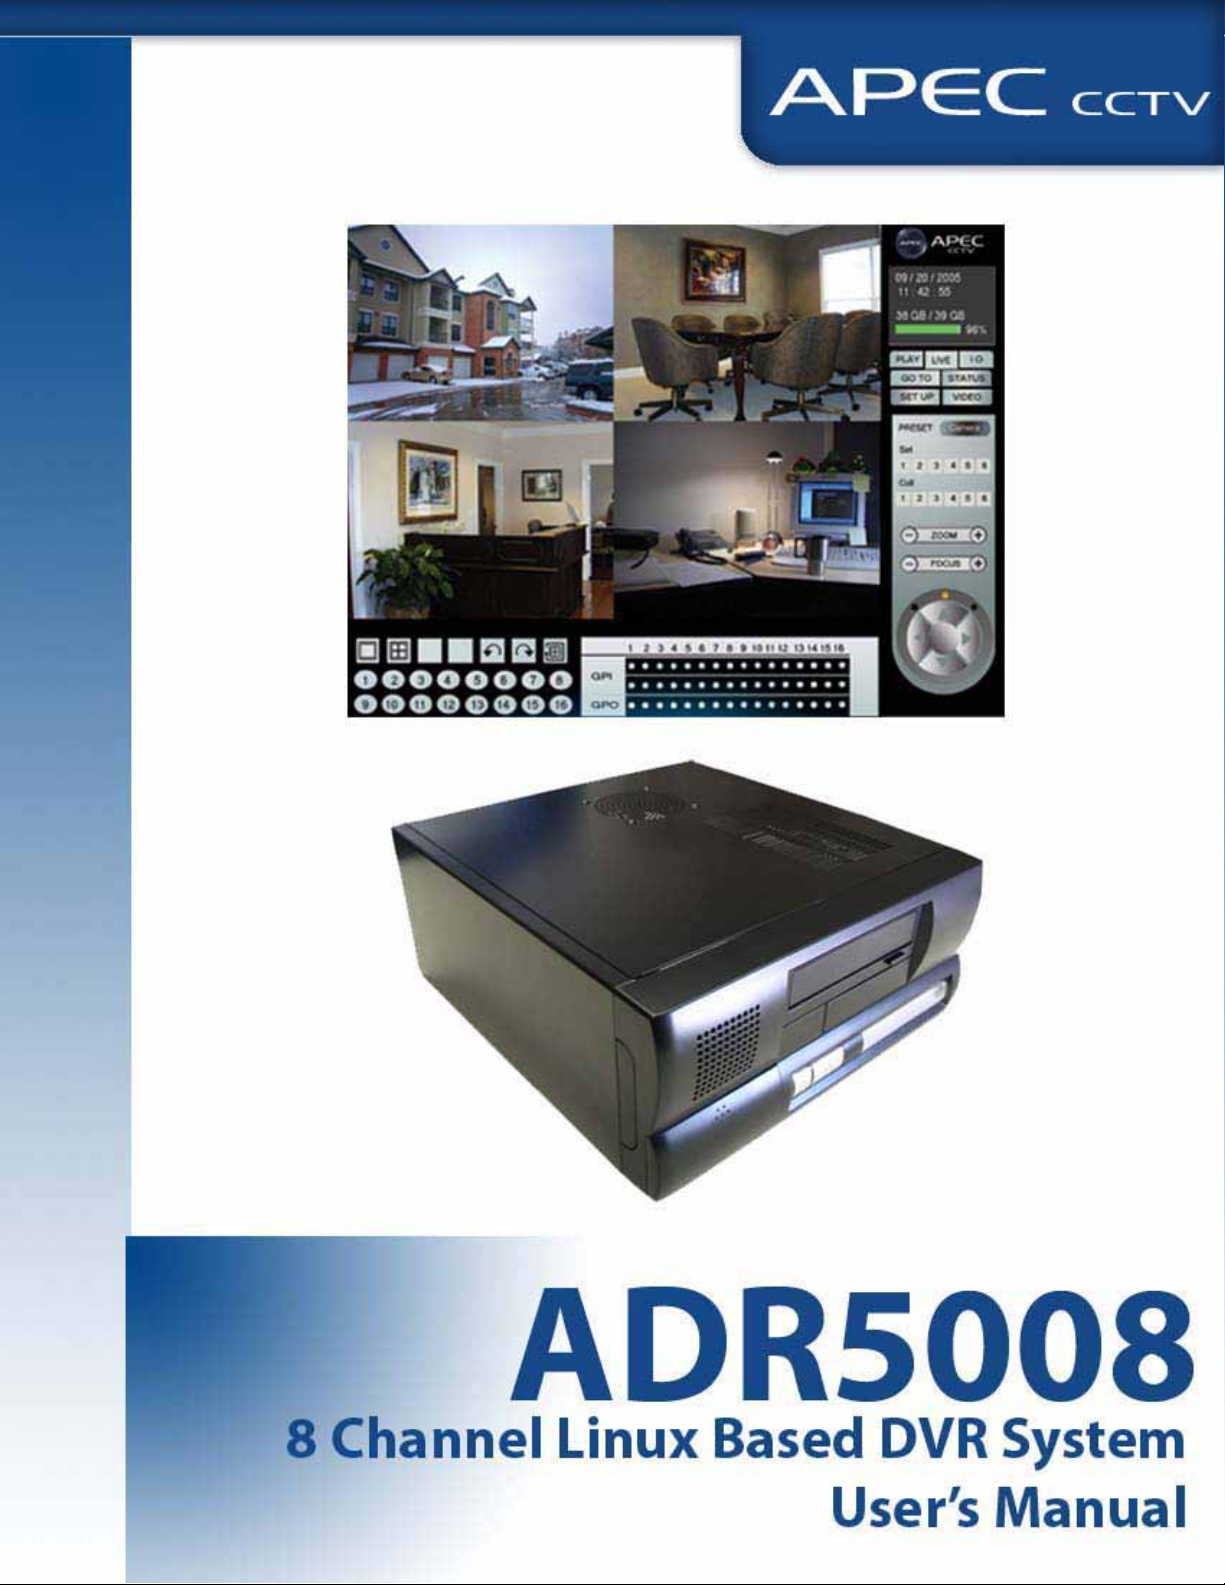
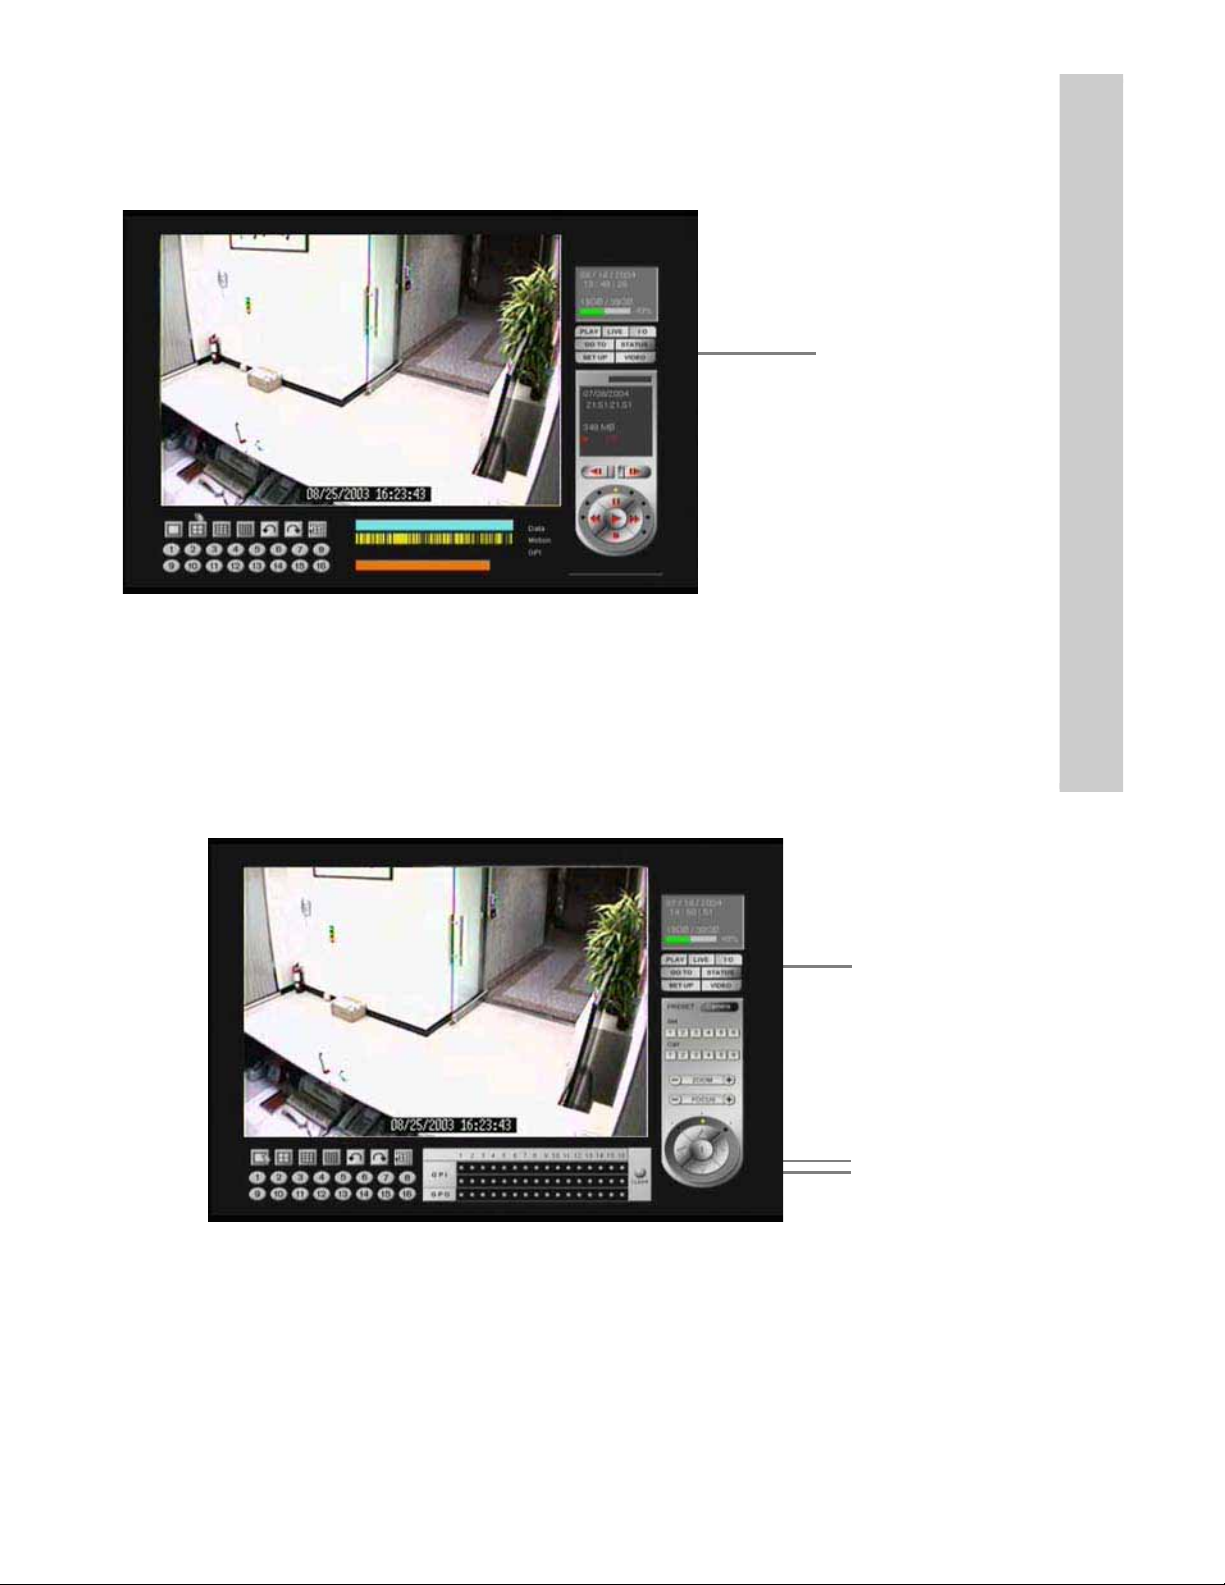
Surveillance screen panel....................................................................................................4
PLAY button.......................................................................................................................4
LIVE button........................................................................................................................5
I/O button............................................................................................................................5
GO TO button.....................................................................................................................6
STATUS button..................................................................................................................6
VIDEO................................................................................................................................7
PTZ panel............................................................................................................................8
Play panel............................................................................................................................8
Setup..................................................................................................................................10
System setup......................................................................................................................10
Record Setup.....................................................................................................................22
Alarm.................................................................................................................................24
Motion detection...............................................................................................................30
ADR5008 network operation............................................................................................32
Introduction.......................................................................................................................32
Connecting........................................................................................................................32
Surveillance screen panel.................................................................................................34
Play button........................................................................................................................35
PTZ panel.........................................................................................................................36
System Setup....................................................................................................................36
System information..........................................................................................................37
Camera setting..................................................................................................................37
Set time and date..............................................................................................................38
Set NTP server.................................................................................................................38
System configuration........................................................................................................39
Set names and on-screen display......................................................................................40
Set user’s authority...........................................................................................................40