Page 9 of 13
TEMPERATURE CONTROL
The thermostat is set to deliver cold water generally in the range 6C to 10C, with the unit in a room which
is no greater than 25C. Unit must be placed away from direct sunlight and any heater.
Water temperature will depend upon usage, room temperature and when the cooling system last activated.
Accurate temperatures are measured from the water flow and not from within the container that the water is
dispensed. If you feel that the water temperature is not cold enough or have any queries please contact the
AQUA TO GO Service Centre ph 1300 760 474 or service@aquatogo.com.au
ELECTRICAL CONNECTION
Plug the appliance into an exclusive, properly installed, grounded wall outlet. Do not under any
circumstances alter this power plug.
This appliance requires a standard 220-240-volt, 50Hz electrical outlet with three-prong ground.
The cord should be secured behind the appliance and not left exposed or dangling as this might cause
accidental injury.
Do not use an adapter plug with this appliance.
Do not use an extension cord with this appliance. If the power cord is too short, have a qualified
electrician install an outlet near the appliance.
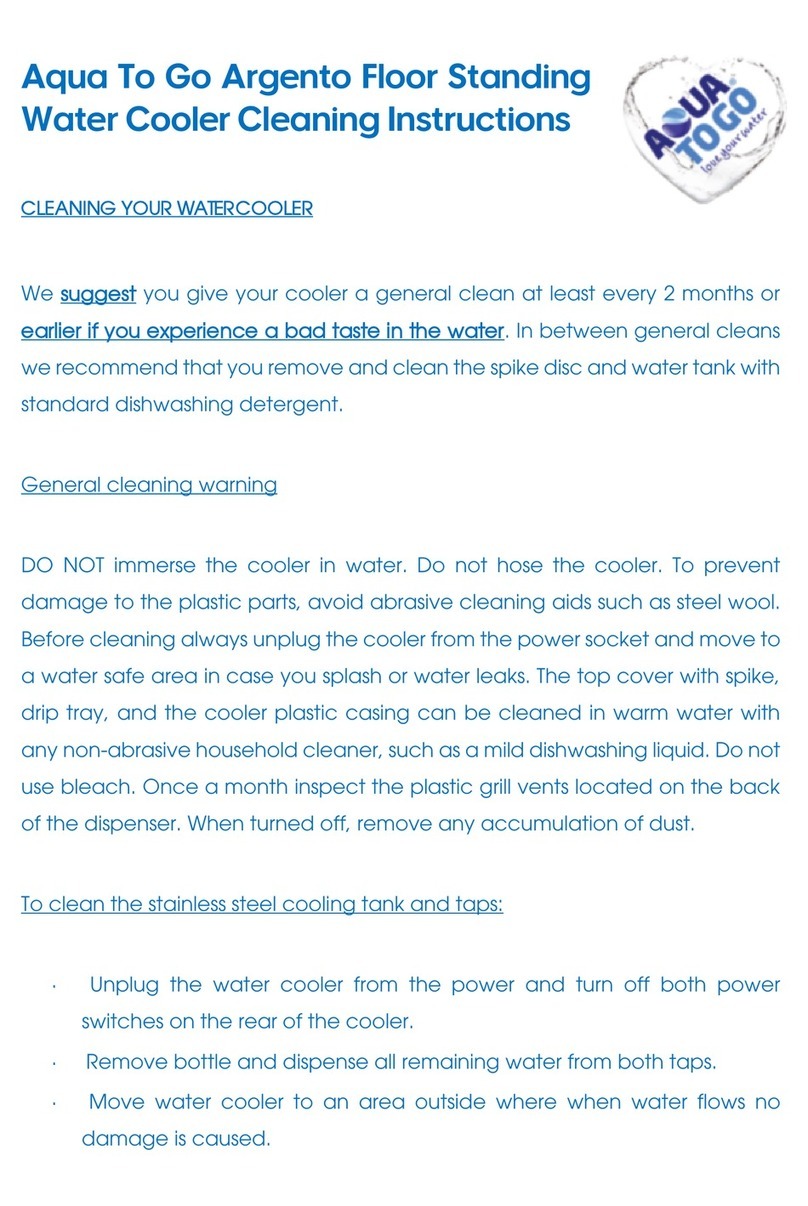
CLEANING YOUR WATER COOLER OR IF THERE’S A BAD TASTE
We suggest you give your cooler a thorough clean at least every 2 months or earlier if you experience a bad
taste in the water. In between general cleans we recommend that you remove and clean the spike disc with
standard dishwashing detergent.
General cleaning warning
DO NOT immerse the cooler in water. Do not hose the cooler. To prevent damage to the plastic parts, avoid
abrasive cleaning aids such as steel wool. Before cleaning always unplug the cooler from the power socket
and move to a water safe area in case you splash or water leaks. The top cover with spike, drip tray, and the
cooler plastic casing can be cleaned in warm water with any non-abrasive household cleaner, such as a mild
dishwashing liquid. Do not use bleach. Once a month inspect the coils located across the back of the
dispenser. Vacuum any accumulation of dust or clean it with a hard brush.
To clean the stainless steel cooling tank and taps:
Unplug the water cooler from the power and turn off power switch on the rear of the cooler.
Remove bottle and dispense all remaining water from both taps.
Move water cooler to an area outside where when water flows no damage is caused.
Unscrew the rear drain cap, which is located near the bottom of the water cooler casing. Be careful as
the water will flow out and may make a mess.
Leave the unit outside, and unplugged from the power, whilst you do the rest of the below steps.
Hold onto the spike disk, twist it anti-clockwise and lift to reveal the water tank.
Put tap water into the tank and flush through a couple of litres through the unit, which will come out
the rear drain cap and the rest you can dispense from the taps.
Now screw back on the rear drain cap.
Mix 30ML (1 & 1/2 caps) of Milton anti-bacterial cleaning solution (available from most
supermarkets) into 3 litres of hot water and pour this into the water tank until it is full. At this time
please also clean the sides of the water tank. Now let the cooler sit overnight with this cleaning
solution in it. Alternatively –Fill the tank with hot tap water and mix in two tablespoons of
baking/bi-carb soda, leave it overnight.
Next morning unscrew the rear drain cap and flush through at least 2 litres of tap water, dispensing
the rest of the water through the taps.
Screw the drain cap back on.
Put the water cooler back inside in the desired location and put a bottle back on the water cooler.
Very Important –Now dispense a cup of water from blue tap, before you turn power on.
Only then plug it back into the power and turn the rear power switch on.


