manuals.online logo
Brands
  1. Home
  2. •
  3. Brands
  4. •
  5. Aqueon
  6. •
  7. Aquarium
  8. •
  9. Aqueon LED Widescreen Aquarium Kit User manual

Aqueon LED Widescreen Aquarium Kit User manual

•Place aquarium evenly on a level
surface so that all sides of aquarium
are supported.
•Surface should be able to easily
support more than 200 lbs.
Make sure surface is level
1. place aquarium on Strong, Stable Surface
•Carefully pour rinsed gravel
into middle of aquarium.
• Spread gravel evenly
around aquarium bottom.
•Gravel depth should measure
about 1" - 3" from the bottom.
See reverse for additional information.
•Place aquarium evenly on a level
surface so that all sides of aquarium
are supported.
•Surface should be able to easily
support more than 200 lbs.
Make sure surface is level
1. place aquarium on Strong, Stable Surface
•Carefully pour rinsed gravel
into middle of aquarium.
• Spread gravel evenly
around aquarium bottom.
•Gravel depth should measure
about 1" - 3" from the bottom.
•Place plants and décor items into
aquarium in desired location.
• Cover base of plants and bottom
of décor items with gravel to hold
securely in place.
•Assemble lter and insert rinsed
lter cartridge according to
included lter instructions.
• Place lter in center of back
of frame.
•Read and follow included heater
instructions.
• Consult your retailer for ideal
temperature setting. Adjust heater
dial as directed.
•Place heater next to lter
and suction to back of aquarium.
•Carefully pour rinsed gravel
into middle of aquarium.
• Spread gravel evenly
around aquarium bottom.
•Gravel depth should measure
about 1" - 3" from the bottom.
•Place plants and décor items into
aquarium in desired location.
• Cover base of plants and bottom
of décor items with gravel to hold
securely in place.
•Assemble lter and insert rinsed
lter cartridge according to
included lter instructions.
• Place lter in center of back
of frame.
•Read and follow included heater
instructions.
• Consult your retailer for ideal
temperature setting. Adjust heater
dial as directed.
•Place heater next to lter
and suction to back of aquarium.
•Place aquarium evenly on a level
surface so that all sides of aquarium
are supported.
•Surface should be able to easily
support more than 200 lbs.
Make sure surface is level
1. place aquarium on Strong, Stable Surface
•Carefully pour rinsed gravel
into middle of aquarium.
• Spread gravel evenly
around aquarium bottom.
•Gravel depth should measure
about 1" - 3" from the bottom.
Add Water Conditioner as directed
•Pour room-temperature water into
aquarium over your hand to avoid
moving gravel, plants and décor.
• Fill aquarium with water to 1/2"
from top of frame.
•Add water conditioner.
•Assemble lter and insert rinsed
lter cartridge according to
included lter instructions.
• Place lter in center of back
of frame.
•Read and follow included heater
instructions.
• Consult your retailer for ideal
temperature setting. Adjust heater
dial as directed.
•Place heater next to lter
and suction to back of aquarium.
R49980
•Place light hood on aquarium, making
sure lter and heater cords ow through
opening in back of light hood to ensure
proper tight t.
•Plug in lter, light hood and heater using
the “drip loop” method. (see above)
Remove insert from back of light hood
•Pour room-temperature water into
aquarium over your hand to avoid
moving gravel, plants and décor.
• Fill aquarium with water to 1/2"
from top of frame.
•Add water conditioner.
•Assemble lter and insert rinsed
lter cartridge according to
included lter instructions.
• Place lter in center of back
of frame.
•Read and follow included heater
instructions.
• Consult your retailer for ideal
temperature setting. Adjust heater
dial as directed.
•Place heater next to lter
and suction to back of aquarium.
R49980
•Turn off light, unplug and remove light hood.
• Place sh, while in bag from store, into
aquarium. Let sit for 20 minutes.
• Open bag and add about 1/2 cup of aquarium
water. Wait 5 minutes. Repeat once.
• Carefully allow sh to enter aquarium.
Replace light hood and plug in.
•Assemble lter and insert rinsed
lter cartridge according to
included lter instructions.
• Place lter in center of back
of frame.
•Read and follow included heater
instructions.
• Consult your retailer for ideal
temperature setting. Adjust heater
dial as directed.
•Place heater next to lter
and suction to back of aquarium.
R49980
•Turn off light, unplug and remove light hood.
• Place sh, while in bag from store, into
aquarium. Let sit for 20 minutes.
• Open bag and add about 1/2 cup of aquarium
water. Wait 5 minutes. Repeat once.
• Carefully allow sh to enter aquarium.
Replace light hood and plug in.

Other Aqueon Aquarium manuals

Aqueon Under Rim LED Accent Light User manual

Aqueon

Aqueon Under Rim LED Accent Light User manual

Aqueon Betta Falls User manual

Aqueon

Aqueon Betta Falls User manual

Aqueon ProMag User manual

Aqueon

Aqueon ProMag User manual

Aqueon 7.5G LED Shrimp User manual

Aqueon

Aqueon 7.5G LED Shrimp User manual

Popular Aquarium manuals by other brands

Amtra FILPRO EX 500 manual

Amtra

Amtra FILPRO EX 500 manual

afm marine BIO PELLET REACTOR BP-1.0 User instructions

afm marine

afm marine BIO PELLET REACTOR BP-1.0 User instructions

TMC Reef Photon Troubleshooting

TMC

TMC Reef Photon Troubleshooting

D-D The Aquarium Solution P1 PRO user manual

D-D The Aquarium Solution

D-D The Aquarium Solution P1 PRO user manual

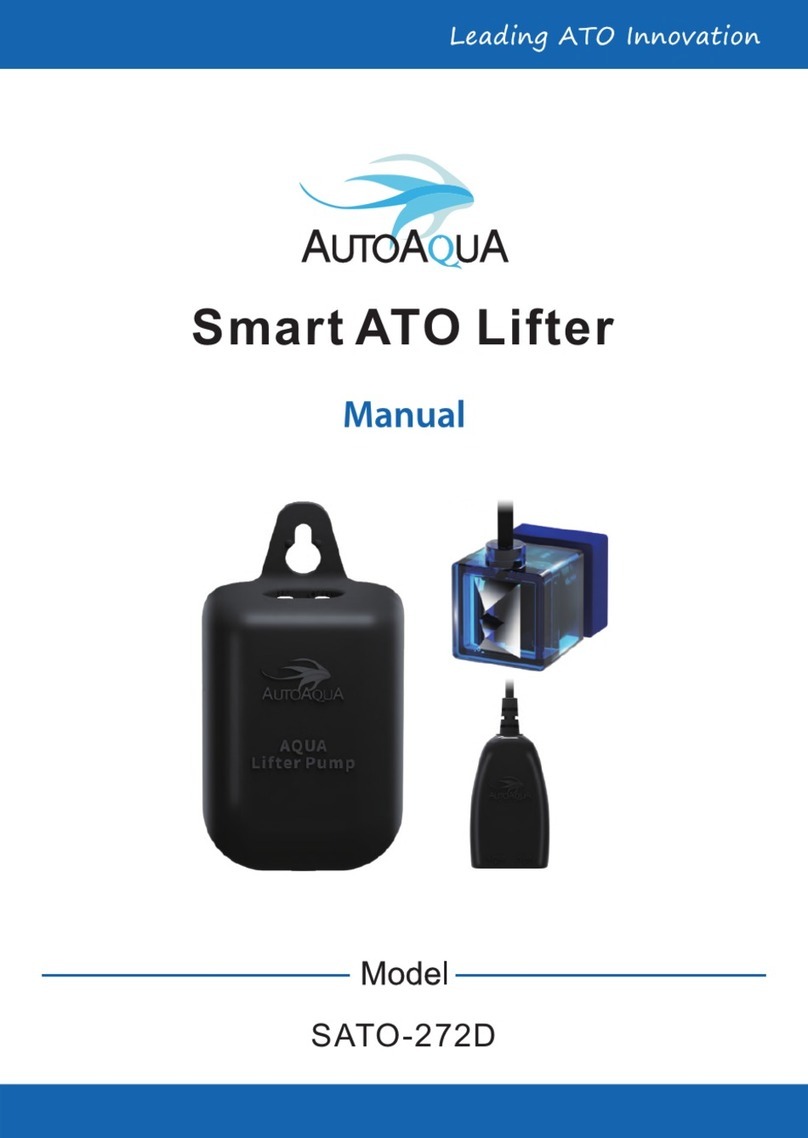
AutoAqua SATO-272D manual

AutoAqua

AutoAqua SATO-272D manual

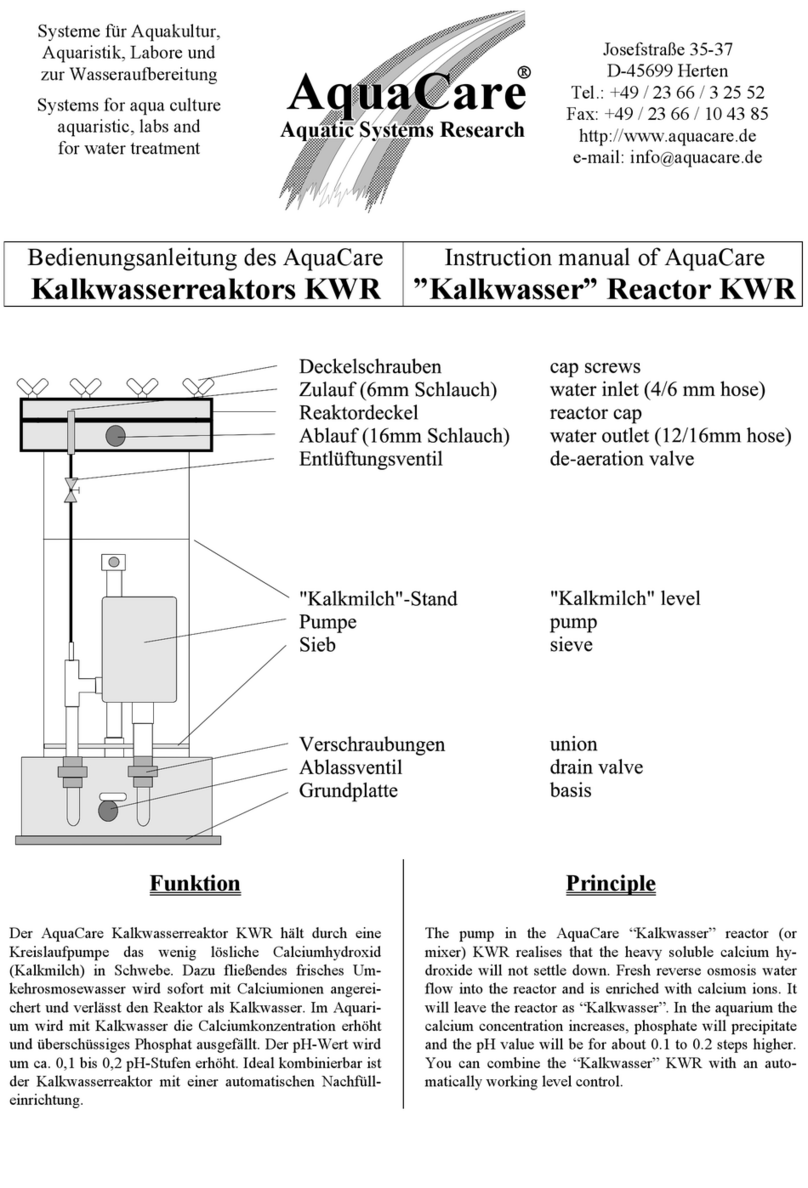
AquaCare Kalkwasser Series instruction manual

AquaCare

AquaCare Kalkwasser Series instruction manual

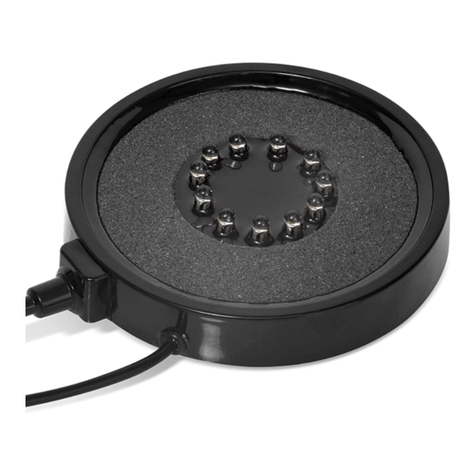
PAPILLON AquaParts MAGIC BUBBLE LED operating instructions

PAPILLON

PAPILLON AquaParts MAGIC BUBBLE LED operating instructions

Colombo CO2 Advance Set manual

Colombo

Colombo CO2 Advance Set manual

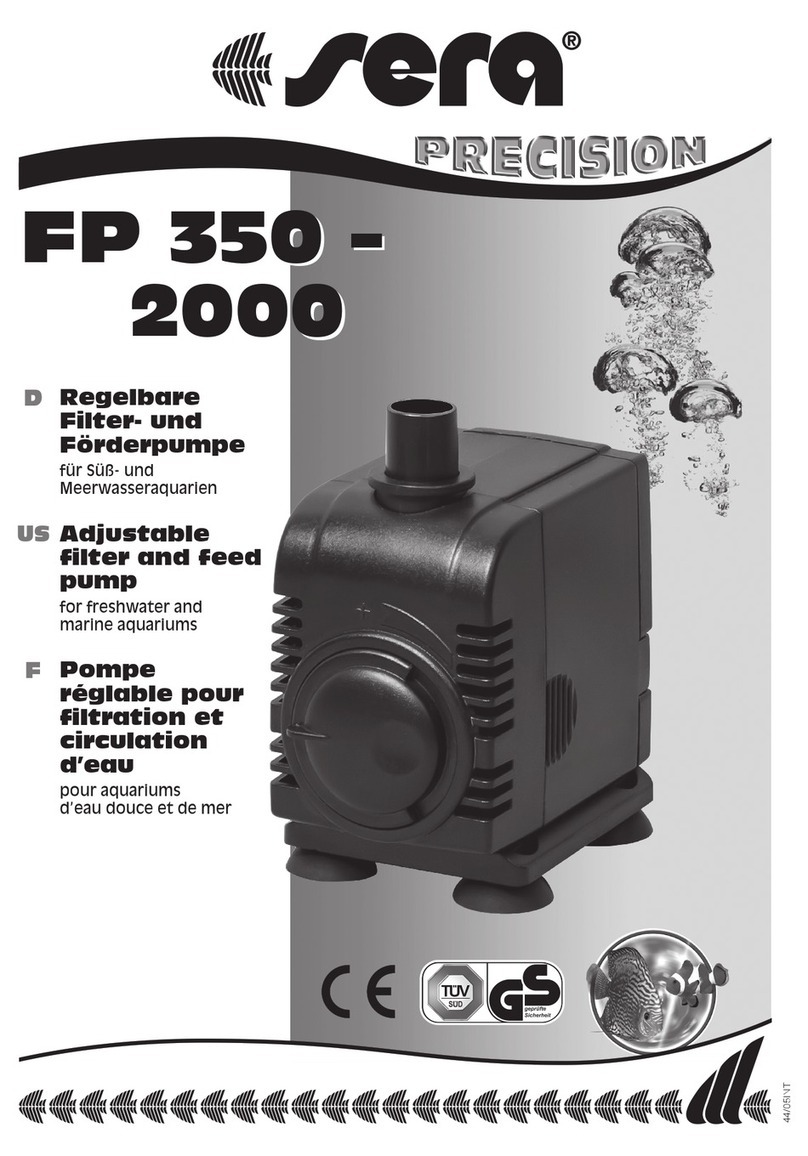
Sera Precision FP 350 manual

Sera

Sera Precision FP 350 manual

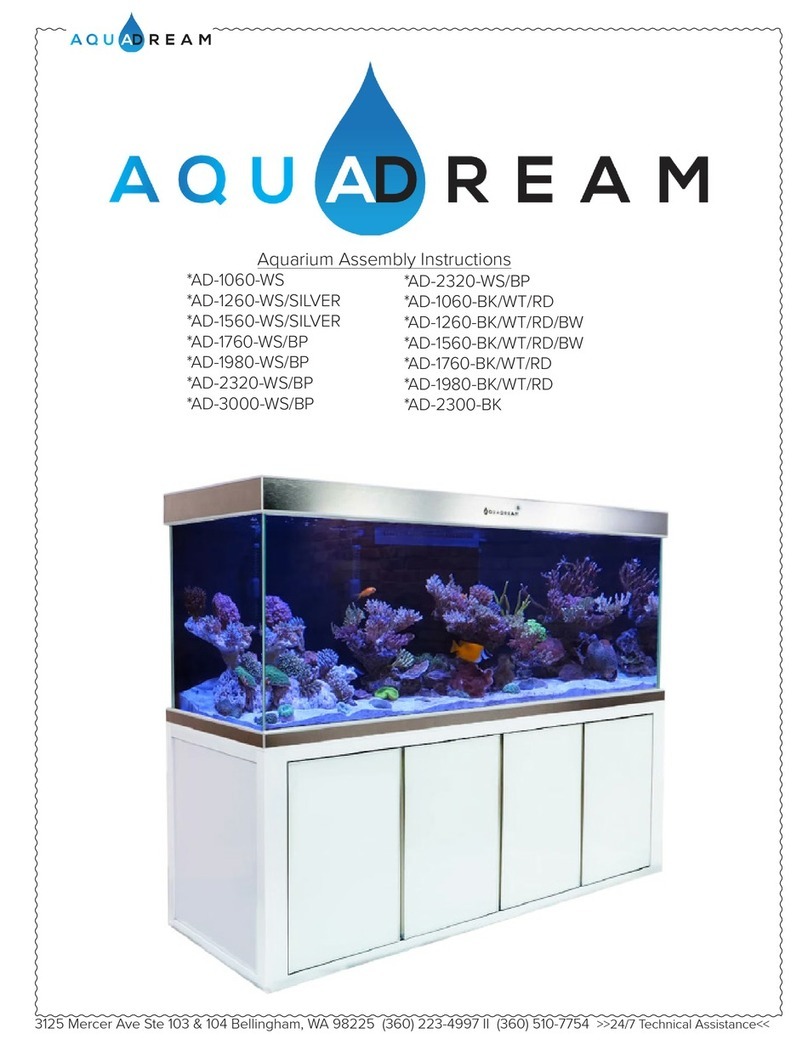
AQUA DREAM AD-1060-WS Assembly instructions

AQUA DREAM

AQUA DREAM AD-1060-WS Assembly instructions

Reef Factory Reef flare Pro Series user manual

Reef Factory

Reef Factory Reef flare Pro Series user manual

D-D The Aquarium Solution P1 PRO quick start guide

D-D The Aquarium Solution

D-D The Aquarium Solution P1 PRO quick start guide

EHEIM Autofeeder+ operating manual

EHEIM

EHEIM Autofeeder+ operating manual

BLAU aquaristic Nano Lumina 9 RGB+W BLACK manual

BLAU aquaristic

BLAU aquaristic Nano Lumina 9 RGB+W BLACK manual

Digital Aquatics Lifeguard user guide

Digital Aquatics

Digital Aquatics Lifeguard user guide

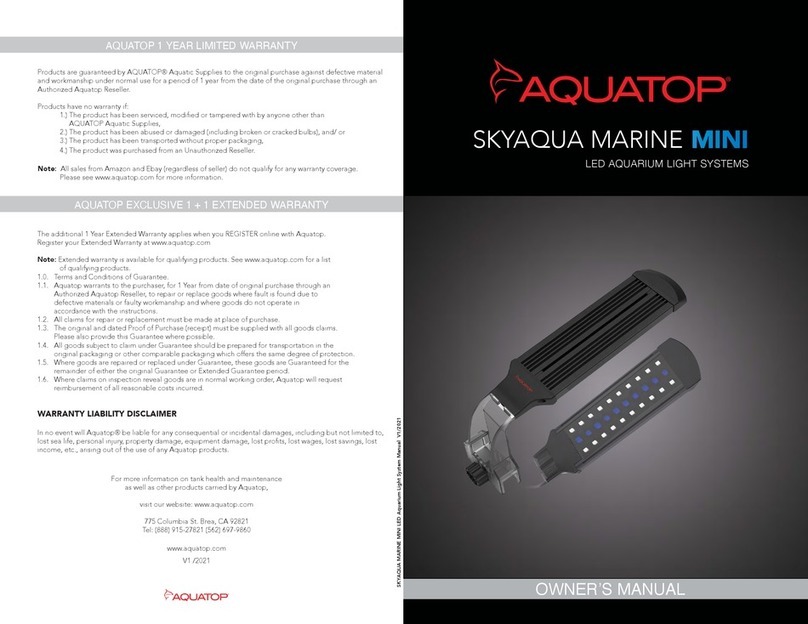
Aquatop SKYAQUA MARINE-MINI owner's manual

Aquatop

Aquatop SKYAQUA MARINE-MINI owner's manual

Red Sea REEFER DLX 525 Assembly manual

Red Sea

Red Sea REEFER DLX 525 Assembly manual

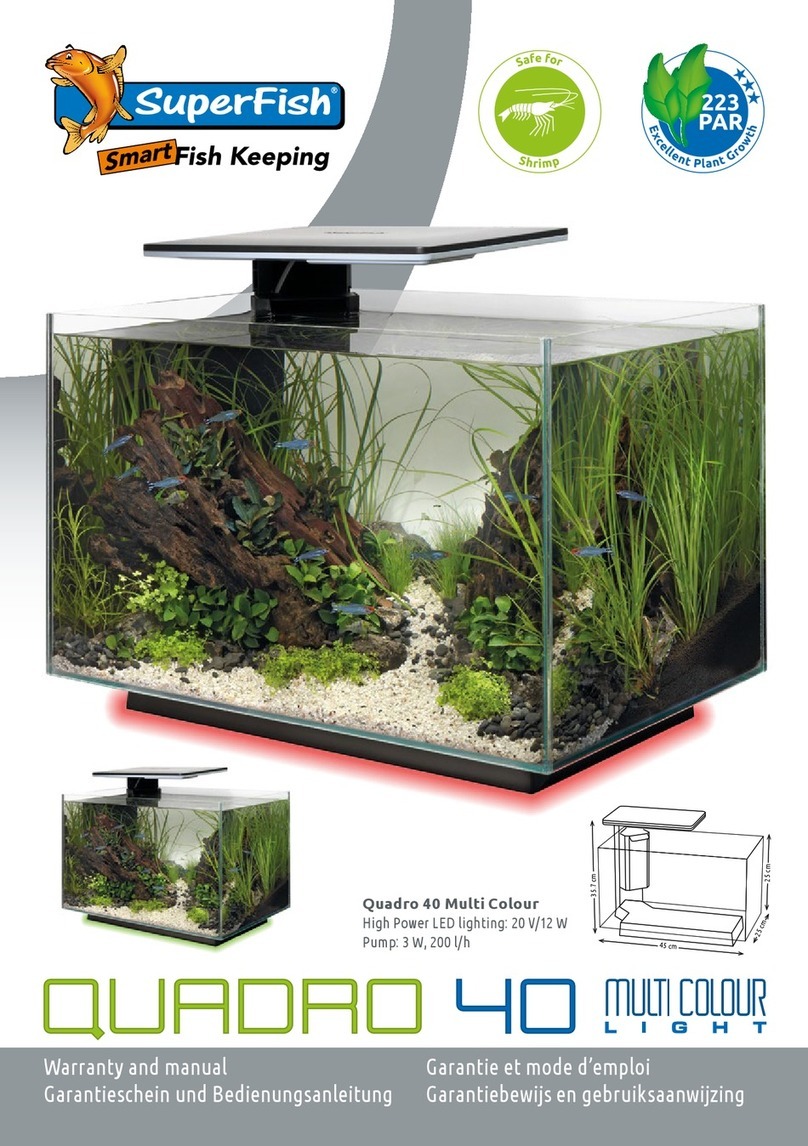
Aquadistri SuperFish Quadro 40 Multi Colour Warranty and manual

Aquadistri

Aquadistri SuperFish Quadro 40 Multi Colour Warranty and manual

manuals.online logo
manuals.online logoBrands
  • About & Mission
  • Contact us
  • Privacy Policy
  • Terms and Conditions

Copyright 2025 Manuals.Online. All Rights Reserved.