• Read and follow all instructions.
• A drip loop must be used with all electrical aquarium devices.
• A drip loop is a self-made part of the cord hanging below the receptacle.
(See Fig. 1)
• A GFCI (Ground Fault Circuit Interrupter) should be used in the branch circuit supplying all power to water
pumps and electrical aquarium equipment. If you do not have a GFCI, we strongly recommend having a
qualied electrician install one prior to operating any aquarium component.
1. Once light is properly mounted to aquarium (see installation instructions), plug light into electrical outlet.
2. Light will turn on automatically when plugged in.
3. Inline controller on power cord has 2 function buttons marked “W” and “B” (See Fig. 2B)
4. W button will turn the white LEDs on or off. B button will turn the blue LEDs on or off.
5. Depressing B button two times will turn off all LEDs.
Warning: Please refer to the original manufacturer’s owner’s manual for your equipment before performing
any modications. Aquatop is not responsible for any damage incurred through installation.
It is the user’s sole responsibility to reference & adhere to the manufacturer’s guidelines regarding
the use of their products.
Note: Aquatop recommends the use of an aquarium lid when using an aquarium light.
Aquatop recommends the use of a drip loop.
*See warnings and safeguards for additional information.
Thank you for choosing Aquatop’s SkyAqua Marine LED Series of aquarium lights. The SkyAqua Marine
Series raises the bar for aquarium keepers by combining style and technology. Each specially engineered
lighting system mimics the shimmer of natural sunlight, produces minimal heat, offers a fanless design
for pin drop silence & provides general illumination for your aquatic organisms. With its adjustable clamp
mount, the SkyAqua Marine Mini is perfect for most all small aquariums and refugiums, both frameless and
framed aquariums up to .6 inches. Please reference this manual for any questions and directions for use. May
Aquatop’s SkyAqua Marine LED Series of aquarium lights serve you and your aquatic creatures well.
INSTALLATION INSTRUCTIONS
FOR AQUARIUM WITH TOP FRAME
1. Ensure glass aquarium cover is properly installed over aquarium.
2. Remove plastic mounting screw from LED light.
3. Place LED light in desired location, making sure the BACK panel of the mounting bracket is ush with
the back panel of the aquarium frame.
• Always center the xture so that it provides maximum exposure of light to all aquarium inhabitants.
4. Insert the plastic mounting screw through the FRONT of mounting bracket. Tighten the screw so the
LED light is secure on the aquarium.
5. Plug-in LED light into an acceptable outlet. Be sure to incorporate a “drip loop” on the cord.
6. Turn LED light on/off using the touch switch.
FOR AQUARIUM WITHOUT TOP FRAME
1. Ensure glass aquarium cover is properly installed over aquarium.
2. Remove plastic mounting screw from LED light.
3. Place LED light in desired location, making sure the FRONT panel of the mounting bracket is ush with
the front of the glass panel.
• Always center the xture so that it provides maximum exposure of light to all aquarium inhabitants.
4. Insert the plastic mounting screw through the BACK of mounting bracket. Tighten the screw so the LED
light is secure on the aquarium.
5. Plug-in LED light into an acceptable outlet. Be sure to incorporate a “drip loop” on the cord.
6. Turn LED light on/off using touch switch.
Note: Never put the unit inside the aquarium or immerse in water. It is your sole responsibility to verify that
the plug and the receptacle are clean and free of moisture and salt build up at all times. The receptacle must
be free of water, salt, calcium, magnesium and dust. Failure to do so can cause re, damage to property, and
permanent damage to the product and personal injury not limited to loss of life.
• Do not plug into extension cord/power strip.
• Use this product for its intended purpose only.
• Never yank or pull the cord from the electrical outlet.
• Do not operate if the plug or wire is damaged.
• Verify that hands are dry prior to disconnecting the power.
• To reduce the risks of electrocution, keep all connections dry.
• Make sure to unplug all electrical aquarium devices before installing the unit or performing any type of
maintenance on the unit.
• Before cleaning the unit unplug from power source. Use a clean damp cloth. Let unit completely dry before
plugging back into power source.
• For indoor use only.
• If any ofthe electrical components get wet, unplug immediately.
• Do not use soaps or detergents when cleaning the exterior surface of this device.
• Make sure the device is completely dry before connecting.
• Keep this product away from children and those who are unfamiliar with the unit and its instruction manual.
1 2
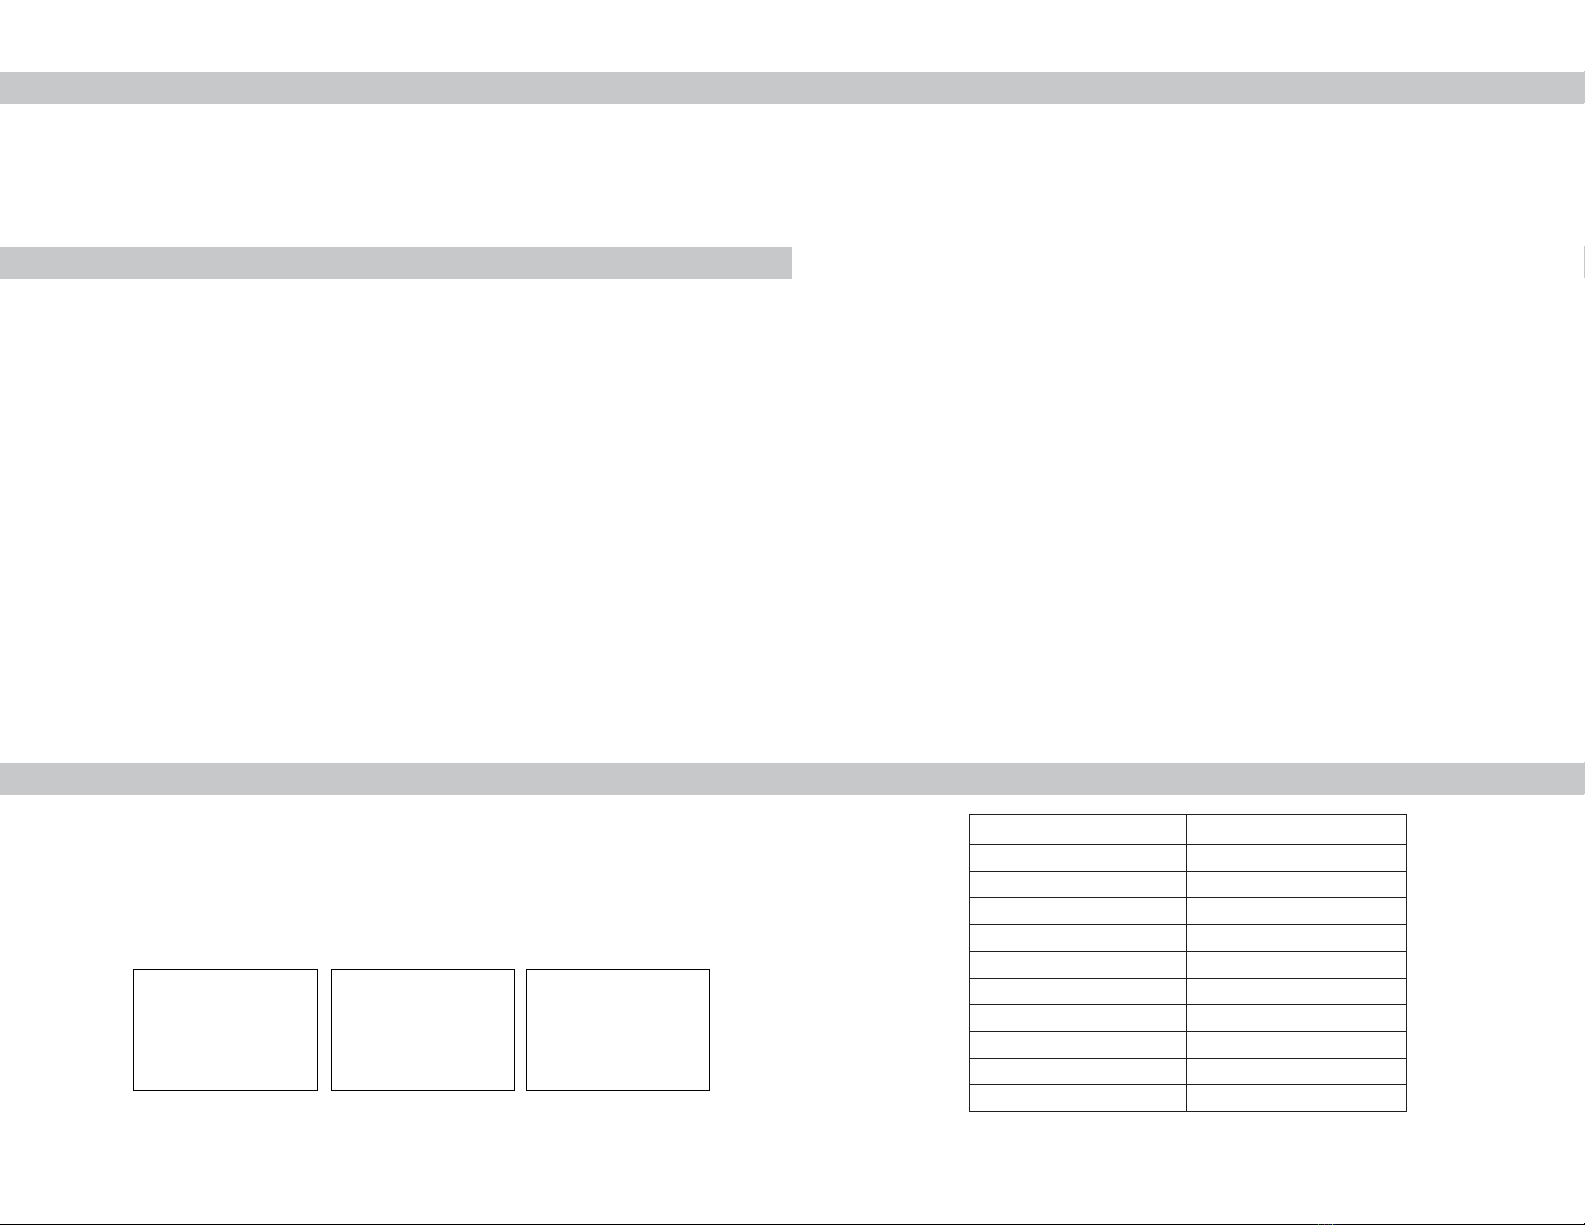
PRODUCT SPECIFICATIONSTO OPERATE LIGHT
ABOUT THE SKYAQUA NARINE MINI LED SERIES
WARNINGS & SAFEGAURDS
HARDWARE ASSEMBLY & INSTALLATION
Model SKYAQUA MARINE-MINI
For Tank Sizes up to .6” frame
White LEDS 20
Blue LEDS 10
Power 10W
Lumens 420
Color Temp 14000K
Peak PAR 60
Color Rendering index (CRI) 80
PAR >60 AT 12”
Dominant Wave Length 465.2 nm
FIG. 2B