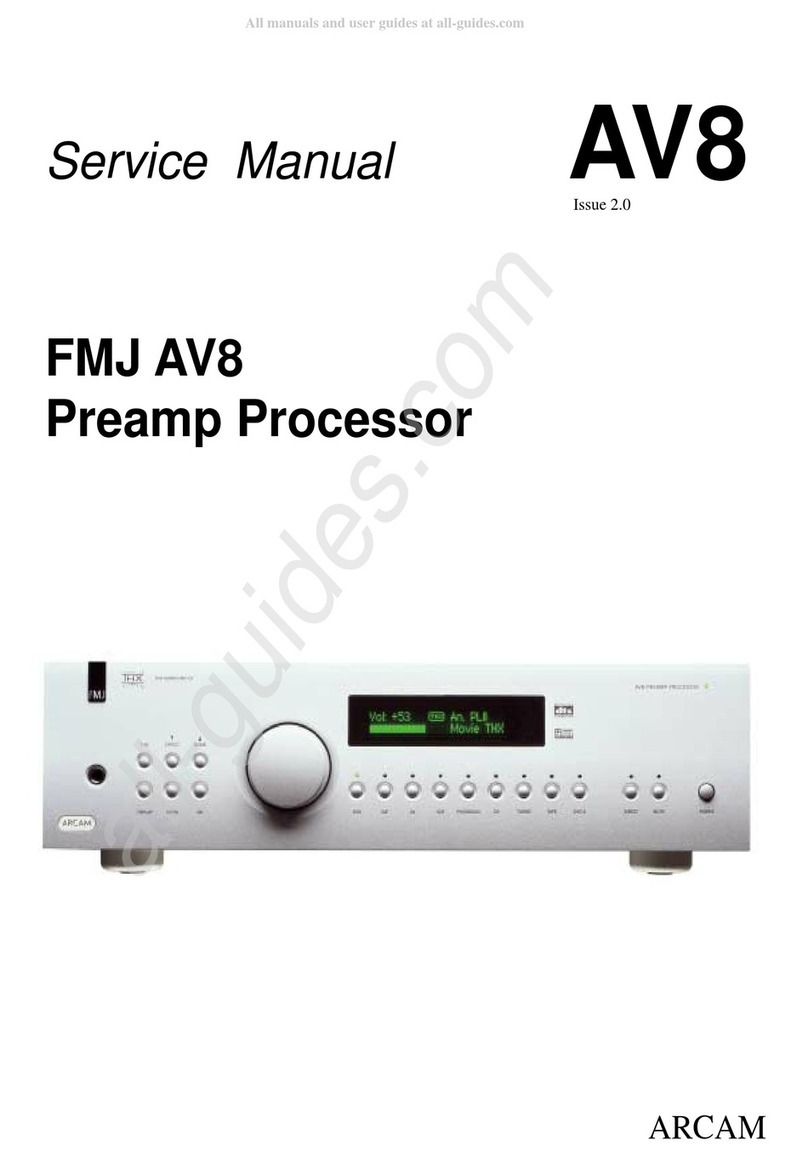
Arcam FMJ AV8 User manual

CI Guide AV8/9 V1 Page 1 of 7
Pembroke Avenue, Waterbeach, Cambridge, CB5 9QR, England
Tel +44 (0) 1223 203200 Fax +44 (0) 1223 863384
Bringing music and movies to life
Custom installation guide – AV8/9
Later versions will be made available on the Arcam dealer extranet at:
www.arcam.co.uk

CI Guide AV8/9 V1 Page 2 of 7
Pembroke Avenue, Waterbeach, Cambridge, CB5 9QR, England
Tel +44 (0) 1223 203200 Fax +44 (0) 1223 863384
SOFTWARE VERSION
To enter the Software Version Menu press buttons <CD> + <DVD> + <OK>
see diagram below.
Use the arrow up/down keys to navigate within the menu.
AV8 Software Version
THX Ultra 2 version
Dolby Digital version
Pro Logic II version
DTS-ES version
DTS Neo6 version
Cos Effects version
Exit This Menu <Press OK >
DVD SAT AV VCR PHONO/AUX CD TUNER TAPE DVDA
THX UP
MODE
DOWN
EFFECT
DISPLAY MENU OK
The latest version of software for the AV8 and AV9 products is available from
the Arcam dealer extranet – this is password accessible from the Arcam
customer website at www.arcam.co.uk

CI Guide AV8/9 V1 Page 3 of 7
Pembroke Avenue, Waterbeach, Cambridge, CB5 9QR, England
Tel +44 (0) 1223 203200 Fax +44 (0) 1223 863384
Engineering Menu
(It is possible to change the remote control protocol from 16 to 19 for zone 1
in this menu and toggle between remote off/on modes)
To enter this menu press buttons CD + DVD + OK then press the THX button
Use the arrow keys to scroll through the menu and the volume control to
change the setting. See diagram below
DVD SAT AV VCR PHONO/AUX CD TUNER TAPE DVDA
THX UP
MODE
DOWN
EFFECT
DISPLAY MENU OK
The menu will appear as below.
16* RC5 Zone 1 <default> Option on RC5 system code 19
16* RC5 Zone 2 <default> Option on RC5 system code 19
Scrolling Messages Dealer demonstration tool with various messages
HQ Video OSD <on/off> OSD insert on HQ option
Restore Defaults <on/off> Restores AV8 too original factory settings
Diagnostics <on/off> RS232 Control Only – Arcam use only
Front Panel IR RX <on/off> Option to disable front panel IR reception
Exit <Press OK to exit> Exit menu
Rear panel trigger lead configuration
This lead allows the AV8/9 to power toggle on/off the P7 Amplifier and Zone 2
as well (The menu must be setup)
AV8
Zone 1
Mono
Zone 2
Mono
Zone 1
Zone 2
0V
Zone 1
Zone 2
OV
0V
AV8 trigger output Zone 1 and Zone 2 - 3.5mm configuration.

CI Guide AV8/9 V1 Page 4 of 7
Pembroke Avenue, Waterbeach, Cambridge, CB5 9QR, England
Tel +44 (0) 1223 203200 Fax +44 (0) 1223 863384
Zone 2 on screen menus when viewed from Zone 2
The AV8 will supply a Composite or S-video feed to a Zone 2 location and will
also provide a Zone 2 on-screen menu to the second location, below you will
see an explanation of the menu and the various control options available.
Zone 2 Main Menu
Vol:--------------------I- +0dB
Audio input : DVD
Video input : DVD
Record to Tape : Source
Record to VCR : Source
Zone 1 Status : On
Zone 1 Volume : +0dB
Zone 1 Audio : CD
Zone 1 Video : DVD
The current volume setting of Z2
The current Audio input Selected
The current Video input Selected
Allows any input to be dirrected to the Tape output
Allows any Analogue input together with video to be dirrected to the VCR output
Indicates the operation status of Zone 1 status will be seen a ON (in-use) of Off
Indicates the current volume level of Zone 1 and can be adjusted from Zone 2,
this facility can be locked out within the Zone 2 settings page of the full set-up menu.
Indicates and allows the adjustment of the audio selection within Zone 1, this
feature can be locked out within the Zone 2 settings page of the full set-up menu
Indicates and allows the adjustment of the Video selection within Zone 1, this
feature can be locked out within the Zone 2 settings page of the full set-up menu
AV8 and AV9 front panel Headphone output as Zone 2 monitor
It is possible to monitor the Zone 2 audio output from the front panel
headphone output.
1. Press the Menu button <Not Hold>.
2. Turn the volume control towards the right until Main Menu Screen 3
can be seen on the front panel VFD or Video monitor. See diagram
below.
3. Press the Down Arrow until the Headphone Out option is highlighted
now use the Volume control to select Zone 2, press Menu to exit and
Store.
Main Menu Screen 3
Zone 2
Vol:--------------------I- +0dB
Headphone out: Zone 2
Zone 2 Audio : CD
Zone 2 Video : None
Zone 2 status : On
Tip: This is also a useful feature when used to diagnose that a Zone 2
source feed is operating even if no audio is heard within Zone 2 itself, i.e. the
fault may be within the cabling loom to Zone 2.

CI Guide AV8/9 V1 Page 5 of 7
Pembroke Avenue, Waterbeach, Cambridge, CB5 9QR, England
Tel +44 (0) 1223 203200 Fax +44 (0) 1223 863384
RC5 remote command identification
This is a particularly useful diagnostic tool and can be used to identify RC5
commands from all Arcam and Non-Arcam devices
To enable this facility press the following buttons <Phono + DVD + Effect>
the front panel display will then indicate “Show RC5 Command On” to disable
press buttons <Phono + DVD + Effect> again. See diagram below.
DVD SAT AV VCR PHONO/AUX CD TUNER TAPE DVDA
THX UP
MODE
DOWN
EFFECT
DISPLAY MENU OK
Set-up menu lock (available from V3 software onwards)
When working with the AV8/9 you have access to a Menu Lock function, this
is a particularly useful function and allows the installer to safe guard his
calibrations and system set-up configurations.
To switch the lock on press and hold the <OK + Tuner + DVDA> buttons the
AV8/9 will display Set-up Menus Locked on the display, the customer will still
be able to enter the set-up menus although he/she has no access to the set-
up options.
DVD SAT AV VCR PHONO/AUX CD TUNER TAPE DVDA
THX UP
MODE
DOWN
EFFECT
DISPLAY MENU OK
You may un-lock the menus by pressing <OK + Tuner + DVDA> again, the
display will now show Set-up Menus Unlocked.

CI Guide AV8/9 V1 Page 6 of 7
Pembroke Avenue, Waterbeach, Cambridge, CB5 9QR, England
Tel +44 (0) 1223 203200 Fax +44 (0) 1223 863384
General Notes
1 Although the 3.5mm Stereo Zone 1 and 2 inputs provide a +12v
regulated power supply from a power source within the AV8/9, the
maximum current that will be available is 100mA as such power hungry
devices such as keypads should be connected to external regulated
powers supplies (wall warts).
2 Ensure that all custom made 3.5mm phono link cables are correctly
prepared and stable as the system will only be as reliable as its
weakest link.
Please see the Reliability concerns section towards the back of the
guide for further information.
CR80 remote Aux page as Amplifier system code 19
1: Press The <AUX> device key once only.
2: Press and hold <SET> until the LED blinks twice, then release.
3: Enter the set-up code <1213> the led will blink twice.
4: Press <SET> to lock in the set-up code.
You may now reassign either Zone 1 or 2 as RC5 19 within the AV8 engineering
menu please see page 7
Please note: Only major functions are available from the AUX RC5 19 page of the
CR80 these include Source selection and Volume up and down, you made need to
load any missing and required RC5 19 codes into the CR80 from and external
discrete code learning remote such as a Pronto.

CI Guide AV8/9 V1 Page 7 of 7
Pembroke Avenue, Waterbeach, Cambridge, CB5 9QR, England
Tel +44 (0) 1223 203200 Fax +44 (0) 1223 863384
Connector wiring diagrams
FMJ AV8 Processor remote input.
AV8
Remote in
+12v from AV8
(100mA max)
0v or screen
stereo
FMJ AV8 Processor remote output.
AV8
Remote out
+12v from AV8
(100mAmax)
0v or screen
stereo
FMJ AV8 Processor trigger output.
AV8
stereo
0V or screen
Zone 1 +12v 100mAmax
Zone 2 +12v 100ma max
Other manuals for FMJ AV8
4
This manual suits for next models
1
Table of contents
Other Arcam Computer Hardware manuals
