arcelik 3886 KT User manual

2960310394_EN/05-09-16.(17:17)
Döküman Numarası
3886 KT
3886 KTS
3886 KTR

Please read this user manual first!
Dear Customer,
Thank you for prefering a Arçelik product. We hope that your product which has been manufactured with high
quality and technology will give you the best results. We advise you to read through this manual and the other
accompanying documentation carefully before using your product and keep it for future reference. If you transfer
the product to someone else, give its manual as well. Pay attention to all details and warnings specified in the user
manual and follow the instructions given therein.
Use this user manual for the model indicated on the cover page.
Read the instructions.
Explanation of symbols
Throughout this user manual the following symbols are used:
CImportant information or useful hints about
usage.
AWarning for hazardous situations with
regard to life and property.
BWarning against electric shock.
Warning against hot surfaces.
Warning against fire hazard.
Packaging materials of the product are
manufactured from recyclable materials in
accordance with our National Environment
Regulations.
Do not dispose of the packaging wastes with the domestic waste or other wastes, discard them to the dedicated
collection points designated by the local authorities.
TABLE OF CONTENTS
This product was manufactured using the latest technology in environmentally friendly conditions.
WEEE It complies with the WEEE Directive

3 / EN
Dryer / User Manual
1 Önemli güvenlik ve çevre talimatları 4
1.1 Genel güvenlik . . . . . . . . . . . . . . . . . . . . . . .4
1.1.1 Elektrik güvenliği . . . . . . . . . . . . . . . . .5
1.1.2 Ürün güvenliği. . . . . . . . . . . . . . . . . . .6
1.2 Çamaşır makinesi üzerine kurulum . . . . . . . .8
1.3 Kullanım amacı. . . . . . . . . . . . . . . . . . . . . . .9
1.4 Çocuk güvenliği . . . . . . . . . . . . . . . . . . . . . .9
1.5 AEEE Yönetmeliğine uyum ve atık ürünün elden
çıkarılması güvenliği . . . . . . . . . . . . . . . . . . . . .10
1.6 Ambalaj bilgisi . . . . . . . . . . . . . . . . . . . . . .10
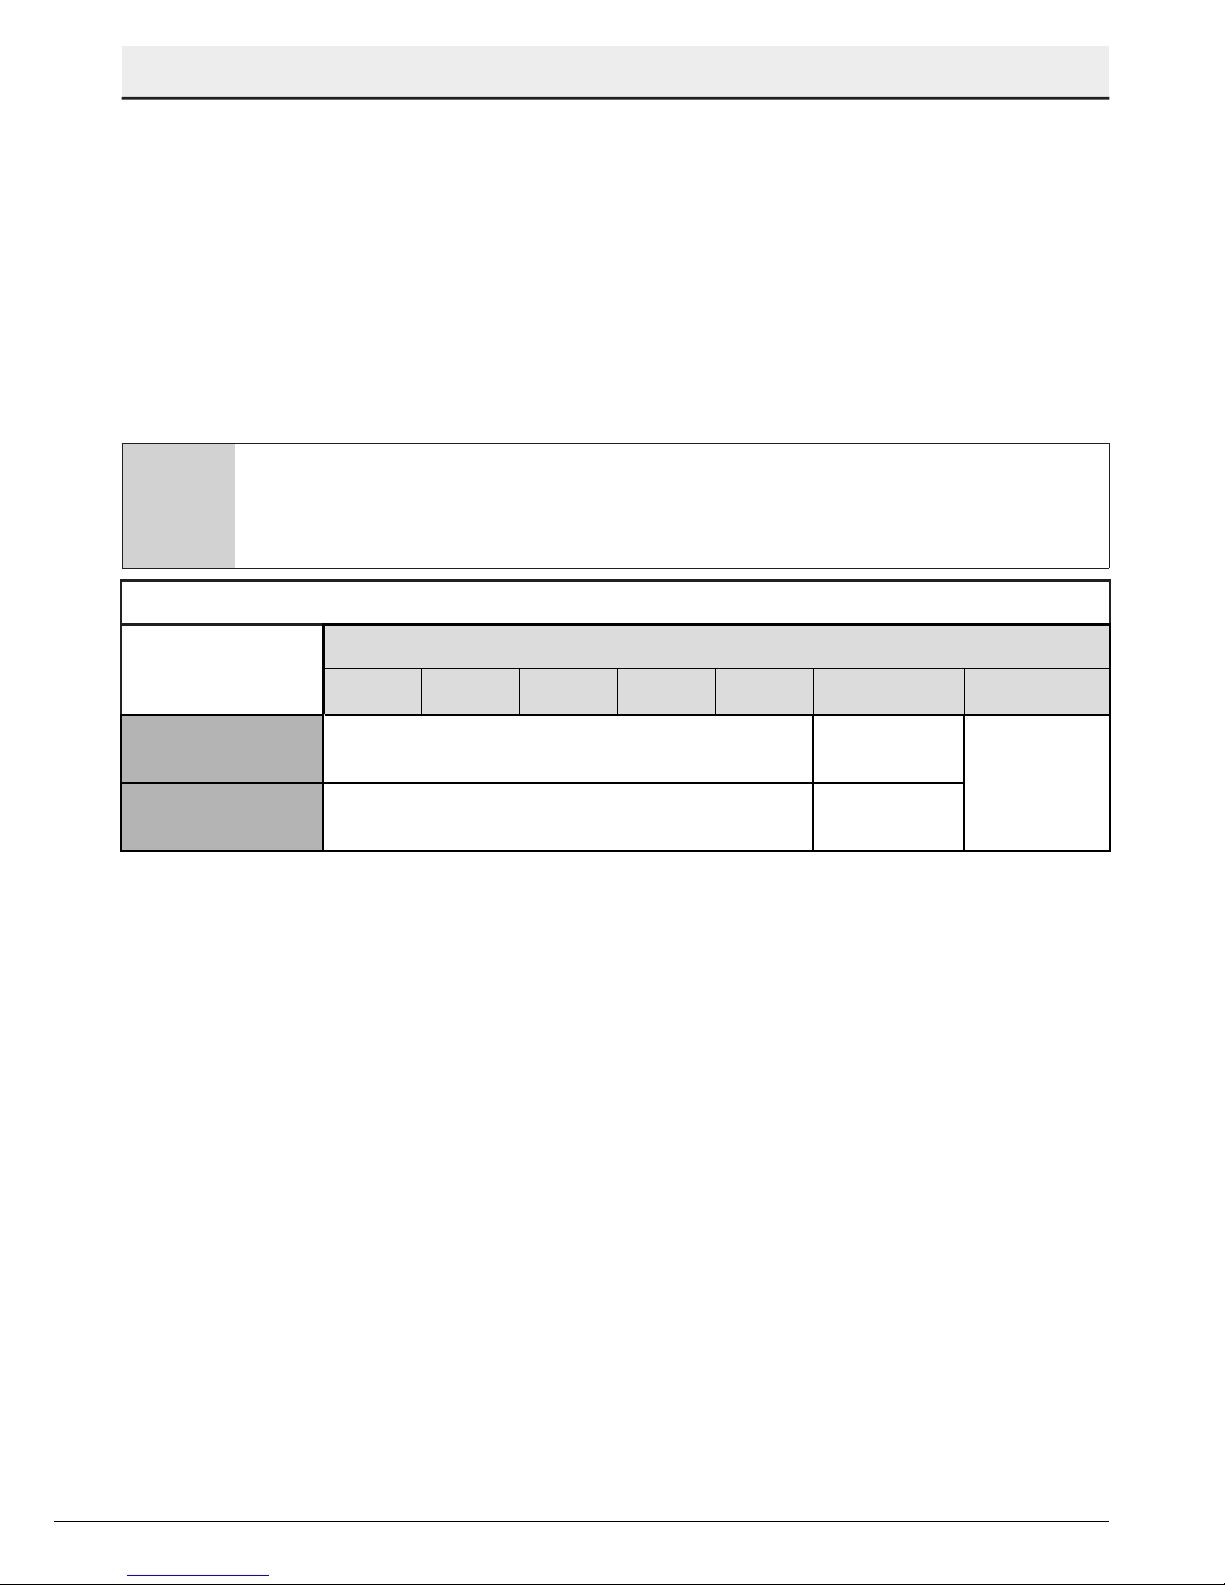
1.7 Teknik özellikler . . . . . . . . . . . . . . . . . . . . .11
2 Çamaşır kurutma makineniz 12
2.1 Genel görünüm . . . . . . . . . . . . . . . . . . . . .12
2.2 Teslimat kapsamı . . . . . . . . . . . . . . . . . . . .13
3 Kurulum 14
3.1 Kurulum için doğru yer . . . . . . . . . . . . . . . .14
3.2 Nakliye emniyet grubunun çıkarılması . . . . .14
3.3 Tezgah altı kurulum. . . . . . . . . . . . . . . . . . .14
3.4 Su giderine bağlanması . . . . . . . . . . . . . . .15
3.5 Ayakların ayarlanması. . . . . . . . . . . . . . . . .15
3.6 Elektrik bağlantısı . . . . . . . . . . . . . . . . . . . .16
3.7 Kurutma makinesinin taşınması. . . . . . . . . .16
3.8 Sesle ilgili uyarılar. . . . . . . . . . . . . . . . . . . .16
4 Ön hazırlık 17
4.1 Kurutma makinesinde kurutulması uygun
çamaşırlar . . . . . . . . . . . . . . . . . . . . . . . . . . . .17
4.2 Kurutma makinesinde kurutulması uygun
olmayan çamaşırlar . . . . . . . . . . . . . . . . . . . . .17
4.3 Kurutulacak çamaşırların hazırlanması. . . . .17
4.4 Enerji tasarrufu için yapılması gerekenler. . .17
4.5 Doğru yük kapasitesi . . . . . . . . . . . . . . . . .18
5 Program seçimi ve kurutma
makinesinin çalıştırılması 19
5.1 Kontrol paneli. . . . . . . . . . . . . . . . . . . . . . .19
5.2 Ekran Sembolleri . . . . . . . . . . . . . . . . . . . .19
5.3 Kurutma makinesinin hazırlanması . . . . . . .20
5.4 Program seçimi . . . . . . . . . . . . . . . . . . . . .20
5.5 Program seçimi ve tüketim tablosu . . . . . . .21
5.6 Yardımcı fonksiyonlar . . . . . . . . . . . . . . . . .23
5.7 Uyarı sembolleri . . . . . . . . . . . . . . . . . . . . .23
5.8 Programın başlatılması . . . . . . . . . . . . . . . .24
5.9 Çocuk Kilidi . . . . . . . . . . . . . . . . . . . . . . . .24
5.10 Programın başlatıldıktan sonra
değiştirilmesi . . . . . . . . . . . . . . . . . . . . . . . . . .25
5.11 Programın iptal edilmesi . . . . . . . . . . . . . .25
5.12 Program sonu . . . . . . . . . . . . . . . . . . . . .25
6 Bakım ve temizlik 26
6.1 Lif Filtresi / Yükleme Kapağı İç Yüzeyi
Temizliği. . . . . . . . . . . . . . . . . . . . . . . . . . . . . .26
6.2 Sensörün temizlenmesi . . . . . . . . . . . . . . .27
6.3 Su tankının boşaltılması . . . . . . . . . . . . . . .27
6.4 Filtre çekmecesinin temizlenmesi . . . . . . . .28
6.5 Evaporatörün temizlenmesi . . . . . . . . . . . . .29
7 Sorun giderme 30
8 Tüketici hizmetleri 32

4 / EN
Dryer / User Manual
1 Important instructions for safety and environment
This section contains safety instructions that will help protect from risk of
personal injury or property damage. Failure to follow these instructions
shall void any warranty.
1.1 General safety
• The dryer can be used by children at and above 8 years old and by
persons whose physical, sensory or mental capabilities were not fully
developed or who lack experience and knowledge provided that they
are supervised or trained on the safe usage of the product and the risks
it brings out. Children should not play with the product. Cleaning and
maintenance works should not be performed by children unless they are
supervised by someone.
• Children of less than 3 years should be kept away unless continously
supervised.
• Adjustable feet should not be removed. The gap between the dryer and
the floor should not be reduced with materials such as carpet, wood and
tape. This will cause problems with the dryer.
• Always have the installation and repairing procedures carried out by the
Authorized Service.Manufacturer shall not be held liable for damages
that may arise from procedures carried out by unauthorized persons.
• Never wash the dryer by spraying or pouring water onto it! There is the
risk of electric shock!

5 / EN
Dryer / User Manual
Important instructions for safety and environment
1.1.1 Electrical safety
AElectrical safety instructions should be followed while electrical
connection is made during the installation.
AThe appliance must not be supplied through an external switching
device, such as a timer,or connected to a circuit that is regularly
switched on and off by utility.
• Connect the dryer to a grounded outlet protected by a fuse at the value
specified on the type label. Have the grounding installation performed by a
qualified electrician. Our company shall not be liable for any damages that
will arise when the dryer is used without grounding in accordance with the
local regulations.
• The voltage and allowed fuse protection is stated on the type label
plate.
• The voltage specified on the type label must be equal to your mains
voltage.
• Unplug the dryer when it is not in use.
• Unplug the dryer from the mains during installation, maintenance,
cleaning and repair works.
• Do not touch the plug with wet hands! Never unplug by pulling on the
cable, always pull out by grabbing the plug.
• Do not use extension cords, multi-plugs or adaptors to connect the
dryer to power supply in order to decrease the risk of fire and electric
shock.
• Power cable plug must be easily accessible after installation.
BDamaged mains cable should be changed notifying the Authorized
Service.
BIf the dryer is faulty, it must not be operated unless it is repaired
by an authorized service agent! There is the risk of electric shock!

6 / EN
Dryer / User Manual
Important instructions for safety and environment
1.1.2 Product safety
Points to be taken into consideration for fire hazard:
Below specified laundry or items must not be dried
in the dryer considering fire hazard.
• Unwashed laundry items
• Items soiled with oil, acetone, alcohol, fuel oil, kerosene, stain
removers, turpentine, paraffin or paraffin removers must be
washed in hot water with plenty of detergent before being dried in
the dryer.
For this reason especially the items containing the above
specified stains must be washed very well, to do this use
adequate detergent and choose a high washing temperature.
Below specified laundry or items must not be dried in the
dryer due to the fire hazard:
• Garments or pillows bolstered with rubber foam (latex foam),
shower bonnets, water resistant textiles, materials with rubber
reinforcement and rubber foam pads.
• Clothing cleaned with industrial chemicals.
Items such as lighter, match, coins, metal parts, needle etc.
may damage the drum set or may lead to functional problems.
Therefore check all the laundry that you will load into your dryer.
Never stop your dryer before the programme completes. If you
must do this, remove all laundry quickly and lay them out to
dissipate the heat.
Clothes that are washed inadequately may ignite on their own
and even may ignite after drying ends.
• You must provide enough ventilation in order to prevent gases exiting
from devices operating with other types of fuels including the naked flame
from accumulating in the room due to the back fire effect.

7 / EN
Dryer / User Manual
Important instructions for safety and environment
AUnderwear that contains metal reinforcements should not be
dried in the dryer. Dryer may be damaged if metal reinforcements
come loose and break off during drying.
CUse softeners and similar products in accordance with the
instructions of their manufacturers.
CAlways clean the lint filter before or after each loading. Never
operate the dryer without the lint filter installed.
• Never attempt to repair the dryer by yourself. Do not perform any repair
or replacement procedures on the product even if you know or have the
ability to perform the required procedure unless it is clearly suggested in
the operating instructions or the published service manual. Otherwise, you
will be putting your life and others’ lives in danger.
• There must not be a lockable, sliding or hinged door that may block the
opening of the loading door in the place where your dryer is to be installed.
• Install your dryer at places suitable for home use. (Bathroom, closed
balcony, garage etc.)
• Make sure that pets do not enter the dryer. Check the inside of the dryer
before operating it.
• Do not lean on the loading door of your dryer when it is open, otherwise
it may fall over.
• The lint must not be allowed to accumulate around the tumble dryer

8 / EN
Dryer / User Manual
Important instructions for safety and environment
1.2 Mounting over a washing machine
• A fixing device should be used between the two machines when
installing the dryer above a washing machine. The fitting device must be
installed by the authorized service agent.
• Total weight of the washing machine and the dryer -with full load- when
they are placed on top of each other reaches to approx. 180 kilograms.
Place the products on a solid floor that has sufficient load carrying
capacity!
AWashing machine cannot be placed on the dryer. Pay attention
to the above warnings during the installation on your washing
machine.
Installation Table for Washing Machine and Dryer
Dryer Depth Washing Machine Depth
62 cm 60 cm 54 cm 50 cm 49 cm 45 cm 40 cm
54 cm Can be installed Can be
installed Cannot be
installed
60 cm Can be installed Cannot be
installed

9 / EN
Dryer / User Manual
Important instructions for safety and environment
1.3 Intended use
• Dryer has been designed for domestic use. It is not suitable for
commercial use and it must not be used out of its intended use.
• Use the dryer only for drying laundry that are marked accordingly.
• The manufacturer waives any responsibility arisen from incorrect usage
or transportation.
• The service life of the dryer that you purchased is 10 years. During this
period, original spare parts will be available to operate the dryer properly.
1.4 Child safety
• Packaging materials are dangerous for the children. Keep packaging
materials away from children.
• Electrical products are dangerous for the children. Keep children away
from the product when it is operating. Do not let them tamper with the
dryer. Use the child-proof lock in order to prevent the children to tamper
with the dryer.
CChild-proof lock is on the control panel.(See Child lock)
• Keep loading door closed even when the dryer is not in use.

10 / EN
Dryer / User Manual
Important instructions for safety and environment
1.5 Compliance with the WEEE regulation
and disposing of the waste product
This product complies with EU WEEE Directive (2012/19/EU).
This product bears a classification symbol for waste electrical and
electronic equipment (WEEE).
This product has been manufactured with high quality parts and
materials which can be reused and are suitable for recycling. Do
not dispose of the waste product with normal domestic and other wastes
at the end of its service life. Take it to the collection center for the recycling
of electrical and electronic equipment. Please consult your local authorities
to learn about these collection centers.
1.6 Compliance with RoHS Directive:
The product you have purchased complies with EU RoHS Directive
(2011/65/EU). It does not contain harmful and prohibited materials
specified in the Directive.
1.7 Package information
Packaging materials of the product are manufactured from recyclable
materials in accordance with our National Environment Regulations. Do
not dispose of the packaging materials together with the domestic or other
wastes. Take them to the packaging material collection points designated
by the local authorities.

11 / EN
Dryer / User Manual
Important instructions for safety and environment
1.8 Technical Specifications
* Min. height: Height with adjustable feet are closed.
Max. height: Height with adjustable feet are opened maximum.
** Dry laundry weight before washing.
*** Type label is located behind the loading door.
CTechnical specifications of the dryer are subject to specification
without notice to improve the quality of the product.
CFigures in this manual are schematic and may not match the
product exactly.
C
Values stated on markers on the dryer or in the other published
documentation accompanying with the dryer are obtained in
laboratory in accordance with the relevant standards. Depending
on operational and environmental conditions of the dryer, these
values may vary.
EN
Height (Min. / Max.) 84,6 cm / 86,6 cm*
Width 59,5 cm
Depth 59,8 cm
Capacity (max.) 8 kg **
Net weight (plastic front door usage) 50,5 kg
Net weight (glass front door usage) 52,5 kg
Voltage
See type label***
Rated power input
Model code

12 / EN
Dryer / User Manual
2 Your Dryer
2.1 Overview
1
8
7
6
11
4
9
2
3
10
5
1. Top panel
2. Control panel
3. Loading door
4. Kick plate opening button
5. Ventilation grids
6. Adjustable legs
7. Kick plate
8. Type label
9. Lint filter
10. Water tank drawer
11. Power cord

13 / EN
Dryer / User Manual
Your Dryer
2.2 Package Contents
12 3 5
4
1. Water drain hose *
2. Filter drawer spare sponge*
3. User Manual
4. Drying basket*
5. Drying basket user manual*
*It can be supplied with your machine depending on its model.

14 / EN
Dryer / User Manual
3Installation
Refer to the nearest Authorized Service Agent for
installation of the product. To make the product ready for
use, make sure that the electricity and water drainage
systems are appropriate by reading the information/
instructions given in the user manual before calling
the Authorized Service Agent. If they are not, call a
qualified technician and plumber to have any necessary
arrangements carried out.
CPreparation of the product's location
as well as the electrical, clean water
and waste water installations is under
customer's responsibility.
BCAUTION: Installation and electrical
connections of the product must be
performed by the Authorized Service
Agent. Manufacturer shall not be held
liable for damages that may arise from
procedures carried out by unauthorized
persons.
ACAUTION: Prior to installation, visually
check if the product has any defects on
it. If so, do not have it installed. Damaged
products cause risks for your safety.
3.1 Appropriate installation location
Install the product on a stable and level surface.
Dryer is heavy. Do not move it by yourself.
• Operate your product in a well ventilated,
dust-free environment.
• Do not block the air ducts in front of and
under the product with materials such as long
pile rugs, wooden blocks and bands.
• Do not install the product behind a door with a
lock, sliding door or a hinged door which can
strike the product.
• Once the product is installed, it should stay at
the same place where its connections have
been made. When installing the product,
make sure that the rear wall of it does not
touch anywhere (tap, socket, etc.). Also pay
attention to select an installation location
which you will not be required to change
afterwards.
• Place the product at least 1.5 cm away from
the edges of other furniture.
• The rear surface of the tumble dryer shall be
placed against a wall.
BCAUTION: Do not place the product on
top of the power cord.
3.2 Removing the transportation
safety assembly
ACAUTION: Remove the transportation
safety assembly before using the product
for the first time.
1. Open the loading door.
2. There is a nylon bag inside the drum that contains a
piece of styrofoam. Hold it from its section marked
with XX XX.
3. Pull the nylon towards yourself and remove the
transportation safety assembly.
ACAUTION: Check that no part of the
transportation safety assembly remains
inside the drum.
3.3 Under counter installation
This product can be installed under a counter if the
height of the counter is sufficient.
ACAUTION: While using the under counter
dryer, never operate the dryer without
under counter installation part.
Dryer Depth 60 cm 54 cm
Stock number of under-
bench installation part 2979700200 2973600200
Leave at least 3 cm of space around the sides and
the rear wall of the product when installing it
under a counter or in a cupboard.

15 / EN
Dryer / User Manual
Installation
3.4 Connecting to the drain
In products equipped with condenser unit, water
accumulates in the water tank during the drying cycle.
You should drain accumulated water after each drying
cycle.
You can directly drain accumulated water through the
water drain hose supplied with the product instead of
periodically draining the water collected in the water
tank.
1
3 4
2
Connecting the water drain hose
1-2 Pull hose at the behind of the dryer by hand
in order to disconnect it from where it is
connected. Do not use any tools to remove
the hose.
3Connect one end of the drain hose supplied
with the dryer to the connection point from
where you removed the hose of the product in
previous step.
4Connect the other end of the drain hose
directly to the wastewater drain or to the
washbasin.
ACAUTION: Hose must be fixed in every
type of connection. Your house will be
flooded if the hose comes loose during
water discharge.
CAttach the water drain hose to a height of
maximum 80 cm.
CMake sure that the water drain hose is not
stepped on, twisted or bent between the
drain and the machine.
3.5 Adjusting the feet
In order to ensure that the product operates more
silently and vibration-free, it must stand level and
balanced on its feet. Balance the machine by adjusting
the feet.
Turn the feet to left or right until the machine stands
level and firmly.
ACAUTION: Never unscrew the adjustable
feet from their housings.
3.6 Electrical connection
For specific instructions for electrical connection
required during installation (see 1.1.1 Electrical
Safety)
BCAUTION: If the product is faulty, it must
not be operated unless it is repaired!
There is the risk of electric shock!
3.7 Transportation of the product
1. Unplug the product before transporting it.
2. Remove the water drain (if any) and chimney
connections.
3. Drain the water in the product completely.
3.8 Warnings about sounds
CIt is normal to hear a metallic noise
from the compressor sometimes during
operation.

16 / EN
Dryer / User Manual
Installation
CWater collected during operation is
pumped to water tank. It is normal to hear
pumping noise during this process.
3.9 Changing the illumination lamp
In case an illumination lamp is used in your laundry
dryer
To change the Bulb/LED used for illumination of your
tumble dryer, call your Authorized Service.
The lamp(s) used in this appliance is not suitable for
household room illumination. The intended purpose of
this lamp is to assist the user to place laundry in the
tumble dryer in a comfortable way. ‘’The lamps used
in this appliance have to withstand extreme physical
conditions such as vibrations and temperatures above
50 °C.’’

17 / EN
Dryer / User Manual
4Preparation
4.1 Laundry suitable for drying in the dryer
Always obey the instructions given on the garment tags. Dry only the laundry having a label stating that
they are suitable for drying in a dryer and make sure that you select the appropriate programme.
Drying
Settings
At any temperature
At high temperature
At medium
temperature
At low temperature
Without heating
Hang to dry
Lay to dry
Hang wet to dry
Lay in shadow
to dry
Dry-cleanable
Iron -
IRON
Dry or Steam Iron at high
temperature
Iron at medium
temperature Iron at low
temperature
Do not iron
Iron without
steam
Maximum temperature 200 0C150 0C110 0C
LAUNDRY DRYING SYMBOLS
Drying
Symbols Suitable for
dryer No Iron Sensitive /
Delicate dry
Do not dry
with dryer
Do not dry Do not dry-
clean
4.2 Laundry not suitable for drying in
the dryer
CDelicate embroidered fabrics, woollen, silk
garments, delicate and valuable fabrics,
airtight items and tulle curtains are not
suitable for machine drying.
4.3 Preparing laundry for drying
• Laundry may be tangled with each other after
washing. Separate the laundry items before
placing them into the dryer.
• Dry garments having metal accessories such
as zippers, inside out.
• Fasten the zippers, hooks and buckles and
button sheets.
4.4 Things to be done for energy
saving
• Following information will help you use the dryer in
an ecological and energy-efficient manner.
• Spin your laundry at the highest speed possible
when washing them. Thus, the drying time is
shortened and energy consumption is reduced.
• Sort out the laundry depending on their type and
thickness. Dry the same type of laundry together.
For example thin kitchen towels and table clothes
dries earlier than thick bathroom towels.
• Follow the instructions in the user manual for
programme selection.
• Do not open the loading door of the machine
during drying unless necessary. If you must
certainly open the loading door, do not to keep it
open for a long time.
• Do not add wet laundry while the dryer is in
operation
• Clean the lint filter before or after each drying
cycle. (See 6.1 Cleaning Lint Filter / Loading
Door Inner Surface)

18 / EN
Dryer / User Manual
Preparation
• Clean the filter periodically when there is visible
air collection on it or when the symbol lights up, if
there is a filter drawer cleaning warning symbol «
» available. (See 6. 4 Cleaning the filter
drawer)
• Ventilate the room, where the dryer is located, well
during drying.
4.5 Correct load capacity
Follow the instructions in the “Programme selection and
consumption table”. Do not load more than the capacity
values stated in the table.
CIt is not recommended to load the dryer
with laundry exceeding the level indicated
in the figure. Drying performance will
degrade when the machine is overloaded.
Furthermore, dryer and the laundry can get
damaged.
Following weights are given as examples.
Laundry Approximate weights
(g)*
Cotton quit covers (double) 1500
Cotton quit covers (single) 1000
Bed sheets (double) 500
Bed sheets (single) 350
Large tablecloths 700
Small tablecloths 250
Tea napkins 100
Bath towels 700
Hand towels 350
Blouses 150
Cotton shirts 300
Shirts 250
Cotton dresses 500
Dresses 350
Jeans 700
Handkerchiefs (10 pieces) 100
T-Shirts 125
*Dry laundry weight before washing.

19 / EN
Dryer / User Manual
1. On/Off/Cancel button
2. Program number indicator
3. Display
4. Start/Stand-by button
5.2 Screen Symbols
Kalan zaman göstergesi*
Filtre çekmecesi temizleme uyarı sembolü
Filtre temizliği uyarı sembolü
Sesli uyarı sembolü
Çocuk kilidi uyarı sembolü
Su tankı uyarı sembolü
Zaman geciktirme sembolü
Başla sembolü
*Ekranda görülen süre, programın bitmesi için kalan
zamanı gösterir ve bu süre çamaşırın nemine göre değişir.
Program ilerleme çubuğu
Bekle sembolü
1 2 3
87 6 54
1
2
3
4
5
6
7
816
15
14
13
12
11
10
9
3’’
Kurutma
Ütü Kuruluğu
Dolap Kuruluğu
Son / Kırışık Önleme
Moda
Sessiz
Tazeleme
Yünlü Kurutma
Zaman Programları
Hassas
Gömlek
Yorgan
Pamuklu Dolap Kuruluğu +
Pamuklu Ekstra Kuru
Sentetik Dolap Kuruluğu
Pamuklu Ütü Kuruluğu
Pamuklu Dolap Kuruluğu
Sentetik Ütü Kuruluğu
Kot
Günlük
5 Program selection and operating the drying machine
5.1 Control Panel
5. Time delay selection button
6. Sound warning level button/child lock
7. Timing schedules selection button
8. Program selection button

20 / EN
Dryer / User Manual
Operating the Product
5.3. Preparation of drying machine
Plug the drying machine.
Open the loading door.
Place the laundry to the drying machine without
jamming them.
Push and close the loading door.
AEnsure that no laundry is jammed to the
loading door.
Press On/Off/Cancel button for 1 second (long).
1
2
3
4
5
6
7
816
15
14
13
12
11
10
9
When your drying machine is turned on for the first
time, it turns on with the declaration program
(cotton wardrobe dry).
CPressing the On/Off/Cancel button does
not mean that the program started. Press
the Start / Stand-by button after the
program selection to start the program.
5.4 Program selection
There are 16 programs on your drying machine.
1
2
3
4
5
6
7
816
15
14
13
12
11
10
9
Use the Program Selection button to select the
program you wish. Number of the selected
program is displayed on the screen.
Program selection and consumption chart is given
in the order that may be preferred most by
the user. Indicator number of the programs
are shown on the table.
This manual suits for next models
2
Table of contents
Other arcelik Dryer manuals

arcelik
arcelik 2782 KT User manual

arcelik
arcelik 900 KM User manual

arcelik
arcelik KM 810 User manual

arcelik
arcelik 3870 KT User manual

arcelik
arcelik 800KM User manual

arcelik
arcelik 3890 KT User manual

arcelik
arcelik 930 KMB User manual

arcelik
arcelik 910 KM User manual

arcelik
arcelik 3886 CNT User manual

arcelik
arcelik 3881 KTS User manual