manuals.online logo
Brands
  1. Home
  2. •
  3. Brands
  4. •
  5. Architectural Area Lighting
  6. •
  7. Light Fixture
  8. •
  9. Architectural Area Lighting KicK Bollard series User manual

Architectural Area Lighting KicK Bollard series User manual

KicK Bollard Installation Instruction
Fixture: KB6 - KicK Bollard
A R C H I T E C T U R A L A R E A L I G H T I N G
93069784 REV. B
PAGE 1/8
www.aal.net
16555 East Gale Avenue
City of Industry, CA 91745
626.968.5666
2 1 93069764 TMPLT-MTG-KB6
1 4 A90007 BOLT-ANCH 1/2 x10 x2
ITEM # QTY PART # DESCRIPTION
Tools required:
1. 9/16" Socket & Rachet Arm
2. Wire connections to incoming power (others)
3. 3/16" Allen Wrench
2
1
WARNING: Fixtures must be grounded in accordance with local codes or the National Electrical
Code. Failure to do so may result in serious personal injury.
MAINTENANCE: A regularly scheduled maintenance program should be established to retain optimum light
output and reduce heat retention.
CAUTION: All wiring must be done by a qualified electrician. KEEP THIS SHEET FOR FUTURE REFERENCE.
!
KicK Bollard Installation Instruction
Fixture: KB6 - KicK Bollard
A R C H I T E C T U R A L A R E A L I G H T I N G
93069784 REV. B
PAGE 2/8
www.aal.net
16555 East Gale Avenue
City of Industry, CA 91745
626.968.5666
1. REMOVE SET SCREWS
1. Remove 4 x 3/8-16 set screws.
2. Remove the fixture housing by pulling
the housing upward.
3/8-16 SET SCREWS
FIXTURE HOUSING
FIG. 1-1
FIG. 1-2
KicK Bollard Installation Instruction
Fixture: KB6 - KicK Bollard
A R C H I T E C T U R A L A R E A L I G H T I N G
93069784 REV. B
PAGE 3/8
www.aal.net
16555 East Gale Avenue
City of Industry, CA 91745
626.968.5666
2. REMOVING BOLLARD BASE
A
DETAIL A
1. Remove 4 x 3/8-16 screws and washers
from the bollard base, and remove the
fixture assembly.
3/8-16 SCREWS
3/8-16 WASHERS
FIXTURE ASSEMBLY
BOLLARD BASE
FIG. 2-1
KicK Bollard Installation Instruction
Fixture: KB6 - KicK Bollard
A R C H I T E C T U R A L A R E A L I G H T I N G
93069784 REV. B
PAGE 4/8
www.aal.net
16555 East Gale Avenue
City of Industry, CA 91745
626.968.5666
3. INSTALLING BOLLARD BASE 1. Placed the anchor bolt template on the
desired location, and install the anchor
bolt according to the determined location.
2. Install the bollard base on the anchor bolts
and tighten the washers and nuts to keep
the bollard base level to the ground.
ANCHOR BOLT TEMPLATE
BOLLARD BASE
ANCHOR BOLT WASHER
ANCHOR BOLT NUT
ANCHOR BOLT
FIG. 3-1
KicK Bollard Installation Instruction
Fixture: KB6 - KicK Bollard
A R C H I T E C T U R A L A R E A L I G H T I N G
93069784 REV. B
PAGE 5/8
www.aal.net
16555 East Gale Avenue
City of Industry, CA 91745
626.968.5666
4. WIRING CONNECTION
1. Make the wiring connection, see wiring
diagram on page 6 for detail information.
FIG. 2-1FIG. 4-1
KicK Bollard Installation Instruction
Fixture: KB6 - KicK Bollard
A R C H I T E C T U R A L A R E A L I G H T I N G
93069784 REV. B
PAGE 6/8
www.aal.net
16555 East Gale Avenue
City of Industry, CA 91745
626.968.5666
( - ) GRAY
( + ) VOILET ( - ) GRAY
( + ) VIOLET
BLACK
GREEN
WHITE
TO INCOMING
POWER
GROUND TO
FIXTURE HOUSING
Driver Assembly
TO DIMMING
(OPTIONAL) ( - ) BLUE
( + ) RED
LED Array
( - ) BLUE
( + ) RED
TO LEDs
BLUE
BLUE BLUE
BLUE
TO NTC
PROBE
BLACK
GREEN
WHITE
KicK Bollard Wiring Diagram
KicK Bollard Installation Instruction
Fixture: KB6 - KicK Bollard
A R C H I T E C T U R A L A R E A L I G H T I N G
93069784 REV. B
PAGE 7/8
www.aal.net
16555 East Gale Avenue
City of Industry, CA 91745
626.968.5666
5. INSTALLING FIXTURE ASSEMBLY
DETAIL A
1. Determine the street side desired, and
install the fixture assembly to the
bollard base.
2. Install 4 x 3/8-16 screws and washers
to the bollard base to secure the fixture
assembly to the bollard base.
3/8-16 SCREWS
3/8-16 WASHERS
FIXTURE ASSEMBLY
ABOLLARD BASE
STREET SIDE
FIG. 5-1
FIG. 5-2
KicK Bollard Installation Instruction
Fixture: KB6 - KicK Bollard
A R C H I T E C T U R A L A R E A L I G H T I N G
93069784 REV. B
PAGE 8/8
www.aal.net
16555 East Gale Avenue
City of Industry, CA 91745
626.968.5666
6. INSTALLING THE FIXTURE HOUSING
1. Insert the fixture housing to the bollard
fixture assembly.
2. Insert 4 x 3/8-16 set screws, and tighten
the set screws on all 4 sides.
3. Installation is complete.
3/8-16 SET SCREWS
FIXTURE HOUSING
FIG. 6-1
FIG. 6-2 FIG. 6-3
KicK Bollard Installation Instruction
Fixture: KB6 - KicK Bollard
A R C H I T E C T U R A L A R E A L I G H T I N G
93069784 REV. B
PAGE 1/8
www.aal.net
16555 East Gale Avenue
City of Industry, CA 91745
626.968.5666
BOLT PATTERN TEMPLATE

This manual suits for next models

2

Popular Light Fixture manuals by other brands
Larson Electronics EPL-HB-100LED-RT-ASM-JB2-40C-BCE instruction manual
Larson Electronics

Larson Electronics EPL-HB-100LED-RT-ASM-JB2-40C-BCE instruction manual

SEBSON SET 3 R UNDER user manual

SEBSON

SEBSON SET 3 R UNDER user manual
RSA Lighting Combolight Galleria Series CGSVI - CGCVI Specifications

RSA Lighting

RSA Lighting Combolight Galleria Series CGSVI - CGCVI Specifications

Whelen Engineering Company LFL Liberty LC 2010 installation guide

Whelen Engineering Company

Whelen Engineering Company LFL Liberty LC 2010 installation guide

Gradus Group impact FF-SB50 instructions
Gradus Group

Gradus Group impact FF-SB50 instructions

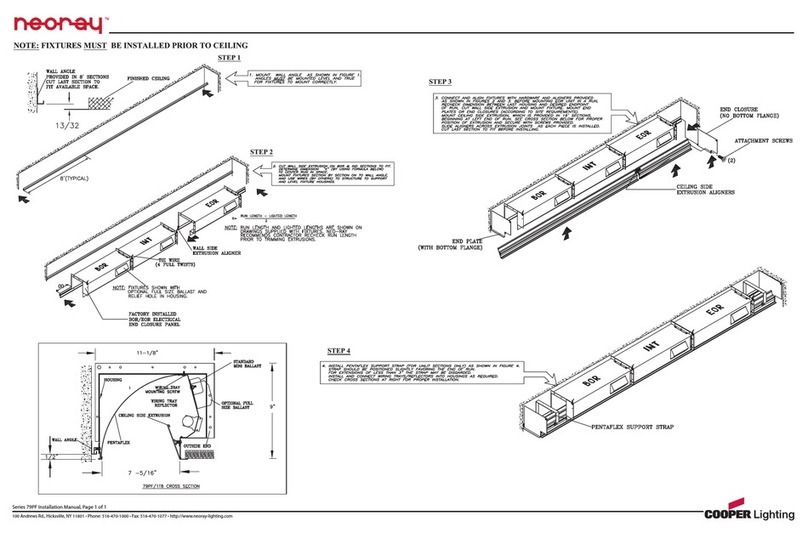
Cooper Lighting 79PF Series installation manual
Cooper Lighting

Cooper Lighting 79PF Series installation manual

Westinghouse W-351 owner's manual

Westinghouse

Westinghouse W-351 owner's manual

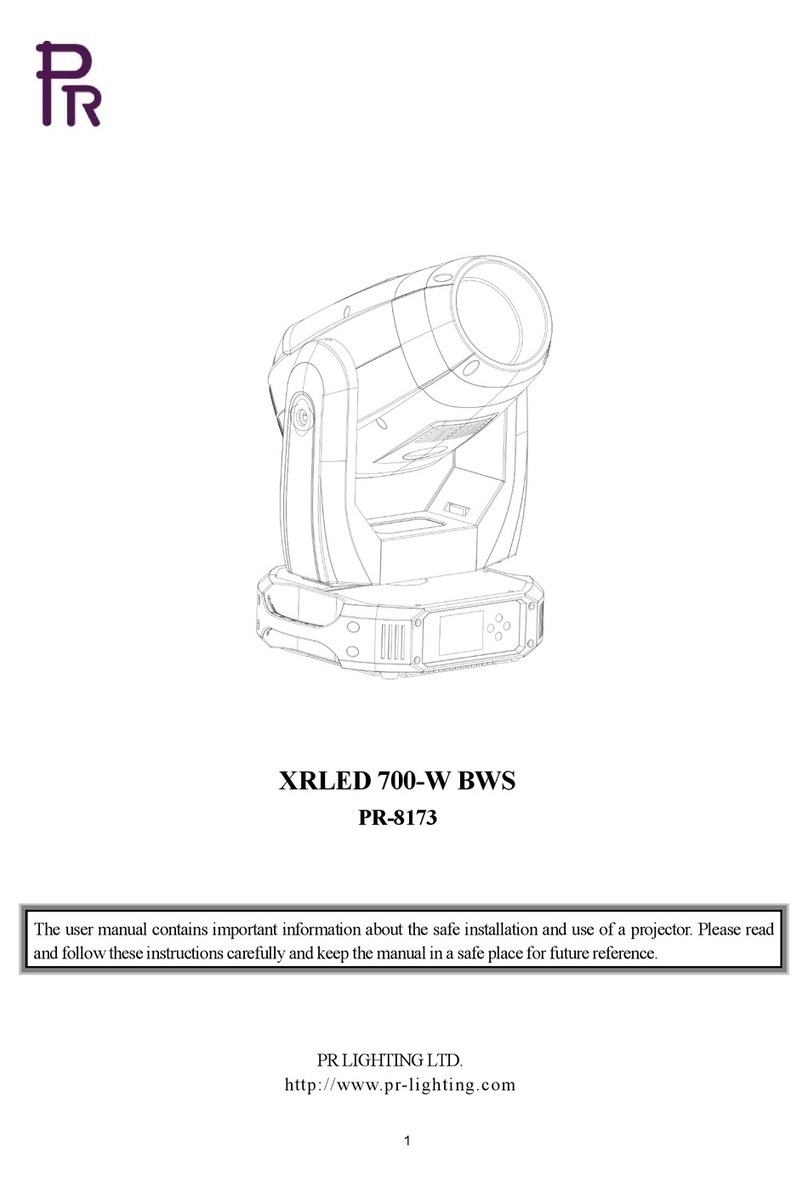
PR Lighting XRLED 700-WBWS manual

PR Lighting

PR Lighting XRLED 700-WBWS manual

Wildfire LT-400F1 Operation manual

Wildfire

Wildfire LT-400F1 Operation manual

Cooper Lighting RSA LED10 specification

Cooper Lighting

Cooper Lighting RSA LED10 specification

RSA Lighting Microgem brochure

RSA Lighting

RSA Lighting Microgem brochure

Hornbach BY-FS-RGB-5050-30-5M Mounting instructions

Hornbach

Hornbach BY-FS-RGB-5050-30-5M Mounting instructions

Good Earth Lighting G9318P-T8-WHI quick start guide

Good Earth Lighting

Good Earth Lighting G9318P-T8-WHI quick start guide

Cooper Lighting ComboLight Suspended Series Specification sheet

Cooper Lighting

Cooper Lighting ComboLight Suspended Series Specification sheet

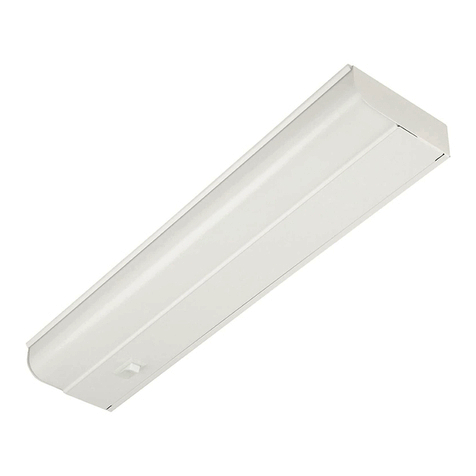
Heitronic 35960 Installation and operating instructions
Heitronic

Heitronic 35960 Installation and operating instructions

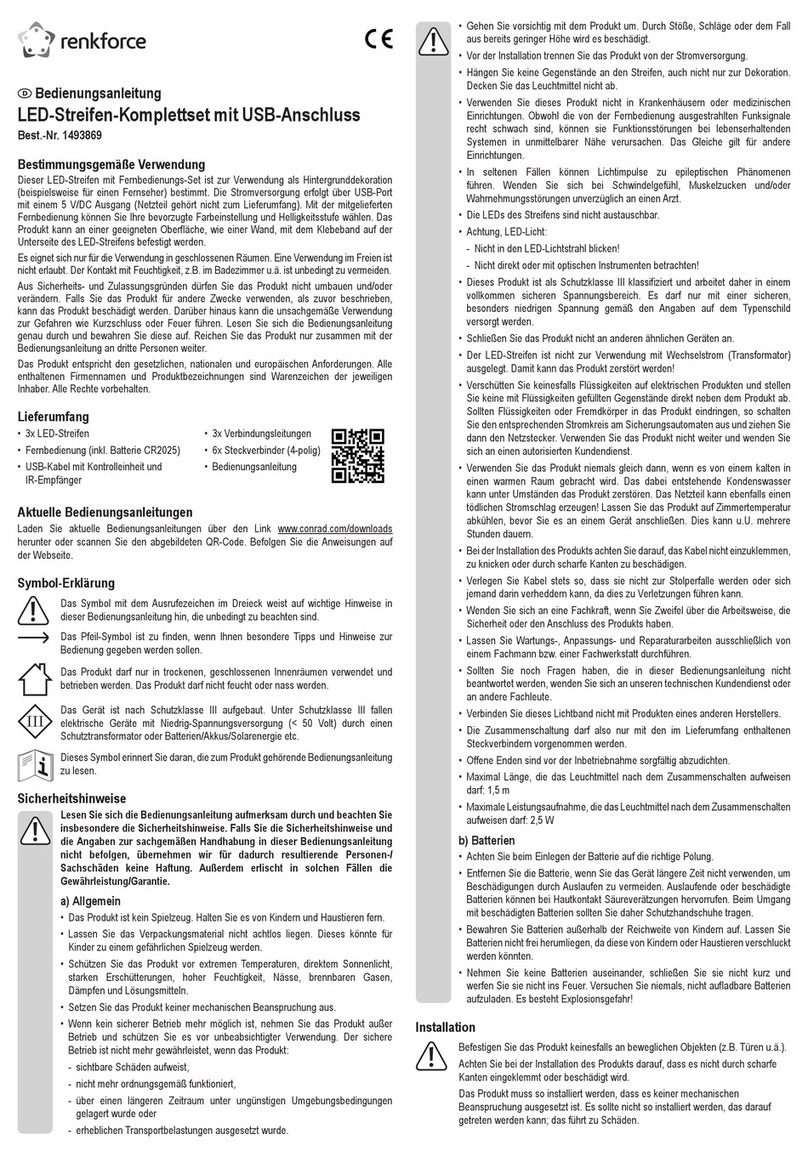
Renkforce 1493869 operating instructions
Renkforce

Renkforce 1493869 operating instructions

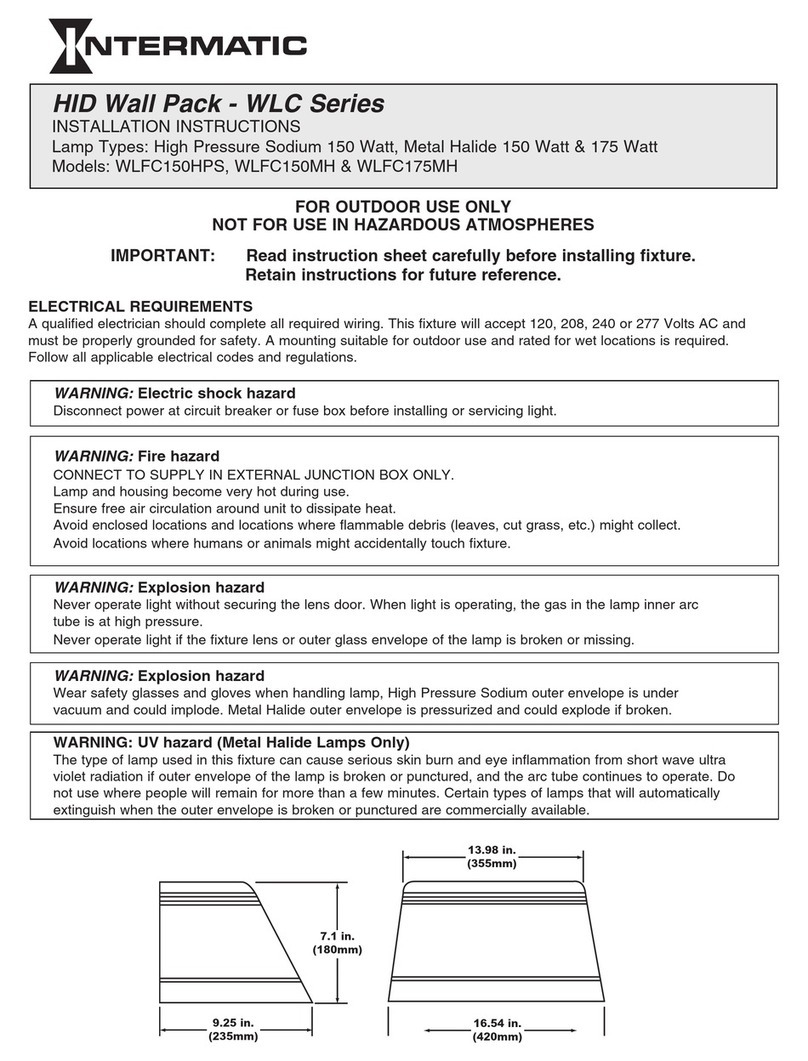
Intermatic WLFC150HPS installation instructions

Intermatic

Intermatic WLFC150HPS installation instructions

U-Line H-7272 manual

U-Line

U-Line H-7272 manual
manuals.online logo
manuals.online logoBrands
  • About & Mission
  • Contact us
  • Privacy Policy
  • Terms and Conditions

Copyright 2025 Manuals.Online. All Rights Reserved.