9
OPERATING INSTRUCTIONS
CONTINUE button _______________________
• Press to activate the continuous
dehumidifying operation.
• If the CONT. mode is selected the unit will
continue to dehumidify and will not be
controlled to a specic humidity setting.
• The humidity setting cannot be adjusted.
• To adjust the humidity sitting, press the
CONT. button to cancel the continuous
mode.
TURBO button __________________________
• The Turbo button is to toggle between
normal fan speed and the highest fan speed
(Turbo).
• Press to select either High or Normal fan
speed.
• Set the unit to turbo by pressing the TURBO
button (green light illuminated) for maximum
moisture removal.
• When the desired humidity level has been
reached, press the TURBO button once
more (green line will extinguish) to return to
normal operation.
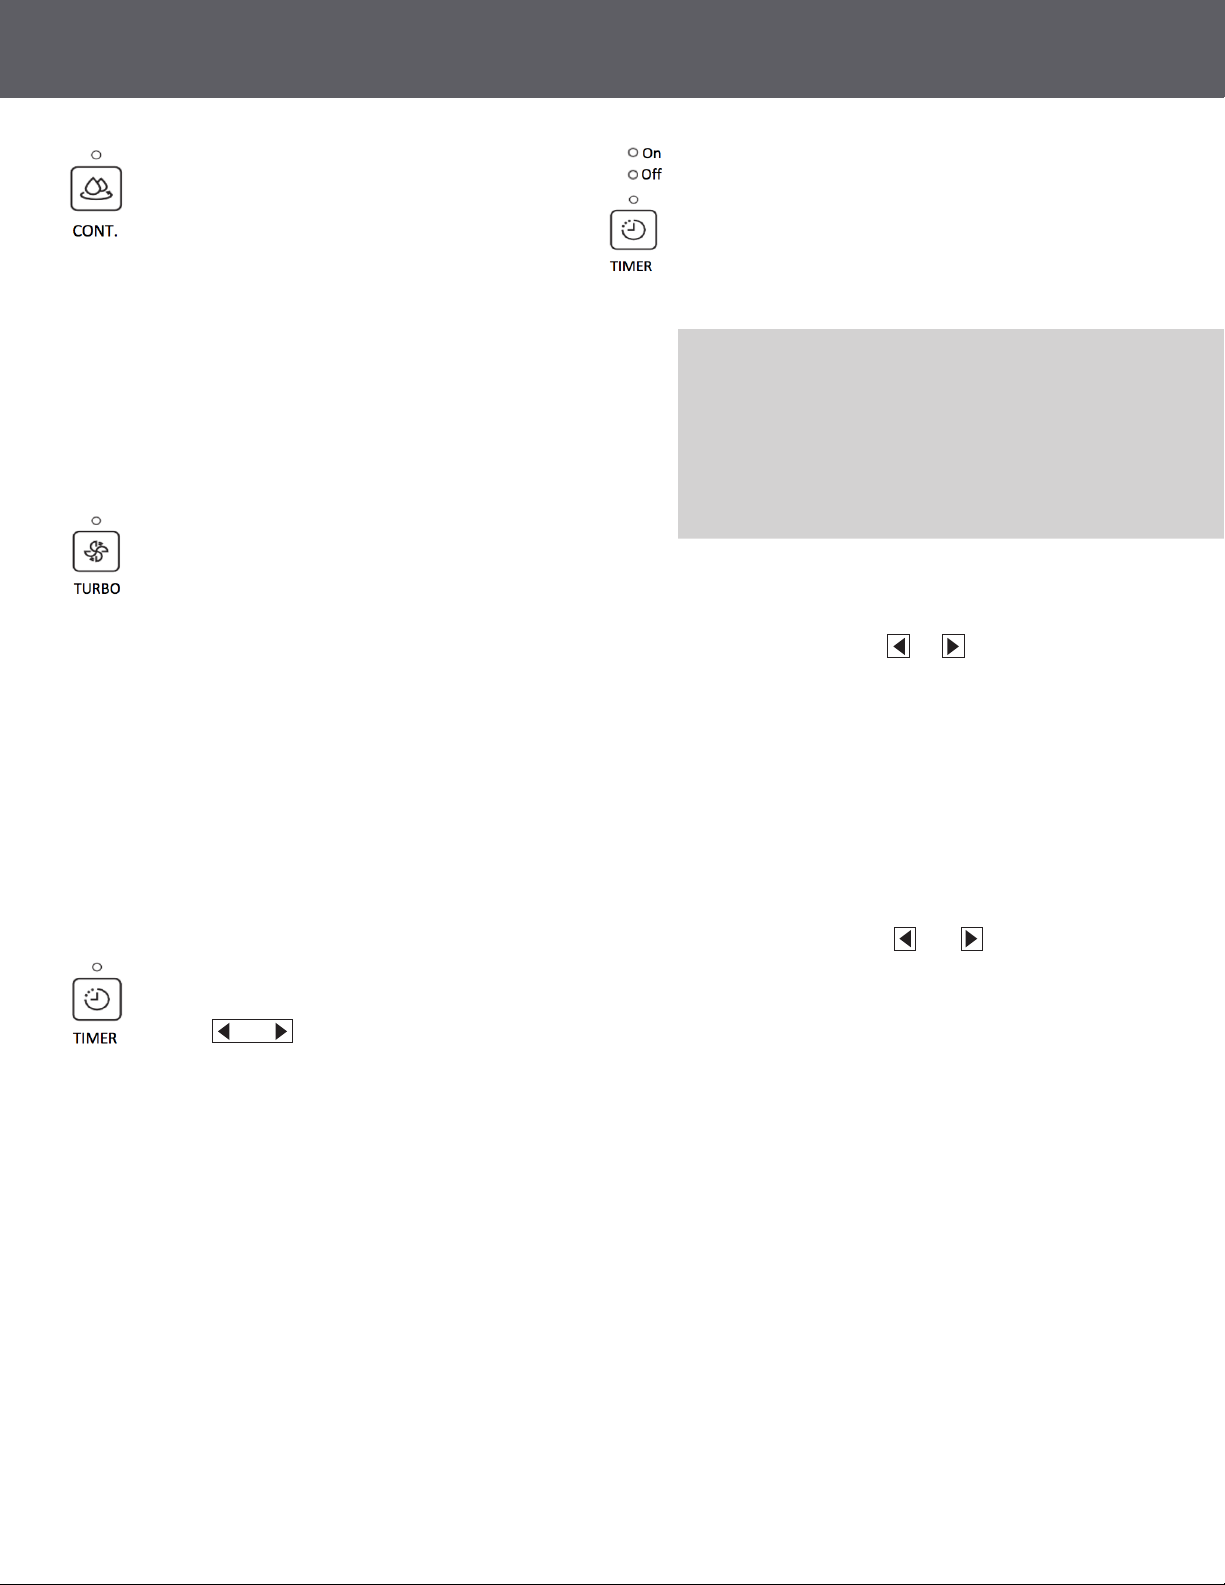
TIMER button __________________________
• Timer button is used in conjunction with
the (Humidity Control) buttons
to initiate the Auto start and Auto stop
feature.
Setting the Timer _______________________
• The TIMER button can be used to set a
desired ON or OFF time for the dehumidier.
The ON time or OFF time setting can only
be set in increments of 0.5 hr. up to 10 hrs.
and 1hr increments from 10 to 24 hrs.
• Press the TIMER button, the timer O or On
indicator light illuminates. This indicates the
auto stop/start program is initiated.
• Press or hold the or button to change
the desired stop/start time by 0.5 hour
increments, up to 10 hours, then at 1 hour
increments from 10 to 24 hours from the
time the feature is set. The control will
count down the time remaining until the
dehumidier stops/starts.
• Press the TIMER button again the timer On
indicator light illuminates. This indicates the
auto start program is initiated.
• Press or hold the or button to
change the desired start time by 0.5hour
increments, up to 10 hours, then at 1 hour
increments from 10 to 24 hours from the
time the feature is set. The control will count
down the time remaining until starts.
• When the Timer On & Timer O times are
set, within the same program sequence,
both On and O indicator lights will
illuminate indicating both On and O times
are programmed.
• Turning the unit On or O at any time or
adjusting the timer setting to 0.0 will cancel
the Auto Start / Stop function.
• If the water bucket is full and the LED
display window displays P2, the Auto
Start /Stop function will also be canceled.
Note:
• If the unit is off, the timer “On” indicator
be the first to illuminate.
• If the dehumidifier is on, the timer
“Off” indicator will first illuminate.
• Toggle between Timer On and Timer Off
by pressing the TIMER button.