Armodilo rt User manual

User Manual & Warranty

2
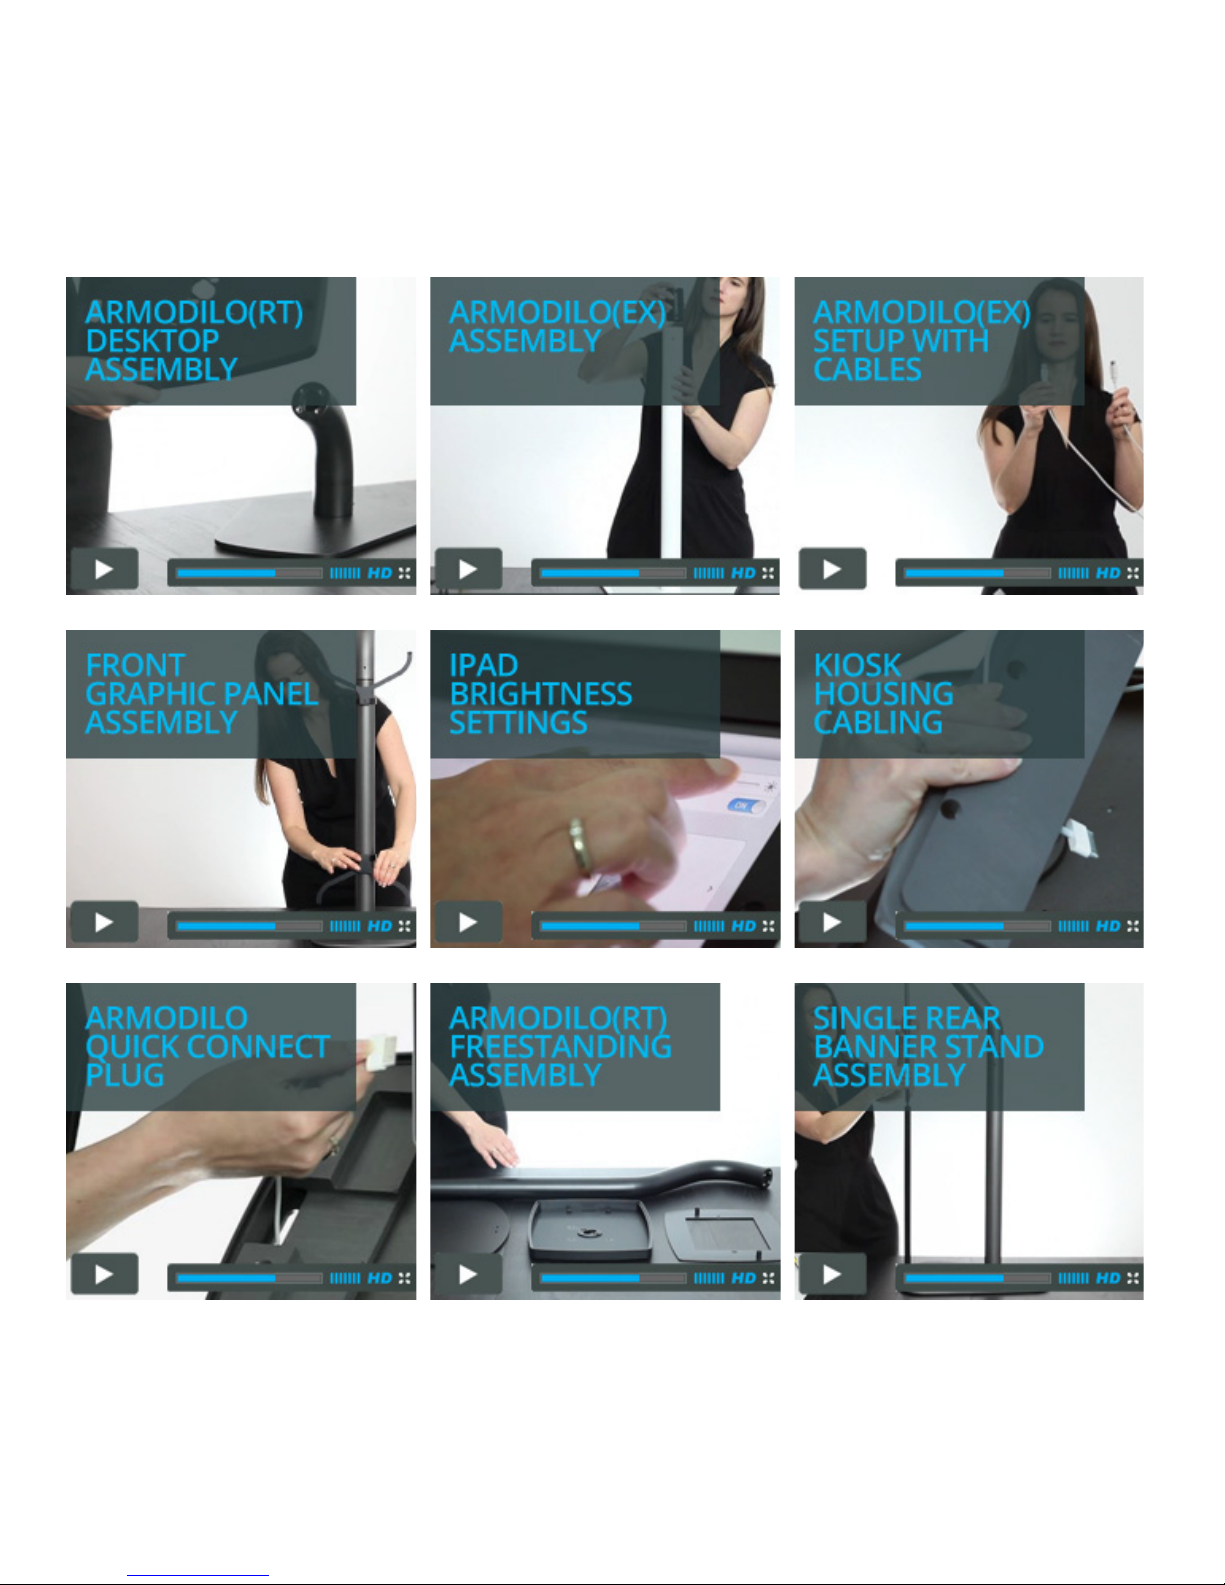
How-To-Videos
For help with assembly, assembly
with cabling, charging and various
other topics please visit our
online how-to-videos at:
www.armodilo.com
3

4
Contents
05 Thank You
06 What You’ll Find in the Box
08 Assembly Instructions ›Armodilo(rt) Freestanding
14 Assembly Instructions ›Armodilo(rt) Desktop Curve
18 Assembly Instructions ›Armodilo(rt) Surface Mount
22 Assembly Instructions ›Armodilo(rt) Wall Mount
26 Taking care of your Armodilo
28 Ordering Upgrades or Replacement Parts
29 Warranty Information
30 Obtaining Service Under Warranty
31 Important Safety Information
32 General Precautions
Important: Read all the setup instructions and safety information provided
in this user manual carefully.
Contents

5
Thank you
Thank you for purchasing an Armodilo(rt)™ Tablet Display Stand.
Each Armodilo(rt) Tablet Display Stand has been manufactured
to the highest quality specications and
checked by one of our quality assurance
team members to meet our highest
standards. If you have any questions
regarding your display stand,
please contact us for
immediate assistance.
Let’s get your display stand
unpacked and setup.
Thank you
Need help?
Call or e-mail us
Monday–Friday
8:30–4:30 EST
1.800.975.5946

6
What You’ll Find in the Box
Depending on which congurations you’ve purchased you’ll nd the
following components in the box:
What you’ll nd in the box
Freestanding
A . “Kiosk” Housing
B . Inserts (x2)
C . Frame
D . Housing
Faceplate
E . Freestanding
Base
G . Freestanding
Tube
Desktop Curve
A . “Kiosk” Housing
B . Inserts (x2)
C . Frame
D . Housing
Faceplate
I . Desktop
Curve Stand
Surface Mount
A . “Kiosk” Housing
B . Inserts (x2)
C . Frame
D . Housing
Faceplate
F . Mount Plate
F1. Optional
Desk Base
H . Surface
Mount Tube
Wall Mount
A . “Kiosk” Housing
B . Inserts (x2)
C . Frame
D . Housing
Faceplate
Screws
J . Torx®Security Screws (x2)
K . Base and Housing Connector Screws (x6)
Accessories
L . Torx®Wrench
M . Hex Wrench
VESA Mount Screws
N . VESA Mount Screws (x4)

7What you’ll nd in the box
A
E
F
F1
G H
I
J K N
BC D
Wall Mount
A . “Kiosk” Housing
B . Inserts (x2)
C . Frame
D . Housing
Faceplate
L M
8Assembly Instructions ›Freestanding
1. Remove the package of “Tools & Screws”
2. Remove the various boxes and the Freestanding Base (E) from the
bottom level of cardboard
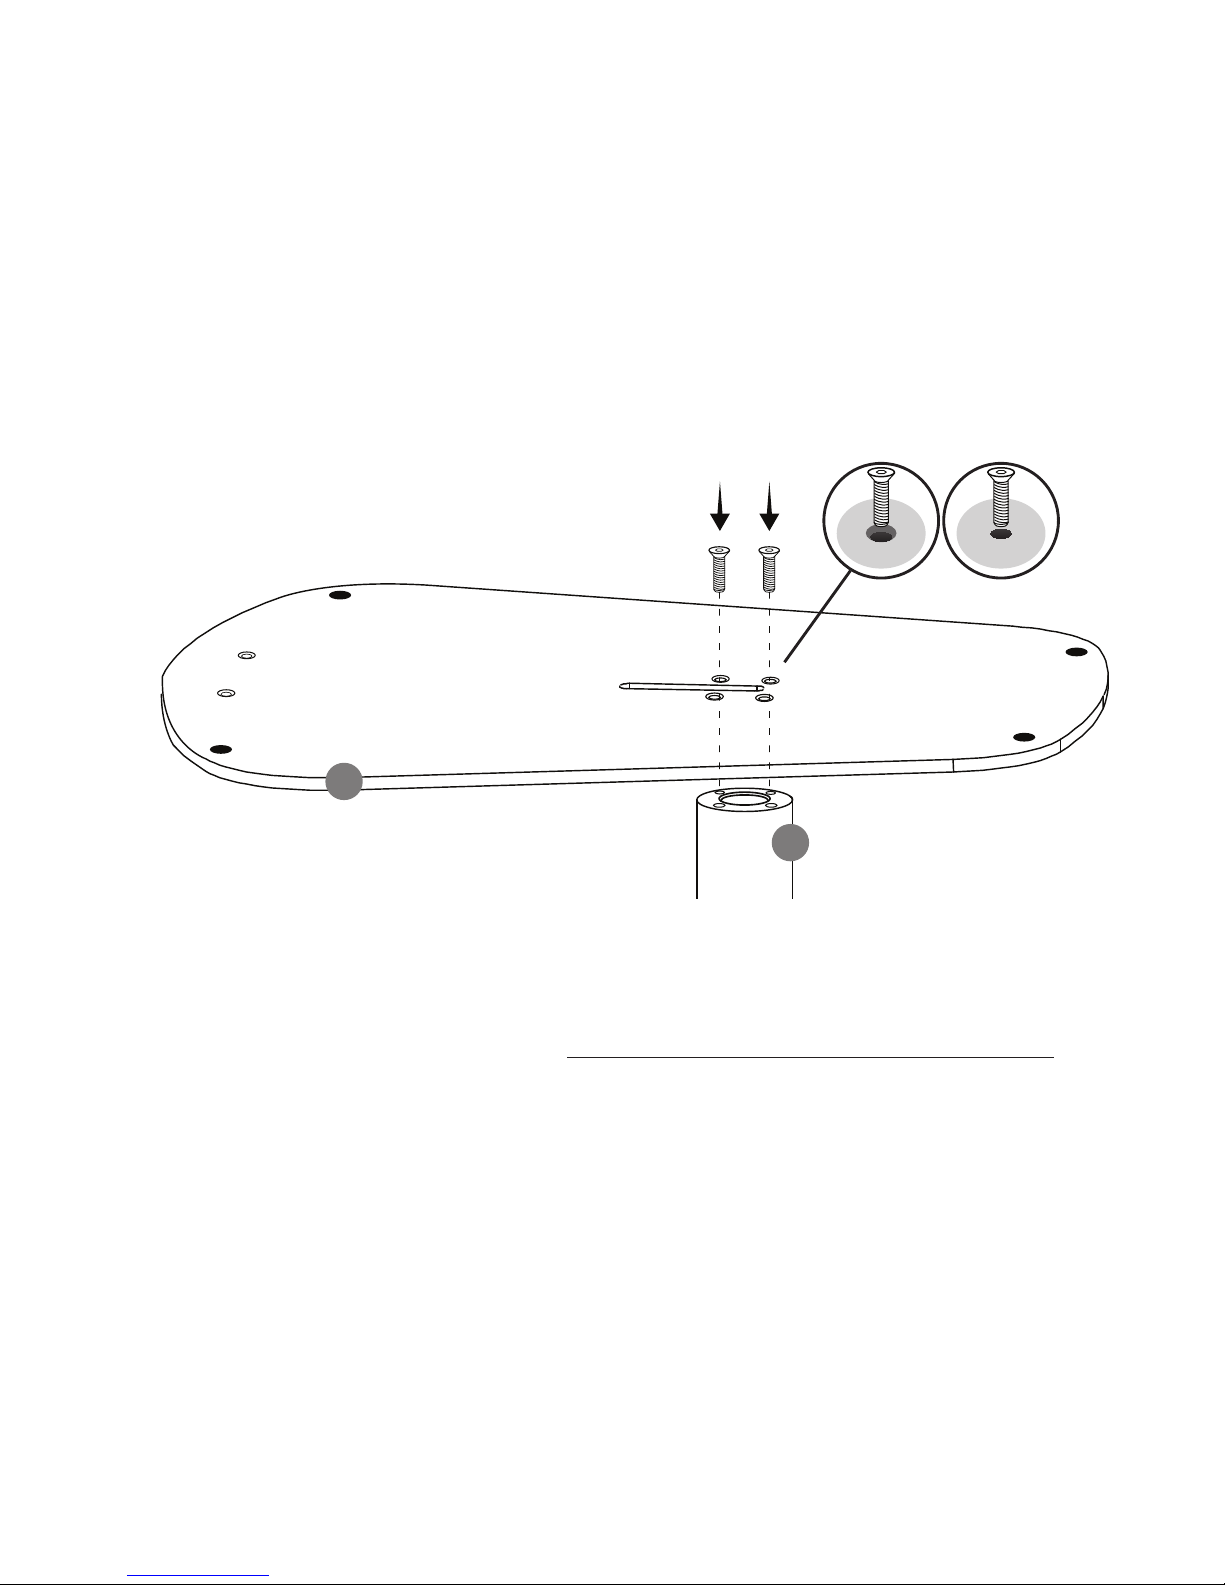
3. Holding the Freestanding Base (E) with the rubber feet facing up toward you,
place the (rt) Freestanding Tube (G) underneath the Freestanding Base (E),
aligning the set screw holes. Take four Base and Housing Connector Screws (K)
and thread them through the Base into the (rt) Freestanding Tube (G).
Using the Hex Wrench (M) provided, fasten the bolts.
✔✖
2
3
Assembly Instructions › (rt) Freestanding

9Assembly Instructions ›Freestanding
4. Turn this whole part around so that the Freestanding Base (E) and (rt)
Freestanding Tube (G) are facing up. Set the Freestanding Base (E) on the oor
or a sturdy work surface while assembling the kiosk head onto the tube assembly.
Important: DO NOT OVERTIGHTEN any of the bolts or screws. Damage can result
from excessive force on the bolts or set screws that hold the display stand together.
✔✖
4
Running Cables: For assembly including
cabling please visit the online support
section at www.armodilo.com and
watch the how-to-videos.
10 Assembly Instructions ›Freestanding
✔✖
✔✖
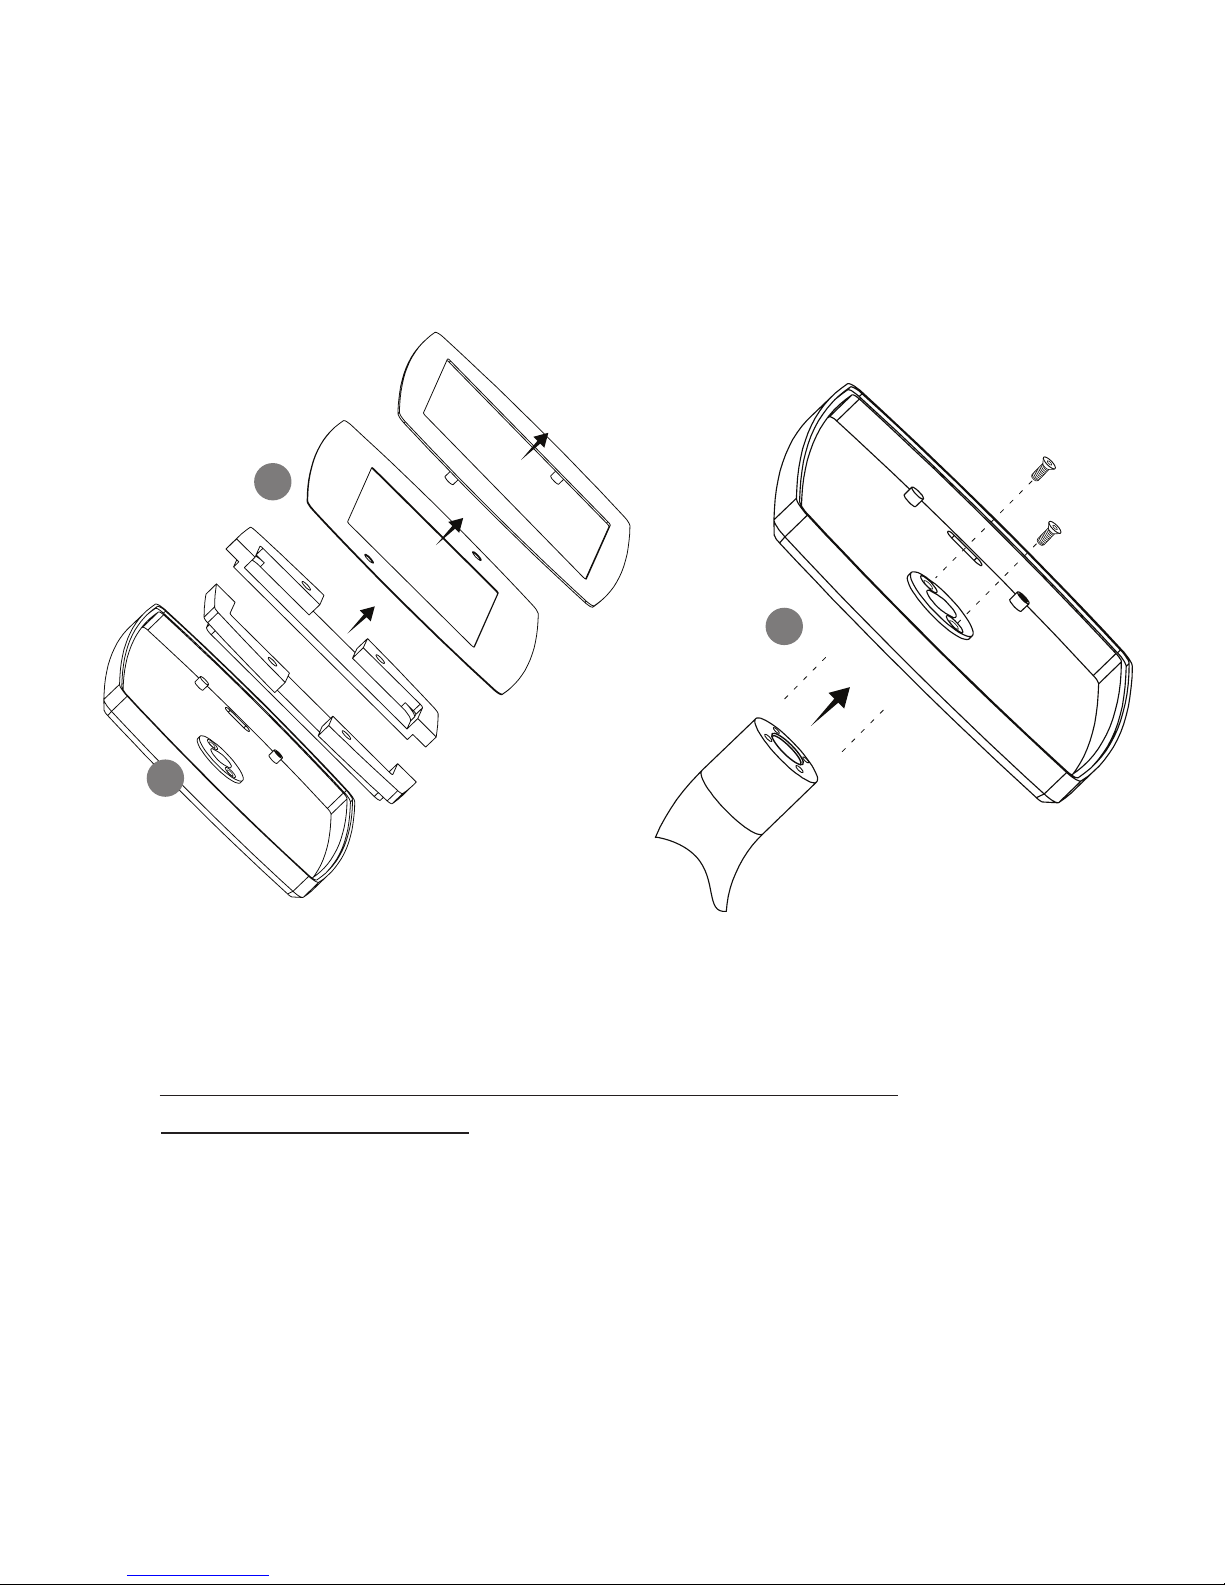
5. Locate the Kiosk Housing (A).
6. Remove the Housing Faceplate (D) and Frame (C) by
pulling them straight up from the Kiosk Housing (A). Remove
the Inserts (B) and set these parts aside.
7. At this point you can decide if you want to orient the housing in
landscape or portrait mode. Align the Kiosk Housing (A) to the top of the
(rt) Freestanding Tube (G) as shown. Insert two Base and Housing
Connector Screws (K) and tighten with the supplied Hex Wrench (M)
7
5
6
✔✖
Assembly Instructions › (rt) Freestanding
Table of contents


