Armstrong RIB Ladder Technical manual

Use and Installation Instructions
This is a step by step guide, providing you with complete instruction for a profession installation of theArmstrong
Nautical Products RIB Ladder. Please review the instructions before you begin the installations, and make sure you
have the required materials and tools needed to complete the installation. Armstrong recommends that a trained
technician perform the installation.
For a complete listing of other products fromArmstrong, designed to make your boating safer, more comfortable, and
more efficient, please visit our web site at www.armstrongnautical.com.
Armstrong Nautical Products
A Division of Vallery Industries, Inc.
3140 S. E. Dominica Terrace
Stuart, FL 34997
www.armstrongnautical.com

Table of Contents
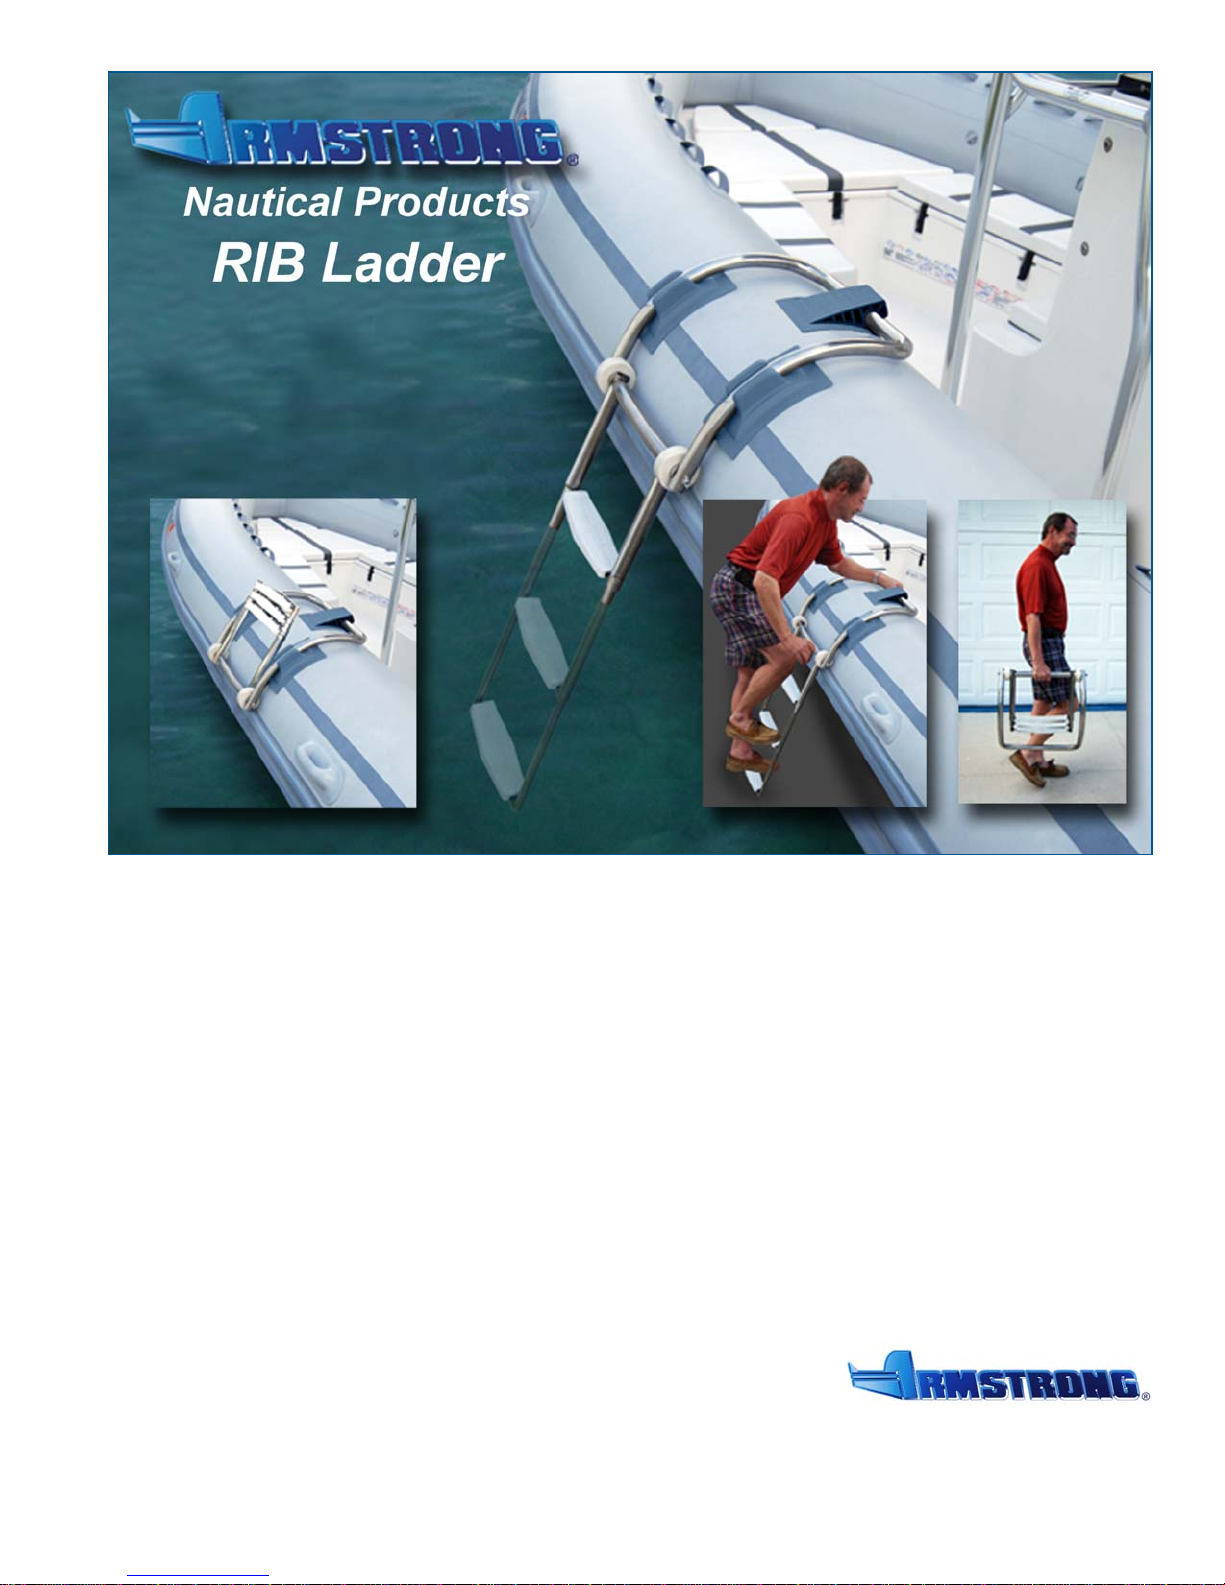
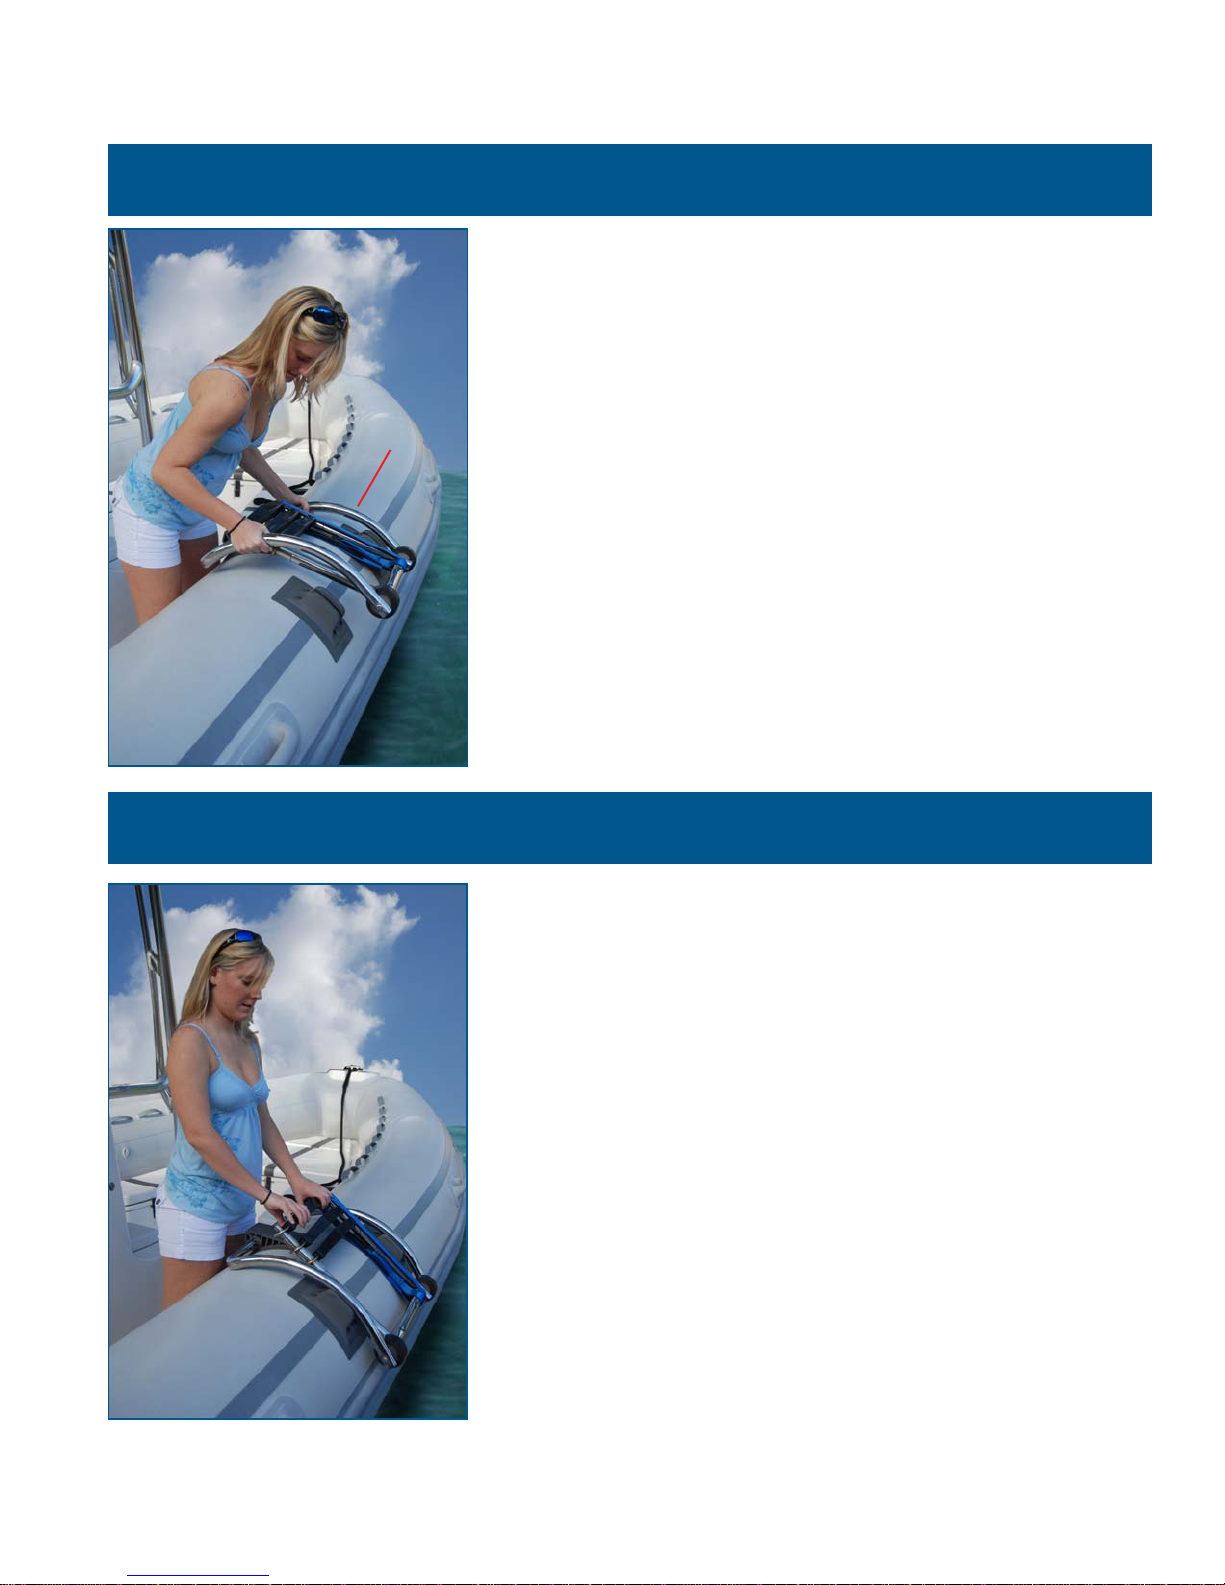
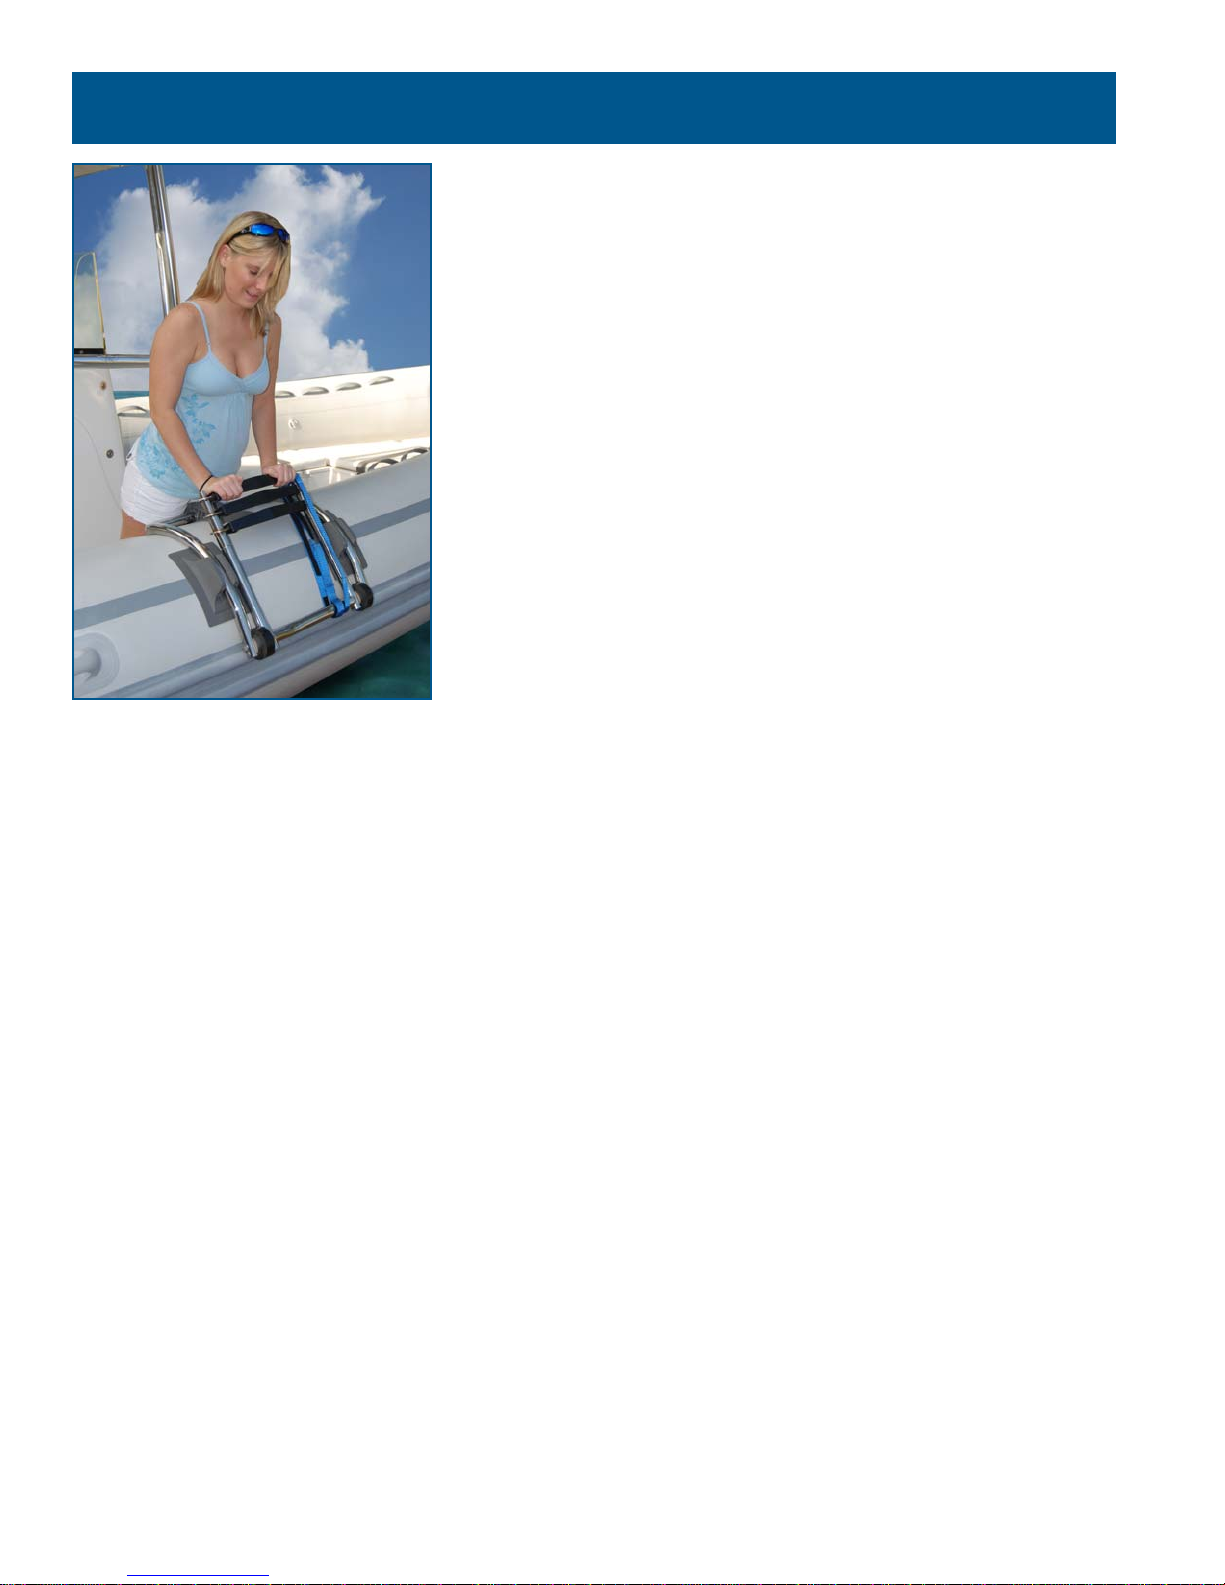
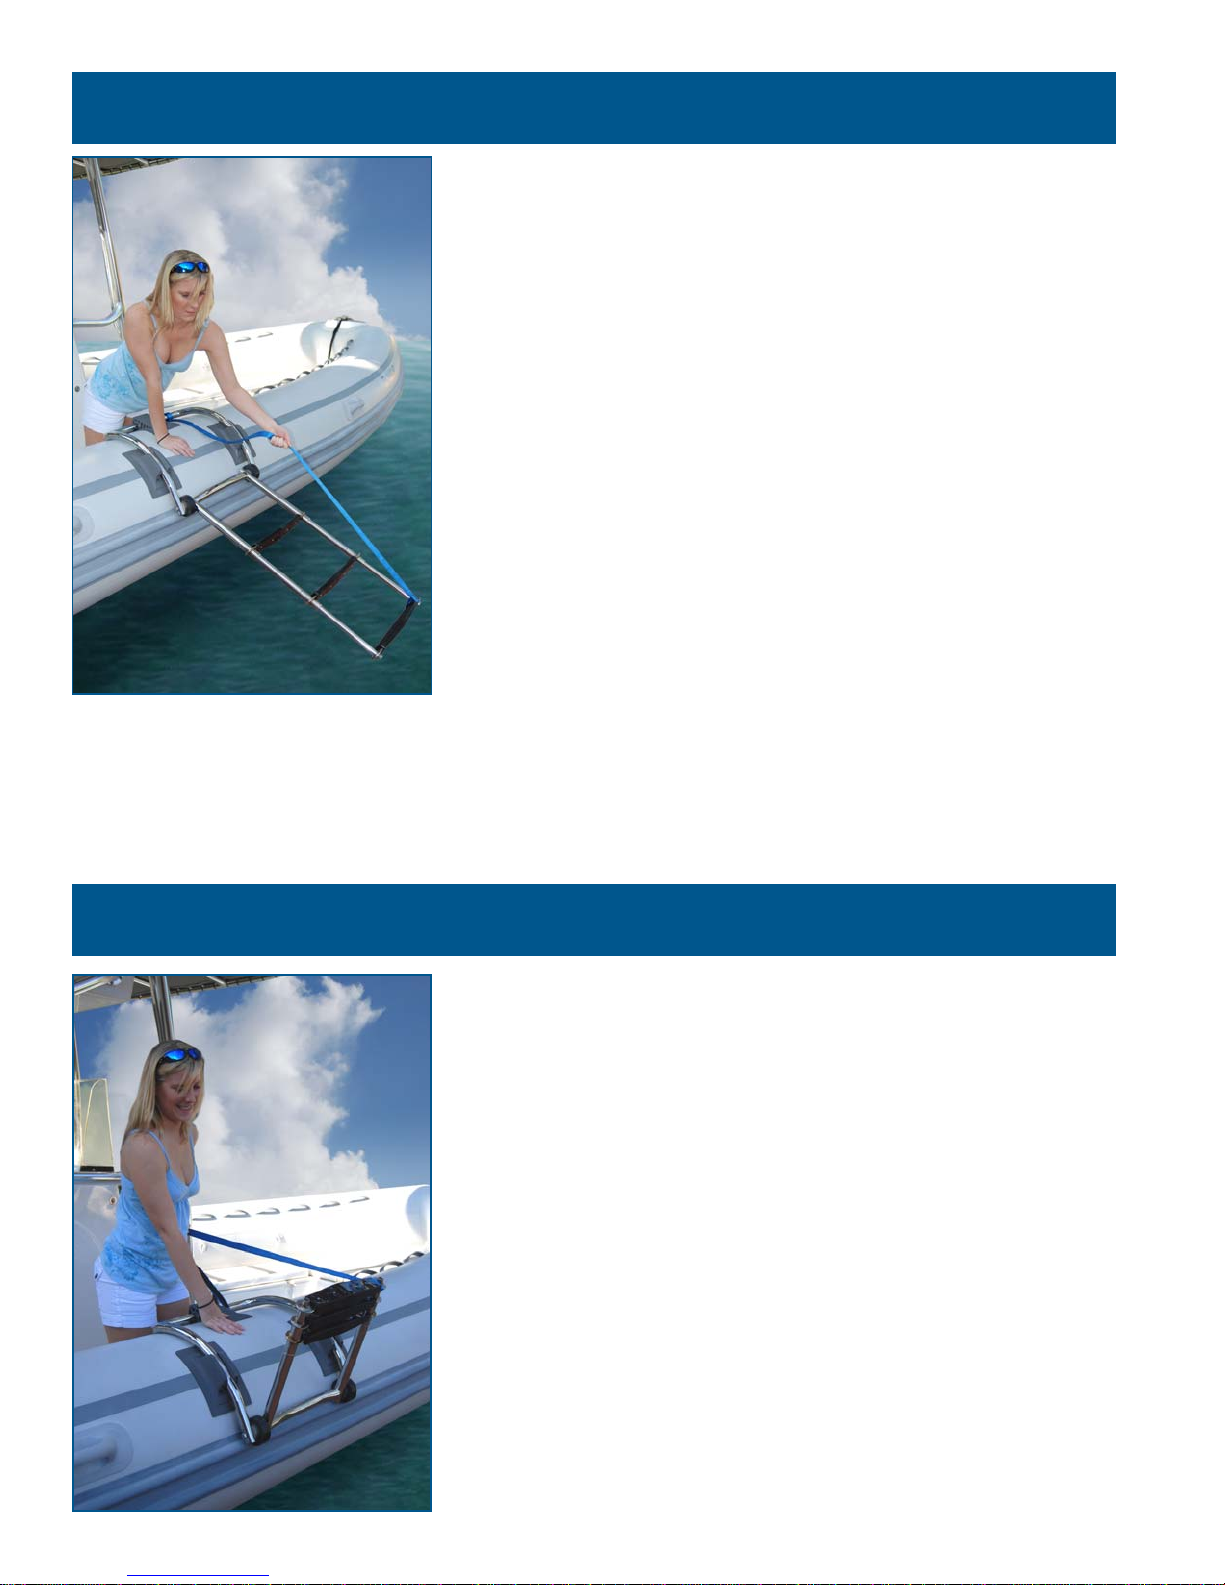
Instruction for Using the RIB Ladder
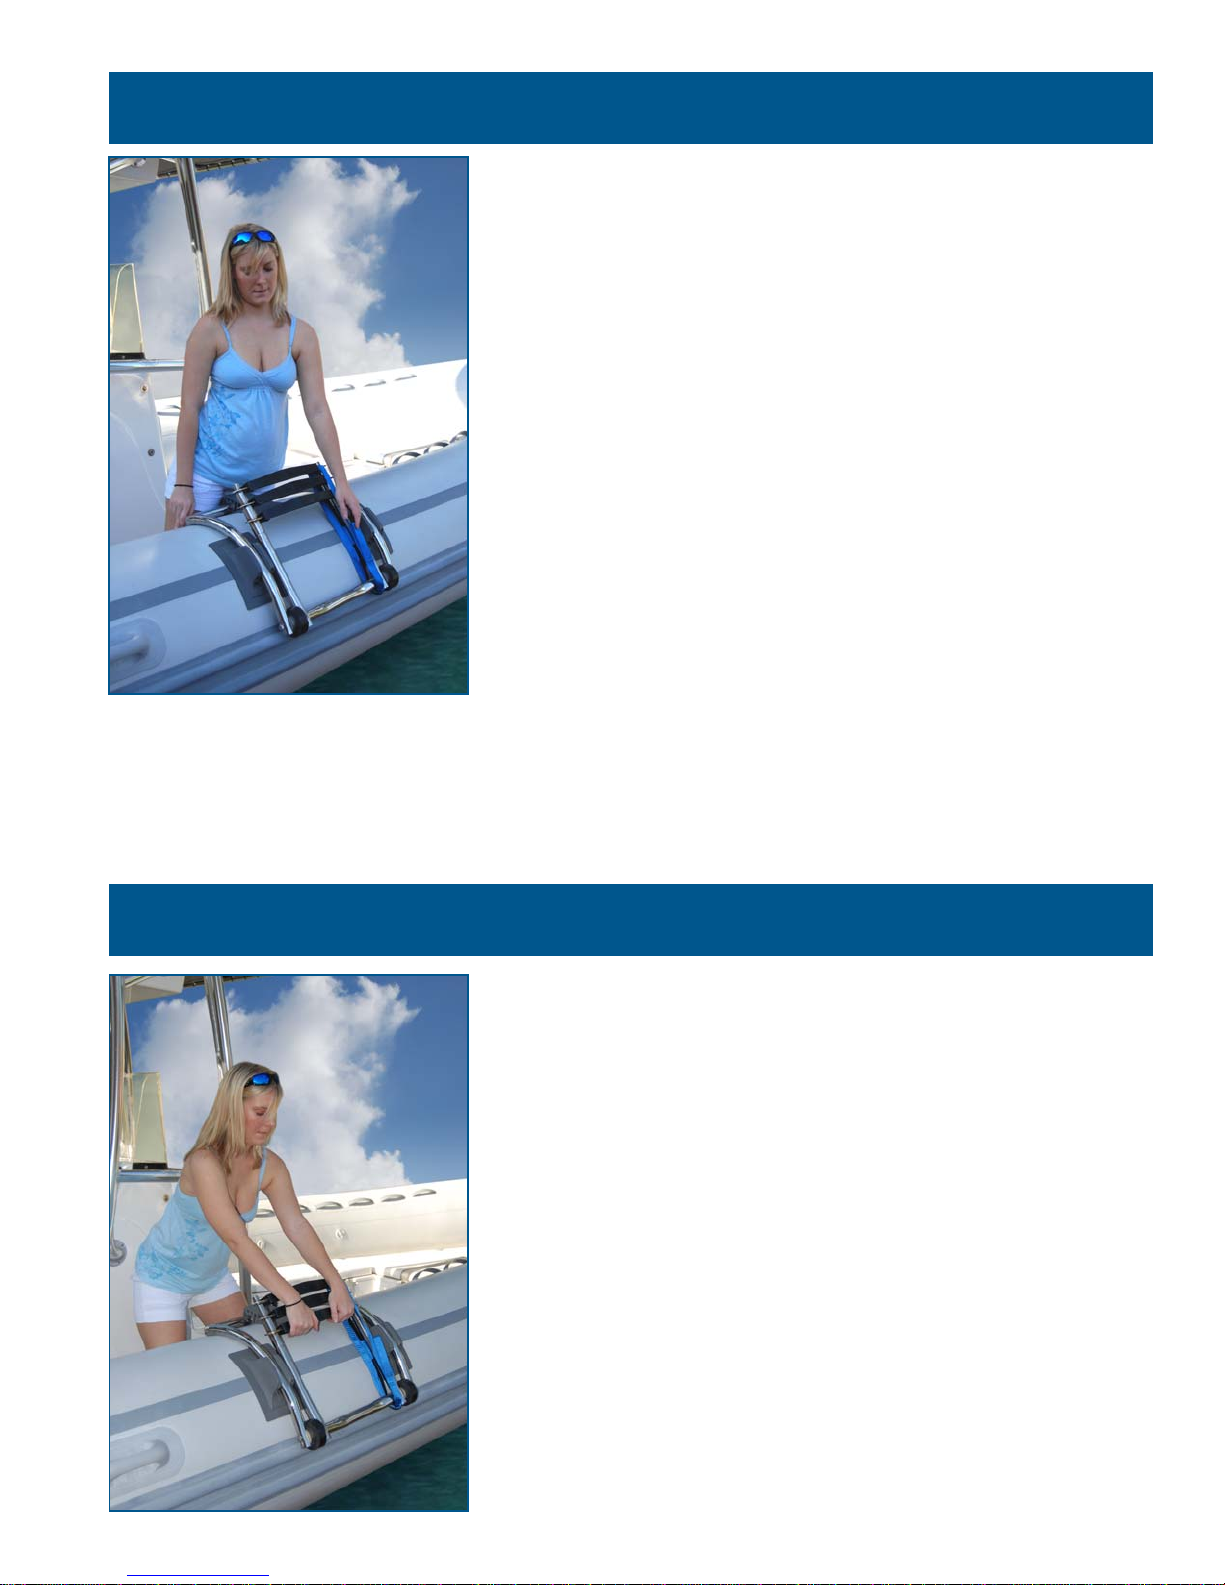
1. Placing the ladder in the snaps and hook ……….........…….…….…. Page 1-2
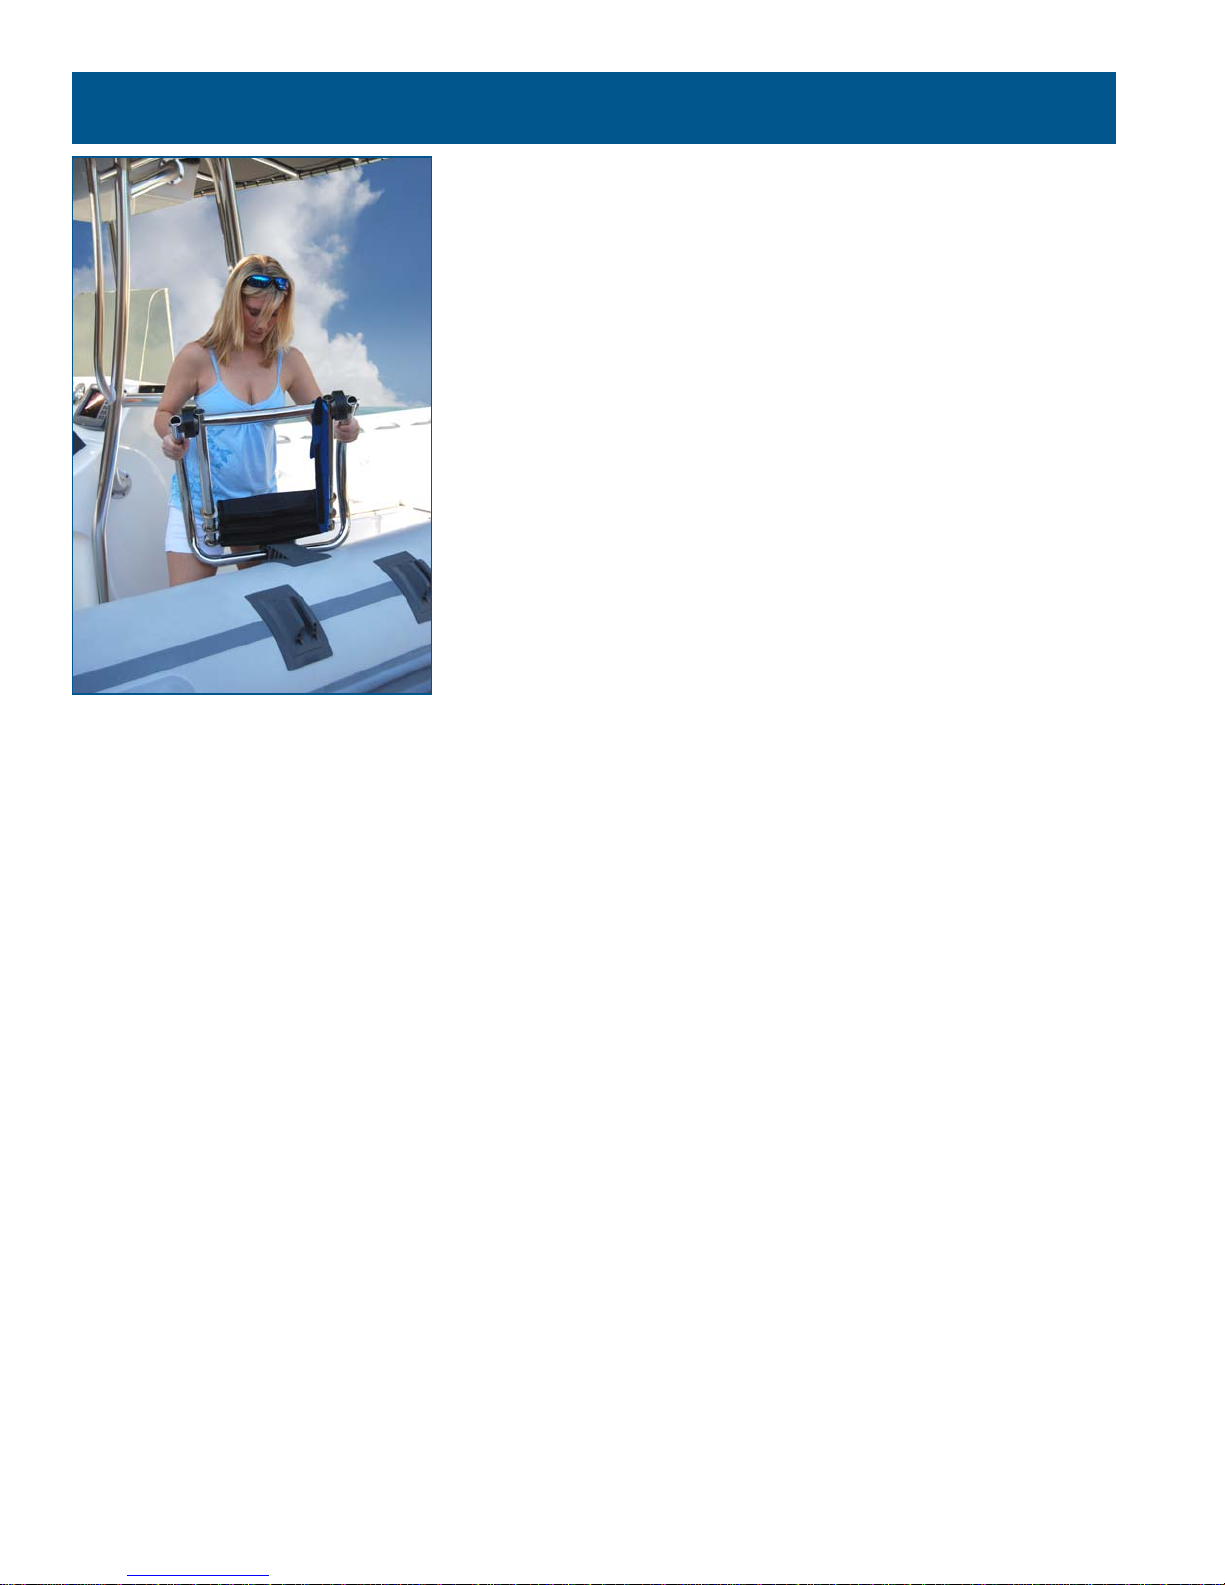
2. Extending the ladder …………………………….….................………. Page 3
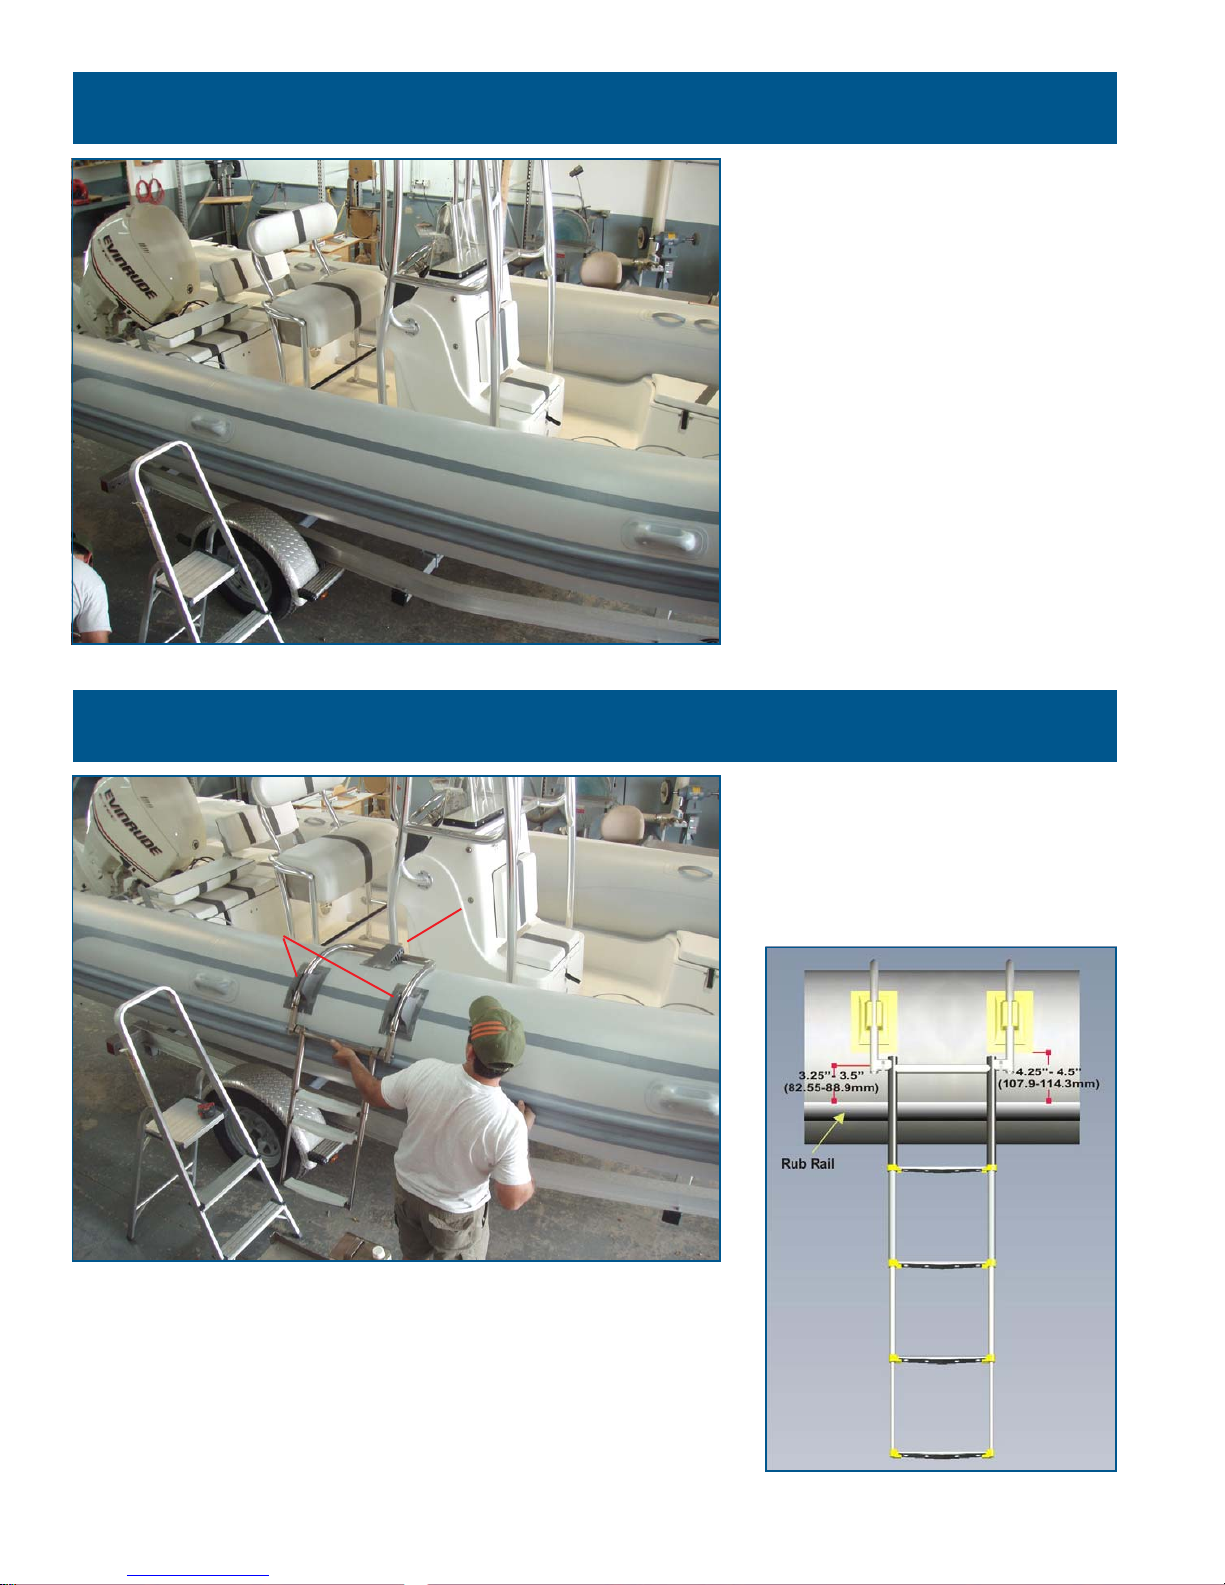
3. Removing the ladder ………………………………….........…......…… Page 4-6
Instructions for Installing the RIB Ladder
1. Tools and Materials …………………………………........….......……. Page 7
2. Boat Preparation ………………………………………........…......….. Page 8
3. Choose the Ladder Location …………………………...................… Page 8
4. Prepare the snaps and hook for the adhesive ………........……….. Page 9
5. Prepare the boat surface for the adhesive ……………........….…… Page 10-11
6. Apply the adhesive to the boat …………………………............…… Page 11
7. Apply the adhesive to the snaps and hook …………….........…….. Page 12
8. Prepare the boat for snaps and hook mounting ……......….……... Page 12
9. Mounting the snaps and hook …………………………......….....…. Page 13
10. Curing the adhesive ……………………………………….............… Page 14
11. Make sure there are no voids or air pockets …………......…..…… Page 14
12. Detail the snaps and hook mountings …………………......…...….. Page 15
13. Completed installation of the snaps and hook …………......…..…. Page 15
14. Completed Armstrong RIB Ladder installation …………..........…... Page 16
15. Use and Installation CD-ROM ........................................................ Page 17
i

Instructions for Using the RIB Ladder
1. Position the hoop of the ladder underneath the hook.
The radius (curve) of the hoop, should match the tube of the
boat.
Secure the hoop, using a side to side movement.
Step 1: Placing the ladder in the snaps and hook
Step 2: Placing the ladder in the snaps and hook cont’d.
2. The steps of the ladder will now be resting on the boat
tube.
Hoop
1

Step 3: Placing the ladder in the snaps and hook cont’d.
3. Stand the steps up slightly, taking them off the tube.
Push downward on the steps, making the hoop engage
into the snaps.
2

4. From the side of the boat, unfasten the strapping.
Step 4: Extending the ladder
Step 5: Extending the ladder cont’d.
5. Lower the steps into the water, using the strap.
3

Step 7: Removing the ladder cont’d.
7. Collapse the telescoping steps into one another.
4
6. Pull the steps out of the water, using the strap.
Step 6: Removing the ladder

8. Secure the RIB Ladder with the strap.
Step 8: Removing the ladder cont’d.
Step 9: Removing the ladder cont’d.
9. Using the step portion of the ladder, pull the hoop out of
the snaps.
5

10. Grasp the hoop and pull it out of the hook.
Step 10: Removing the ladder cont’d.
6

Instructions for Installing the RIB Ladder
Tools and Materials
Tools:
1. Orbital sander (optional)
2. Heat Gun (optional)
3. Smooth, round edged putty knife with no sharp corners
4. Pencil or chalk
5. 2” (50.88mm) soft bristle paint brush, with the bristles trimmed to 3/4” to 1” (19-25.4mm) long
Materials: (Refer to the manufacturer’s instructions)
1. Adhesive - Poly Marine®
(For Hypalon, use 2990 Hypalon Fabric Adhesive)
(For PVC, use 3026 PVC Fabric Adhesive)
2. Solvent - Naptha or Toluene
3. 120 Grit sandpaper
4. Masking tape
5. Clean rags
7

1. Make sure that you have all the
tools and materials required for the
installation, and that the boat is
clean and ready for you to begin
the installation process.
Utilize the ladder as a template for
locating the snaps and hook, being
aware of the dimensions in Step 2
(below).
Step 1: Boat Preparation
Step 2: Choose the Ladder Location
2. Choose the ladder location,
keeping the hinge points approxi-
mately 3.25” - 3.5” (82.55-88.9mm)
above the rub rail. Mark the snaps
and hook locations with a pencil or
chalk.
Snaps Hook
! Important dimensions
8

3. Rough the bonding surface on
the snaps and hook with 120 grit
sandpaper, using a rotary or flap
sander.
Step 3: Prepare the snaps and hook for the adhesive
Step 4: Snaps and Hook preparation cont’d.
4. Thoroughly clean the backs of
the snaps and hook with solvent.
9

5. Tape off the mounting locations
for the snaps and hook on the boat
using masking tape.
Taping off the area keeps the
adjacent surfaces of the boat clear
of adhesive.
Step 5: Prepare the boat surface for the adhesive
Step 6: Prepare the boat surface for the adhesive cont’d.
6. Rough the bonding surfaces on
the boat with 120 grit sandpaper,
using a rotary or flap sander.
10

7. Thoroughly clean the bonding
surfaces on the boat with solvent.
Step 7: Prepare the boat surface for the adhesive cont’d.
Step 8: Apply the adhesive to the boat
8. Apply 2 coats of the adhesive to
the bonding surfaces on the boat,
using a 2” (50.8mm) soft bristle
paint brush, with the bristles
trimmed to 3/4” - 1” (19 - (25.4mm)
long.
Wait until the adhesive is no longer
“tacky” or approximately 20 min-
utes between coats. A quick test is
to put your knuckle against the
adhesive. If the adhesive doesn’t
transfer to your knuckle, the adhe-
sive is ready for the next step.
11

9. Apply 2 coats of the adhesive to
the snaps and hook, using a 2”
(50.8mm) soft bristle paint brush,
with the bristles trimmed to 3/4” - 1”
(19 - 25.4mm) long.
Wait until the adhesive is no longer
“tacky” or approximately 20 min-
utes between coats. A quick test is
to put your knuckle against the
adhesive. If the adhesive doesn’t
transfer to your knuckle, the adhe-
sive is ready for the next step.
Step 9: Apply the adhesive to the snaps and hook
Step 10: Prepare the boat for snaps and hook mounting
10. Wait until the adhesive is no
longer “tacky”. A quick test is to put
your knuckle against the adhesive.
If the adhesive doesn’t transfer to
your knuckle, remove the tape from
the boat bonding surfaces.
12

11. Starting at the bottom edge of
the bonding surface, press the
snaps and hook onto the boat
surface with firm pressure, applying
the pressure evenly from the bot-
tom to the top of the bonding
surface.
This is a permanent installation.
Make sure you are placing the
component exactly at the location
desired. The component cannot be
moved after contact has been
made with the adhesive.
Step 11: Mounting the snaps and hook
Step 12: Mounting the snaps and hook cont’d.
12. Continue applying the snaps
and hook hardware.
13

13. Curing the adhesive can be
accelerated by carefully using a
heat gun and a smooth rounded
putty knife.
Step 13: Curing the adhesive
Step 14: Make sure there are no voids or air pockets
14. Insure that the bonding sur-
faces of the snaps and hook are
fully seated to the bonding surfaces
of the boat, that there are no voids
or air pockets between the snaps
and hook and the bonding surfaces
of the boat.
14

15. Clean off any excess adhesive
to make a nice, clean, professional
installation.
Step 15: Detail the snaps and hook mountings
Step 16: Completed installation of the snaps and hook
16. Completed installation of the
snaps and hook, ready to receive
the RIB Ladder.
15

17. The Armstrong RIB Ladder installation, complete and ready for use.
Step 17: Completed Armstrong RIB Ladder installation
16

17

Armstrong Nautical Products
A Division of Vallery Industries, Inc.
3140 S. E. Dominica Terrace
Stuart, FL 34997
www.armstrongnautical.com
ANP 0909
Table of contents
Popular Boating Equipment manuals by other brands

Wilderness Systems
Wilderness Systems Helix MD quick start guide

JRC
JRC DGPS224 user manual

Patriot Docks
Patriot Docks JACK DOCK Assembly instructions

Wynn Marine
Wynn Marine 1850 EXTERNAL Series Installation and maintenance instructions

Seastar Solutions
Seastar Solutions Seastar Jackplate Installation instructions and owner's manual

Hobie
Hobie Adventure Island Livewell manual