manuals.online logo
Brands
  1. Home
  2. •
  3. Brands
  4. •
  5. Armstrong
  6. •
  7. Plumbing Product
  8. •
  9. Armstrong 200 Series User manual

Armstrong 200 Series User manual

Series 200
Inverted Bucket Steam Traps
Glockenkondensatableiter
Purgeurs à Flotteur Inversé Ouvert
Purgadores de Vapor de Cubeta Invertida
Omgekeerde Emmer Condenspot
Scaricatori di Condensa a Secchiello Rovesciato
These instructions should be used by experienced personnel !
Diese Gebrauchsanweisung ist von Fachpersonal zu benutzen !
Ces instructions devraient être utilisées par du personnel expérimenté !
¡Estas instrucciones deben ser utilizadas por personal experimentado !
Onderhoud uitsluitend uit te voeren door ervaren personeel !
Queste istruzioni devono essere utilizzate da personale esperto !
PRODUCT DESCRIPTION - PRODUKTBESCHREIBUNG -
DESCRIPTION DU PRODUIT - DESCRIPCION DEL PRODUCTO -
PRODUKT OMSCHRIJVING - DESCRIZIONE DEL PRODOTTO
Model shown on the picture: 211 - Die Abbildung zeigt das Modell 211 - Photo: modèle 211
Modelo de la foto: 211 - Model op foto: 211 - Modello in figura: 211
Detailed version of this IOM is available on our website at armstronginternational.com.
Reference Bulletin 307 – English language (only)
For detailed material specifications, options, approximate dimensions and weights, see Armstrong literature or
consult your local Representative.
Für detaillierte Werkstoffangaben, Zubehör, Abmessungen und Gewichte, sehen Sie die Armstrong Datenblätter
oder fragen Sie Ihre Armstrong-Vertretung.
Pour toute spécification détaillée des matières, options, dimensions et poids, veuillez vous référer à la littérature
Armstrong ou prendre contact avec votre Représentant local.
Para especificaciones de materiales detalladas, opciones, dimensiones aproximadas y pesos, ver catálogos
Armstrong o consultar con su Representante local.
Voor gedetailleerde materiaal specificaties, afmetingen en gewichten, zie de Armstrong documentatie of neem
contact op met uw plaatselijke Vertegenwoordiger.
Per la specifica dettagliata dei materiali, accessori opzionali, dimensioni e pesi approssimativi, vedere la
documentazione appropriata o contattare il Distributore locale.
Armstrong Cast Iron Inverted Bucket Steam Trap
Vertical Connection
Scaricatore di Condensa Armstrong a Secchiello
Rovesciato - in Ghisa
Connessioni Verticali
Armstrong Grauguß Glockenkondensatableiter
Senkrechter Einbau
Armstrong Gietijzeren Omgekeerde Emmer Condenspot
Verticale Inbouw
Purgeur à Flotteur Inversé Ouvert Armstrong en Fonte
Raccordement Vertical
Purgador de Cubeta Invertida Armstrong en Fundición
Conexión Vertical
INSTALLATION - INSTALLATIONSANWEISUNG - INSTALLATION
INSTALACION - INSTALLATIE - INSTALLAZIONE
Model shown on the drawing: 211 - Die Zeichnung zeigt das Modell 211 - Schéma: modèle 211
Modelo mostrado en el dibujo: 211 - Model op tekening: 211 - Modello in figura: 211
Possible connections: screwed or flanged - Mögliche Anschlußarten: Muffengewinde, Flansche Raccordements
possibles: taraudé ou à brides - Conexiones posibles: roscada o bridada Mogelijke aansluiting: draad of flens -
Connessioni disponibili: filettate o flangiate
START-UP PROCEDURE - INBETRIEBNAHME - PROCEDURE DE
DEMARRAGE - PROCEDIMIENTO DE PUESTA EN MARCHA -
OPSTARTPROCEDURE - PROCEDURA D’AVVIAMENTO
For detailed hookups and adapted start-up and shut-down procedures, see Armstrong literature or consult your
local Representative.
Für detaillierte Informationen über Installation, Inbetriebnahme und Außerbetriebnahme sehen Sie die Armstrong
Datenblätter oder fragen Sie Ihre Armstrong-Vertretung.
Pour plus de détails à propos des procédures de démarrage et d’arrêt, ainsi que pour l’installation, veuillez vous
référer à la littérature Armstrong ou prendre contact avec votre Représentant local.
Para informarse sobre conexiones detalladas y procedimientos adaptados de puesta en marcha y parada, consulte
los catálogos Armstrong o diríjase a su Representante local.
Voor gedetailleerde montage en installatie instructies zie het betreffende Armstrong documentatieblad of neem
contact op met uw plaatselijke Vertegenwoordiger.
Per procedure dettagliate di collegamento, d’avviamento e di fermata, vedere la documentazione Armstrong o
consultare il Distributore locale.
SHUT-DOWN PROCEDURE - AUSSERBETRIEBNAHME -
PROCEDURE D’ARRET - PROCEDIMIENTO DE PARADA -
UIT BEDRIJFNAME - PROCEDURA DI FERMATA
Not included
nicht enthalten
Non compris
No includo
Niet meegeleverd
Non inclusi
Connection
Verbindung
Connexion
Conexion
Aansluiting
Connessioni
MAINTENANCE - WARTUNG - MAINTENANCE
MANTENIMIENTO - ONDERHOUD - MANUTENZIONE
For troubleshooting, testing methods, frequency of maintenance and detailed spare parts list, see Armstrong
literature or consult your local Representative.
Für detaillierte Informationen über Fehlersuche, Testmethoden, Wartungsintervallen und Ersatzteillisten fragen Sie
Ihre Armstrong-Vertretung.
Pour le dépannage, les méthodes de test, la fréquence d’entretien et la liste détaillée des pièces de rechange,
veuillez vous référer à la littérature Armstrong ou prendre contact avec votre Représentant local.
Para detección de posibles averías, métodos de test, frecuencia de mantenimiento y lista detallada de repuestos,
ver catálogos Armstrong o consultar con su Representante local.
Voor het oplossen van problemen, test methodes, onderhoud en gedetailleerde onderdelenlijsten, zie de
Armstrong documentatie of neem contact op met uw plaatselijke Vertegenwoordiger.
Per la soluzione di eventuali problemi, metodi di prova funzionalità, frequenza di manutenzione e dettaglio della
lista ricambi, vedere la documentazione Armstrong o consultare il Distributore locale.
Equipement under pressure - Operating temperature > 100°C Make sure trap is cold before handling!
Armatur steht unter Druck - Arbeitstemperatur > 100°C Stellen sie sicher, dass die Armatur kalt und
drucklos ist, bevor an dieser gearbeitet wird!
Equipement sous pression - Température en fonctionnement > 100°C Laisser le purgeur refroidir
avant toute manipulation!
Equipo bajo presión - Temperatura de trabajo > 100°C ¡Asegúrese de que el purgador esté frío antes
de manipularlo!
Toestel onder druk - Werktemperatuur > 100°C Condenspot moet afgekoeld zijn alvorens eraan te
werken!
Apparecchiatura in pressione - Temperatura operativa > 100°C Assicurarsi che lo scaricatore sia
freddo prima d’intervenire!
Model shown on the drawing: 211
Die Zeichnung zeigt das Modell 211
Schéma: modèle 211
Modelo mostrado en el dibujo: 211
Model op tekening: 211
Modello in figura: 211
MECHANISM ADJUSTMENT - Ausrichten des Mechanismus -
AJUSTEMENT DU MECANISME AJUSTE DEL MECANISMO -
Klep mechanisme - REGOLAZIONE DEL MECCANISMO
OK NO
I. Internals Maintenance:
- Remove the complete trap from the steam line;
- Unscrew bolts (11) and nuts (10) and lift the cap (1);
- Clean or replace bucket (6) or mechanism (valve and seat) (3, 4 & 5);
- Mechanism should be adjusted as shown above. When correctly
ligned, lever (B) can be moved sideways the same distance to the right
as to the left. If guide pin (A) is not in the middle of the orifices, adjust
by slightly hitting with a hammer;
- Replace gasket (7);
- Put the cap (1) back on the body (2) and screw bolts (11) and nuts
(10).
I.Wartung und Reparatur :
- Kondensatableiter aus der Leitung ausbauen;
- Schrauben (11) und Muttern (10) lösen und den Deckel (1)
abnehmen;
- Die Glocke (6) und den Mechanismus (Ventil +Sitz) (3, 4 + 5) reinigen
bzw. auswechseln;
- Die Skizze oben zeigt die Einstellung des Mechanismus. Bei korrekter
Ausrichtung kann der Hebel (B) gleich weit nach rechts und links
seitlich bewegt werden. Wenn die Führungsstifte (A) nicht in der
Mitte der Bohrungen stehen, sind sie durch leichte Hammerschläge
einzurichten;
- Deckeldichtung erneuern (7);
- Deckel (1) auf das Gehäuse (2) setzen, Schrauben (11) und Muttern
(10) wieder anziehen.
I. Mantenimiento de las piezas internas:
- Retire el purgador completo de la línea de vapor;
- Afloje los pernos (11) y las tuercas (10) y retire la tapa (1);
- Limpie o cambie la cubeta (6) o el mecanismo (válvula y asiento) (3,
4 y 5);
- El mecanismo debe quedar ajustado como se muestra más arriba. Si
está alineado correctamente, la palanca (B) podrá moverse la misma
distancia tanto a la derecha como a la izquierda. Si el perno guía (A)
no está centrado en los orificios, ajústelo golpeando ligeramente con
un martillo;
- Cambie la junta (7);
- Vuelva a colocar la tapa (1) en el cuerpo (2) y ajuste los pernos (11) y
las tuercas (10).
I. Binnenwerk vervangen:
- Demonteer de condenspot uit de leiding;
- Verwijder de bouten (11) en moeren (10) en neem het deksel (1) af;
- Reinig of vervang de emmer (6) of klepmechanisme (3, 4 & 5);
- Het klepmechanisme moet worden afgesteld zoals boven getoond. Als
het mechanisme goed is uitgelijnd, moet de hefboom (B) net zo ver naar
rechts als naar links kunnen bewegen. Als de geleidepennen (A) niet
exact in het midden van de gaatjes zitten, moeten deze voorzichtig met
een hamer teruggetikt worden;
- Vervang de pakking (7);
- Plaats het deksel (1) terug op het huis (2) en monteer de bouten (11)
en moeren (10).
Armstrong International
North America • Latin America • India • Europe / Middle East / Africa • China • Pacic Rim
armstronginternational.com
1002-A
05/01/2017
© 2017 Armstrong International, SA.
I. Entretien des pièces internes :
- Démonter le purgeur de la ligne vapeur;
- Dévisser les boulons (11) et les écrous (10) et enlever le couvercle (1);
- Nettoyer ou remplacer le flotteur inversé ouvert (6) ou le mécanisme
(siège et soupape) (3, 4 & 5);
- Le mécanisme doit être ajusté comme montré ci-dessus. Lorsqu’il
est correctement aligné, le bras de levier (B) peut glisser avec la même
amplitude vers la gauche que vers la droite. Si les tiges de guidage
(A) ne sont pas au centre des orifices, il faut les ajuster en donnant de
légers coups de marteau;
- Remplacer le joint de corps (7);
- Remettre le couvercle (1) en place sur le corps (2) et revisser les
boulons (11) et les écrous (10).
I. Manutenzione degli organi interni:
- Smontare dalla linea l’intero scaricatore;
- Svitare i bulloni (11), i dadi (10) e sollevare la testa (1);
- Pulire o sostituire il secchiello (6) o il meccanismo (valvola, sede e
leverismi) (3, 4 & 5);
- Regolare il meccanismo come mostrato in figura. Se correttamente
allineata la leva (B) si muoverà lateralmente in modo simmetrico sia a
destra sia a sinistra. Se gli spinotti di guida (A) non fossero centrati nei
fori, centrarli opportunamente con leggerissimi colpi di martello;
- Sostituire la guarnizione (7);
- Rimontare la testa (1) sul corpo (2) ed avvitare bulloni (11) e dadi
(10).
MODELS WITH CE MARKING - MODELLE MIT CE KENNZEICHNUNG -
MODELES MARQUES CE - MODELOS CON LA MARCA CE -
MODELLEN MET CE KEUR - MODELLI CON MARCATURA CE
Model PMA TMA Volume Orifice PMO
Modell PMA TMA Volumen Ventilgröße PMO
Modèle PMA TMA Volume Orifice PMO
Modelo PMA TMA Volumen Orificio PMO
Model PMA TMA Volume Klepdoorlaat PMO
Modello PMA TMA Volume Orifizio PMO
215
17 bar 232 °C
3.31 l
Check on the order
Entsprechend Ihrer
Bestellung
Voir la commande
Chequear con el pedido
Kijk op de order
Verificare su ordine
Depends on orifice
Von der Ventilgröße abhängig
Dépend de l’orifice
Depende del orificio
Afhankelijk van klepdoorlaat
Dipende dall’orifizio
216 7,16 l

This manual suits for next models

6

Other Armstrong Plumbing Product manuals

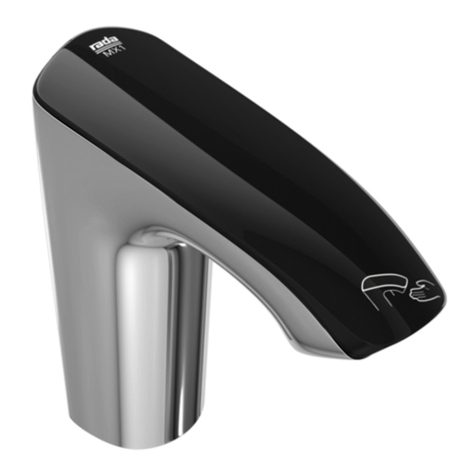
Armstrong RADA MX1 Instruction manual

Armstrong

Armstrong RADA MX1 Instruction manual

Armstrong K Series User manual

Armstrong

Armstrong K Series User manual

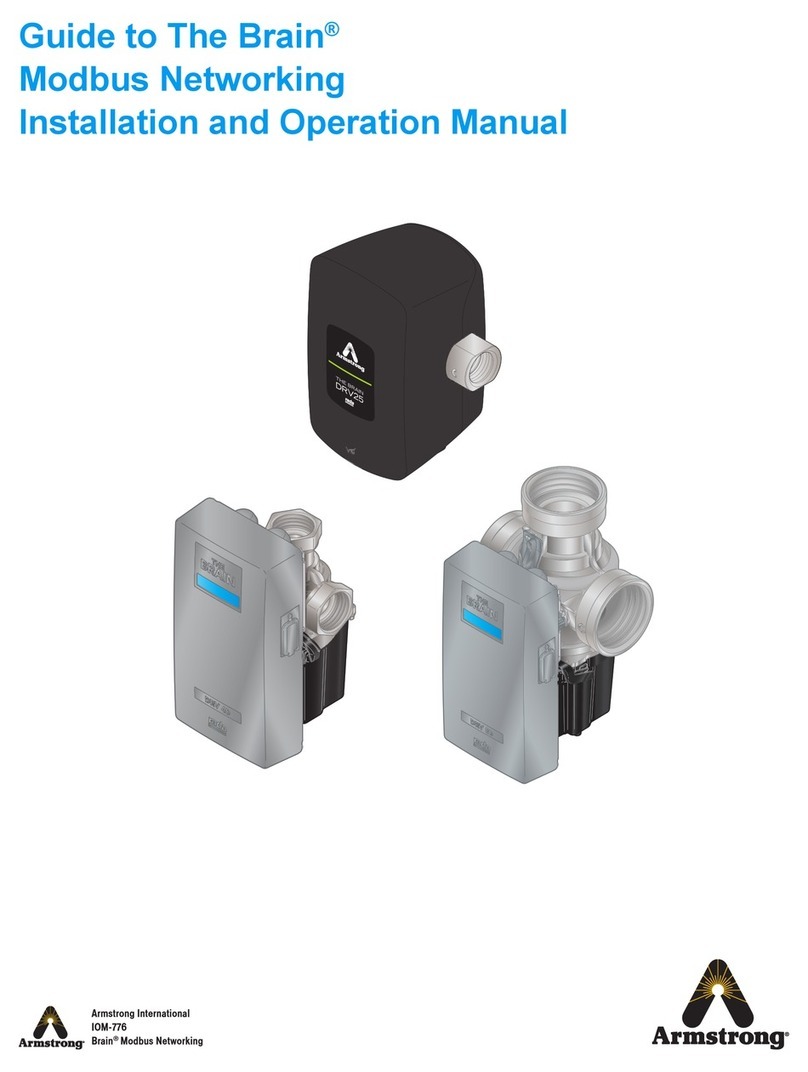
Armstrong The Brain DRV25 User manual

Armstrong

Armstrong The Brain DRV25 User manual

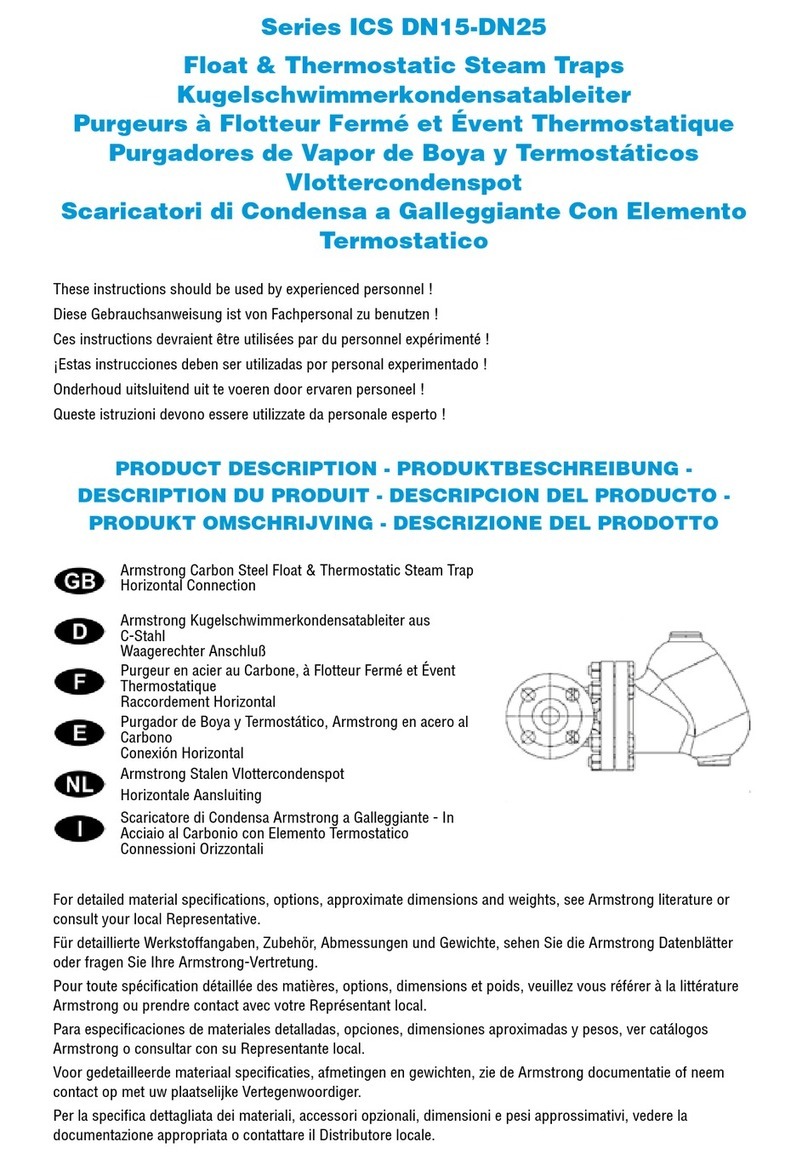
Armstrong ICS User manual

Armstrong

Armstrong ICS User manual

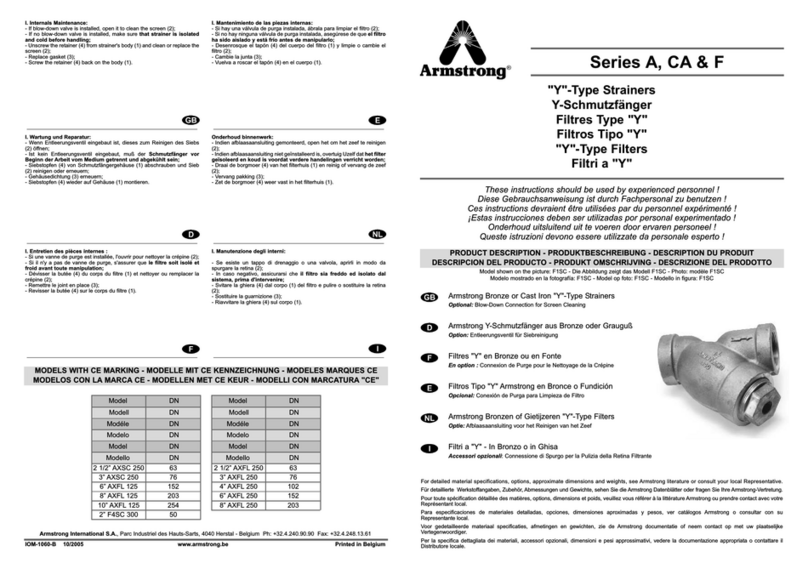
Armstrong A Series User manual

Armstrong

Armstrong A Series User manual

Popular Plumbing Product manuals by other brands

Dornbracht 26 023 661-FF installation instructions

Dornbracht

Dornbracht 26 023 661-FF installation instructions

bioBidet BB-1000 Installation manual and operating instructions

bioBidet

bioBidet BB-1000 Installation manual and operating instructions

Hans Grohe Vernis 04955 0 Series Installation/User Instructions/Warranty

Hans Grohe

Hans Grohe Vernis 04955 0 Series Installation/User Instructions/Warranty

Speakman SA-1002 instructions

Speakman

Speakman SA-1002 instructions

Fisher 34436 Product installation guide

Fisher

Fisher 34436 Product installation guide

Kohler 1152813-A2-A Installation

Kohler

Kohler 1152813-A2-A Installation

BubbleFlush Water Stop V1 user manual

BubbleFlush

BubbleFlush Water Stop V1 user manual

Riobel PB66C-EM installation guide

Riobel

Riobel PB66C-EM installation guide

Brizo Charlotte 85885 Series installation instructions

Brizo

Brizo Charlotte 85885 Series installation instructions

Pfister Zanna F-529-7ZN3 Quick installation guide

Pfister

Pfister Zanna F-529-7ZN3 Quick installation guide

Kraus Kore KWT310-33 installation manual

Kraus

Kraus Kore KWT310-33 installation manual

Hans Grohe Croma 280 Air 1jet EcoSmart 26221007 Instructions for use

Hans Grohe

Hans Grohe Croma 280 Air 1jet EcoSmart 26221007 Instructions for use

miseno MNOSH425ECP quick start guide

miseno

miseno MNOSH425ECP quick start guide

Luxart AERRO A211S-PU Installation

Luxart

Luxart AERRO A211S-PU Installation

Spectrum Brands Pfister Auden LF-042-AD Quick installation guide

Spectrum Brands

Spectrum Brands Pfister Auden LF-042-AD Quick installation guide

Helvex 310-32 installation guide

Helvex

Helvex 310-32 installation guide

Moen Brushed Bronze 6510BB Illustrated parts list

Moen

Moen Brushed Bronze 6510BB Illustrated parts list

FORENO FSHR1 quick start guide

FORENO

FORENO FSHR1 quick start guide

manuals.online logo
manuals.online logoBrands
  • About & Mission
  • Contact us
  • Privacy Policy
  • Terms and Conditions

Copyright 2025 Manuals.Online. All Rights Reserved.