Series A, CA & F
"Y"-Type Strainers
Y-Schmutzfänger
Filtres Type "Y"
Filtros Tipo "Y"
"Y"-Type Filters
Filtri a "Y"
These instructions should be used by experienced personnel !
Diese Gebrauchsanweisung ist durch Fachpersonal zu benutzen !
Ces instructions devraient être utilisées par du personnel expérimenté !
¡Estas instrucciones deben ser utilizadas por personal experimentado !
Onderhoud uitsluitend uit te voeren door ervaren personeel !
Queste istruzioni devono essere utilizzate da personale esperto !
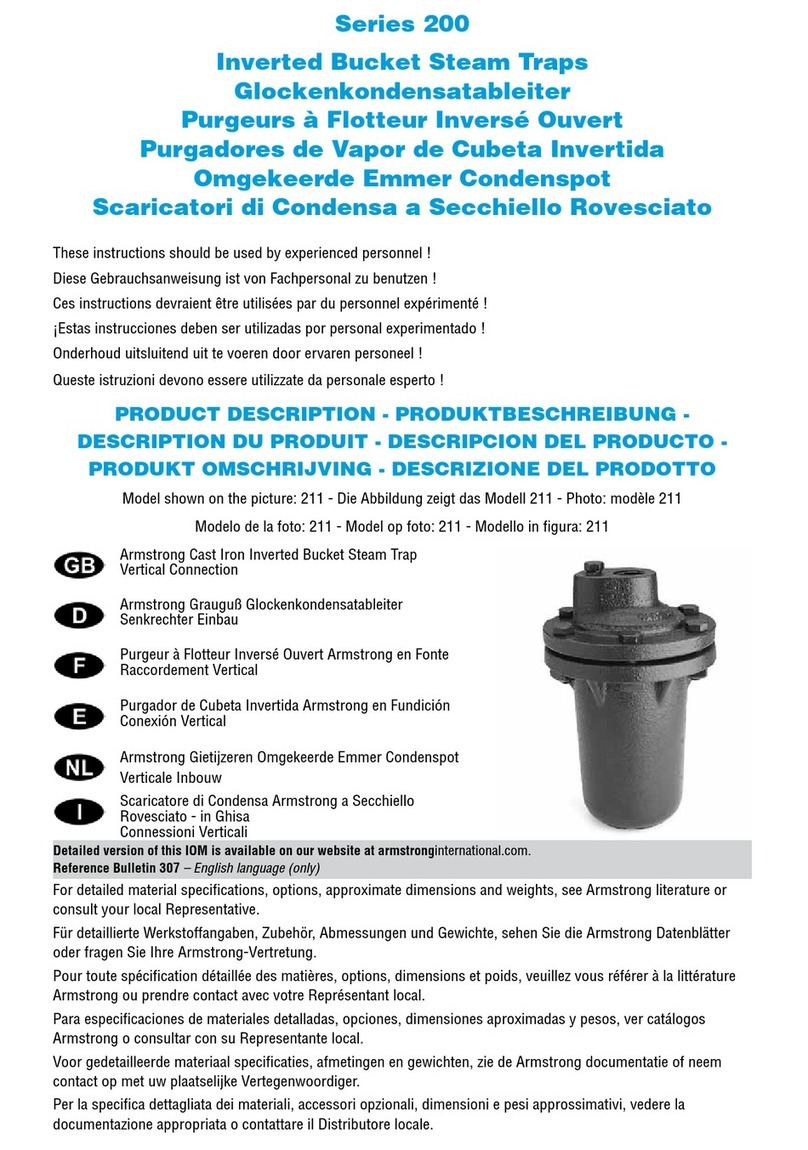
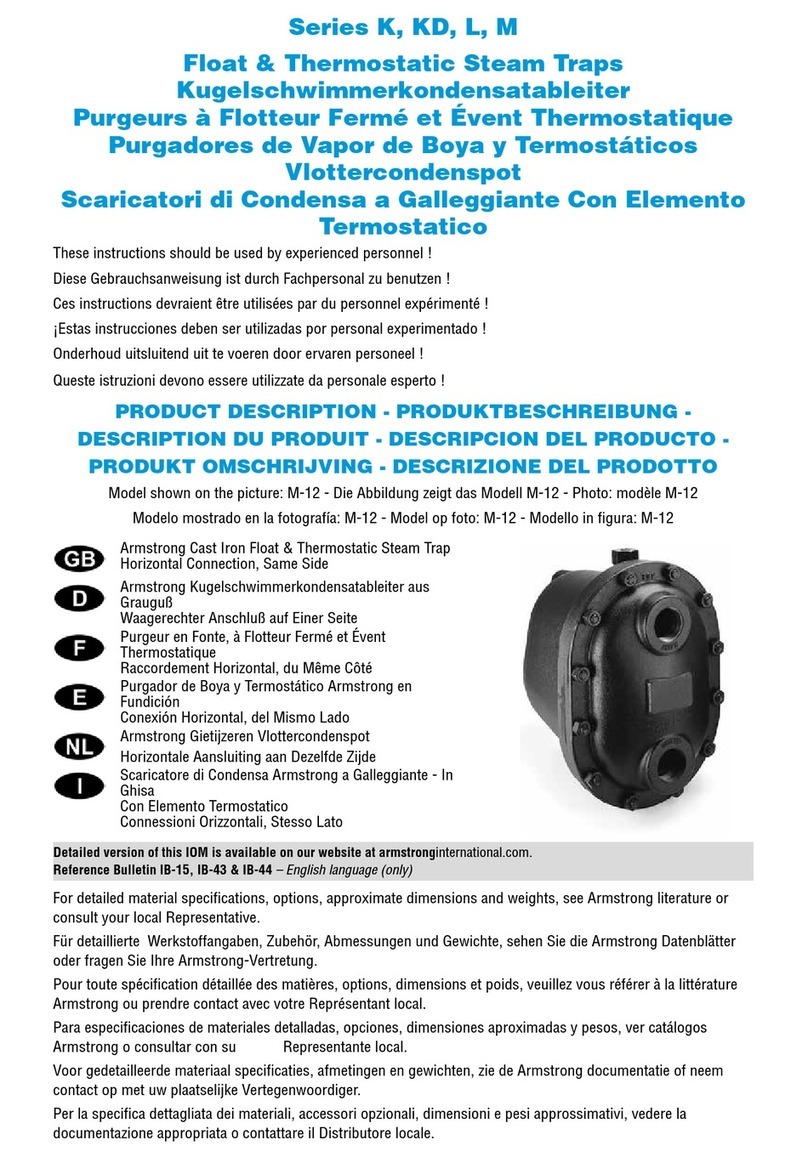
Model shown on the picture: F1SC - Die Abbildung zeigt das Modell F1SC - Photo: modèle F1SC
Modelo mostrado en la fotografía: F1SC - Model op foto: F1SC - Modello in figura: F1SC
Armstrong Bronze or Cast Iron "Y"-Type Strainers
Optional: Blow-Down Connection for Screen Cleaning
Armstrong Y-Schmutzfänger aus Bronze oder Grauguß
Option: Entleerungsventil für Siebreinigung
Filtres "Y" en Bronze ou en Fonte
En option : Connexion de Purge pour le Nettoyage de la Crépine
Filtros Tipo "Y" Armstrong en Bronce o Fundición
Opcional: Conexión de Purga para Limpieza de Filtro
Armstrong Bronzen of Gietijzeren "Y"-Type Filters
Optie: Afblaasaansluiting voor het Reinigen van het Zeef
Filtri a "Y" - In Bronzo o in Ghisa
Accessori opzionali: Connessione di Spurgo per la Pulizia della Retina Filtrante
For detailed material specifications, options, approximate dimensions and weights, see Armstrong literature or consult your local Representative.
Für detaillierte Werkstoffangaben, Zubehör, Abmessungen und Gewichte, sehen Sie die Armstrong Datenblätter oder fragen Sie Ihre Armstrong-Vertretung.
Pour toute spécification détaillée des matières, options, dimensions et poids, veuillez vous référer à la littérature Armstrong ou prendre contact avec votre
Représentant local.
Para especificaciones de materiales detalladas, opciones, dimensiones aproximadas y pesos, ver catálogos Armstrong o consultar con su
Representante local.
Voor gedetailleerde materiaal specificaties, afmetingen en gewichten, zie de Armstrong documentatie of neem contact op met uw plaatselijke
Vertegenwoordiger.
Per la specifica dettagliata dei materiali, accessori opzionali, dimensioni e pesi approssimativi, vedere la documentazione appropriata o contattare il
Distributore locale.
PRODUCT DESCRIPTION - PRODUKTBESCHREIBUNG - DESCRIPTION DU PRODUIT
DESCRIPCION DEL PRODUCTO - PRODUKT OMSCHRIJVING - DESCRIZIONE DEL PRODOTTO
MODELS WITH CE MARKING - MODELLE MIT CE KENNZEICHNUNG - MODELES MARQUES CE
MODELOS CON LA MARCA CE - MODELLEN MET CE KEUR - MODELLI CON MARCATURA "CE"
Armstrong International S.A., Parc Industriel des Hauts-Sarts, 4040 Herstal - Belgium Ph: +32.4.240.90.90 Fax: +32.4.248.13.61
IOM-1060-B 10/2005 www.armstrong.be Printed in Belgium
Modello DN
Model DN
Modelo DN
Modéle DN
Modell DN
Model DN
2 1/2” AXSC 250
3” AXSC 250
6” AXFL 125
8” AXFL 125
10” AXFL 125
2” F4SC 300
63
76
152
203
254
50
Modello DN
Model DN
Modelo DN
Modéle DN
Modell DN
Model DN
2 1/2” AXFL 250
3” AXFL 250
4” AXFL 250
6” AXFL 250
8” AXFL 250
63
76
102
152
203
I. Entretien des pièces internes :
- Si une vanne de purge est installée, l'ouvrir pour nettoyer la crépine (2);
- Si il n'y a pas de vanne de purge, s'assurer que le filtre soit isolé et
froid avant toute manipulation;
- Dévisser la butée (4) du corps du filtre (1) et nettoyer ou remplacer la
crépine (2);
- Remettre le joint en place (3);
- Revisser la butée (4) sur le corps du filtre (1).
I. Manutenzione degli interni:
-Se esiste un tappo di drenaggio o una valvola, aprirli in modo da
spurgare la retina (2);
- In caso negativo, assicurarsi che il filtro sia freddo ed isolato dal
sistema, prima d'intervenire;
- Svitare la ghiera (4) dal corpo (1) del filtro e pulire o sostituire la retina
(2);
- Sostituire la guarnizione (3);
- Riavvitare la ghiera (4) sul corpo (1).
I. Wartung und Reparatur:
- Wenn Entleerungsventil eingebaut ist, dieses zum Reinigen des Siebs
(2) öffnen;
- Ist kein Entleerungsventil eingebaut, muß der Schmutzfänger vor
Beginn der Arbeit vom Medium getrennt und abgekühlt sein;
-Siebstopfen (4) von Schmutzfängergehäuse (1) abschrauben und Sieb
(2) reinigen oder erneuern;
- Gehäusedichtung (3) erneuern;
- Siebstopfen (4) wieder auf Gehäuse (1) montieren.
I. Internals Maintenance:
- If blow-down valve is installed, open it to clean the screen (2);
- If no blow-down valve is installed, make sure that strainer is isolated
and cold before handling;
- Unscrew the retainer (4) from strainer's body (1) and clean or replace the
screen (2);
- Replace gasket (3);
- Screw the retainer (4) back on the body (1).
Onderhoud binnenwerk:
- Indien afblaasaansluiting gemonteerd, open het om het zeef te reinigen
(2);
- Indien afblaasaansluiting niet geïnstalleerd is, overtuig Uzelf dat het filter
geïsoleerd en koud is voordat verdere handelingen verricht worden;
- Draai de borgmoer (4) van het filterhuis (1) en reinig of vervang de zeef
(2);
- Vervang pakking (3);
- Zet de borgmoer (4) weer vast in het filterhuis (1).
I. Mantenimiento de las piezas internas:
- Si hay una válvula de purga instalada, ábrala para limpiar el filtro (2);
- Si no hay ninguna válvula de purga instalada, asegúrese de que el filtro
ha sido aislado y está frío antes de manipularlo;
- Desenrosque el tapón (4) del cuerpo del filtro (1) y limpie o cambie el
filtro (2);
- Cambie la junta (3);
- Vuelva a roscar el tapón (4) en el cuerpo (1).


