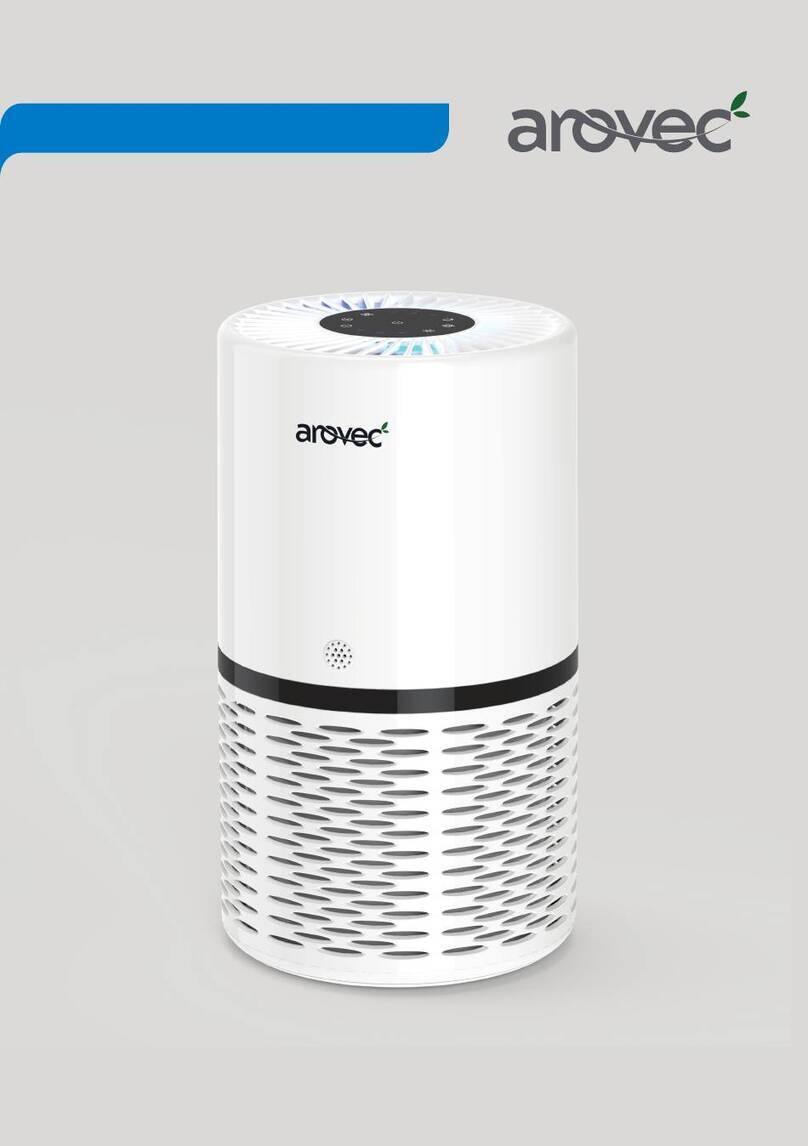
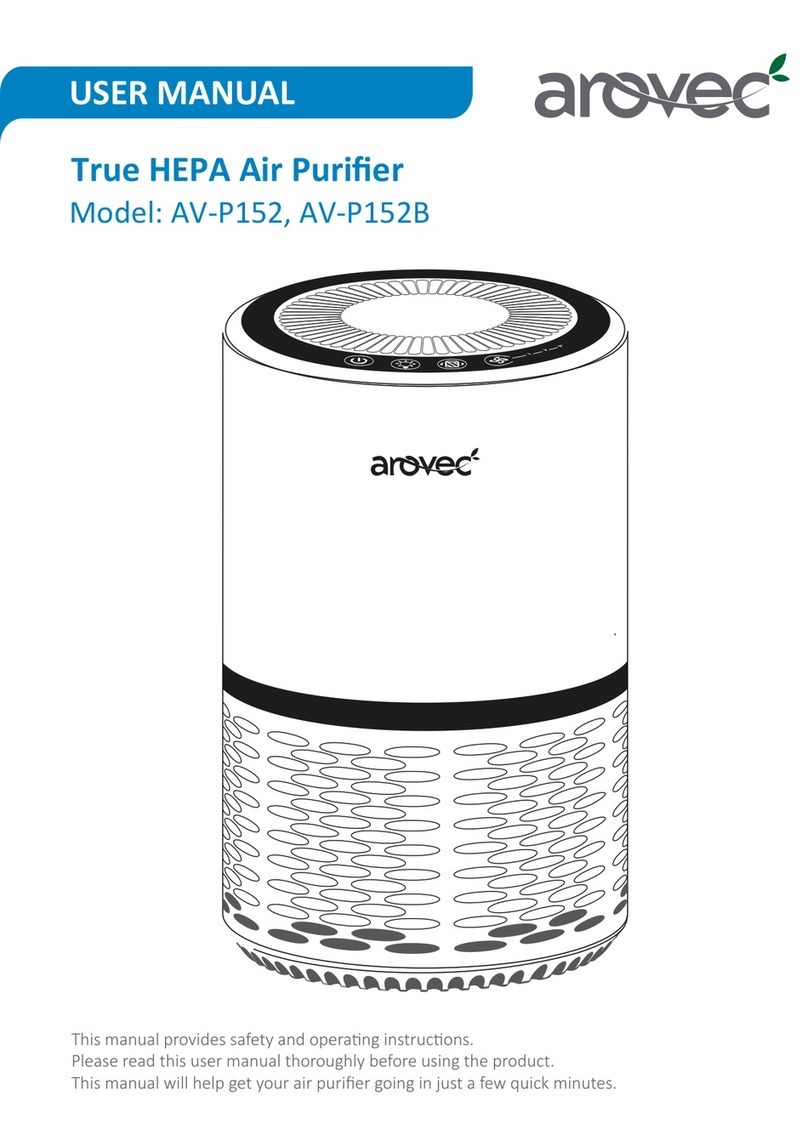
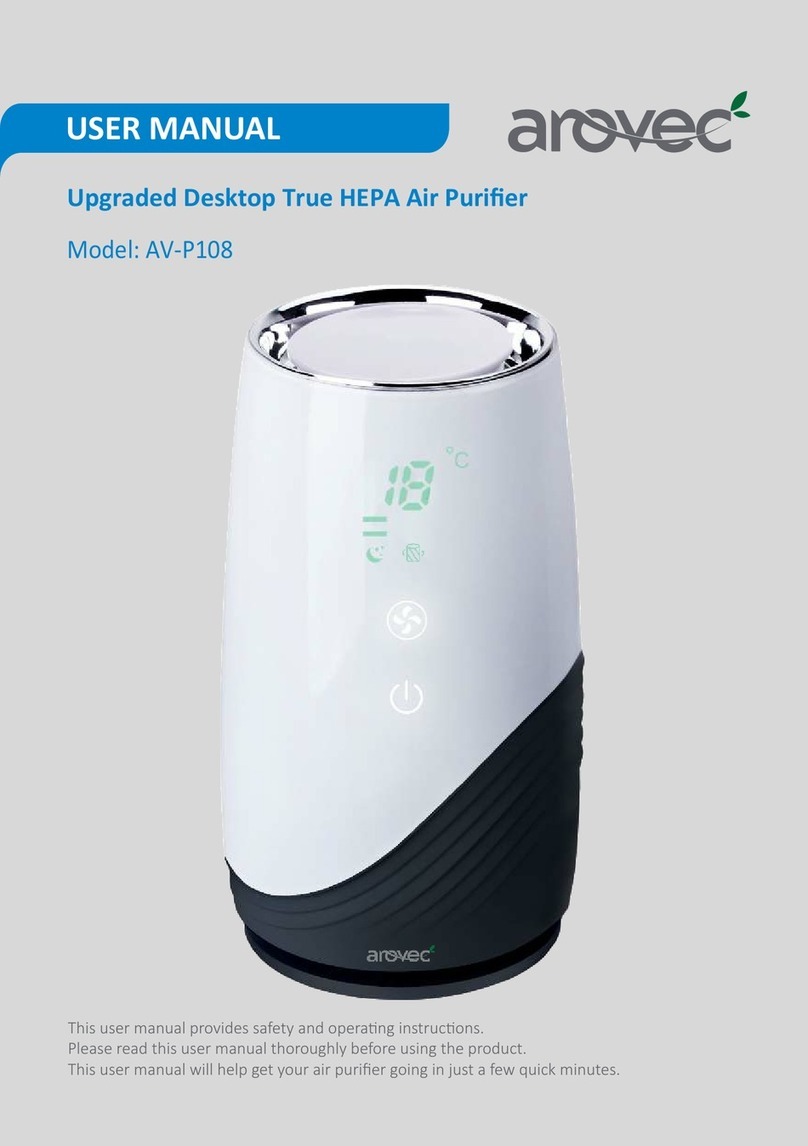
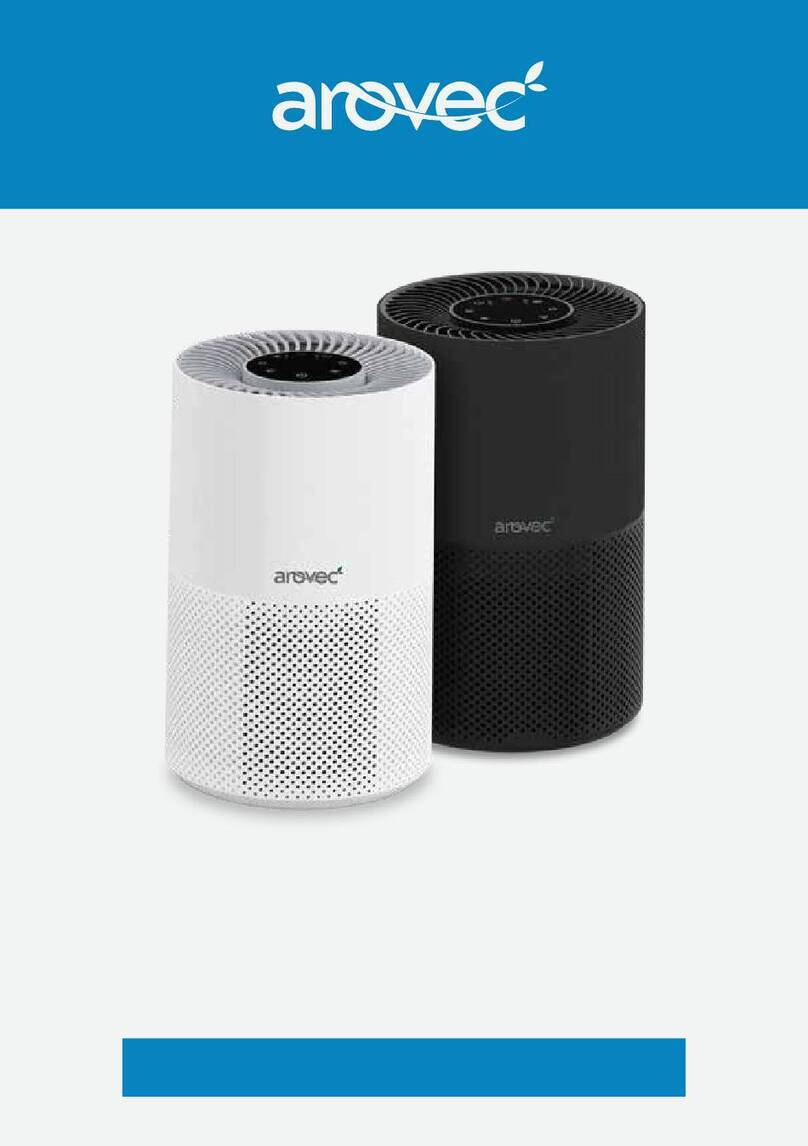
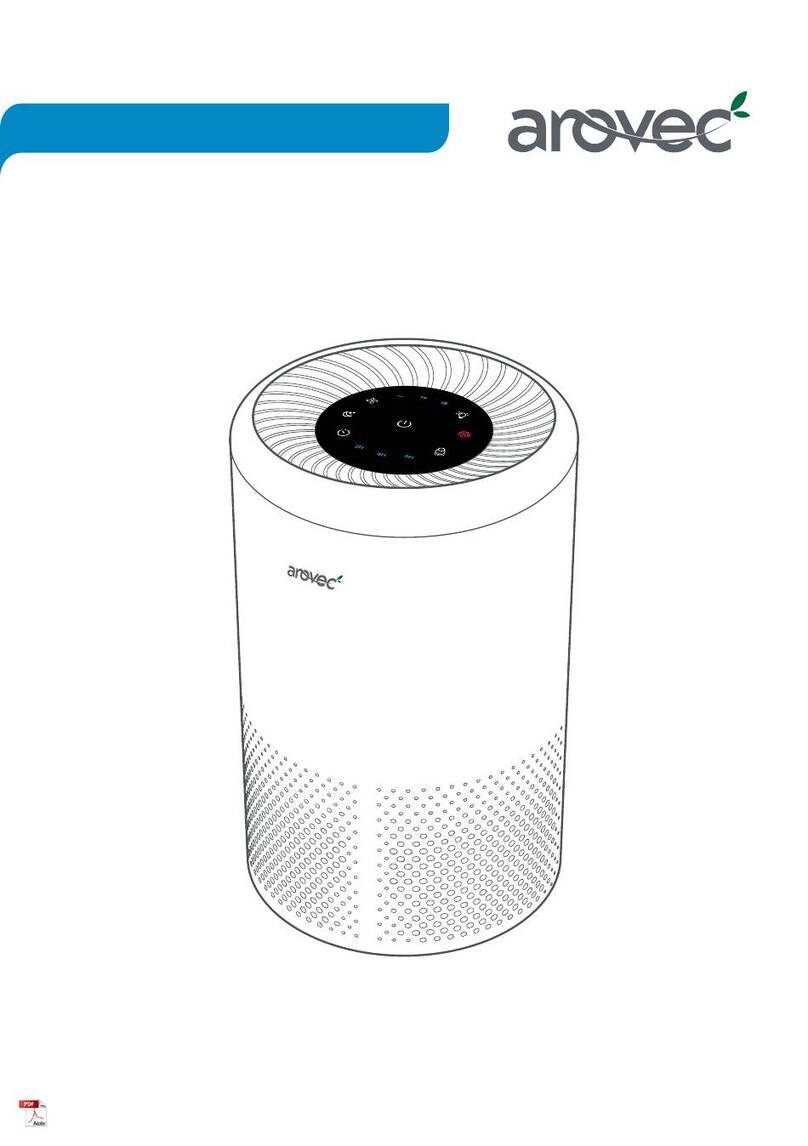
arovec AV-P500S User manual

This user manual provides safety and opera�ng instruc�ons.
Please read this user manual thoroughly before using the product.
Model: AV-P500S
USER MANUAL

Copyright © 2020-2023, Arovec, Australia. All Rights Reserved.

TABLE OF CONTENTS PACKAGE CONTENTS
1 x
1 x
1xUser Manual
1xWarranty Card
1xQuick User Guide
PRODUCT SPECIFICATIONS
THANK YOU FOR CHOOSING TO BUY AN
AROVEC AIR PURIFIER
Customer Support - AUSTRALIA
www.arovec.com.au
support@arovec.com.au
@aroveclifestyle
3
Power Supply
Rated Power
Coverage Area (ACH=2)
Coverage Area (ACH=5)
CADR (smoke)
Noise Level
Weight
Filter Pack
220-240 V, 50 Hz
38 W
50 m
20 m
230 m3/h
Temperature: -10 to 40 C
29 - 58 dB
4.8 kg
ø23.5 × H50.0 cm
1. Preliminary Filter
2. True HEPA Filter
3.
Plus Polypropylene Net
4
5
6
7
8
9
12
12
12
13
13
13
14
14
15
16
17
17
17
17
18
18
19
20
24
IMPORTANT SAFETY INSTRUCTIONS
INTRODUCTION
GETTING TO KNOW YOUR AIR PURIFIER
BEFORE USING FOR THE FIRST TIME
GENERAL TIPS
CONTROL & DISPLAY
Wii SETUP & VOICE CONTROL
- BriSync App Control Features
- Voice Assistant
•How to Connect with Amazon Alexa
• How to Connect with Google Home
REPLACING THE FILTER
- When to Replace the Filter
- Steps for Replacing the Filter
Replacement
CLEANING & CARE
- Cleaning the Filter
STORAGE, DISPOSAL
TROUBLESHOOTING
- BriSync App & Voice Assistant Features
WARRANTY DISCLAIMER

4
IMPORTANT SAFETY INSTRUCTIONS
•DO NOT
•DO NOT
not working properly.
•DO NOT
•DO NOT
•DO NOT
•DO NOT
•DO NOT run the power cord under furniture, other appliances, carpet, or cover with rugs,
• ALWAYS tuck away the power cord to prevent tripping accidents.
• DO NOT
•DO NOT
•DO NOT
•DO NOT
•DO NOT
• DO NOT
• DO NOT
• DO NOT
•DO NOT
•DO NOT
•DO NOT
•DO NOT
•DO NOT
• DO NOT
• DO NOT
• DO NOT
• It is recommended to NOT use the unit with an extension cord to avoid electrical shock or spark.
• TURN OFF
• WARNING:
KEEP THESE INSTRUCTIONS IN A SAFE PLACE.
INTRODUCTION
in the AV-P500S.
healthy with AV-P500S.
Product Features
Using Wi-Fi, connect the appliance to BriSync app and conveniently
Peaceful Sleep:
1.
2. PM2.5,
3.
Plus,
5

GETTING TO KNOW YOUR AIR PURIFIER
PM2.5 Display
6
Night Light & Dark Mode Button
Sleep Mode Button
Timer Button
Child Lock Button
Auto Mode Button
Fan Speed Button
Power Button
Air Outlet
Air Inlet
Power Cord
Base Cover
Air Quality Indicators
Fan Speed Indicators
Timer Indicator
Night Light
Replace Filter Indicator
Air Quality Indicator Ring
Filter Pack
Dust Sensor
Preliminary Filter
H13 True HEPA Filter
Activated Carbon Filter
Wi-Fi Indicator

7
BEFORE USING FOR THE FIRST TIME
1.
[Figure 1.1]
2.
[Figure 1.2]
Figure 1.1
Figure 1.2
3. [Figure 1.3]
Figure 1.3

8
GENERAL TIPS
•
switching it ON. [Figure 2.1]
• [Figure 2.1]
4.
[Figure 1.4]
5.
[Figure 1.5]
•
•
the fan speed as required.
Figure 1.4
Figure 1.5
Figure 2.1
x
1
3
2
1
3
2
40 cm
40 cm

9
CONTROL & DISPLAY
•
•
Power ON/OFF
•
35 – 66
> 100
Air Quality Status
Very Good
Good
Moderate
Poor

10
•
•
•
Auto Mode
•
•
Blue
Green
Orange
Red
Air Quality Status
Very Good
Good
Moderate
Poor
Low
Med
High
•There are 4 fan-speed levels: 1-LOW, 2-MED, 3-HIGH, and 4-TURBO.
•Each tap will toggle to the next fan speed level.
•Use the TURBO mode to purify the air quickly in an unusual event such as
•
•
Sleep Mode
•
•
•

11
Night Light:
ring light on the panel.
•
•The air quality ring light displays in four colours depending on the air
•
turn them OFF.
•
Tap any key to exit Dark mode.
Dark Mode:
•
Night Light / Dark Mode
Timer
•
•
•
•
•
manually turned OFF.
•
disappears.
•
•
•

12
Wii SETUP & VOICE CONTROL
1.
2.
3.
4.
Note 1:
Note 2:
phones.
BriSync App
Control
Display Filter Usage
Mode
Timer
More

13
1. Download our “BriSync” app in the app market, then register an account;
2.
3. Download Amazon "Alexa" app from the Android, iOS, or Amazon app
4. Search “BriSync” skill from the "Alexa" app skills category;
5.
6.
with google home.
1. Register for a BriSync account and log in.
2. In order to assist with voice control, make sure each name you provide is unique.
3. Launch the Google Home app, select the menu icon, and then go to “Home Control.’
4. To add new devices, tap the "+" in the lower right corner.
5. Find "BriSync" from the device list to connect.
6. Then tap ‘Authorize’ to connect to Google Home,
Note :
using the Amazon Alexa or Google Home/Assistant app

REPLACING THE FILTER
longer.
www.arovec.com.au
•
•
- Unusual odours.
14

1.
[Figure 3.1]
2.
[Figure 3.2]
3. Clean any remaining dust or hair inside the
DO NOT use water or any liquids to clean
4.
[Figure 3.3]
Figure 3.1 Figure 3.2
Figure 3.3
15

Figure 3.5
Figure 3.4
5.
[Figure 3.4]
6.
[Figure 3.5]
16

CLEANING & CARE
STORAGE
DISPOSAL
•
•
•DO NOT
•
or any other liquids. [Figure 4.1]
•
•
•
Figure 4.1
accessories away with the daily normal household waste.
17

TROUBLESHOOTING
support@arovec.com.au for assistance.
The (
The (
Plug into a powered electrical outlet.
each side.
the air.
perfumes in the area.
Ensure that the doors and windows are closed.
18

support@arovec.com.au for assistance.
another Bluetooth device.
A protected 2.4GHz Wi-Fi network is required during setup. Verify that
Verify that you have entered the correct Wi-Fi password and there
Try accessing the router with a separate electronic device to verify the
correctness of the password.
Verify that the SSID and password were entered successfully if they
to your wireless modem. Put your phone close to your air cleaner.
Move your router up high, out of the path of any interference.
separate room from other electrical gadgets and appliances.
the Wi-Fi network during setup.
Restart your computer and phone.
smartphone is within Wi-Fi range.
speaking to Amazon Alexa or Google Home/Assistant.
"OK Google" for Google Home/Assistant are the two.
Refer to the commands list on page 13 of the user manual.
19

WARRANTY AND DISCLAIMER FOR PRODUCTS
www.arovec.com.au
Note: When the product is purchased from an authorised third party seller, for warranty claim,
related third party seller.
We provide a 12-month standard warranty against defects with the Products, from the date
of purchase.
www.arovec.com.au, within 14 days of the date of purchase. While
registering, make sure that the related data entry including the date of purchase is accurate.
Product name
Model
Standard warranty period
Date of original purchase
AV-P500S
1 Year
Simply register on arovec.com.au/warranty
the date of purchase.
20
Table of contents
Other arovec Air Cleaner manuals

arovec
arovec Aropure-200 User manual

arovec
arovec AV-P500 User manual

arovec
arovec Apex300 User manual

arovec
arovec AV-P152RF User manual

arovec
arovec AV-P152 User manual

arovec
arovec AV-P108 User manual

arovec
arovec AV-P152PRO-S User manual

arovec
arovec AV-P300 User manual

arovec
arovec AV-P120 User manual

arovec
arovec AV-P152PRO User manual