ARRIS CM3000PRO User Manual
Thank you for purchase ARRIS CM3000PRO Brushless Gimbal. This gimbal is
compatible with GoPro 3/ GoPro 3+.
The ARRIS CM3000PRO is fully adjusted and tested before we send out to you.
When you receive it, you just need to install the GoPro on it, and give power supply
to it, and then it will work.
Note: The gimbal need 3S battery power supply. You can power it through extra 3S
11.1V battery, or you can power is through the battery of your multicopter. After
you power it, please remain it still, it need several seconds to initialize. And make
sure the GoPro is tightening to the lower plate. If you do not tighten it, it may cause
vibration.
The controller on ARRIS CM3000PRO Gimbal is Basecam Simple BGC 32 bit
version controller board . You can adjust the settings on the software as needed
from:
http://www.basecamelectronics.com/downloads/32bit/
After you installed this, but the computer could not detect the gimbal you connect,
you need to install the driver from
http://www.silabs.com/products/mcu/pages/usbtouartbridgevcpdrivers.aspx.
.
However, since we have adjusted all the settings on the gimbal and tested it, we do
not suggest this for beginner. In a word, if there is no problem of the gimbal, please
do not adjust the settings.
As we all know, the quality of the aerial photography is not only determined by the
gimbal, but also the setup of the mulitcopter and the skill level of the person who
fly it.
In order to obtain the best quality, please take time to make sure everything on your
multicopter is correctly balanced and dialed in.
Content
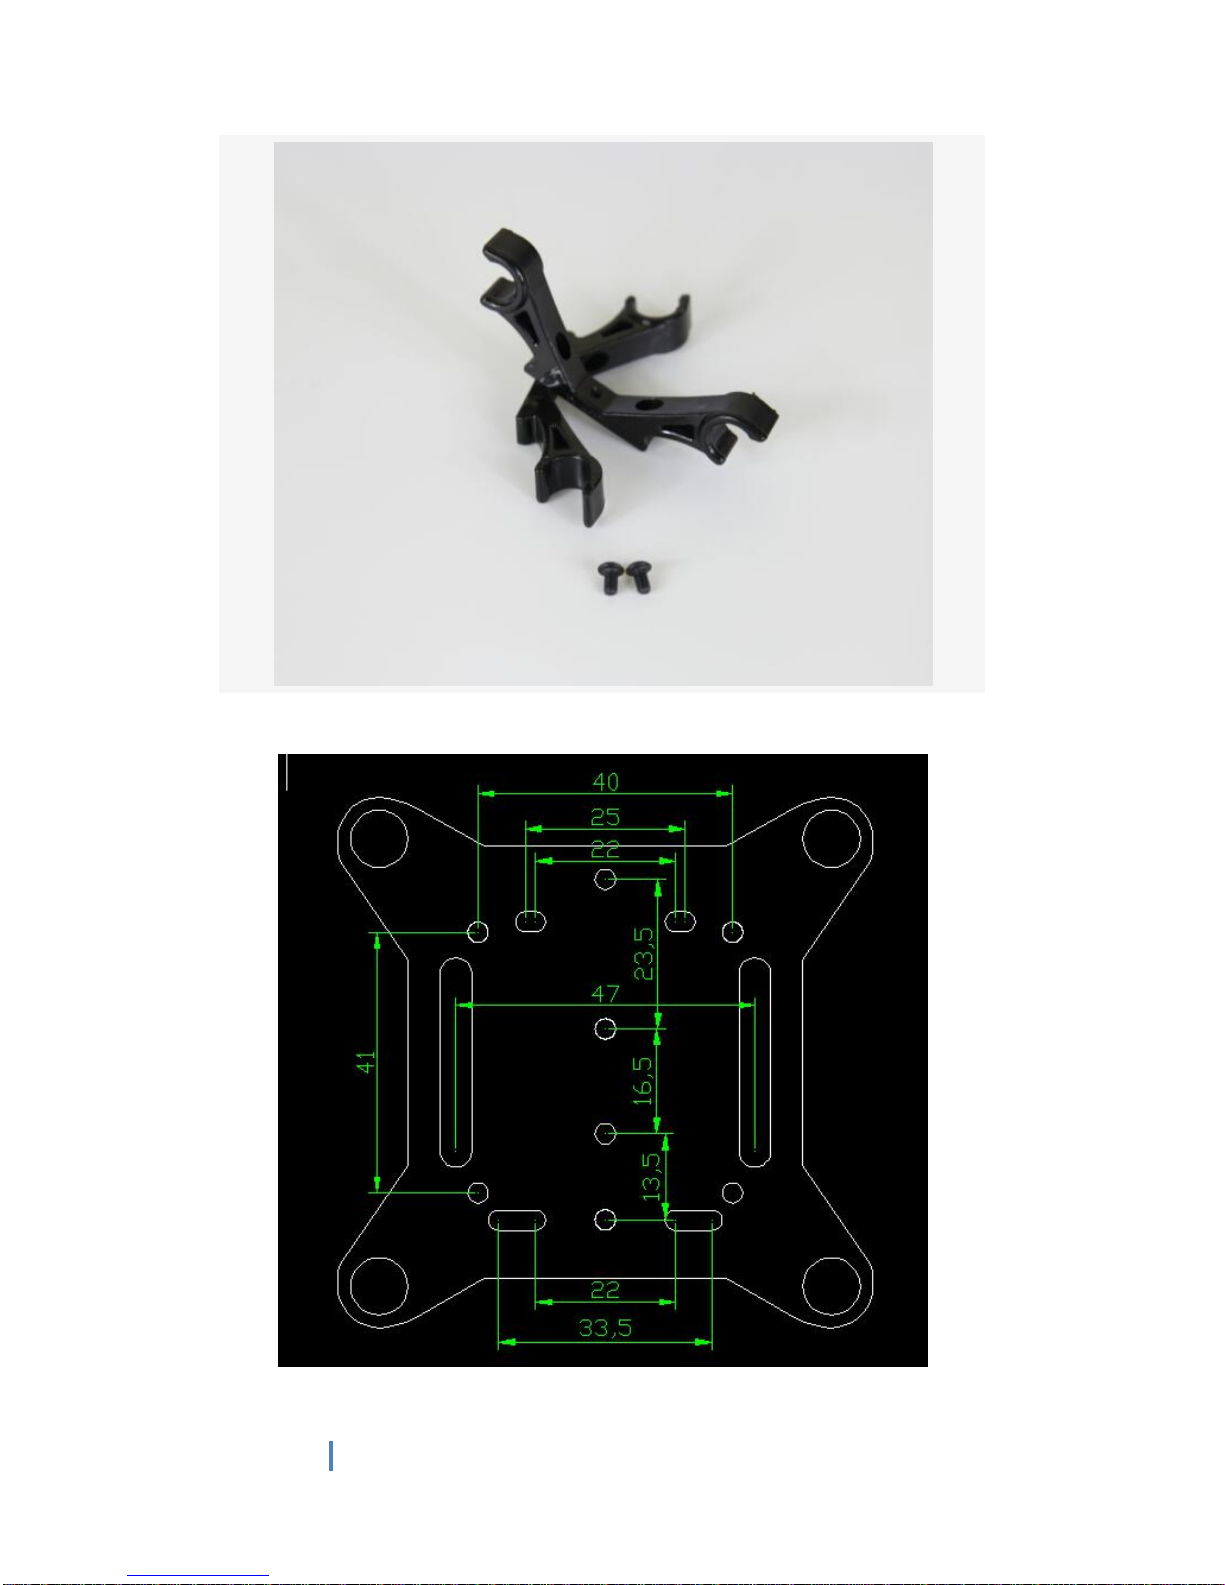
1. ARRIS CM3000PRO Parts
2. Important Notes
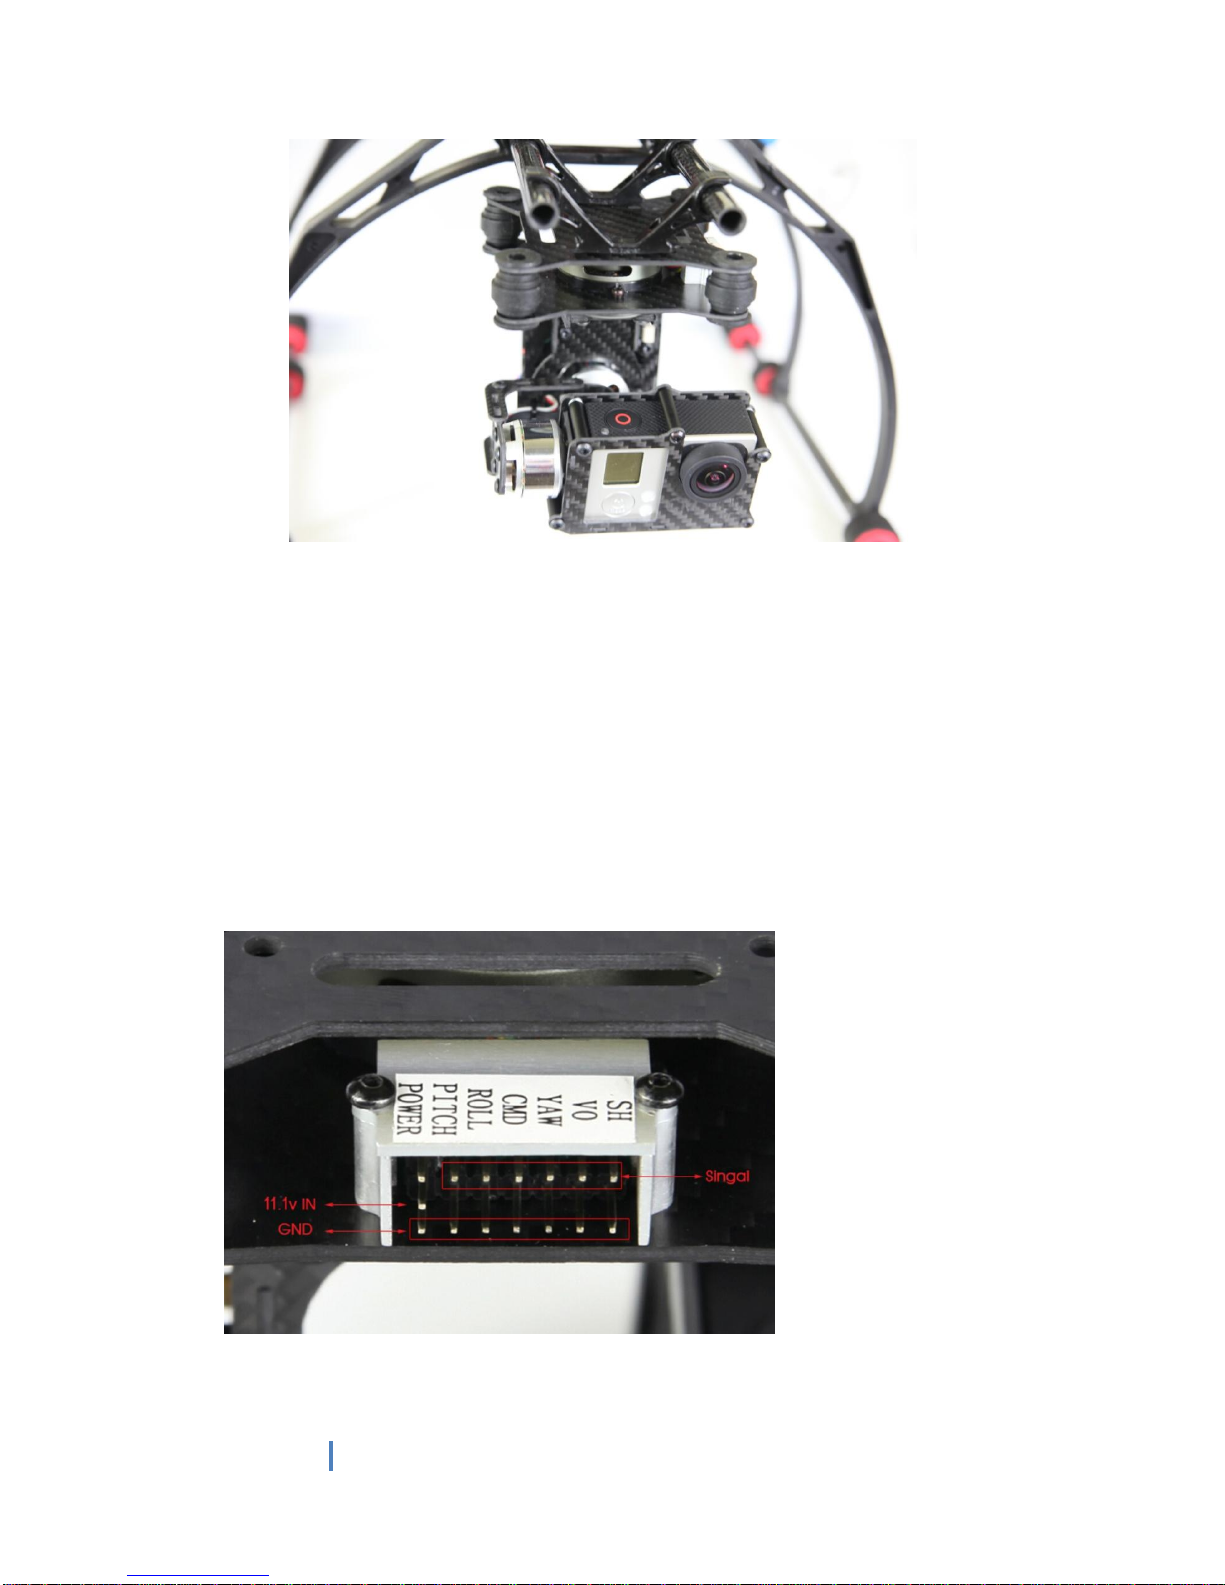
3. How to Install the Gimbal
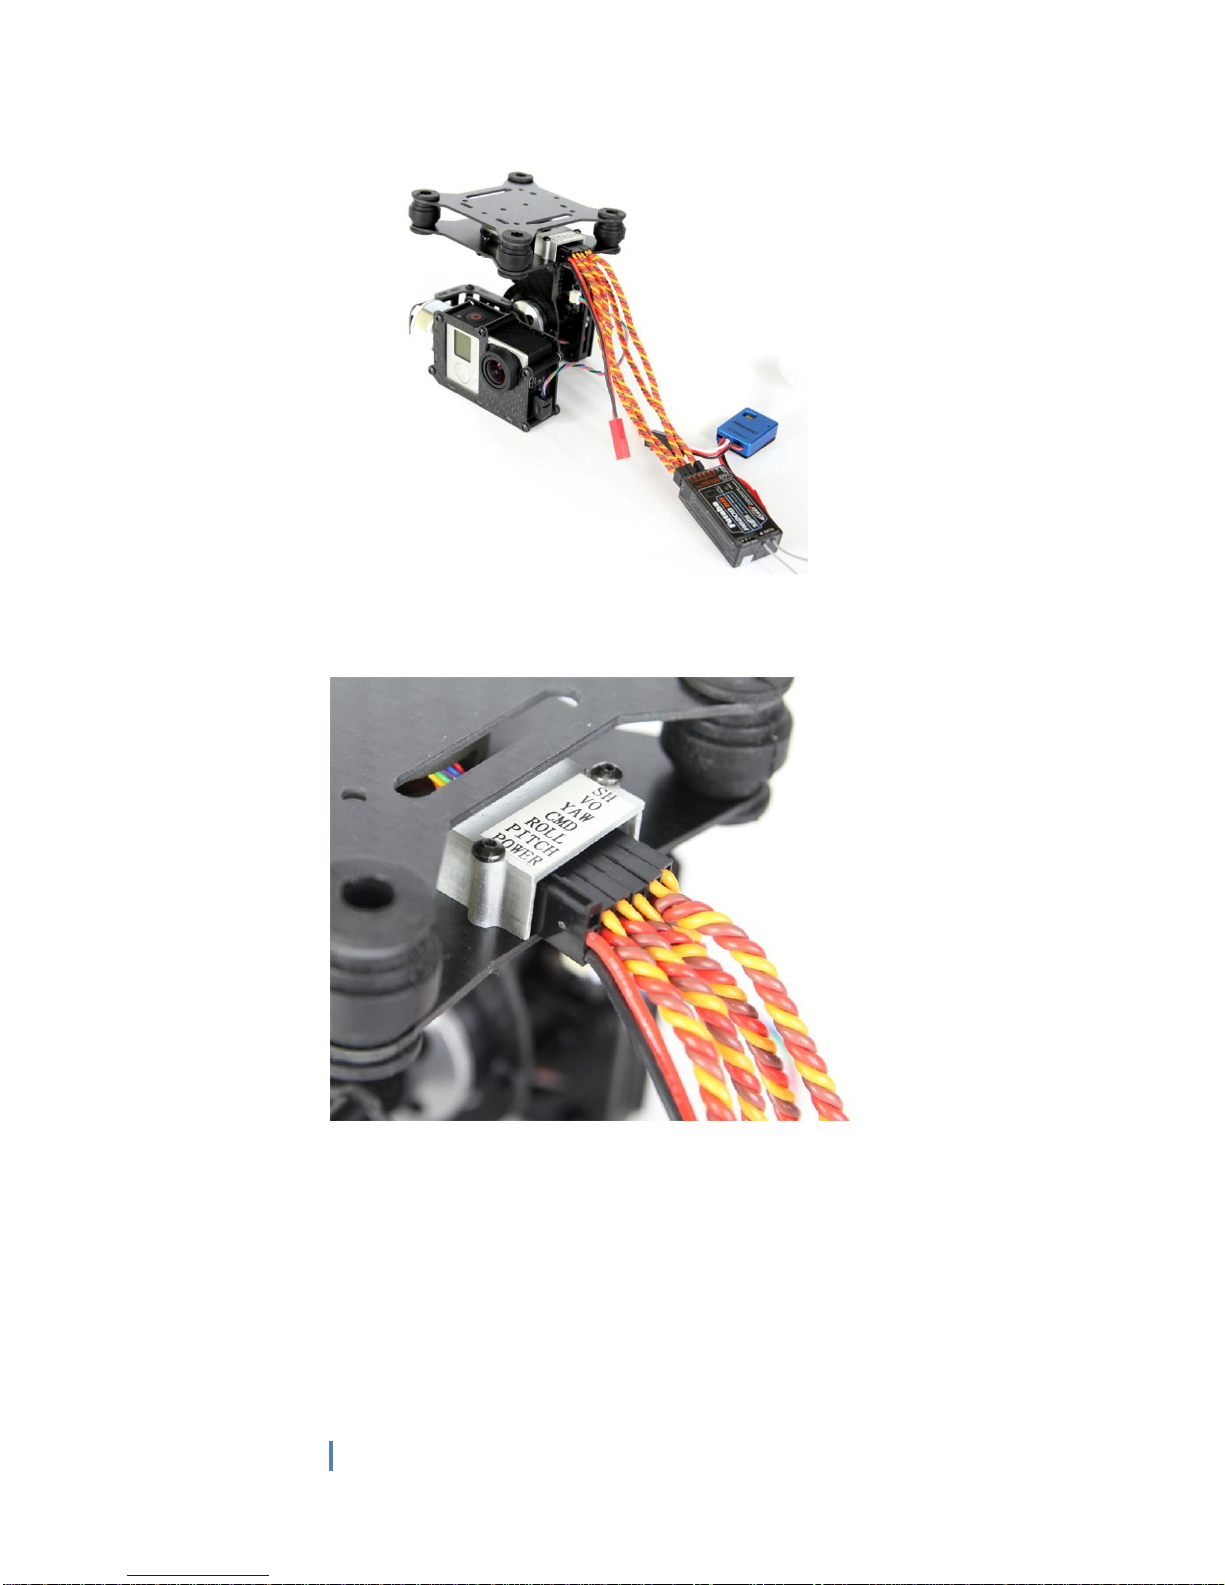
4. How to Connect the Wires
5. How to Adjust the Parameter
6. How to load the stock settings