manuals.online logo
Brands
  1. Home
  2. •
  3. Brands
  4. •
  5. ARTESYN EMBEDDED TECHNOLOGIES
  6. •
  7. Computer Hardware
  8. •
  9. ARTESYN EMBEDDED TECHNOLOGIES Centellis 2000 User manual

ARTESYN EMBEDDED TECHNOLOGIES Centellis 2000 User manual

Centellis 2000 User
Card 10GE TelcoAlarm
P/N:6806800M48B (May 2014)
Observe ESD-safe
measures
What’s in the box?
Installing an SFP/SFP+
Module
When installing or servicing the
module or accessories, strictly
observe the safety precautions
in the Safety Notes. Otherwise,
personal injury or property dam-
age may occur.
• Use either a properly grounded
ESD wrist strap or make sure
that you are working in an ESD-
safe environment.
• Connect to the ESD connector at
the front or the rear of the sys-
tem.
Make sure you receive all items of
your shipment:
• Centellis 2000 User Card 10GE
With Telco Alarm
• Printed Safety Notes
• Any optional items ordered
Prepare the installation
site
• Leave enough space around the
cabinet. Prevent air blocking of
fans and provide controlled
ambient air at shelf air-inlet to
ensure sufficient airflow and
appropriate heat exchange in the
shelf.
• Consider heat dissipation when
you choose slots to install
blades. If the shelf is not fully
configured, install the blades in
scattered slots. Unoccupied slots
must be protected with appro-
priate blank filler blades to pre-
vent air leaks.
The following procedure describes
how to install an SFP/SFP+ Module:
1. Slide the SFP/SFP+ module into the
slot until it locks into position.
2. Remove the optical port plug.
SFP/SFP+ Module Damage
The optical port plug protects the sensitive
optical fibres against dirt and damage. Dirt
and damage can render the SFP/SFP+ mod-
ule inoperable. Only remove the optical
plug when you are ready to connect a cable
to the SFP/SFP+ module. When no cable is
connected, cover the port with an optical
port plug.
3. Connect the network cable to the
SFP/SFP+ module.
1
2
3
4
Centellis 2000 User Card 10GE TelcoAlarm-Quick Start Guide
Artesyn Embedded Technologies
Marketing Communications
2900 S. Diablo Way, Suite 190
Tempe, Arizona 85282
Artesyn Embedded Technologies
Lilienthalstr. 17-19
85579 Neubiberg/Munich
Germany
Finding more information
For more information on the product, see
the Centellis 2000 User Card 10GE with
Telco Alarm Installation and Use and other
related documentation.
Visit our Web site http://www.arte-
syn.com/computing. Use SUPPORT>TECH-
NICAL DOCUMENTATION link to look for
technical documentation.
Technical Assistance
To request technical assistance, visit our
Web site
http://www.artesyn.com.
Installing Centellis 2000
User Card
The following procedure describes the
installation of the board. It assumes that
your system is powered. If your system is
not powered, you can disregard the blue
LED and thus skip the respective step. In this
case it is a purely mechanical installation.
1. Put on an ESD wrist strap.
2. Connect the strap to the shelf by attach-
ing the front or rear ESD jack /ESD snap.
3. Insert the board into the shelf by placing
the left and right edges of the board in
the card guides of the shelf. Ensure that
the guiding module of shelf and board
are aligned properly. The alignment pin
facilitates the insertion and prevents
bent pins.
4. Slide the board into the shelf by using the
extraction handles until you feel resis-
tance.
5. Wait until the blue LED is illuminated.
6. Tighten the screws on the left and on the
right of the board. In this way the handle
switch activator is closed and the board
can be powered. The blue LED blinks.
7. Wait until the blue LED is switched off.
8. The switched off blue LED indicates that
the board is activated.
9. Attach cables to the front panel connec-
tors as necessary.
5Removing Centellis 2000
User Card
The following procedure describes how
to remove the board from a system. It
assumes that the system is powered. If
the system is not powered, you can dis-
regard the blue LED and thus skip the
respective step. In that case it is a purely
mechanical procedure.
1. To extract the active shelf manager
initiate a switchover. Otherwise con-
tinue with the next step.
2. Put on an ESD wrist strap.
3. Connect the strap to the shelf by
attaching it to the front or rear ESD
jack /ESD snap.
4. Remove any cables that are attached
to front panel connectors.
5. Unfasten the screws of the face plate
until the handle is detached from the
front panel of the board. The handle
switch activator triggers the blinking
of the blue LED. The hotswap state
remains in the state "extraction
pending", so that the blue LED is still
blinking.
6. Wait until the blue LED is illuminated.
7. Remove the board from the shelf
using the extraction handles.
6

Other ARTESYN EMBEDDED TECHNOLOGIES Computer Hardware manuals
ARTESYN EMBEDDED TECHNOLOGIES SharpStreamer Mini PCIE-7205 User manual

ARTESYN EMBEDDED TECHNOLOGIES

ARTESYN EMBEDDED TECHNOLOGIES SharpStreamer Mini PCIE-7205 User manual

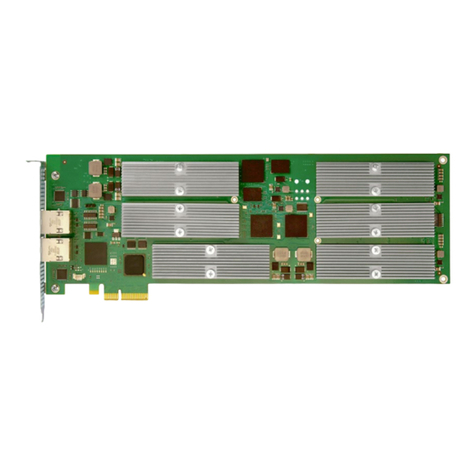
ARTESYN EMBEDDED TECHNOLOGIES SharpStreamer Pro PCIE-7210 Quick start guide

ARTESYN EMBEDDED TECHNOLOGIES

ARTESYN EMBEDDED TECHNOLOGIES SharpStreamer Pro PCIE-7210 Quick start guide

ARTESYN EMBEDDED TECHNOLOGIES MVME8100 Quick start guide

ARTESYN EMBEDDED TECHNOLOGIES

ARTESYN EMBEDDED TECHNOLOGIES MVME8100 Quick start guide

ARTESYN EMBEDDED TECHNOLOGIES SharpStreamer Pro Mini PCIE-7210-1 Quick start guide

ARTESYN EMBEDDED TECHNOLOGIES

ARTESYN EMBEDDED TECHNOLOGIES SharpStreamer Pro Mini PCIE-7210-1 Quick start guide

ARTESYN EMBEDDED TECHNOLOGIES SharpMedia PCIE-8120 User manual

ARTESYN EMBEDDED TECHNOLOGIES

ARTESYN EMBEDDED TECHNOLOGIES SharpMedia PCIE-8120 User manual

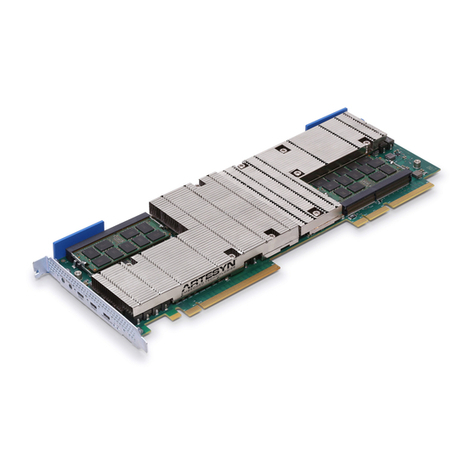
ARTESYN EMBEDDED TECHNOLOGIES SharpStreamer Pro PCIE-7210 User manual

ARTESYN EMBEDDED TECHNOLOGIES

ARTESYN EMBEDDED TECHNOLOGIES SharpStreamer Pro PCIE-7210 User manual

ARTESYN EMBEDDED TECHNOLOGIES ATCA-9405 Quick start guide

ARTESYN EMBEDDED TECHNOLOGIES

ARTESYN EMBEDDED TECHNOLOGIES ATCA-9405 Quick start guide

ARTESYN EMBEDDED TECHNOLOGIES SharpMedia PCIE-8120 User manual

ARTESYN EMBEDDED TECHNOLOGIES

ARTESYN EMBEDDED TECHNOLOGIES SharpMedia PCIE-8120 User manual

ARTESYN EMBEDDED TECHNOLOGIES RTM-ATCA-7350 Quick start guide
ARTESYN EMBEDDED TECHNOLOGIES

ARTESYN EMBEDDED TECHNOLOGIES RTM-ATCA-7350 Quick start guide

Popular Computer Hardware manuals by other brands

CSA Mega-Midget Racer user manual

CSA

CSA Mega-Midget Racer user manual

Alldsp PLP428 user manual

Alldsp

Alldsp PLP428 user manual

NEC SIGMABLADE N8406-017 manual

NEC

NEC SIGMABLADE N8406-017 manual

Yamaha DX7 MiniMAX Install manual

Yamaha

Yamaha DX7 MiniMAX Install manual

Ebyte ESP32-C3-MINI-1U user manual

Ebyte

Ebyte ESP32-C3-MINI-1U user manual

Antminer S15 Maintenance Guide

Antminer

Antminer S15 Maintenance Guide

FabiaTech Fanless Series user manual

FabiaTech

FabiaTech Fanless Series user manual

Freescale Semiconductor ColdFire MCF52210ColdFire MCF52211ColdFire MCF52212ColdFire... Reference manual

Freescale Semiconductor

Freescale Semiconductor ColdFire MCF52210ColdFire MCF52211ColdFire MCF52212ColdFire... Reference manual

Phytec ATOM phyCORE-Z500P(T) Hardware manual

Phytec

Phytec ATOM phyCORE-Z500P(T) Hardware manual

Hitachi GX1000-SMC013X instruction manual

Hitachi

Hitachi GX1000-SMC013X instruction manual

THine THEIA-CAM THSCP101 Start guide

THine

THine THEIA-CAM THSCP101 Start guide

Nuvoton NAU88L24 manual

Nuvoton

Nuvoton NAU88L24 manual

SightLine 1750-OEM quick start guide

SightLine

SightLine 1750-OEM quick start guide

Adamson M Series user manual

Adamson

Adamson M Series user manual

FabiaTech PC104 user manual

FabiaTech

FabiaTech PC104 user manual

ZALMAN CNPS9700 LED user manual

ZALMAN

ZALMAN CNPS9700 LED user manual

Roland House Collection SR-JV80-19 owner's manual

Roland

Roland House Collection SR-JV80-19 owner's manual

SIIG FireWire 800 ExpressCard Quick installation guide

SIIG

SIIG FireWire 800 ExpressCard Quick installation guide

manuals.online logo
manuals.online logoBrands
  • About & Mission
  • Contact us
  • Privacy Policy
  • Terms and Conditions

Copyright 2025 Manuals.Online. All Rights Reserved.