manuals.online logo
Brands
  1. Home
  2. •
  3. Brands
  4. •
  5. ASD
  6. •
  7. Measuring Instrument
  8. •
  9. ASD EL00IG User manual

ASD EL00IG User manual

Wireless Vehicle Detection System
EL00IG and EL00IG-RAD
Installation in 3 simple steps
Frequency: 433.39 MHz.
Security: 128-bit AES encryption.
Range: up to 50 metres.
Battery life: up to 6-10 years.
Battery type: 14500 mA battery.
Specifications
STEP 1:
Coding e-LOOP into e-Trans 50
Coding e-LOOP without magnet
1. Power up the e-TRANS-50 and hold the e-Loop
within 10cm of the transceiver’s antenna.
2. Now press and release the CODE button on the
e-Trans 50. The yellow and red LEDs will flash on
the e-Loop, and the blue LED on the e-TRANS-50
will flash 3 times. The systems are now paired.
NOTE: For coding e-TRANS-200 LCD transceivers, refer
to e-TRANS-200 manual.
Coding e-LOOP without magnet
1. Power up the e-TRANS-50, then press and release the
CODE button. The blue LED on the e-TRANS-50 will
light up.
2. Now place the magnet on the CODE recess on the e-
Loop –the yellow LED will flash 3 times, and the blue
LED on the e-Trans 50 will flash 3 times. The systems
are now paired and you can remove the magnet.
E. sales@asdltd.com
www.asdltd.ie
T: +353 0 4734550
PLACING MAGNET INTO
BUTTON RECESS.
MAGNET
DISCLAIMER: UNITS WITH THE PRESENCE
FEATURE IS NOT TO BE USED AS A SOLE SAFETY
DEVICE & SHOULD BE USED IN CONJUNCTION
WITH STANDARD GATE SAFETY PRACTICES.
The e-LOOP should be installed in a location
that is always visible. Do not place the e-
LOOP in a dip or area where snow or water
can sit. Keep e-LOOP central in the driveway
so as it passes directly underneath the
vehicles.
Installation Warnings
STEP 2:
Fitting e-LOOP
(Refer to diagram below)
1. Drill 3 ½ inch (89mm ) hole 65-70mm deep.
Ensure hole is clean and dry before fitting.
2. Measure down before inserting the e-LOOP
to ensure it will fit flush with the driveway
surface, then pour sikaflex or similar
compound into the base of hole.
3. Insert the e-LOOP by pushing down until
flush with driveway surface.
NOTE: Never fit near high voltage cables, this
can affect the e-LOOP’s detection capability.
Changing mode
You can change the mode by using the e-TRANS-200 LCD
transceiver or diagnostic remote ED00R –refer to manual.
NOTE: This menu cannot be accessed via the e-TRANS-50
Transceiver.
The e-LOOP EL00IG is set to EXIT mode (this can’t be
changed).
STEP 3:
Calibrate e-LOOP
1. Move any metal objects away from the e-LOOP.
2. Place magnet into the SET button recess on the e-
LOOP until the red LED flashes twice, then remove
the magnet.
3. The e-LOOP will take about 5 seconds to calibrate
and once complete, the red LED will flash 3 times.
The system is now ready.
NOTE: After calibration, you may get an error
indication.
ERROR 1: Low radio range -yellow LED flashes 3 times
before red LED flashes 3 times.
ERROR 2: No radio connection -yellow and red LED
flashes 3 times before red LED flashes 3 times.
Uncalibrate e-LOOP
1. Place magnet into the SET button recess until red LED
flashes 4 times, e-LOOP is now uncalibrated.
Parameters that can be altered:
1. Activation detection level.
2. X, Y, Z axis sensitivity.
Parameters that can be altered on EL00IG-
RAD:
1. Mode is set to PRESENCE but can be changed to EXIT
mode. NOTE: do not use presence mode as a personal
safety device.
2. Activation detection level
3. X, Y, Z axis sensitivity
4. Radar read time
5. Release trip point
6. Start lens detection range
7. Measure lens detection range
8. Radar trip sensitivity
9. Radar confirm ON/OFF
E. sales@asdltd.com
www.asdltd.ie
T: +353 0 4734550

This manual suits for next models

1

Other ASD Measuring Instrument manuals

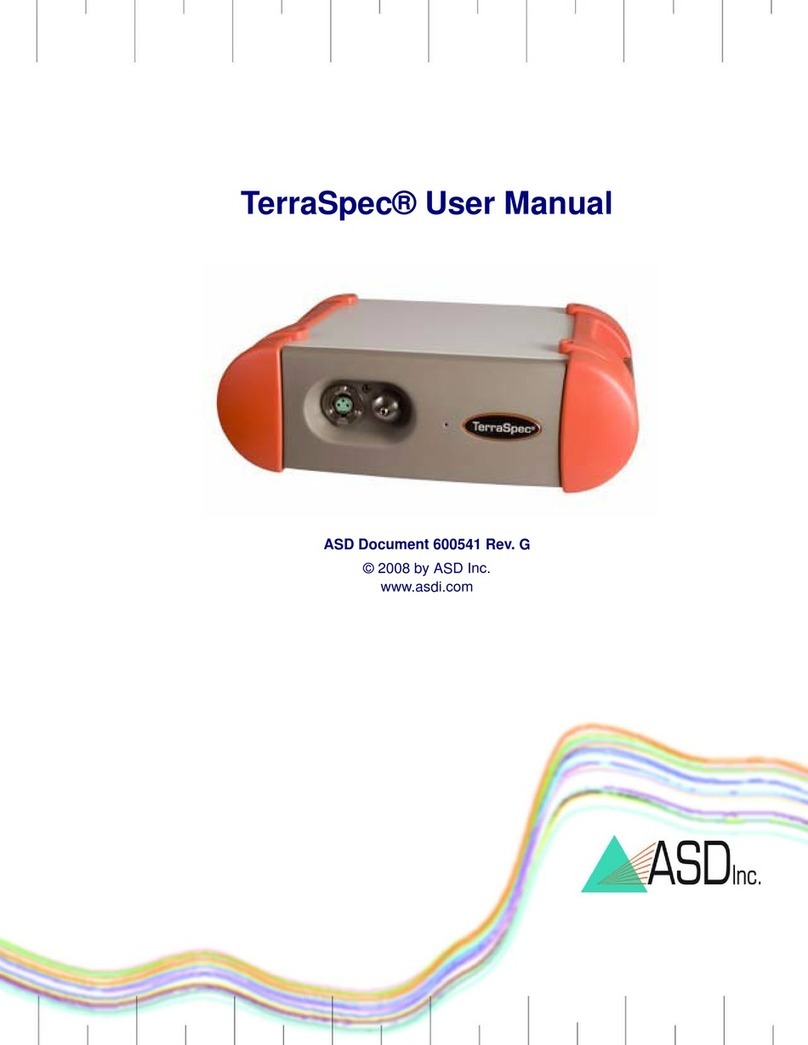
ASD TerraSpec User manual

ASD

ASD TerraSpec User manual

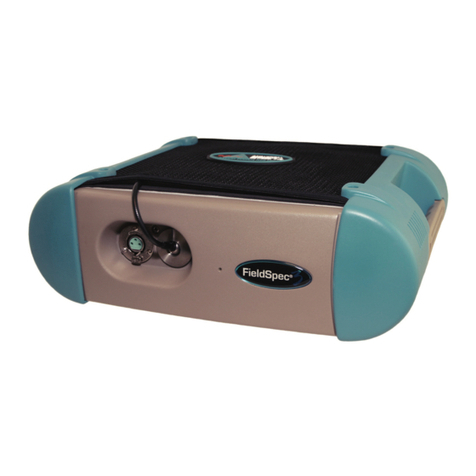
ASD FieldSpec 3 User manual

ASD

ASD FieldSpec 3 User manual

Popular Measuring Instrument manuals by other brands

PCB Piezotronics 357B61 Installation & operating manual

PCB Piezotronics

PCB Piezotronics 357B61 Installation & operating manual

ASM 925 Operator instructions

ASM

ASM 925 Operator instructions

JDS Uniphase VSE-1100 quick start guide

JDS Uniphase

JDS Uniphase VSE-1100 quick start guide

International Light Technologies ILT2400 Operation manual

International Light Technologies

International Light Technologies ILT2400 Operation manual

Morris 57314 instruction manual

Morris

Morris 57314 instruction manual

wattwatchers Auditor 6M quick start guide

wattwatchers

wattwatchers Auditor 6M quick start guide

DeFelsko PosiTest AIR instruction manual

DeFelsko

DeFelsko PosiTest AIR instruction manual

Sensidyne SensAlarm Plus user manual

Sensidyne

Sensidyne SensAlarm Plus user manual

LANDTEC Geotech G100 Series operating manual

LANDTEC

LANDTEC Geotech G100 Series operating manual

Fluke FiberInspector FT500 instruction sheet

Fluke

Fluke FiberInspector FT500 instruction sheet

CCi PiMPro Tower 700 user guide

CCi

CCi PiMPro Tower 700 user guide

Nikon Callaway LR550 instruction manual

Nikon

Nikon Callaway LR550 instruction manual

Cirrus CR:270 Series user manual

Cirrus

Cirrus CR:270 Series user manual

Tyrepal TC215B A step by step guide

Tyrepal

Tyrepal TC215B A step by step guide

ELCART 09/08550-00 Operation manual

ELCART

ELCART 09/08550-00 Operation manual

Rohde & Schwarz R&S FSL3 operating manual

Rohde & Schwarz

Rohde & Schwarz R&S FSL3 operating manual

Niigata seiki CDI-18D instruction manual

Niigata seiki

Niigata seiki CDI-18D instruction manual

Fieldpiece SC44 Operator's manual

Fieldpiece

Fieldpiece SC44 Operator's manual

manuals.online logo
manuals.online logoBrands
  • About & Mission
  • Contact us
  • Privacy Policy
  • Terms and Conditions

Copyright 2025 Manuals.Online. All Rights Reserved.