Astor-Bannerman Avero Manual

Owners Manual and
Instructions for use
Guarantee
This product is guaranteed against all defects in
manufacture for a period of one year
This does not affect your statutory rights
Warranty Number:
Avero
height adjustable care bath

2
Operating instructions Avero height adjustable bath
Product description.
The Avero is powered by a 24 volt control system, transformed from 230 volts within the system, it is
essential that the mains power is switched on at all times.
The Bath is intended for bathing clients who are capable of maintaining an upright sitting position.
Carry out the following checks before using the bath.
The bath is permanently connected to a 230 Volt mains electrical supply.
Check there are no signs of damage, and the bath is in good working condition.
Check there are no obstructions or items that may be trapped when the bath is operated.
Check the tub will raise and lower properly using the control pad.
Check the temperature of the water in the tub before use.
Instructions for use.
Tub Controls.
There are Two control pad options for the Tub, 3 Button and 7 Button, details are shown below.
See the diagrams for the individual control functions.
The green indicator LEDs on the panel will flash untill each individual control is turned on.
Press and hold the button for three seconds to turn off.
3 Button control pad
Tub raise
Tub lower
Autofill (optional)
7 Button control
Sensory Light
System ON/OFF
Tub raise
Tub lower
Autofill
(optional)
Air Spa
ON/OFF
Air Spa
Increase
intensity
Air Spa
Decrease
intensity

3
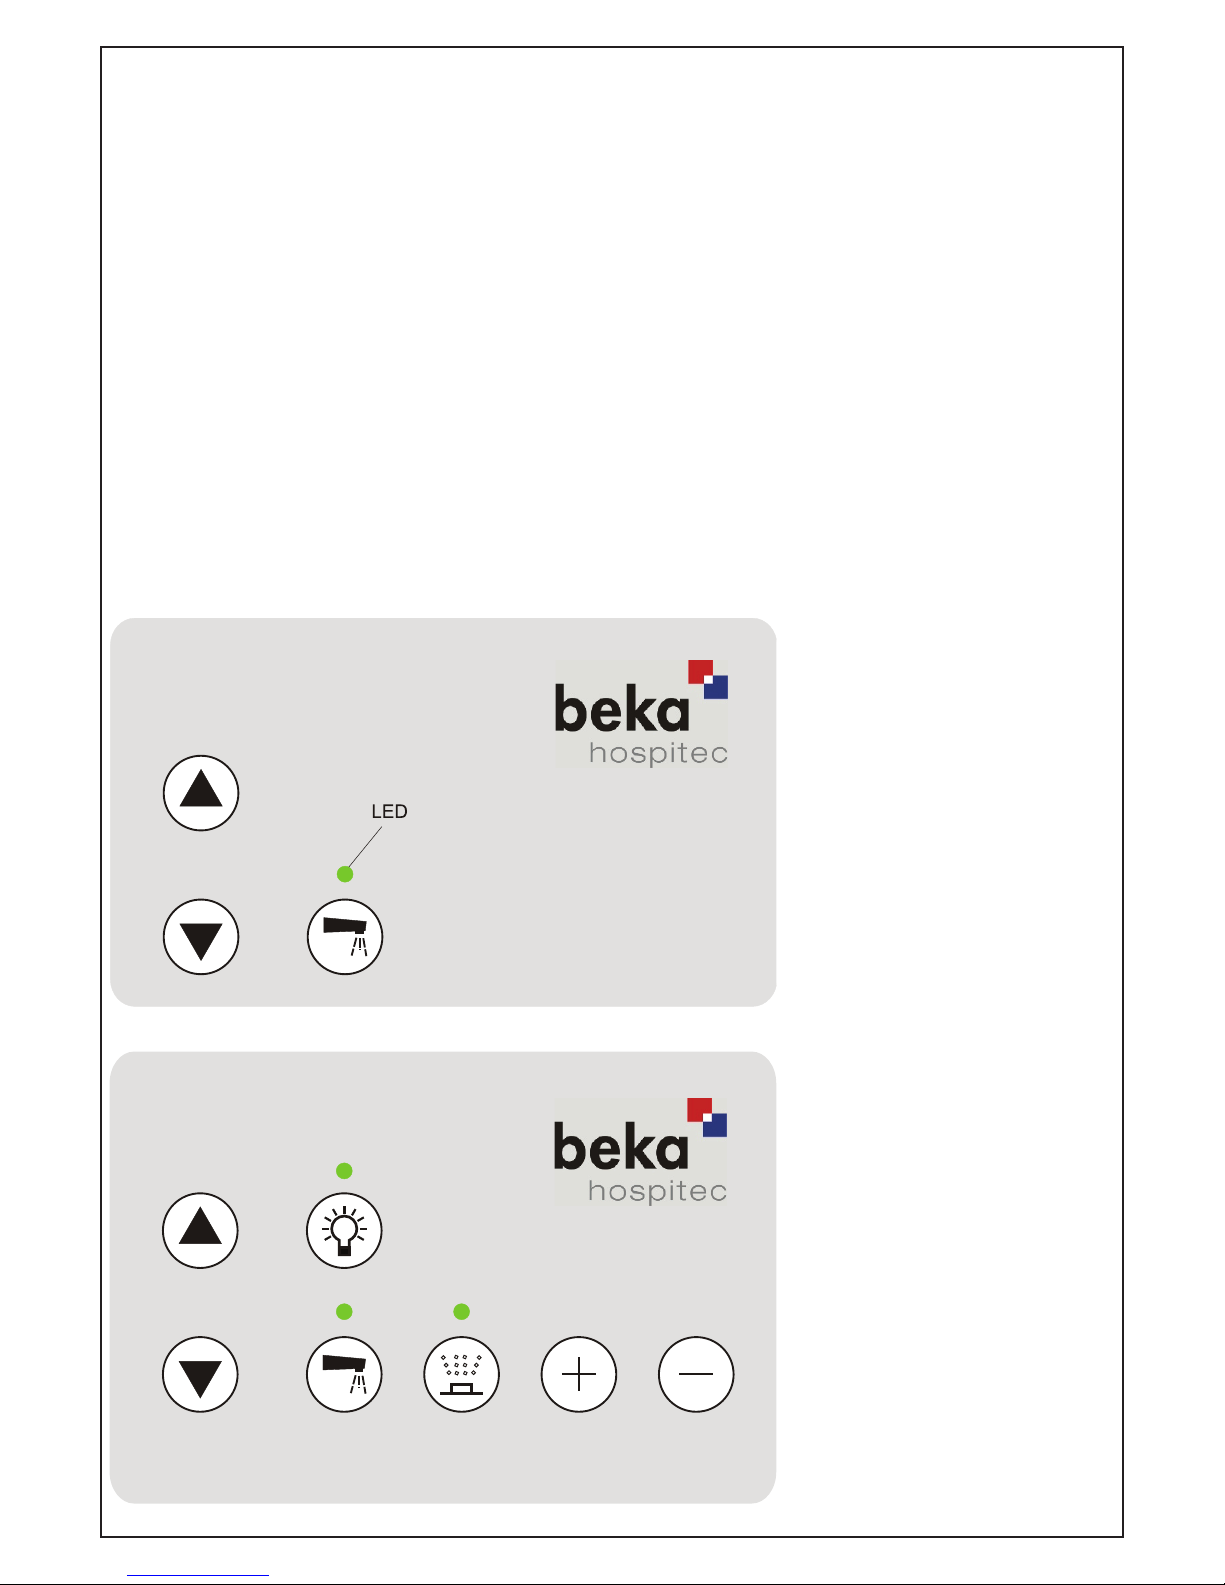
Adjusting the height of your bath
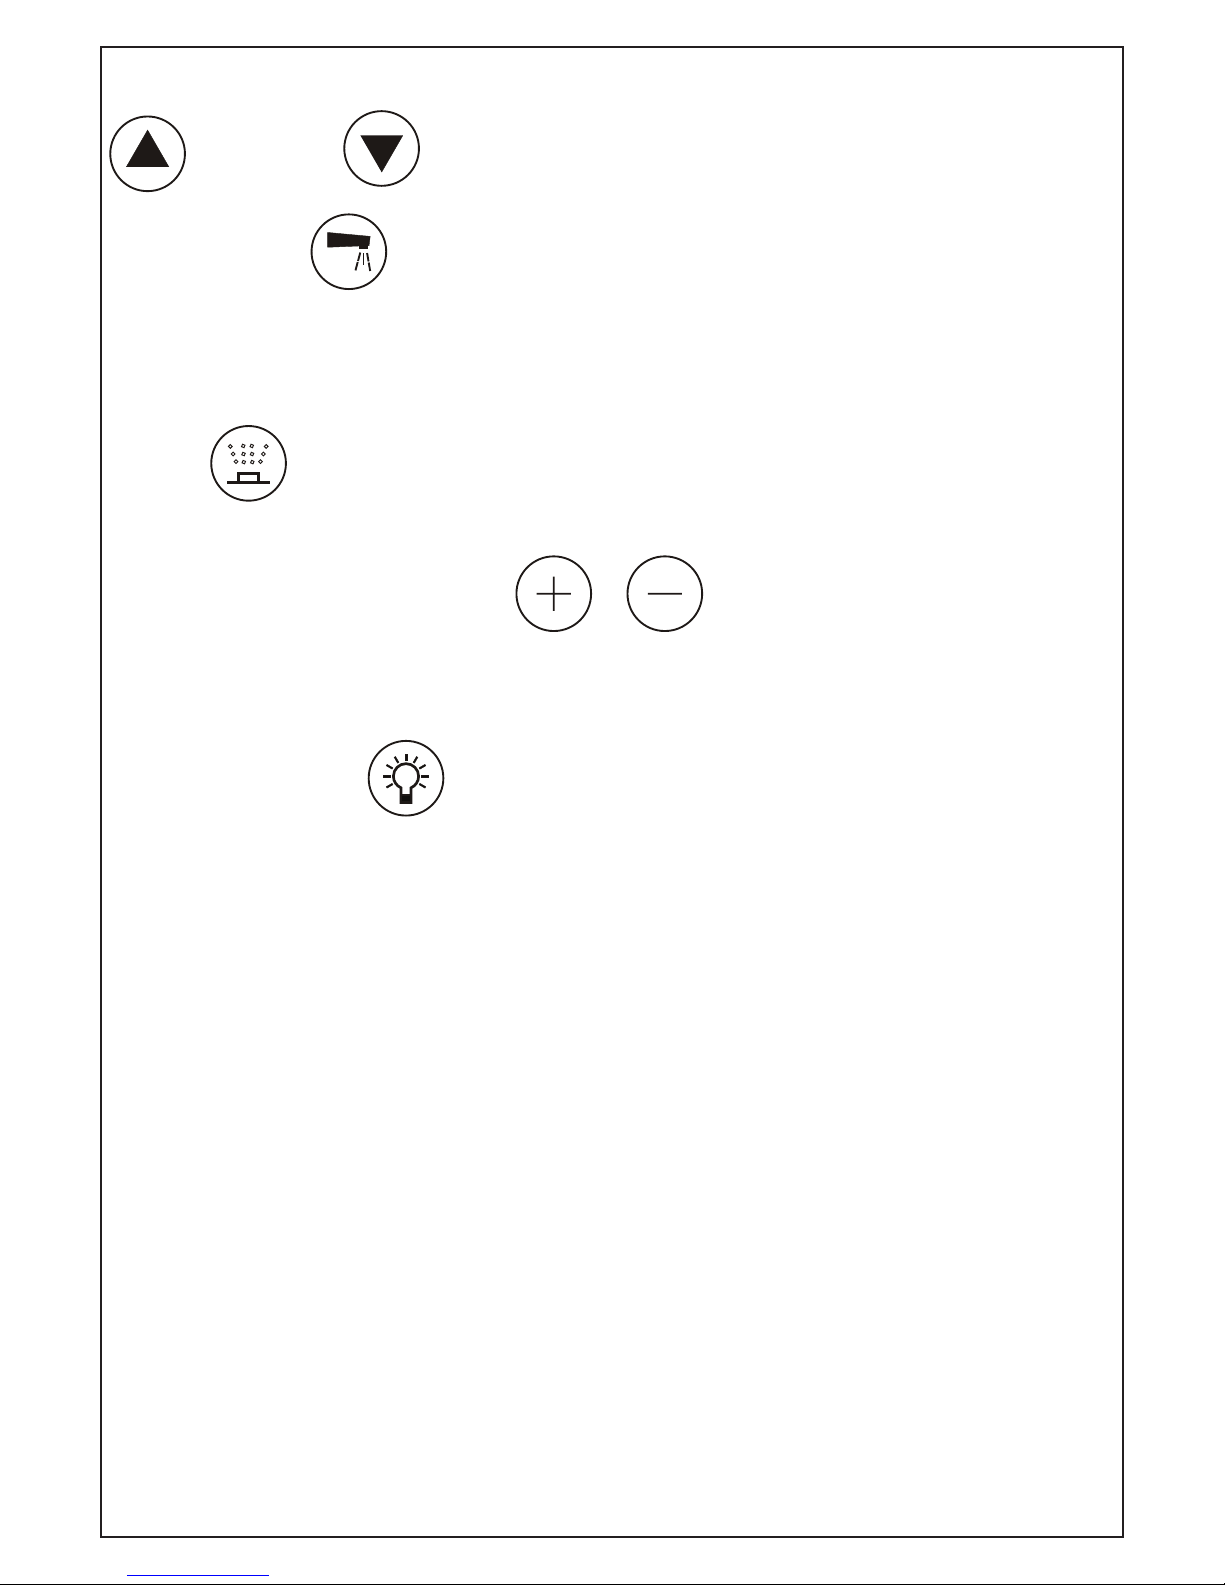
The bath is operated with a control pad. Pressing one of the buttons marked with the arrow head
will either raise or lower the bath as required.
Automatic filling.
Press the Autifill button, the bath will start to fill, the green LED will stop flashing and remain solid
until the bath is filled, the filling will then stop and the light will turn red.
Automatic filling can be interrupted at any time by pressing the Autofill button.
Air Spa.
Press the Air Spa button the blower will start at a medium intensity and the green LED will stop
flashing.
The intensity can be changed using the or buttons. (The tub must be filled with
water).
The Spa is equipped with an automatic purge system, after the tub has been empty for three
minutes the blower will start for thirty seconds to dry the Spa system.
Sensory Light System.
The switch has three functions, On, Hold, Off.
Press the sensory light switch to turn the lights on, the lights will automatically cycle through the
colour sequence, which is red, yellow, green, blue.
The cycle can be moved on to the next colour by pressing the light button again. This may stop the
cycle. (The green LED on the touch panel will stay lit.)
Pressing the button once will select the next colour.
If the cycle stops and remains on one colour, the cycle can be restarted by pressing the button four
times, to step through all the different colours, the cycle will continue automatically.
To switch the lights off, press and hold the button for three seconds, then release.
Cleaning
The bath and accessories may be cleaned using most mild cleaning agents. Abrasive cleaners should
not be used in order to maintain the finish of the equipment.
Chemical agents must not be used, i.e., drain cleaners, acetone, oven cleaners or acids. Attention
should always be paid to instruction labels on the outside of cleaning agent containers.

4
Avero Sound system.
MP3 Music system.
You will need a USB memory stick loaded with you favourite music in MP3 format. Do not include
folders on the memory stick. Load the files to the root directory.
Remove the Chrome cap from beside the operating panel.
Carefully plug in the memory stick.
Replace the cap to protect the USB connection from water.
Using the remote control press the ‘ON’ button on the remote, allow the player time to locate and
play the first file. (If your memory stick has a light it will flash rapidly when a music track is found)
The player will start automatically.
You can step through your music tracks using the forward button and back through tracks using
the back button
To stop the player press the on/off button
Radio option
The radio module is optional equipment. The operation is the same in the MP3 playback mode.
The button selects the radio. The receivable stations can be selected with the fast forward/back
buttons.
Additional controls are shown below.
AUX (optional) for additional inputs
Radio (optional)
Green light, illuminated when button pressed
Next/previous MP3 track or Radio station
MP3 source Play / Pause
Mute
Volume -/+
Treble -/+
Bass -/+
ON/OFF
The Remote control is powered by 2 x standard AA batteries
inserted throgh the base of the control.
The cover can be unscrewed using a coin.
NOTE the correct position of the batteries

5
Baths fitted with Neatfold stretcher
The Neatfold stretcher is designed as a personal support platform fitted to the top of a bath. It can
be quickly and conveniently folded and stowed vertically if the bath is against a wall, or alongside the
bath, maximising the space available in the room.
Carry out the following checks before using the Neatfold stretcher
Check the stretcher is secure and correctly positioned over the tub.
Visually check the stretcher cover for damage and security before use.
Using the Neatfold stretcher.
To use the Neatfold stretcher when stored in a vertical position. (Picture A).
Reach across the bath and hold the centre of the stretcher frame at the point where the material has
been removed to create a hand hold.
Lift the assembly slightly and pull it towards you. (Picture B). A small jolt will be felt as the stretcher
becomes horizontal, this is normal & part of the function of the stretcher. Place the stretcher onto the
rim of the bath. The Neatfold stretcher is now ready for use. (Picture C).

6
To use the stretcher when stored beside the bath. (Picture D)
Firstly lift the stretcher to an upright position. (Picture A).
Next reach across the bath and hold the centre of the stretcher frame at the point where the material
has been removed to create a hand hold.
Lift the assembly slightly and pull it towards you. (Picture B). A small jolt will be felt as the stretcher
becomes horizontal, this is normal and part of the function of the stretcher.
Place the stretcher onto the rim of the bath. The Neatfold stretcher is now ready for use. (Picture C).
To stow the Neatfold.
With one hand, hold the stretcher in the centre at the point the framework is exposed. With the
other hand, hold the edge of the stretcher such that by applying a little upward force, the stretcher
begins to fold. Allow the stretcher to fully fold in half and then move to one of the two stowed
positions as appropriate.
Operating instructions for optional guard if fitted.
Ensure that the stretcher is in the horizontal position.
Carefully place the two vertical tubes of the guard assembly into the black nylon receivers fitted to
the stretcher.
Test the correct engagement of the guard, pull the guard towards you resistance should be felt.
To disengage the guard.
Lift the guard vertically out of the receivers and store in a safe place.
Caution
The persistent or heavy use of oil based products may adversely affect the white stretcher material.
Oils and other petro-chemical products should be used sparingly and any residue removed
immediately.

7
Preventative Maintenance.
Carry out the following checks: Daily Weekly Monthly Annually
Full function test of the equipment.
Check the water temperatures from the mixer
Check the waste system for damage and leakage.
Examine the spa nozzles for security and check the spa
function
Examine the supply hoses for damage and leakage
Service internal mixer components.
(may require more frequent servicing in hard water
areas)
Calibrate mixer temperatures
Check cold supply failure shutdown
Check condition of backup battery
Check the condition and function of the electrical
connection
Optional Stretcher
Check the condition of the stretcher covering
Check the security and position over the tub
Examine the optional guard for correct fitting and
security
Examine the stretcher for wear or damage.

8
Technical Data.
Length 2100 mm
Width 800 mm
Minimum rim height 680 mm
Maximum rim height 1080 mm
Weight less packing 146 Kg
Tub capacity 295 Litres
Power supply 230 Volts
Frequency 50 Hz
Current consumption 3 Amps
Ingress protection IP 65
Lifting output 6000 Newton
Duty cycle 3 complete strokes.
Expected lifetime 10 years
Plumbing
Hot and cold ball type isolation valves (22mm) need to be supplied; maximum height of 300mm from
the floor. a waste suitable for connection to a 50mm O.D. outlet also needs to be supplied, maximum
height of 80mm from the floor.
Thermostatic taps require a minimum water pressure of 1 bar (14.5psi) and maximum of 10 bar
(145psi).
Maximum pressure ratio; cold : hot must not exceed 5:1
Required electrical connection:
1.5 Kw (13A) protected fused spur terminating in a waterproof flex outlet with a 20 mm cable gland
suitable for 1.5mm SY Armoured cable.

9

10

11

Unit 11F, Coln Park Industrial Estate
Andoversford
Cheltenham
Glos, GL54 4HJ
Tel: 01242-820820
Fax: 01242-821110
VERSION 1
Re-work of translated
document
Table of contents
Other Astor-Bannerman Bathtub manuals
Popular Bathtub manuals by other brands

Poolspa
Poolspa ECONOMY 1 user manual

DURAVIT
DURAVIT Architec 700353 Mounting instructions

Dreamline
Dreamline BTCB6041HFXXC00 installation instructions

DURAVIT
DURAVIT Cape Cod 700362 Mounting instructions

American Standard
American Standard Reminiscence 2908.018W Specifications

JASON Hydrotherapy
JASON Hydrotherapy Designer AN-P Series owner's manual

CLEOPATRA
CLEOPATRA Premium Series Assembly Instruction and instructions for use

DURAVIT
DURAVIT Jet-System E operating instructions

JASON Hydrotherapy
JASON Hydrotherapy Integrity A6060 owner's manual

Stokke
Stokke FLEXI BATH Series user guide

Kohler
Kohler System II K-712-H installation guide

Kohler
Kohler K-870 Homeowner's guide