Système optique: 2 DEL: λ
1
= 528 nm (filtre) ; λ
2
= 605 nm
Pile: pile monobloc 9 V (durée de vie : 600 analyses)
Arrêt automatique: Arrêt automatique de l'appareil 5 minutes
après la dernière manipulation de touches
Conditions environnantes:
5-40°C
30-90% d’humidité relative (sans condensation)
CE:
DIN EN 55 022, 61 000-4-2, 61 000-4-8,
50 082-2, 50 081-1, DIN V ENV 50 140, 50 204
Caract ristiques techniques
Mettre l’appareil en marche à l’aide de la touche ON/OFF.
Le message suivant s’affiche:
Sélectionner l’analyse avec la touche MODE:
Cl →pH → Cys → tA → CA.H → Cl → .......... (Scroll)
Le message suivant s’affiche:
Verser l’échantillon d’eau dans une cuvette propre jusqu’au
repère de 10 ml, fermer le couvercle de la cuvette et placer
celle-ci dans le compartiment de mesure en faisant
coïncider le repère de la cuvette avec le repère du boîtier.
Appuyer sur la touche ZERO/TEST.
Le symbole de la méthode clignote pendant env. 3 secondes.
Le message suivant s’affiche:
Une fois le calibrage du zéro achevé, retirer la cuvette du
compartiment de mesure.
Après l’ajout de la/des pastille(s) de réactif, la coloration
caractéristique se forme.
Refermer la cuvette et la positionner dans le compartiment
de mesure en faisant coïncider les repères.
Appuyer sur la touche ZERO/TEST.
Le symbole de la méthode clignote pendant env. 3 secondes.
Le résultat s’affiche sur l’écran.
Reproduction de l’analyse:
Appuyer de nouveau sur la touche ZERO/TEST.
Nouveau calibrage du z ro:
Appuyer sur la touche MODE jusqu’à ce que le symbole
correspondant à la méthode souhaitée s’affiche de
nouveau sur l’écran.
Absorption de lumière trop élevée. Cause : p. ex.
encrassement du système optique.
Valeur supérieure à limite supérieure de plage de mesure
ou turbidité excessive.
Valeur inférieure à limite inférieure de plage de mesure.
Remplacer immédiatement pile 9 V ; poursuite des
analyses impossible.
Mise en service
Photom tre 5 en 1: Cl, pH, Cys, TA, CAH
Guidage utilisateur
METHODE
Zero
Test
METHODE
METHODE
0.0.0
RESULTAT
Zero
Test
Mode
÷Err
ou
HI
EOI
-Err
ou
LO
LO BAT
ON
OFF
Cl
Chlore
0,05 - 6,0 mg/l
Acide cyanurique 2 - 160 mg/l
Valeur pH 6,5 - 8,4
0.0.0
Zero
Test
RESULTAT
0.0.0
RESULTAT
RESULTAT
Cl
Cl
Zero
Test
Zero
Test
pH
F(a) Chlore libre
Procéder au calibrage du zéro (voir Mise en service).
Ajouter une pastille de DPD No.1 en la sortant directement
de la feuille de protection, sans la toucher avec les doigts,
et l’écraser avec un agitateur propre. Dissoudre
complètement la pastille, fermer la cuvette et la
positionner en faisant coïncider les repères
Appuyer sur la touche ZERO/TEST.
Le symbole de la méthode clignote pendant env. 3 secondes.
Le résultat s’affiche sur l’écran, exprimé en mg/l de chlore libre.
(b) Chlore total
Immédiatement après la mesure, ajouter une pastille de DPD
No.3 dans l’échantillon déjà coloré en la sortant directement de
la feuille de protection, sans la toucher avec les doigts, puis
l’écraser avec un agitateur propre et la dissoudre complètement,
fermer la cuvette et la positionner en faisant coïncider les repères.
Laisser s’ couler un temps de r action de coloration
de deux minutes!
Appuyer sur la touche ZERO/TEST.
Le symbole de la méthode clignote pendant env. 3 secondes
Les résultat s'affiche en mg/l chlore total.
(c) Chlore combin
Chlore combiné = chlore total – chlore libre
Tol rance:
0-1 mg/l: ±0,05 mg/l > 3-4 mg/l: ±0,30 mg/l
> 1-2 mg/l: ±0,10 mg/l > 4-6 mg/l: ±0,40 mg/l
> 2-3 mg/l: ±0,20 mg/l
Procéder au calibrage du zéro (voir Mise en service).
Ajouter une pastille de PHENOLRED/PHOTOMETER
dans l’échantillon de 10 ml en la sortant directement de
la feuille de protection, sans la toucher avec les doigts,
et l’écraser avec un agitateur propre. Dissoudre
complètement la la pastille, fermer la cuvette et la
positionner en faisant coïncider les repères.
Appuyer sur la touche ZERO/TEST.
Le symbole de la méthode clignote pendant env. 3 secondes.
La valeur pH mesurée s’affiche sur l’écran.
Tol rance: ±0,1 pH
Le message suivant s’affiche:
Verser 5 ml de l’échantillon d’eau dans une cuvette pro-
pre et ajouter de l’eau entièrement déminéralisée jusqu’au
repère 10 ml. Fermer la cuvette avec le couvercle et la
placer dans le compartiment de mesure de sorte que le
repère ∇de la cuvette coïncide avec le repère Δdu boîtier.
Appuyer sur la touche ZERO/TEST.
Le symbole de la méthode clignote pendant env. 3 secondes.
Le message suivant s’affiche:
Alcalinit totale 5 - 200 mg/l CaCO3
0.0.0
RESULTAT
Zero
Test
Procéder au calage du zéro (voir Mise en service).
Ajouter à l’échantillon d’eau de 10 ml une pastille d’ALKA-
M-PHOTOMETER, en la sortant directement de sa feuille
de protection sans la toucher, et l’écraser avec un
agitateur propre. Dissoudre entièrement la pastille. Fermer
la cuvette et la positionner selon les repères.
Appuyer sur la touche ZERO/TEST.
Le symbole de la méthode clignote pendant env. 3 secondes.
L’écran affiche la valeur mesurée en CaCO3.
Tol rance de mesure:±5% de la valeur limite de la
plage de mesure
tA
Duret calcique 50 - 500 mg/l CaCO3
0.0.0
RESULTAT
Zero
Test
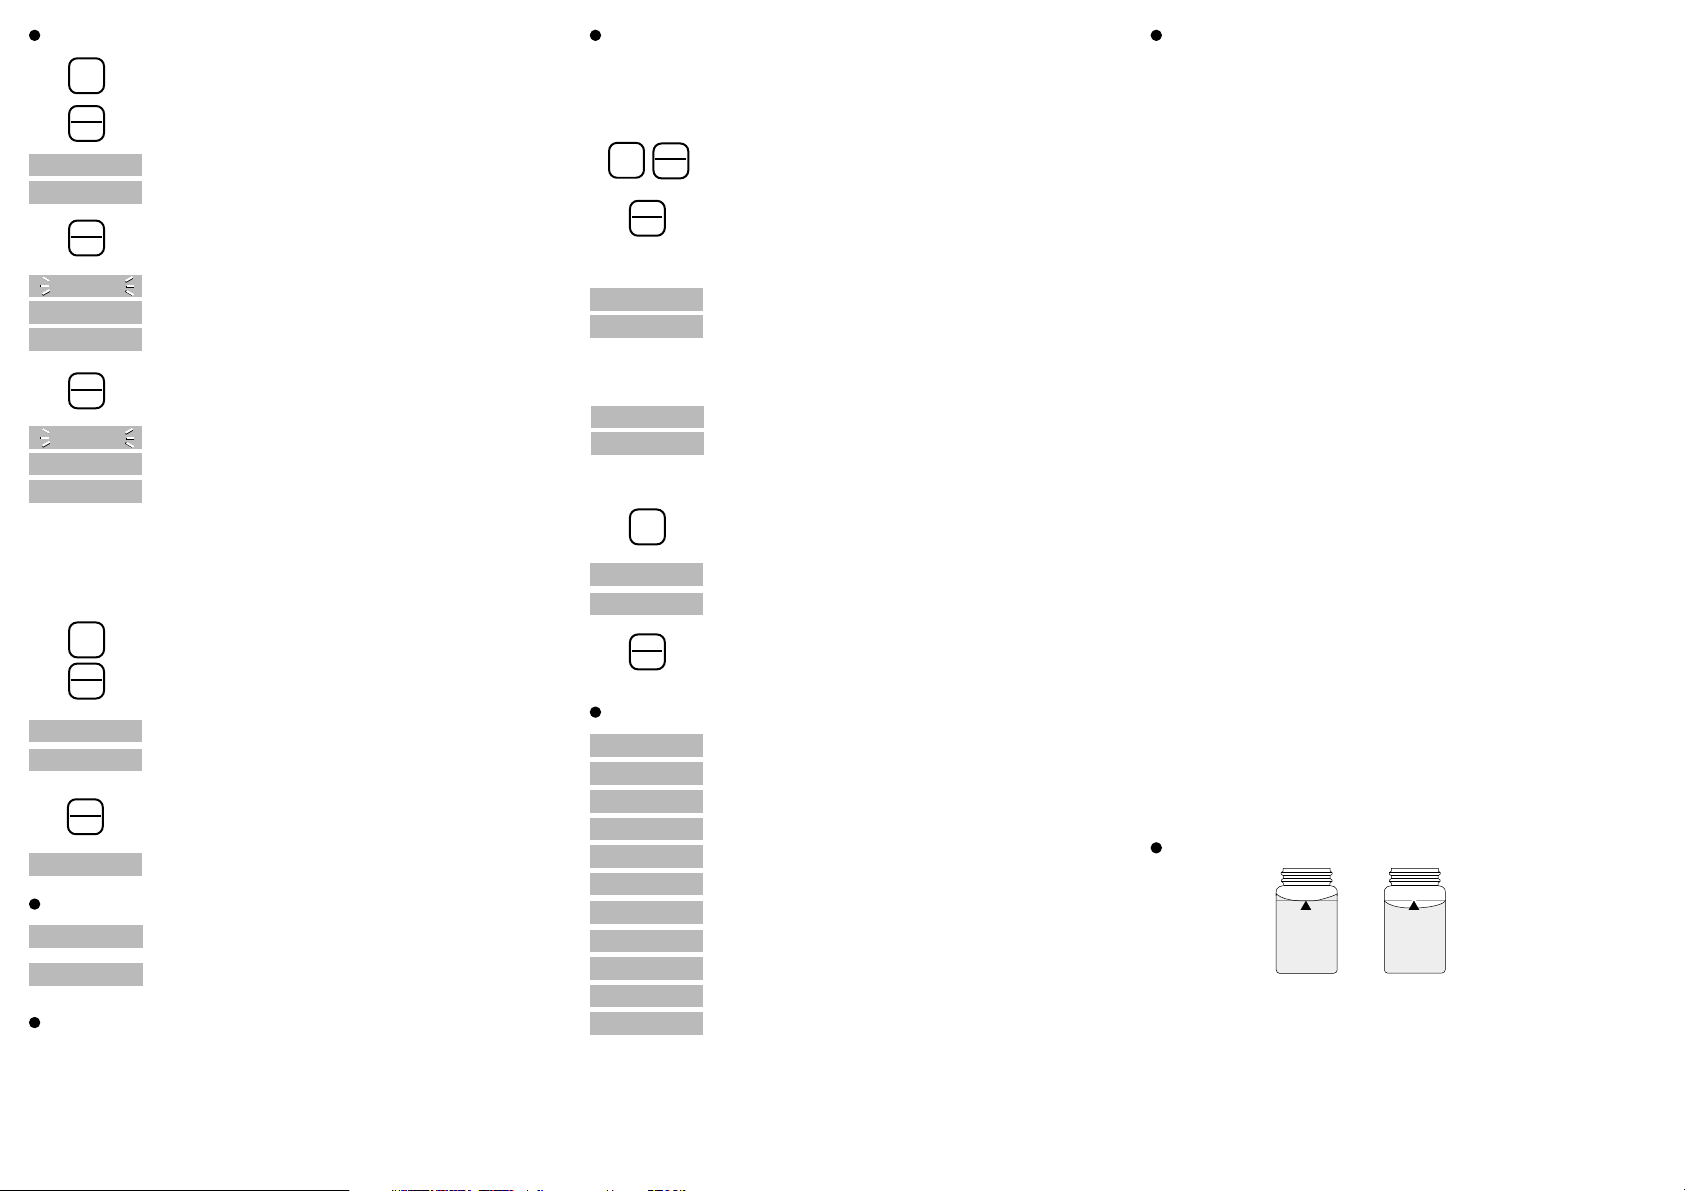
CA.H
Poser l’adaptateur pour cuvettes de 16 mm sur le
compartiment de mesures. Verser 8 ml d’eau
(déminéralisée) dans une cuvette de 16 mm. Ajouter une
pastille de CALCHECK, en la sortant directement de sa
feuille de protection sans la toucher, et l’écraser avec un
agitateur propre. Dissoudre entièrement la pastille. Fermer
la cuvette et la positionner selon les repères Δ
|.
Appuyer sur la touche ZERO/TEST.
Le symbole de la méthode clignote pendant env. 3 secondes.
L’écran affiche :
Sortir la cuvette du compartiment de mesures et ajouter
exactement 2 ml de l’échantillon d’eau à analyser. Fermer
la cuvette et la renverser pour en mélanger le contenu.
Positionner la cuvette selon les repères Δ
|.
Laisser couler un temps de r action de coloration
de deux minutes.
Appuyer sur la touche ZERO/TEST.
Le symbole de la méthode clignote pendant env. 3 secondes.
L’écran affiche le résultat en mg/l CaCO3.
Valeur CaCO3÷10 = Valeur en degré français.
Tol rance de mesure:±5% de la valeur limite de la
plage de mesure.
Zero
Test
CA.H
•Cys
Zero
Test
•Cys
0.0.0
Zero
Test
•Cys
RESULTAT
Ajouter une pastille de CYANURIC-ACID dans l’échantillon
de 10 ml en la sortant directement de la feuille de
protection, sans la toucher avec les doigts, et l’écraser
avec un agitateur propre. L’acide cyanurique entraîne une
turbidité très finement répartie, d’aspect laiteux.
Dissoudre complètement la pastille, fermer la cuvette et
la positionner en faisant coïncider les repères.
Appuyer sur la touche ZERO/TEST.
Le symbole de la méthode clignote pendant env. 3 secondes.
La résultat s’affiche sur l’écran, exprimé en mg/l d’acide
cyanurique.
Tol rance de mesure:±10 mg/l