Astro Machine Astrojet I User manual

ASTRO MACHINE CORP.
Astrojet I
High-Speed Inkjet Printer
Installation and Operating Manual

Table of Contents
Section
1. Introduction.............................................................................................1
2. Getting Acquainted ................................................................................2
External Components....................................................................................2
Internal Components.....................................................................................5
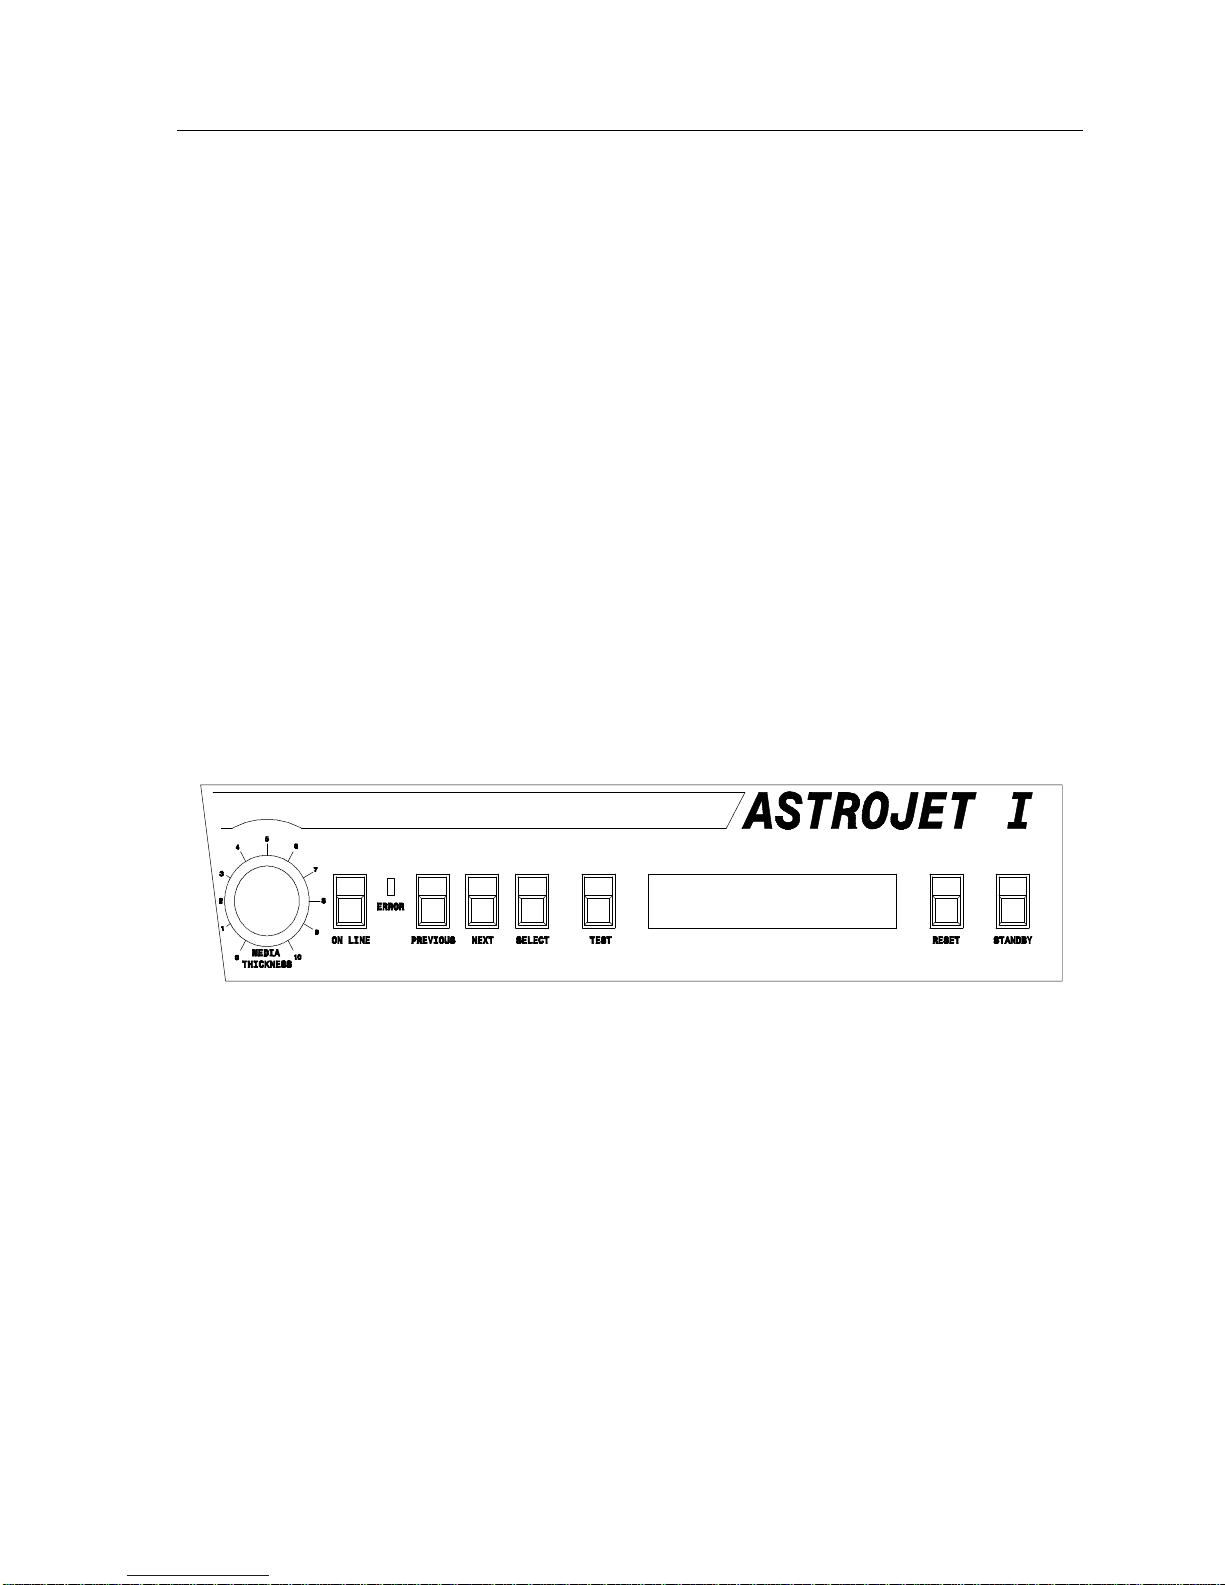
Operator Display Screen and Menu.............................................................6
3. Installation and Setup............................................................................8
Choosing a Location.....................................................................................8
Installing the Inkjet Cartridges......................................................................9
Plugging in the Astrojet I...............................................................................9
Setting up the Astrojet I...............................................................................10
Loading the Hopper.....................................................................................10
4. Operating the Astrojet I........................................................................12
Starting Up...................................................................................................12
Preparing a Job...........................................................................................12
Running a Job.............................................................................................15
Printing Tips.................................................................................................16
5. Operator Maintenance..........................................................................18
Replacing the Inkjet Cartridges..................................................................18
Jams.............................................................................................................19
Troubleshooting Table................................................................................20
Cleaning.......................................................................................................21
6. Appendices ...........................................................................................23
Specifications..............................................................................................23
Setting up the Computer.............................................................................24
Optional Hardware and Software...............................................................26
Electrical Parts Layout................................................................................28
Mechanical Parts Layout.............................................................................29
Wiring Diagram............................................................................................30

Section 1
Astrojet I High-Speed Inkjet Printer Introduction
1
Introduction
This Section, Introduction, describes how this manual is arranged.
Section 2, Getting Acquainted introduces the Astrojet I and describes major controls,
indicators, and important areas with which the user or operator should be familiar.
Section 3, Installation and Setup describes and illustrates how to install and get the
Astrojet I ready for printing. This procedure is usually a one-time requirement.
Section 4, Operating the Astrojet I describes and illustrates how to set up and get the
Astrojet I to run a particular addressing job.
Section 5, Operator Maintenance shows how to replace inkjet cartridges, and how paper
jams may be quickly and safely cleared. Other problems such as no printing, poor print
quality, etc., are also covered. Included in this section are special tips and suggestions that
will help you increase efficiency and avoid problems.
The Appendix is where important but infrequently used information is presented. The
Appendices are arranged as follows:
Appendix A, Specifications, lists the more important Astrojet I characteristics,
e.g., electrical, physical, etc., for your convenience.
Appendix B, Setting Up Your Computer, provides some general information on
setting up either your personal or mainframe computer so that it is compatible with
the Astrojet I.
Appendix C, Optional Hardware and Software, as its name implies, presents a
brief list of other equipment which may be used to further enhance the operation of
the Astrojet I. They are available as options.

Section 2
Astrojet I High-Speed Inkjet Printer Getting Acquainted
2
Getting Acquainted
The Astrojet I is a high-speed inkjet printer capable of printing addresses, and if required, bar codes
up to 20,000 mail pieces per hour. Before getting into the operation of the Astrojet I there is some
basic information necessary for its efficient and problem-free use.
To understand and operate the Astrojet I better, let's look at its three main areas.
1. External Components
2. Internal Components
3. Operator Display Screen And Menu
External Components
The four main external areas of the Astrojet I are shown in the following drawings
(Figs. 1-3).
These areas are described in the following paragraphs.
Centronics
Parallel Port
Figure 1- Rear View
Printer Hopper
Control Panel
Figure 2- Top View
Power Switch
Power Cord
Receptacle
Reserved for
future use
Figure 3- Right Side View

Section 2
Astrojet I High-Speed Inkjet Printer Getting Acquainted
3
Hopper
The media to be addressed is placed in the hopper. The hopper has adjustable side guides that
adjust to differently sized media.
Printer
The printer is the most important area of the Astrojet I. It is here that addresses are printed on the
media. Two important features of the printer that you should become familiar with are:
•The Control Panel
•The Media Thickness Adjustment
The Control Panel
The control panel is on the front of the printer and contains the controls and indicators (described in
the following table) used to set up and operate the Astrojet I.
The Media Thickness Adjustment
The Envelope Thickness Adjustment is to the left of the ON-LINE button. It adjusts for media
thickness and is turned counter-clockwise for thin media, clockwise for thick media.
Figure 4
Figure 5

Section 2
Astrojet I High-Speed Inkjet Printer Getting Acquainted
4
Keypad Definitions
CONTROL OR INDICATOR DESCRIPTION
OPERATOR DISPLAY
ON-LINE
OFF-LINE
PREVIOUS
NEXT
SELECT
TEST
RESET
STANDBY
Indicates Astrojet I status including menus and error
messages. (Any display readout indicates that unit is ON).
When this indicator key is lit, the Astrojet I is ready to accept
address data from your computer and begin printing.
Turns the printer on and off-line.
When in the menu, will scroll to the previous selection.
When in the menu, will scroll to the next selection.
Locks and unlocks selection when in the menu. When
pressed while the printer is on-line, the printer will feed, but
will not print.
Will print a test pattern.
Will reset the counter and put the count into memory.
Will put the printer back on-line after timing out.

Section 2
Astrojet I High-Speed Inkjet Printer Getting Acquainted
5
Interface and Power Panel
While facing the control panel of the Astrojet I, the interface panel can be found at the rear of the
machine. It contains a Centronics parallel port. From the same perspective, the power panel can be
found at the right side of the Astrojet I. It contains the main power switch, power cord receptacle, and
the font card slot.
Internal Components
Inside the printer there are several devices that you need to know about. To look at them, lift the top
cover of the printer by placing one hand on the right side and then gently raise the cover. The
internal components are shown in the following drawing.
Centronics
Parallel Port
Figure 6
Power Switch
Power Cord
Receptacle
Reserved for
future use
Figure 7
Figure 8

Section 2
Astrojet I High-Speed Inkjet Printer Getting Acquainted
6
Printhead Carriage
This carriage, at the center of the machine, contains the five inkjet cartridges used in printing the
addresses. How these cartridges are installed and replaced will be explained later.
You can move the carriage side to side and up and down to position the address properly on the
media.
NOTE: This carriage can be raised to check for jams, and if required, for cleaning.
Feed Roller Assembly
The Feed Roller Assembly, located at the right side of the printer, accepts the media from the hopper
and guides it towards the printheads. Occasionally, it needs to be cleaned. It moves up and down
with the printhead carriage.
Media Sensor
This media sensor senses the position of the media and must be kept clean.
Operator Display Screen and Menu
When you first turn on the Astrojet I, you see the STANDBY mode screen.
Figure 9
Menu
Use the MENU to select or change one of the following options:
•Font / Print Quality
•Barcode
•Print Speed
•Left Margin
•Direction of print
•Purge
•Counters
•Address Recovery
•Media Length

Section 2
Astrojet I High-Speed Inkjet Printer Getting Acquainted
7
NOTES:

Section 3
Astrojet I High-Speed Inkjet Printer Installation and Setup
8
Installation and Setup
Before using the Astrojet I for the first time, the following procedures must be performed:
•Choosing a location for the Astrojet I
•Installing the inkjet cartridges
•Plugging in the Astrojet I
•Setting up the Astrojet I
•Loading the hopper
•Adjusting for media thickness
•Positioning the address (on the media)
Choosing a Location
•Place the Astrojet I on a table or other suitably stable and level surface within cable's
length of your computer.
•Use a grounded electrical outlet. DO NOT use an adapter plug!
•Avoid using outlets that are controlled by wall switches.
•Avoid using an outlet that shares the same circuit as large electrical machines or
appliances.
•Protect the Astrojet I from excessive heat, dust, and moisture - avoid placing it in direct
sunlight.

Section 3
Astrojet I High-Speed Inkjet Printer Installation and Setup
9
Installing the Inkjet Cartridges
The five replaceable (and interchangeable) inkjet cartridges the Astrojet I uses for printing are
installed as follows:
•Open the printer cover and note the inkjet carriage (as shown below).
•Remove a print cartridge from its packaging taking care not to touch the copper
contacts, the metal plate, or the gold printhead.
•The cartridges are held in place by vertical brackets mounted on the inkjet carriage.
•With the cartridge's gold printhead pointing towards the rear of the unit, slide the
cartridge's bottom edge down along the front of the bracket until it slides partly into
place.
•At this point press the upper part of the cartridge toward the bracket until it clicks
completely into place under the metal spring secured to the bracket.
Figure 10
Repeat this procedure for each of the remaining 4 cartridges.
Plugging in the Astrojet I
Make sure that the main power switch of the Astrojet I is in the OFF position.
1. Connect one end of the power cord to the back of the Astrojet I in the corresponding
receptacle.
2. Plug the other end into a 120 VAC, 60Hz grounded outlet.
CAUTION: DO NOT use an adapter plug!

Section 3
Astrojet I High-Speed Inkjet Printer Installation and Setup
10
Setting up the Astrojet I
Connecting the Printer
In order for your computer and the Astrojet I to work together, you need to connect them with a
parallel cable. The cable is connected between the parallel port on the computer and the printer.
Loading the Hopper
Following these instructions to load the hopper will greatly reduce the chances of media feeding
problems.
1. Make sure that hopper area is free of dust.
2. Take a manageable pile of media, and while holding it (as shown below), fan the media
to ensure that it is lined up and that the pieces are not sticking to each other.
Figure 11
3. Tap media against a tabletop to ensure each side is reasonably square.
Figure 12
4. Place the media in the hopper between the side guides with a 1/16" side to side play.
The address side of the media must face up.
Figure 13
5. Repeat steps 2 through 4, as necessary, to fill the hopper.

Section 3
Astrojet I High-Speed Inkjet Printer Installation and Setup
11
NOTES:

Section 4
Astrojet I High-Speed Inkjet Printer Operating the Astrojet I
12
Operating the Astrojet I
Because the Astrojet I is controlled by the computer to which it is connected, its operation is virtually
automatic. Once the computer and its software have been properly set up and the Astrojet I has been
supplied with media and ink cartridges, the Astrojet I is ready to operate. The computer, in turn,
sends the appropriate address information to the Astrojet I. The Astrojet I then prints these addresses
on the media.
This section, which explains how the Astrojet I is used on a regular basis, is divided into four main
categories:
•Starting Up
These are the daily start-up steps you perform each time you turn the machine on.
•Preparing a Job
How to get the Astrojet I ready for a particular envelope addressing run.
•Running a Job
How to start a particular addressing run and keep it going.
•Printing Tips
We've supplied some hints and suggestions that will help you use the Astrojet I most
efficiently.
Starting Up
Each time you turn on the Astrojet I or after it has been idle for several hours, the following step
needs to be performed:
Running a Test Envelope
Use the TEST button to print a test pattern. Use this option to check that the address is correct. If
you push the TEST button, only one piece will be run. Check the print quality. If the quality is poor,
purge the heads as described in section 2.
NOTE: For best results run test pattern and purge in Executive Plus Quality Mode.
Preparing a Job
When printing addresses the Astrojet I is very flexible. It allows any necessary settings to be made
from the MENU. A description of these settings and adjustments follows.
NOTE: The Astrojet I must be off-line for settings to be changed.
Clearing the Counter
To reset the piece counter to 0 at the beginning of a new job, proceed as follows:
•Press the reset button on the control panel. It will clear the counter and buffer memory.

Section 4
Astrojet I High-Speed Inkjet Printer Operating the Astrojet I
13
Print Quality / Font
To select print quality, proceed as follows:
There are three print qualities available:
•Executive Plus Quality This setting provides the darkest print quality
(600 x 300 DPI) and the slowest speed.
•Letter Quality This setting provides medium print quality
(300 x 300 DPI) and speed.
•Draft Quality This setting is the lightest print quality
(150 x 150 DPI) of the three and the highest
speed.
Setting Print Quality
1. Turn printer off-line.
2. Use the PREVIOUS or NEXT button to bring PRINT QUALITY to the top line.
3. Press the SELECT button, the asterisk will disappear.
4. Use the PREVIOUS or NEXT button to scroll to the desired quality.
5. Press the SELECT button to lock in the selection, the asterisk will reappear.
6. Press the NEXT button until the PRINT SPEED is in the top line.
7. Press the SELECT button and the asterisk will disappear.
8. Use the NEXT button to scroll to the desired speed. (EPQ=12 IPS, LQ=25 IPS, DQ=50 IPS).
9. Press the SELECT button to lock in the selection, the asterisk will reappear.
Installing a Font Card
To use external fonts proceed as follows.
•Turn Astrojet I power off.
•Insert font card in its socket.
•Turn the Astrojet I power on.
Bar Code
Use this option to tell the Astrojet I where to print the U.S. Postal Service POSTNET bar code.
1. Turn printer off-line.
2. Use the PREVIOUS or NEXT button to bring BAR CODE to the top line.
3. Press the SELECT button, the asterisk will disappear.
4. Use the PREVIOUS or NEXT button to select the desired barcode position.
5. Press the SELECT button to lock in the selection, the asterisk will reappear.
To set the direction of print, proceed as follows.
1. Turn printer off-line.
2. Use the PREVIOUS or NEXT button to bring DIRECTION to the top line.
3. Press the SELECT button, the asterisk will disappear.
4. Use the PREVIOUS or NEXT button to select the desired direction.
5. Press the SELECT button to lock in the selection, the asterisk will reappear.

Section 4
Astrojet I High-Speed Inkjet Printer Operating the Astrojet I
14
NOTE: When printing in reverse the Astrojet I right justifies and requires all addresses to
have lines of equal length. The easiest way to do that is to place a non-printing
character in a fixed position on one line in each address label. A good choice is
ASCII character #0142 (Ä).
Purging the Print Cartridges
To purge the printer, proceed as follows:
1. Turn printer off-line.
2. Use the PREVIOUS or NEXT button to bring PURGE to the top line.
3. Press the SELECT button, wait for the printhead to lower, feed media under the
printhead.
NOTE: Purge in Executive Plus Quality mode for best results.
Address Recovery
To direct the printer to go back and reprint a certain number of addresses (up to 8) which might have
been lost due to a jam, proceed as follows:
1. Turn printer off-line.
2. Use the PREVIOUS or NEXT button to bring ADDRESS RECOVERY to the top line.
3. Press the SELECT button, the asterisk will disappear.
4. Use the PREVIOUS or NEXT button to the desired address.
5. Press the SELECT button to print the addresses.
Vertically Positioning the Address
To ensure that the address prints at the proper vertical position, reposition the inkjet carriage as
follows:
1. Loosen the black thumbscrew so the carriage can slide forward and backward.
2. Move the carriage to the desired address location. Use the TEST button to verify the
correct location.
3. Lock the carriage in place by tightening the thumbscrew.
NOTE: Make sure that the tracking wheels rest on belts, not between.
Horizontally Positioning the Address
To ensure that the address prints at the proper horizontal position, proceed as follows:
1. Turn printer off-line.
2. Use the PREVIOUS or NEXT button to bring LEFT MARGIN to the top line.
3. Press the SELECT button, the asterisk will disappear.
4. Use the PREVIOUS or NEXT button to set the margin to the desired location.
5. Press the SELECT button to lock in the selection, the asterisk will reappear.
Setting the Length of Media
1. Turn printer off-line.
2. Use the PREVIOUS or NEXT button to bring MEDIA LENGTH to the top line.
3. Press SELECT button, the asterisk will disappear.
4. Use the PREVIOUS or NEXT button to set the length of media to the nearest ½".
5. Press SELECT button to lock in the selection, the asterisk will reappear.

Section 4
Astrojet I High-Speed Inkjet Printer Operating the Astrojet I
15
Running a Job
Adjusting for Media Thickness
1. Place a sample of media that is being run on top of the feed rollers.
2. Loosen thumbscrews of separators and let the separators fall on top of the media.
Tighten thumbscrews.
NOTE: If double feeding occurs, separators are too loose. If media opens up, separators
are too tight.
Feed rollers
and separators
Figure 14
3. Make sure that the ON-LINE indicator key is lit, indicating that the Astrojet I is on-line.
4. Press the SELECT key to activate the feed only cycle.
5. Make sure the Astrojet I is feeding consistently without doubles or hesitation.
6. Press the SELECT key again to stop the feed only cycle.
At this point, start sending addresses from the computer.
NOTE: Do not press the reset button while the Astrojet I is receiving data from the
computer. The Astrojet I may hang up and the data in the buffer will be lost.

Section 4
Astrojet I High-Speed Inkjet Printer Operating the Astrojet I
16
Monitoring the Job
The Astrojet I may be taken off-line by pressing the ON-LINE key without affecting the addressing
job. The media will resume printing at exactly the same point when the Astrojet I is put back on-line.
IF A JAM OCCURS, DO NOT TURN OFF YOUR UNIT! Remove jam as described in
Section 5.
Printing Tips
Tips on Types of Media
The Astrojet I will print on many types of mailing media, but some restrictions apply. As with any
other printing process, the texture of the media has a direct effect on both print quality and ink drying
time. It is best to test each new type of media to be run to determine performance levels.
NOTE: Since coated and plastic types of "paper" do not easily absorb ink, smearing may
occur. On the other hand, paper that is too porous, may get "fuzzy", as opposed to
crisp printouts. Another cause of "fuzzy" printouts is excessive buildup of dust within
the machine, or the printhead is too far away from the media.
Be aware, that when printing in the Executive Plus mode, drying time for the ink is
longer than in the other modes. Also, when humidity is high, drying time is
increased.
Tips on Media Thickness
The Astrojet I will handle pieces up to 3/8" thick (0.375"). However, they must be flexible enough to
pass through the rollers. All folds must be crisp and even. Also, the thicker the media, the less that
may be loaded into the hopper at a single time.
Although the minimum allowable thickness is 0.008", we recommend that you carefully fan these
pieces prior to loading to avoid double feeding.
Tips about Bound Pieces
DO NOT use stapled pieces in the Astrojet I.
DO NOT use paper-clipped pieces in the Astrojet I.
CAUTION: These methods of binding the mail piece will damage the printheads, affect
print quality, and may seriously damage your printer. The Astro Warranty Policy
will not cover components damaged through use of these methods. Also, the
USPS does not accept this type of mail for its automated equipment.

Section 4
Astrojet I High-Speed Inkjet Printer Operating the Astrojet I
17
NOTES:

Section 5
Astrojet I High-Speed Inkjet Printer Operator Maintenance
18
Operator Maintenance
This section shows how to replace inkjet cartridges and clear paper jams quickly and safely. Other
problems such as no printing, poor print quality, etc., are also covered. Special tips and suggestions
to help you increase efficiency and avoid problems are also included.
Replacing the Inkjet Cartridges
The Astrojet I inkjet cartridges must be replaced when out of ink, when print quality is poor, or when
purging and cleaning have not helped.
The approximate life of inkjet cartridges based on 20 characters per address line is:
Executive Plus Quality 50,000 addresses
Letter Quality 100,000 addresses
Draft Quality 200,000 addresses
To replace an inkjet cartridge:
Figure 15
•Open the top cover of the Astrojet I.
•To remove the cartridge, pull the top toward you until the cartridge is free of the retaining
clip (see above). Lift the cartridge up and out of holder.
•Remove a new print cartridge from its packaging, taking care not to touch the copper
contacts, the metal plate, or the gold printhead.
•With the gold printhead pointing toward the rear of the unit, slide the cartridge's bottom
edge down along the front of the bracket until it slides partly into place.
•Now, press the upper part of the cartridge toward the bracket until it clicks into place
under the bracket's retaining clip.
•Repeat this procedure for each cartridge.
Table of contents
Other Astro Machine Printer manuals

Astro Machine
Astro Machine AstroJet S1 User manual

Astro Machine
Astro Machine AstroJet S1 User manual

Astro Machine
Astro Machine AstroJet M1C User manual

Astro Machine
Astro Machine ASTROJET 2600P User manual

Astro Machine
Astro Machine ASTROJET 2650P User manual

Astro Machine
Astro Machine AstroJet M2 User manual

Astro Machine
Astro Machine AstroJet 5000 User manual

Astro Machine
Astro Machine ASTROJET 1000P User manual

Astro Machine
Astro Machine AstroJet M1 User manual

Astro Machine
Astro Machine ASTROJET 2650P User manual