manuals.online logo
Brands
  1. Home
  2. •
  3. Brands
  4. •
  5. Astro Machine
  6. •
  7. Printer
  8. •
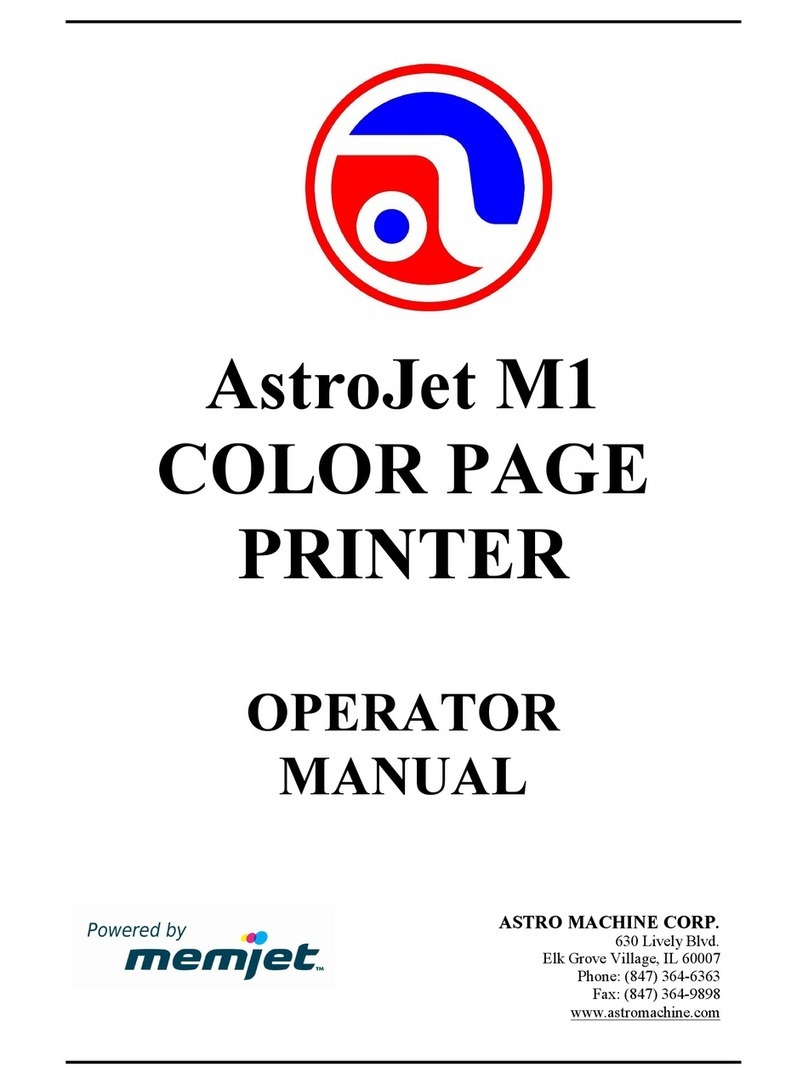
  9. Astro Machine AstroJet M1C User manual

Astro Machine AstroJet M1C User manual

Copyright © 2013 ASTRO MACHINE CORP.
12/2013
Quick Reference
M1C Printer Error Messages Guide
Messages sent from
the driver and
displayed on PC
screen in a small
popup window.
PRINTER ALERT WINDOW MESSAGES
MESSAGE
SOLUTION
Cleaning in Progress
Wait until the message disappears. The Printer will start
printing your job once the cleaning process is complete.
Excessive Tilt Error
See details under “Toolbox System Status Messages” section.
Incompatible Printhead
Remove and reinsert your Printhead Cartridge. Replace
Printhead. Printhead Cartridges must be purchased from
authorized supplier for this printer model.
Incorrect … Ink Tank
Replace Ink Tank. Ink Tanks must be purchased from
authorized supplier for this printer model.
…. Ink Low
Example: Black Ink Low
Reorder Ink.
…. Out of Ink
Example: Cyan Ink Out
Replace empty Ink Tank.
Load Paper
Out of Paper. Load paper into Printer and press the PAPER
button to resume printing.
Mechanical Jam
Check for and remove obstruction, then press PAPER button to
resume printing.
Check/Clean Sensors. If problem persists contact technical
support.
Missing Printhead
Remove Printhead Cartridge. Check/clean electrical contacts.
Reinsert Printhead. Replace Printhead. If problem persists
contact technical support.
Multiple Inks Low
Reorder Ink.
Multiple Ink Tanks Out
Replace empty Ink Tanks.
Multiple Ink Tanks are
missing
Insert missing Ink Tanks.
Clean electrical contacts and reseat Ink Tanks.
Multiple Unauthorized
Ink Tanks
Remove and reinsert Ink Tank. Replace Ink Tank. Ink Tanks
must be purchased from authorized supplier for this printer
model.
Paper Jam
Remove jammed media. Check for proper feed setup, then press
the PAPER button to resume printing.
Check/Clean Sensors. If problem persists contact technical
support.
Printhead Latch Open
Ensure Printhead Cartridge has been inserted properly then
close the Printhead Latch so it locks.
Print Zone Assembly
(Clamshell) Open
Check to be sure the Clamshell is completely closed and
latched. Make sure Print Engine Latches are secure.
The … Ink Tank is
missing
Insert missing Ink Tank.
Clean electrical contacts and reseat Ink Tank.
Unauthorized … Ink
Tank Installed
Ink Tanks must be purchased from authorized supplier for this
printer model.
Unauthorized Printhead
Printhead Cartridges must be purchased from authorized
supplier for this printer model.
TOOLBOX SYSTEM STATUS MESSAGES
SYSTEM STATUS
SOURCE
SOLUTION
Out of Paper
Media is not reaching
the Print Engine.
Hesitation in media
feed.
Load media into Printer
and press the PAPER
button to resume printing.
If media is present;
check/adjust the Guides
and Separators.
Paper Jam
When “Out of Paper”
error is shown in
combination with
“Uncapped Printhead”
or “Clamshell open”
error, a Paper Jam is
indicated.
See below
Paper/Media jam
detected.
Printer has detected
that one (or both) of
the media sensors are
blocked (interrupted).
Carefully remove
jammed media from
Printer and close the Print
Engine. The System
Status message in red
should go away.
Toolbox “Paperpath” line
should change to:
“Paperpath: Entry: No
Exit: No”
After you clear the jam
you can:
Press the PAPER button
to continue printing.
Press the CANCEL
button to cancel the job,
and then manually clear
the job from the
computer’s print queue.
Printer has detected
that the “Clamshell” is
open.
Sensor cable
unplugged P202.
Verify that the
“Clamshell” is closed and
securely latched at both
sides. Make sure that
Clamshell switch located
on the opposite side is
being activated by the
Clamshell Lever.
Use the Scan Sensors
page to make sure that
Clamshell switch is
functioning.
DATA_PATH_UNDERRUN
Media is not moving
from the Entry Sensor
to the Exit Sensor
within the specified
time.
Possible issue with
format or orientation
of job being sent.
Dirty Encoder Wheel.
Check/clean Transport
Rollers. Check/clean the
Sensors.
Try changing the
orientation setting in the
software/driver or setting
a different media size.
Check/clean the Encoder
Wheel.
If problem persists
contact technical support.
INK _LOW
X = Color.
One or more Ink
Tanks are low on ink.
Ink Tank replacement
will be necessary soon.
Reorder Ink.
Copyright © 2014 ASTRO MACHINE CORP.
9/2014
TOOLBOX SYSTEM STATUS MESSAGES (CONTINUED)
SYSTEM STATUS
SOURCE
SOLUTION
X = Color.
One or more Ink
Tanks are out of ink.
Replace empty Ink Tank(s),
using the “Replace Ink
Tanks”command from EWS.
Verify that Ink Tanks are
seated firmly and latches are
fully closed.
Clear error using the
“Refresh Ink Levels”
command in the Toolbox or
just press PAPER button to
refresh ink levels and
continue printing.
Maintenance
procedure running.
No action required.
Ink Tank is missing
or not recognized
(obtained from an
unauthorized
reseller).
If correct ink, check
contacts.
Insert missing Ink Tank or
pop the Ink Tank in and out
to improve connection.
Clear the error using the
“Refresh Ink Levels”
command in the Toolbox or
just press PAPER button to
refresh ink levels and
continue printing.
Printer is not level.
Printer’s electronics
have detected that
the Print Engine is
too far out of level.
Tilt Sensor needs to
be recalibrated.
P2005 unplugged.
Make sure that Printer is
placed on a level surface.
Failure to do so may result in
severe ink mixing and cause
an inaccurate ink level
reading in the Ink Tanks.
If Printer was just powered
on, wait a few minutes; the
error may clear by itself.
Once the Tilt Level drops to
1.99 or less you can clear
the error using the “Clear
Error” feature in the Toolbox.
Make sure Printer is placed
on a sturdy, level worktable.
DO NOT move Printer while
power is on.
If the Tilt Level is 1.99 or less
you can clear this error using
the “Clear Error” feature in
the M Series Toolbox.
Contact technical support to
have them check level and
possibly “Zero”the Tilt
Sensor.
Mechanical Error
One of the Printer's
mechanical
components was not
properly registered
at the expected
position.
Mechanical failure or
Sensor failure.
Visually inspect the
component stated as a
“Reason”for failure.
Using the Scan Sensors
page in the Toolbox, perform
the toggle test on the Sensor
responsible for registration of
the failed mechanical
component position.
Lifter Arm Sensor is dirty or
damaged, Lifter Motor Cable
is unplugged, operator's side
Lifting Arm is damaged, or
the Lifting Arm mechanism is
stuck.
Dual Pinch Valve Problem:
Check Sensor board
connector and flag/sensors
alignment. Check Valve
motor connector. Check
P2005 cable on MPCA.
At this point, this error may
represent an Ink Pump error,
since there is no return
signal from the pump and
therefore, a separate
message describing an Ink
Pump error.
SYSTEM STATUS
SOURCE
SOLUTION
Data Cables
unplugged, dirty
Printhead contacts,
dirty PPCA contacts.
Check data cables (P250,
P260), clean Printhead
contacts, and/or clean PPCA
contacts.
Service Station is
ejected, Service
Station position
sensors are
damaged or
malfunctioning.
Check the Service Station
position. Using the Scan
Sensors page in the
Toolbox, perform the toggle
test on the two Sensors
responsible for registration of
the Service Station position.
Printhead Missing
and one or more of
the Ink Tanks are
missing, When this
error occurs, Multiple
EWS monitoring is
disabled.
Install Printhead.
Install Ink Tanks.
Printhead Missing
and one or more of
the Ink Tanks are
missing. When this
error occurs, Multiple
EWS monitoring is
disabled.
Install Printhead.
Install Ink Tanks.
No Printhead
installed or
Printhead not
making proper
connections.
J2001 cable
unplugged.
Printhead Latch is
open.
If the Printer was just
powered on, wait a minute;
error may clear by itself.
Install Printhead Cartridge.
Remove and reinstall
Printhead.
Replace Printhead. Refer to
the appropriate sections in
this manual for removing and
installing the Printhead
Cartridge.
PRINTHEAD_UNPRIMED
Printhead priming
process has failed.
If Printer was just powered
on, wait a minute; error may
clear by itself.
Remove Printhead Cartridge,
wet the print nozzles using
deionized or distilled water
and reinstall the Printhead
Cartridge. Refer to the
appropriate sections in this
manual for removing and
installing the Printhead
Cartridge. If you continue to
have trouble priming the
Printhead; check for kinked
or pinched color tubes.
MECH_CANCELPAGE
Job was cancelled
by user pressing the
CANCEL button.
Job was interrupted
by “Clamshell” being
momentarily opened.
Wait until print job has
cleared from Printer. Then
manually clear job from
computer’s print queue.
Then send new print job.
Check to be sure “Clamshell”
is securely latched, and then
press “Clear Error” button to
continue. If problem persists
contact service support.
630 Lively Blvd.
Elk Grove Village, IL 60007
Phone: (847) 364-6363
Fax: (847) 364 9898
www.astromachine.com
Other manuals for AstroJet M1C

2

Other Astro Machine Printer manuals

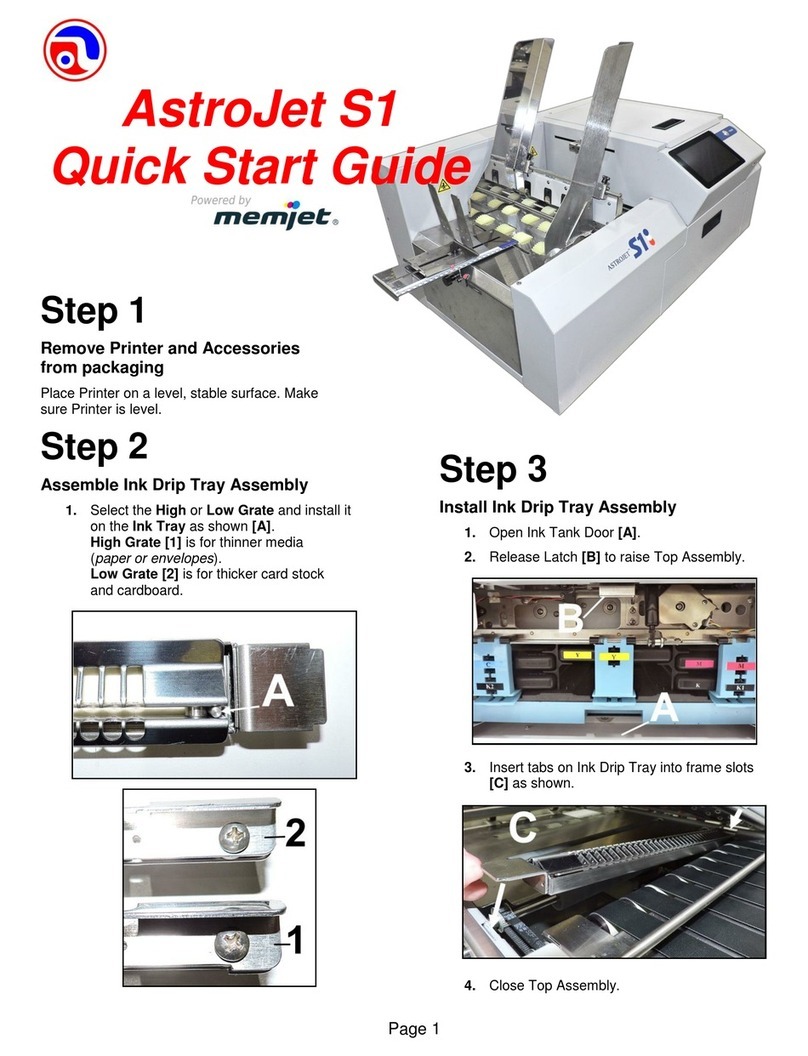
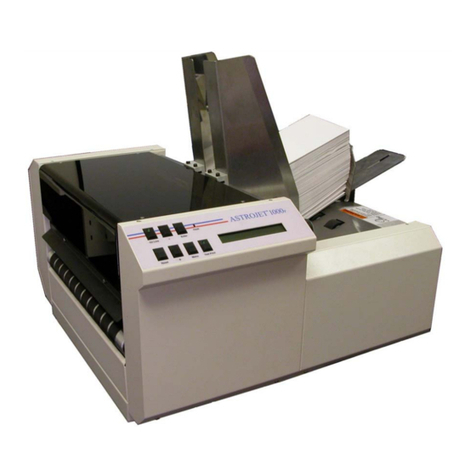
Astro Machine ASTROJET 1000P User manual

Astro Machine

Astro Machine ASTROJET 1000P User manual

Astro Machine AstroJet M2 User manual

Astro Machine

Astro Machine AstroJet M2 User manual

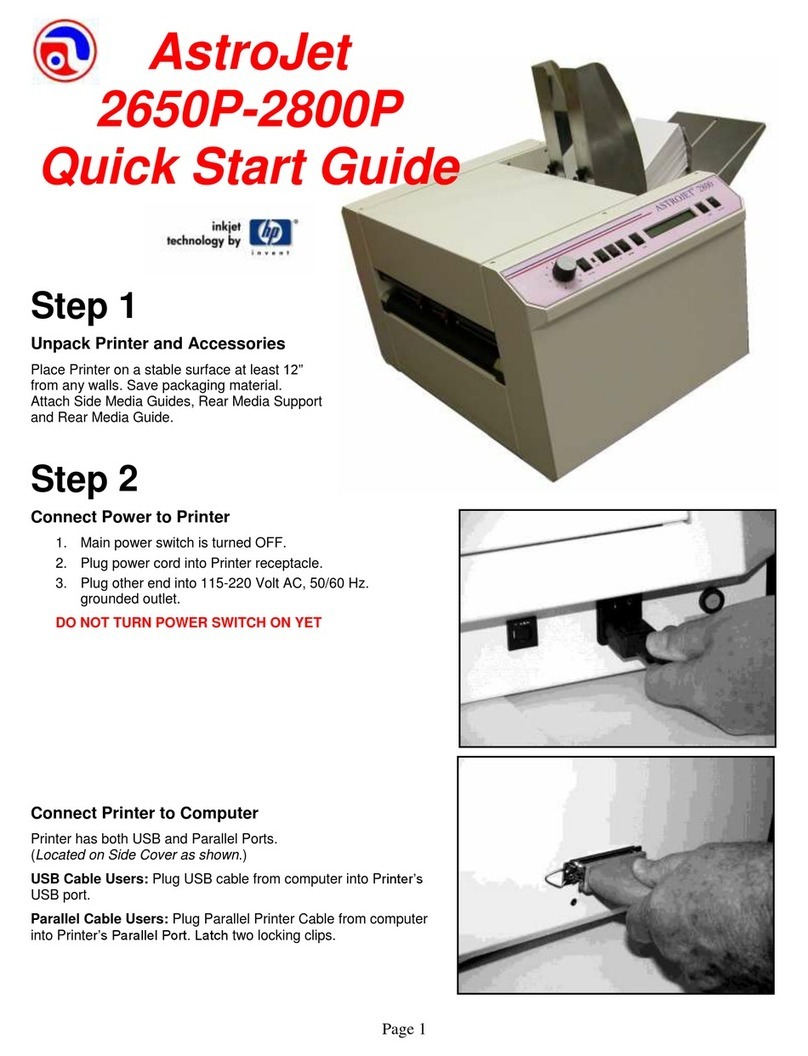
Astro Machine ASTROJET 2650P User manual

Astro Machine

Astro Machine ASTROJET 2650P User manual

Astro Machine ASTROJET 2650P User manual

Astro Machine

Astro Machine ASTROJET 2650P User manual

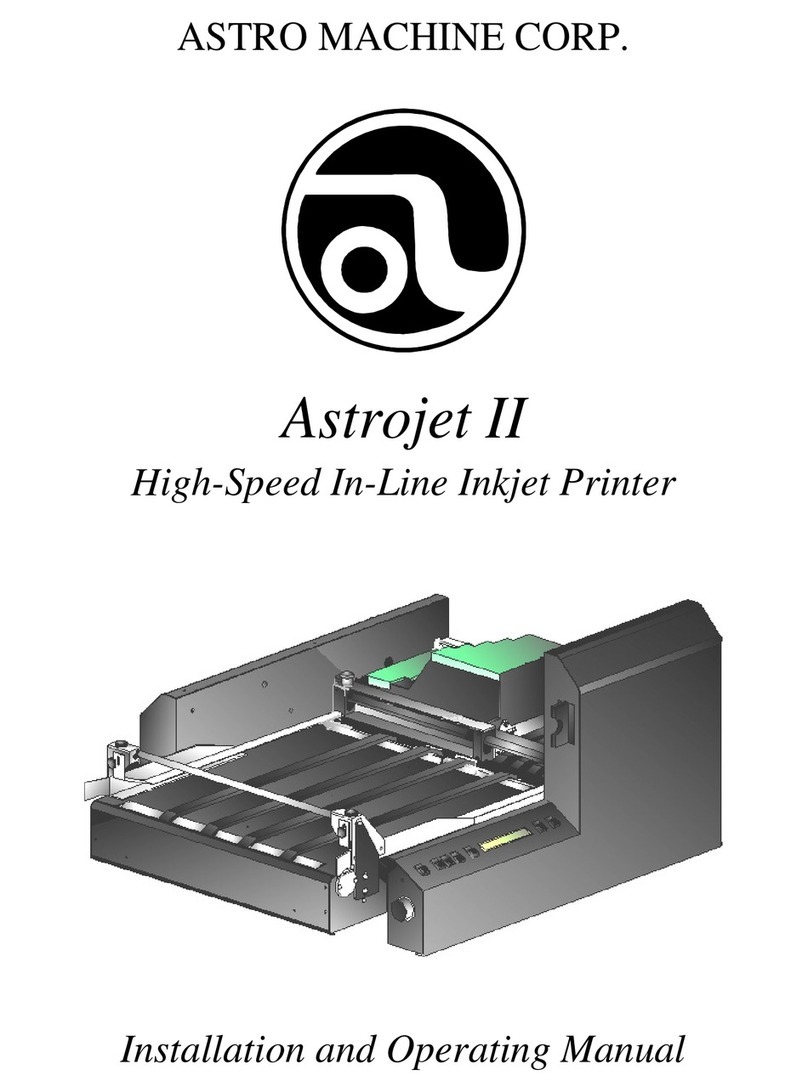
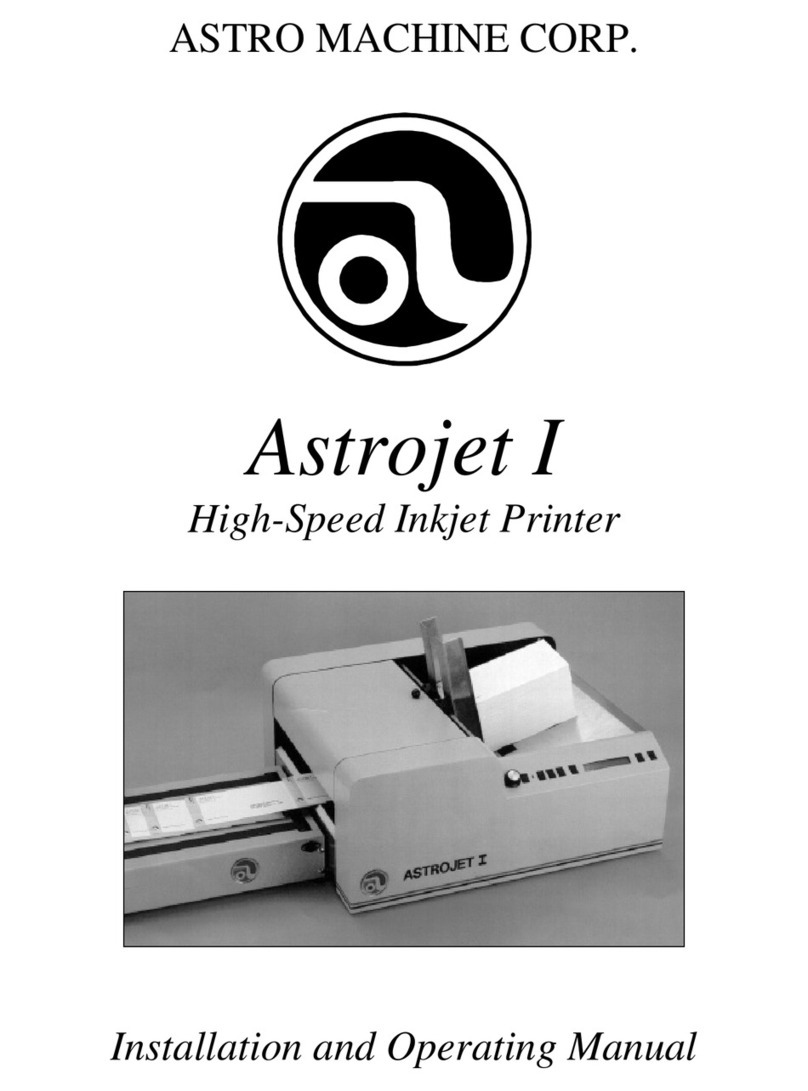
Astro Machine Astrojet I User manual

Astro Machine

Astro Machine Astrojet I User manual

Astro Machine AstroJet M1 User manual

Astro Machine

Astro Machine AstroJet M1 User manual

Astro Machine ASTROJET 2600P User manual

Astro Machine

Astro Machine ASTROJET 2600P User manual

Astro Machine Astrojet 2 User manual

Astro Machine

Astro Machine Astrojet 2 User manual

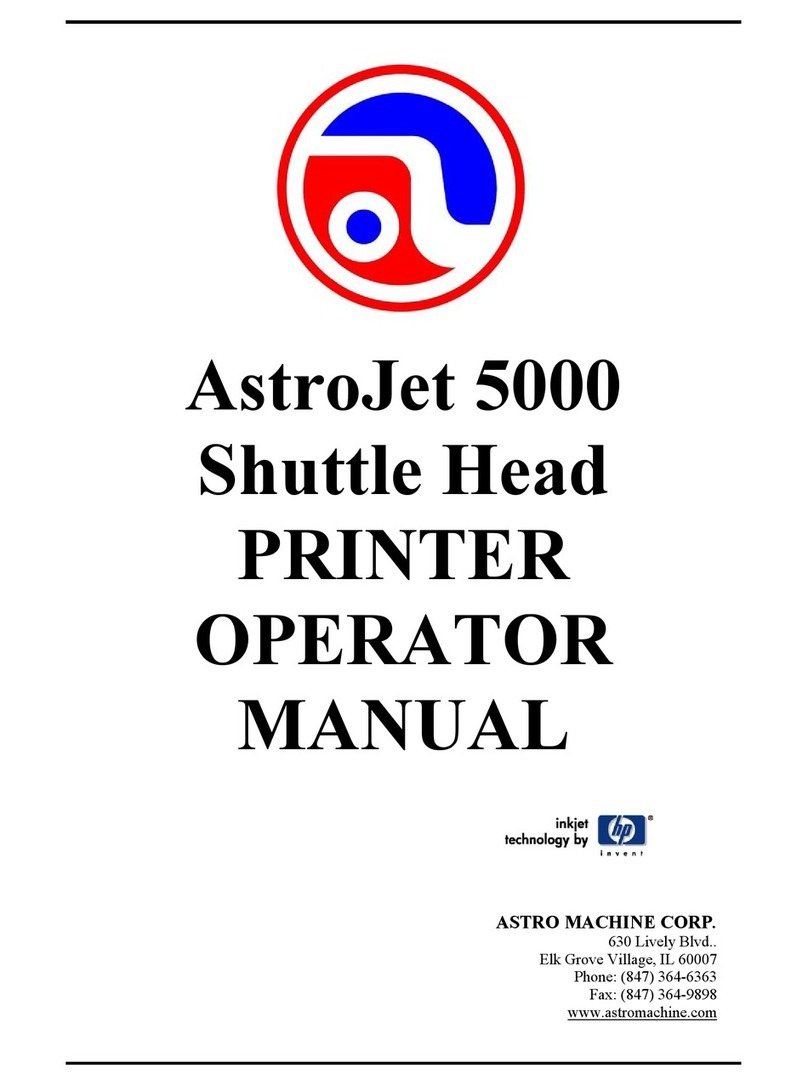
Astro Machine AstroJet 5000 User manual

Astro Machine

Astro Machine AstroJet 5000 User manual

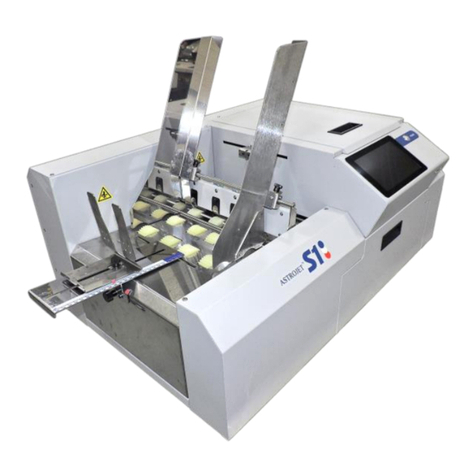
Astro Machine AstroJet S1 User manual

Astro Machine

Astro Machine AstroJet S1 User manual

Astro Machine AstroJet S1 User manual

Astro Machine

Astro Machine AstroJet S1 User manual

Popular Printer manuals by other brands

Xerox Wide Format 6030 user guide

Xerox

Xerox Wide Format 6030 user guide

Kyocera Mita Ecosys FS-6020 Operation guide

Kyocera Mita

Kyocera Mita Ecosys FS-6020 Operation guide

Addressograph 871 Adjustment instructions

Addressograph

Addressograph 871 Adjustment instructions

Canon S820D user guide

Canon

Canon S820D user guide

Gainscha INTELLIGENT Series user manual

Gainscha

Gainscha INTELLIGENT Series user manual

Sony UP-890CE Service manual

Sony

Sony UP-890CE Service manual

Xerox 8860MFP - Phaser Color Solid Ink Evaluator guide

Xerox

Xerox 8860MFP - Phaser Color Solid Ink Evaluator guide

Brother PocketJet 6 user guide

Brother

Brother PocketJet 6 user guide

Ricoh SP C252DN Brochure & specs

Ricoh

Ricoh SP C252DN Brochure & specs

Epson SpectroProofer Mounter 17" user guide

Epson

Epson SpectroProofer Mounter 17" user guide

Dascom DP-520 Quick setup instructions

Dascom

Dascom DP-520 Quick setup instructions

Ricoh Aficio 2035e operating instructions

Ricoh

Ricoh Aficio 2035e operating instructions

Epson Stylus Pro 4880 ColorBurst Edition - Stylus Pro 4880... user guide

Epson

Epson Stylus Pro 4880 ColorBurst Edition - Stylus Pro 4880... user guide

Epson Stylus C120 Series Instructional manual

Epson

Epson Stylus C120 Series Instructional manual

Canon imagePROGRAF W6400 user guide

Canon

Canon imagePROGRAF W6400 user guide

Lexmark MS810 Series Product specifications

Lexmark

Lexmark MS810 Series Product specifications

Roland Metaza MPX-90M user manual

Roland

Roland Metaza MPX-90M user manual

Kodak SRP 30 Operator's guide

Kodak

Kodak SRP 30 Operator's guide

manuals.online logo
manuals.online logoBrands
  • About & Mission
  • Contact us
  • Privacy Policy
  • Terms and Conditions

Copyright 2025 Manuals.Online. All Rights Reserved.