manuals.online logo
Brands
  1. Home
  2. •
  3. Brands
  4. •
  5. Asus
  6. •
  7. Desktop
  8. •
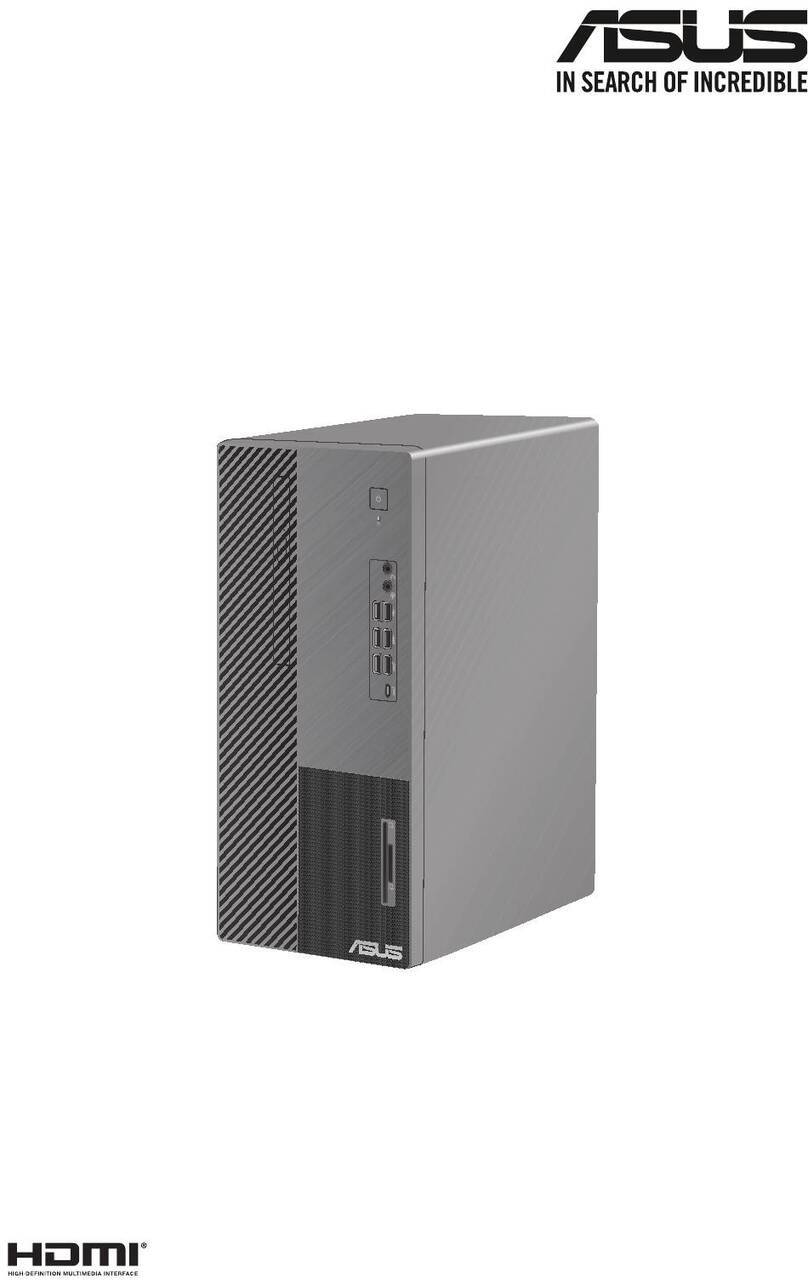
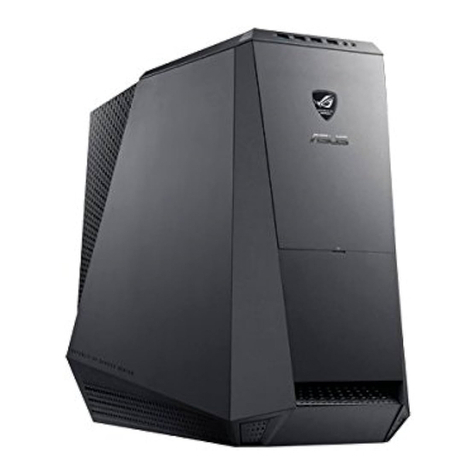
  9. Asus ROG GR8 II Series Installation and operation manual

Asus ROG GR8 II Series Installation and operation manual

ROG GR8 II Series
DRAM Upgrade Guide
REPUBLIC OF
GAMERS
E13120 / First Edition / July 2017
IMPORTANT!
• YoucanonlyinstallDDR4SO-DIMMtotheROGGR8II’sDIMM
slots.
• OnlyASUS-authorizedtechniciansshouldremoveandinstall
motherboardandmechanicalpartsinsideyourROGGR8II.
Pleaserefertothetermsandconditionsinthewarrantycard.
• VisitanauthorizedASUSservicecenterorretailerforinformation
onmoduleupgradesforyourROGGR8II.
NOTE: Refer to http://www.asus.comforthelistofcompatible
DIMMs.
YourROGGR8IIcomeswithtwoSO-DIMMmemoryslotsthatallows
uptotwoDDR4SO-DIMMsforamaximumof32GBmemory.
2
Installing or upgrading the top memory module:
1. TurnoyourROGGR8II.
2. Disconnectallcablesandperipherals.
3. PlacetheROGGR8IIonitssideonastableandatsurface.
4. Removethescrewsfromthetopandbottomsides,then
removethetopcover.
5. Slidethesidecovertowardsthereartodetachitfromthe
chassisthengentlylifttoremoveitfromthechassis.
3
6. Removethememorymodule.
Toremoveamemorymodule:
A. Presstheretainingclipsoneachsidetoreleasethememory
module.
B. Carefullyremovethememorymodule.
NOTE: Usethesamemodelandspeedwhenreplacingthememory
modulewithanewmemorymodule.
4
7. Getthereplacementmemorymodule.
8. Installthenewmemorymoduleintothetopslot.
Toinstallanewmemorymodule:
A. Alignandinsertthememorymoduleintotheslot.
B. Pressthememorymoduledownuntilitissecurelyseatedin
place.
5
9. ReplacethesidecoverthenslideittowardsthefrontofROG
GR8IItore-attach.
10. Replacethetopcoverandsecureitwiththescrewsremoved
earlier,thensecurethebottomscrew.
6
Installing or upgrading the bottom memory
module:
1. Followsteps1to5fromtheInstalling or upgrading the top memory
modulesectiontoremovethesidecover.
2. RemovethescrewsontheHDD/SSDandbracketassemblythen
putthemaside:
7
3. CarefullylifttheHDD/SSDandbracketassemblyupwards.
4. LifttheapontheSATAconnector(A),thenremovetheSATA
cablefromtheSATAconnector(B).
5. PlacetheHDD/SSDandbracketassemblyaside.
6. Pushthebottomcoverlatchesdownandremovethebottom
cover.
8
8. RemovethescrewsmarkedM2.5onthebrackets(A-C),then
removethebrackets(A-C).
7. Lifttherearpanelcoverlatchesandcarefullyremovetherear
panelcover.
WARNING!DONOTremovetherearpanelcoverwhiletiltingitat
dierentangles,doingsomaydamagetherearpanelcover.
9
9. Disconnectthepowercablesconnectedtothemotherboardin
thesequenceshownintheillustrationbelow:
10. DisconnectthePCIEcablesconnectedtothemotherboardas
shownintheillustrationbelow:
NOTE:EnsuretolifttheapontheFFC_PCIE8_1-2connectors
beforeremovingthecables.
10
11. DisconnecttheWiFiantennasfromthewirelesscard,then
removethecablesfromtheAAFP_F and FIO_USB3_34
connectors.
NOTE:EnsuretolifttheapontheFIO_USB3_34connectorbefore
removingthecable.
12. Removethenine(9)screwssecuringthemotherboardinthe
sequenceshownintheillustrationbelow:
11
13. Liftthemotherboardfromthesideclosesttothefrontpanel,
thenremovethemotherboardbypullingittowardsthe
directionofthefrontpanel.
NOTE:Ensureallthecablesmentionedintheabovestepsare
disconnectedfromthemotherboardbeforeremovingthe
motherboard.
12
15. Tiltthemotherboard(A),theninsertandadjustthe
motherboard'srearI/Osothatittswithinthechassis(B).
NOTE:Ensuretherearenocablesunderneaththemotherboardwhen
replacingthemotherboard.
14. Flipthemotherboardoverandinstallthenewmemorymodule.
Toinstallanewmemorymodule:
A. Alignandinsertthememorymoduleintotheslot.
B. Pressthememorymoduledownuntilitissecurelyseatedin
place.
13
16. Slightlypushthemotherboardinthedirectionoftherearpanel
toinsertthemotherboardintothechassis.
NOTE:Ensuretherearenocablesunderneaththemotherboardwhen
replacingthemotherboard.
17. Securethemotherboardwiththenine(9)screwsremoved
earlierinthesequenceshownintheillustrationbelow:
14
18. Connectthepowercablesconnectedtothemotherboardinthe
sequenceshownintheillustrationbelow:
19. ConnectthePCIEcablesconnectedtothemotherboardas
shownintheillustrationbelow:
NOTE:EnsuretopushtheapsdownontheFFC_PCIE8_1-2
connectorsafterconnectingthecablestosecurethem.
15
20. ConnecttheWiFiantennastothewirelesscard,thenconnect
thecablestotheAAFP_F and FIO_USB3_34connectors.
NOTE:
• EnsuretopushtheapdownontheFIO_USB3_34connector
afterconnectingthecabletosecureit.
• Connecttheblackantennatoconnector1andthewhiteantenna
toconnector2onthewirelesscard.
16
21. Replacethebrackets(A-C)andsecurethemwiththescrews
removedearlier.
Toreplacethebrackets:
A. Insertthebracketinthedirectiontowardsthefrontpanel,
thenpushtheendtowardstherearpaneldown.
NOTE: Ensurethecablesarecollectedandseatedintothespaceand
thegapatthebottomofthebracket.
B. Tiltthebracketsothatthetopofthebracketisinsertedrst
intothechassis,thenpushthebottomofthebracketso
thatthebracketisseatedrmlywithinthechassis.
C. Alignthebracket'sscrewholeswiththescrewholesonthe
chassisandreplacethebracket.
17
22. ConnecttheSATAcabletotheSATAconnector(A),thenpush
theapdowntosecurethecable(B).
23. AligntheHDD/SDDandbracketassemblytothedrivebay,then
securetheHDD/SSDandbracketassemblytothedrivebay
usingthefourscrewsremovedearlier.
18
24. Replacetherearpanelandensurethatalltherearpanellatches
areseatedrmly.
WARNING!DONOTreplacetherearpanelcoverwhiletiltingitat
dierentangles,doingsomaydamagetherearpanelcover.
25. Insertthebottomcoverlatchesintothechassisrst(A),then
pushthebottomofthebottomcoverdown(B)toreplacethe
bottomcover.
26. Followsteps9to10fromtheInstalling or upgrading the top
memory modulesectiontoreplacethetopcover.

Other manuals for ROG GR8 II Series

1

Other Asus Desktop manuals

Asus ASUSTEK ROG Strix G15DK User manual

Asus

Asus ASUSTEK ROG Strix G15DK User manual

Asus Eee Top ET1611 User manual

Asus

Asus Eee Top ET1611 User manual

Asus Gaming Station GS50 User manual

Asus

Asus Gaming Station GS50 User manual

Asus AAEON RTC-1200SK User manual

Asus

Asus AAEON RTC-1200SK User manual

Asus PUNDIT-AE3 User manual

Asus

Asus PUNDIT-AE3 User manual

Asus E500 G5 SFF User manual

Asus

Asus E500 G5 SFF User manual

Asus Barebone Vintage-PH1 User manual

Asus

Asus Barebone Vintage-PH1 User manual

Asus D830MT User manual

Asus

Asus D830MT User manual

Asus Essentio CG8580 User manual

Asus

Asus Essentio CG8580 User manual

Asus BM6AF User manual

Asus

Asus BM6AF User manual

Asus GL10DH User manual

Asus

Asus GL10DH User manual

Asus AS-D777 User manual

Asus

Asus AS-D777 User manual

Asus ETC11009 User manual

Asus

Asus ETC11009 User manual

Asus K31CD User manual

Asus

Asus K31CD User manual

Asus M51AD User manual

Asus

Asus M51AD User manual

Asus ET1602 - Eee Top - 1 GB RAM Mounting instructions

Asus

Asus ET1602 - Eee Top - 1 GB RAM Mounting instructions

Asus V222F Series User manual

Asus

Asus V222F Series User manual

Asus BM1AE User manual

Asus

Asus BM1AE User manual

Asus Essentio CM6340 User manual

Asus

Asus Essentio CM6340 User manual

Asus CM1735 User manual

Asus

Asus CM1735 User manual

Asus Essentio CM6331 User manual

Asus

Asus Essentio CM6331 User manual

Asus ET1612I Series User manual

Asus

Asus ET1612I Series User manual

Asus D540MA User manual

Asus

Asus D540MA User manual

Asus AAEON BOXER-8240AI User manual

Asus

Asus AAEON BOXER-8240AI User manual

Popular Desktop manuals by other brands

Acer Veriton 7600GT Guía del usuario

Acer

Acer Veriton 7600GT Guía del usuario

Sony PCV-RX753 Specifications

Sony

Sony PCV-RX753 Specifications

StarTech.com ATX8300PRO2 Instruction guide

StarTech.com

StarTech.com ATX8300PRO2 Instruction guide

Vecom ECS-8000 user manual

Vecom

Vecom ECS-8000 user manual

HP Media Center,Pavilion Media Center m370 datasheet

HP

HP Media Center,Pavilion Media Center m370 datasheet

HP Kayak XA user guide

HP

HP Kayak XA user guide

Panasonic CF-M34 Series Reference manual

Panasonic

Panasonic CF-M34 Series Reference manual

IBM PS/2 65 SX Hardware maintenance reference

IBM

IBM PS/2 65 SX Hardware maintenance reference

Intel NUC7 Home user guide

Intel

Intel NUC7 Home user guide

Dell OptiPlex 980 - Desktop Specifications

Dell

Dell OptiPlex 980 - Desktop Specifications

Lenovo ThinkCentre M72e Hardware Maintenance Manual

Lenovo

Lenovo ThinkCentre M72e Hardware Maintenance Manual

baaske e-medic manual

baaske

baaske e-medic manual

HP Brio 7100 Hardware

HP

HP Brio 7100 Hardware

Hama Sit-Stand Desk operating instructions

Hama

Hama Sit-Stand Desk operating instructions

Birch Carisma IT7000III owner's guide

Birch

Birch Carisma IT7000III owner's guide

Winmate I330EAC-IKW user manual

Winmate

Winmate I330EAC-IKW user manual

Apevia X-Telstar Jr install guide

Apevia

Apevia X-Telstar Jr install guide

Panasonic Toughbook CF-47 Series Supplementary instructions

Panasonic

Panasonic Toughbook CF-47 Series Supplementary instructions

manuals.online logo
manuals.online logoBrands
  • About & Mission
  • Contact us
  • Privacy Policy
  • Terms and Conditions

Copyright 2025 Manuals.Online. All Rights Reserved.