De uitgestelde start annuleren
tijdens het aftellen
Voer de Reset-functie uit.
Als u de uitgestelde start annuleert,
moet u het programma opnieuw instel-
len.
Het programma annuleren
Voer de Reset-functie uit.
Controleer of er afwasmiddel in het af-
wasmiddeldoseerbakje aanwezig is
voordat u een nieuw programma start.
Aan het einde van het programma.
Het eindlampje gaat branden.
1. Druk op de aan/uit-toets om het appa-
raat te deactiveren.
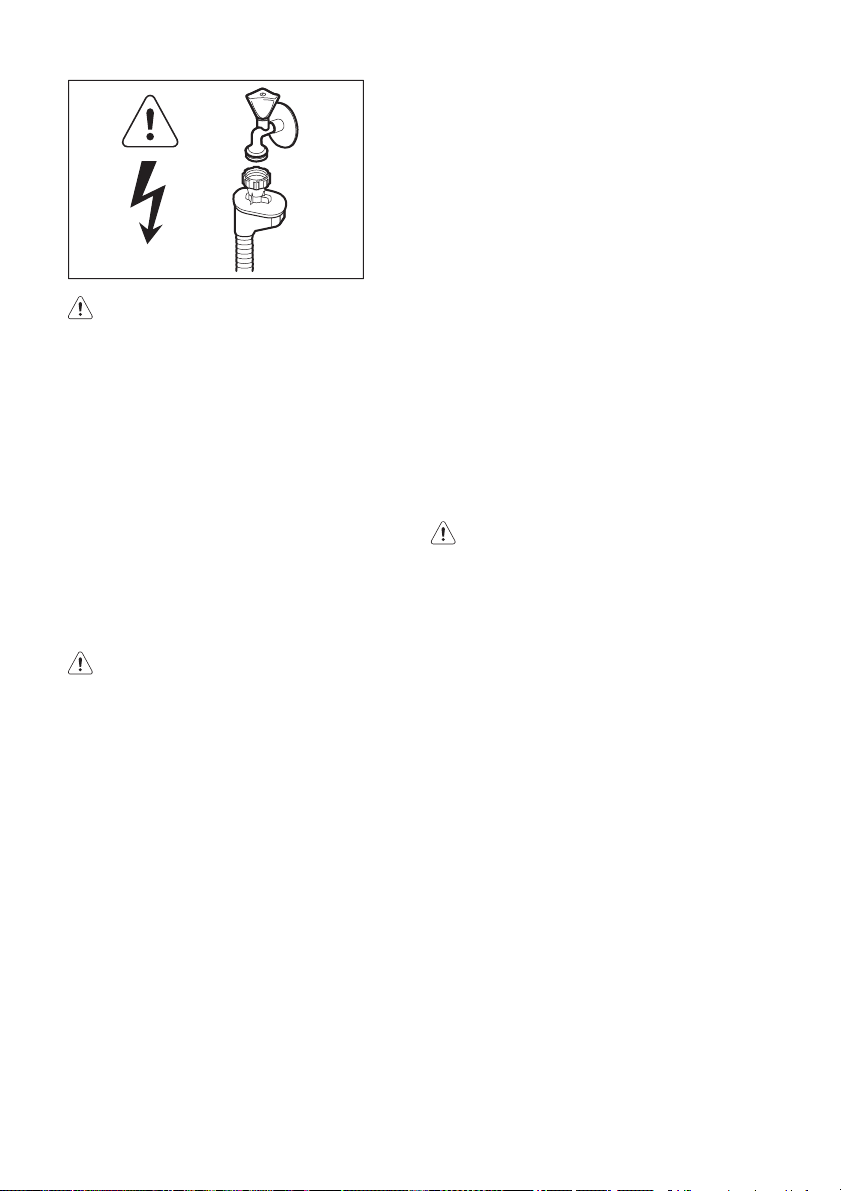
2. Draai de waterkraan dicht.
Als u niet op de aan/uit-toets drukt,
schakelt de functie AUTO OFF het ap-
paraat een paar minuten na het einde
van het programma automatisch uit.
Dit helpt het energieverbruik te vermin-
deren,
Let op
• Laat de borden afkoelen voordat u deze
uit het apparaat neemt. Hete borden zijn
gevoelig voor beschadigingen.
• Ruim eerst het onderrek en dan het bo-
venrek uit.
• Er kan water liggen aan de zijkanten en
op de deur van het apparaat. Roestvrij
staal koelt sneller af dan borden.
AANWIJZINGEN EN TIPS
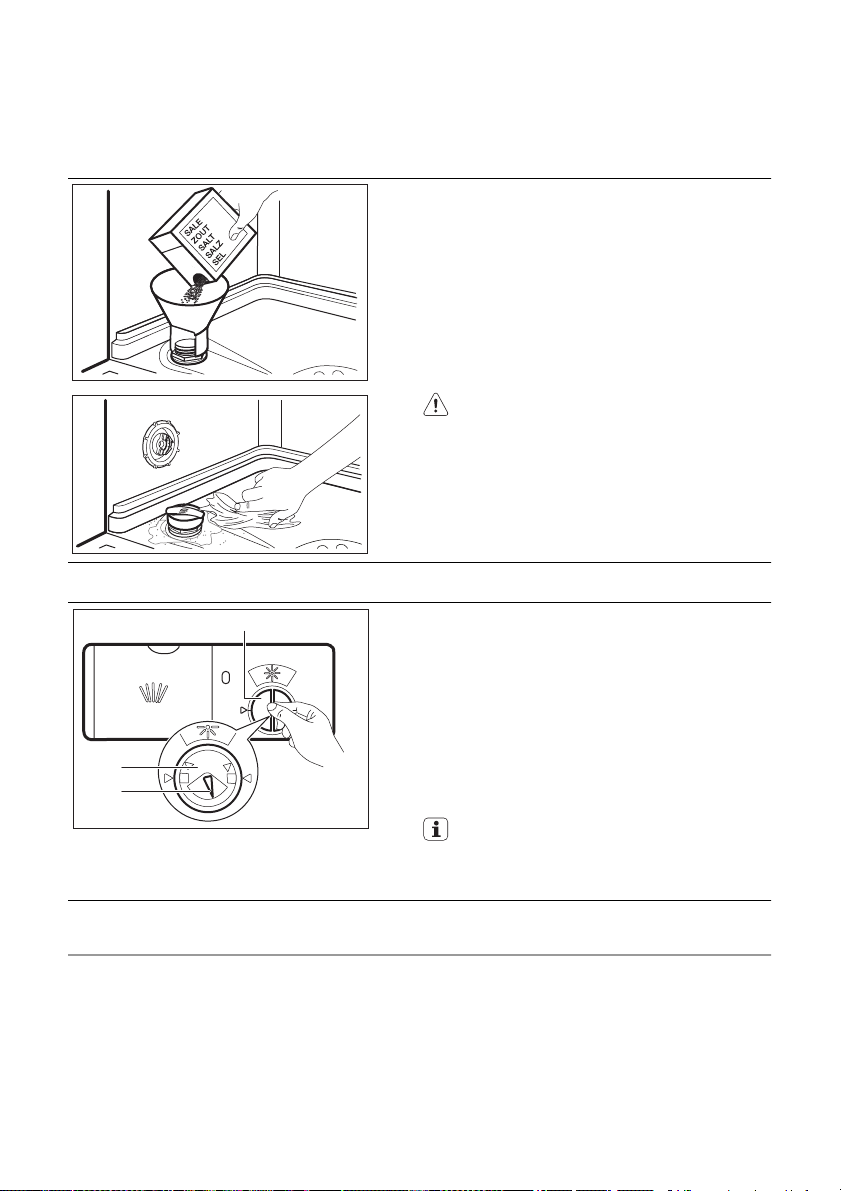
De waterontharder
Hard water bevat een grote hoeveelheid mi-
neralen die schade aan het apparaat en
slechte schoonmaakresultaten kan veroor-
zaken. De waterontharder neutraliseert de-
ze mineralen.
Het regenereerzout houdt de wateronthar-
der schoon en in goede staat. Het is be-
langrijk om het correcte niveau voor de wa-
terontharder in te stellen. Dit zorgt ervoor
dat de waterontharder de juiste hoeveelheid
regenereerzout en water gebruikt.
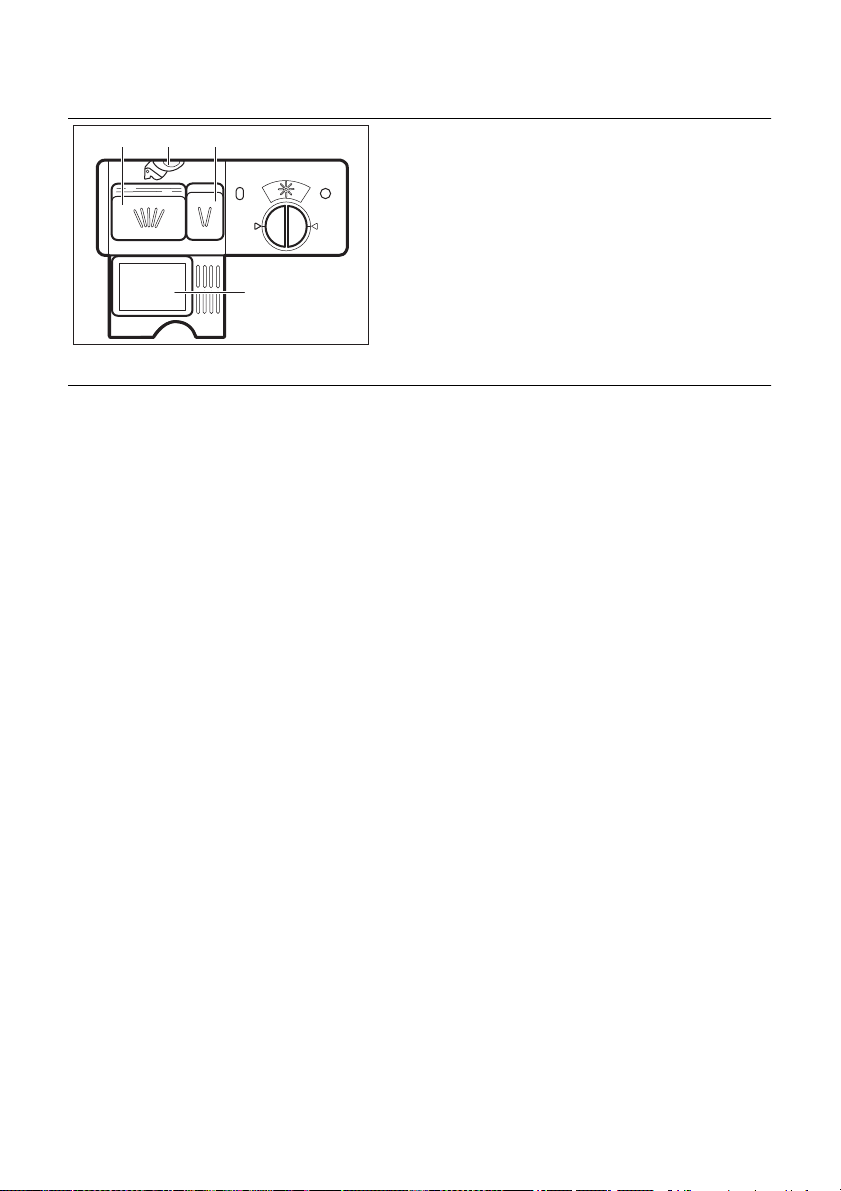
Met behulp van zout,
glansmiddel en afwasmiddel
• Gebruik alleen zout, glansmiddel en af-
wasmiddel voor afwasautomaten. Andere
producten kunnen het apparaat bescha-
digen.
• Het glansmiddel helpt om tijdens de laat-
ste spoelfase het servies te drogen zon-
der strepen en vlekken.
• Gecombineerde afwastabletten bevatten
vaatwasmiddel, glansmiddel en andere
middelen. Zorg ervoor dat deze tabletten
geschikt zijn voor de waterhardheid in uw
omgeving. Zie de instructies op de ver-
pakking van de producten.
• Vaatwastabletten worden bij korte pro-
gramma's niet helemaal opgelost. Wij be-
velen u aan de tabletten alleen bij lange
programma's te gebruiken, om restjes af-
wasmiddel op uw serviesgoed te voorko-
men.
Gebruik niet meer dan de juiste hoe-
veelheid vaatwasmiddel. Zie de instruc-
ties van de vaatwasmiddelfabrikant.
De korven inruimen
Zie de meegeleverde folder voor voor-
beelden van het inruimen van de kor-
ven.
• Gebruik het apparaat alleen om voorwer-
pen af te wassen die vaatwasbestendig
zijn.
• Doe geen voorwerpen in het apparaat die
gemaakt zijn van hout, hoorn, aluminium,
tin en koper.
• Plaats geen voorwerpen in het apparaat
die water kunnen absorberen (sponzen,
keukenhanddoeken).
• Verwijder alle voedselresten van de voor-
werpen.
• Voor het gemakkelijk verwijderen van
aangebrande voedselresten weekt u de
pannen eerst in water voordat u ze in het
apparaat plaatst.
• Plaats holle voorwerpen (bijv. kopjes, gla-
zen en pannen) met de opening naar be-
neden.
9