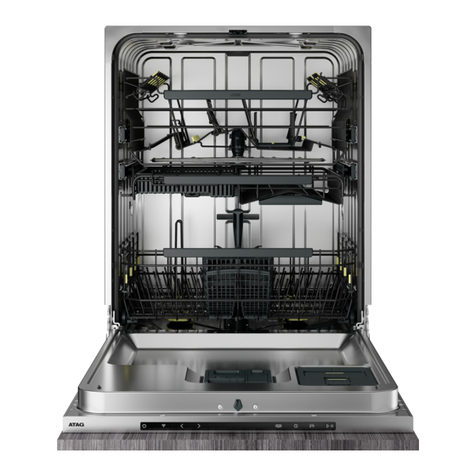
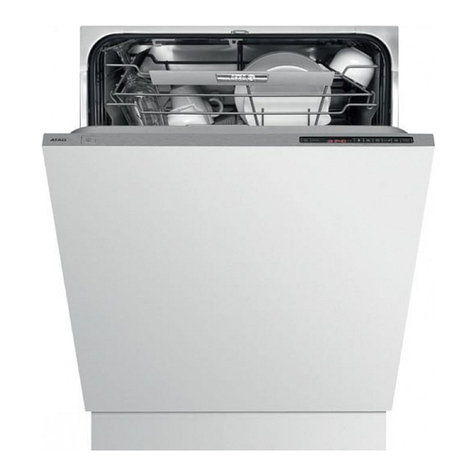
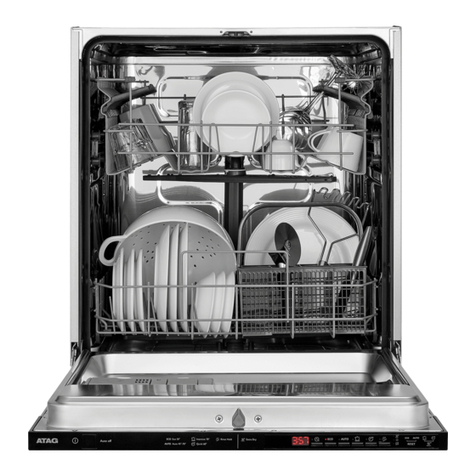
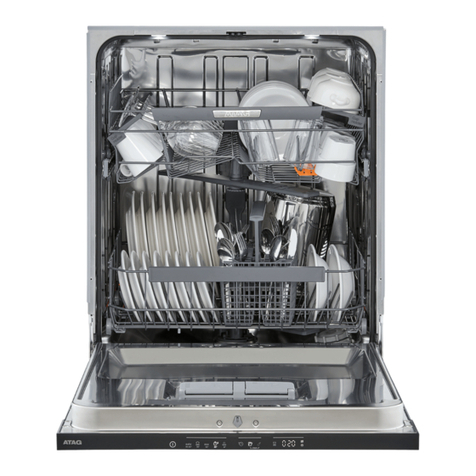
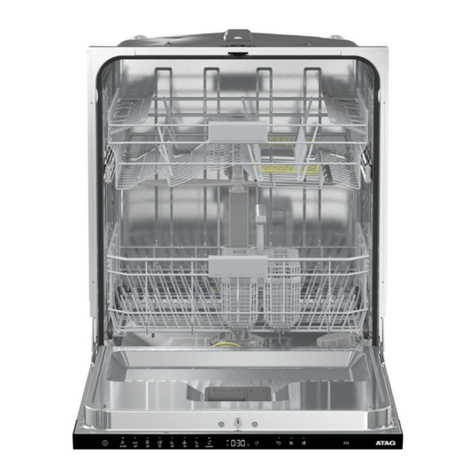
Atag VA6811TT User manual

Dear ATAG customer!
We hope that you will have many years of use from your new machine.
The machine has many features. To make the most of its functions, we recommend
that you read the operating instructions before using the machine. The operating
instructions include information on how you can help protect the environment.
Operating Instructions
Dishwasher
VA6811TT

CONTENTS
2FRONT PANEL
3SAFETY INSTRUCTIONS
4BEFORE WASHING FOR THE FIRST TIME
5LOADING THE DISHWASHER
8USING THE DISHWASHER
12SETTINGS
15CARE AND CLEANING
17TROUBLESHOOTING
20INFORMATION FOR TEST INSTITUTE
21TECHNICAL INFORMATION
22INSTALLATION
23SERVICE
24PROGRAMME CHART
25YOUR NOTES
FRONT PANEL
The panel is fitted with touch buttons with audible feedback (see the chapter Settings).
1 32 5 6 9 10 11 12 13 14
7 8
4
1 On/Left-on mode
2 Programme selector
3 Programme symbol
4 Display
5 Rinse aid indicator
6 TAB (3-in-1/all-in-one detergent)
7 Salt indicator
8 Child lock (button lock)
9 High temperature
10 Long dry
11 Delayed start
12 Set time (for the Time program)
13 Time saver
14 Start/Stop
NOTE!
•Two minutes after the last button press, the panel backlight enters energy saving mode. Close and reopen the door, or press the
On/Left-on mode button, to reactivate the panel.
2

SAFETY INSTRUCTIONS
GENERAL
•Read the operating instructions and keep them in a safe place!
•Never use the dishwasher for any purpose other than that
specified in these operating instructions.
•Do not load the dishwasher door or dishwasher baskets with
anything other than dishes.
•Never leave the dishwasher door open as someone may trip
on it.
•Use only dishwasher detergent!
•Place knives and other sharp items so that they cannot harm
anyone or damage the dishwasher.
•The machine is not designed to be used by persons (even
children) that are physically or mentally handicapped or lack
experience and knowledge. Such persons must receive
instruction in how to use the machine from the person
responsible for their safety.
•Children must be watched to ensure they do not play with the
dishwasher.
•Damaged mains cables must only be replaced by a qualified
electrician.
•This dishwasher is for household or similar use, such as:
- staff kitchens in shops, offices and other workplaces.
- farms.
- for guests at hotels, motels and other types of
accommodation.
- bed & breakfast hotels.
•Never place dishes with solvent residues in the dishwasher due
to the risk of explosion. Nor may dishes that contain ash, wax
or lubricants be washed in the dishwasher.
INSTALLATION
See the section Installation.
CHILD SAFETY
•Use the knife basket, or knife stand, for all long/sharp items.
•Always close the door and start the programme immediately
after you have added the detergent.
•Keep children away from the dishwasher when the door is
open. Some detergent may remain inside!
•Do not allow children to use or play with the dishwasher. Be
especially vigilant when the door is open.
WARNING!
Children must be supervised –dishwasher detergent is corrosive!
Store detergent and rinse aid out of the reach of children! If
anyone swallows dishwasher detergent, they should immediately
drink one or two glasses of milk or water. Do not attempt to
induce vomiting. Contact a doctor! If anyone gets dishwasher
detergent in their eyes, rinse (for at least 15 minutes) with plenty
of water.
Activate child lock (button lock)
You can activate the child lock (button lock) to prevent children
from starting the dishwasher (see the section Settings).
WINTER STORAGE/TRANSPORT
•Store the dishwasher where the temperature remains above
freezing.
•Avoid long transport distances in very cold weather.
•Transport the dishwasher upright or laying on its back.
OVERFLOW GUARD FUNCTION
The overflow protection starts pumping out the machine and turns
off the water supply if the water level in the dishwasher exceeds
the normal level. If the overflow protection is triggered, turn off
the water supply and call the service division.
CLEANING
When cleaning the edge around the door, use only a slightly damp
cloth. Do not spray water around the edge! Moisture can make
its way into the lock, which contains electrical components.
PACKING MATERIAL
Please sort waste materials in accordance with local guidelines.
DISPOSAL
•When the dishwasher has reached the end of its service life
and is to be disposed of, it should immediately be made
unusable. Pull out the power cable and cut it as short as possible.
•The dishwasher is manufactured and labelled for recycling.
•Contact your local authority for information about where and
how your dishwasher should be correctly recycled.
3
BEFORE WASHING FOR THE FIRST
TIME
PROGRAMME KEY
Some dishwashers include programme keys in different languages.
Attach the programme key in the desired language to the top of
the door.
THE WATER SOFTENER
In order to achieve good dishwashing results, the dishwasher needs
soft water (water with low mineral content). Hard water leaves
a white coating on dishes and the dishwasher.
Water hardness is specified using the following scales: The German
water hardness scale (°dH) and the French water hardness scale
(°fH). A water supply with a water hardness in excess of 6°dH
(9°fH) must be softened. This is done automatically with the aid
of the built-in water softener. In order for the softener to function
optimally, it must be adjusted to the hardness of the water supply.
Contact the local waterworks to check the water hardness in your
area. Once you have adjusted the water softener, use detergent
and rinse aid doses suitable for soft water.
ADJUSTING THE WATER SOFTENER
Chapter Settings, page 14 describes how to adjust the water
softener. Don't forget to fill the salt compartment with salt after
adjusting the water softener.
FILL UP THE SALT
Before you begin using a dishwasher with a water softener, you
must fill the salt compartment with salt. Use large grain salt or
special dishwasher salt.
WARNING!
Top up the salt just before running a programme. To avoid the
risk of rust stains, the dishwasher must be rinsed immediately
after topping up the salt.
WARNING!
Never pour dishwasher detergent into the salt compartment.
This destroys the water softener!
Do as follows the first time:
1 Unscrew the lid as illustrated.
2 Place the funnel supplied with the dishwasher in the salt
compartment top-up hole. First, pour in about 1 l of water.
3 Then add salt, a maximum of 1.5 kg, until the compartment is
full.
4Wipe up any excess salt so that the lid can be screwed on firmly.
5 Run a programme to ensure that any salt in the dishwasher is
rinsed away.
Salt compartment lid
REFILL SALT INDICATOR
When the salt needs topping up, the above symbol lights on the
display.
When the salt runs out, unscrew the cap and fill the container with
salt. Water is only needed the first time! Wipe clean and tighten.
Run a programme to ensure that any salt in the dishwasher is
rinsed away.
NOTE!
After topping up, it may take a while before the symbol goes
out.
TOP UP WITH RINSE AID
Drying is faster if you use rinse aid.
1 Open the rinse aid compartment lid.
2 Carefully top up with rinse aid. Only add rinse aid to the level
marked max.
3 Wipe up any splashes of rinse aid around the compartment.
4 Close the lid firmly.
4

SELECTING THE RINSE AID DOSAGE
Rinse aid dispensing can be set from (Off) to (High
dose). (Factory settings: )
Increase the rinse aid dosage:
•If the dishes have water marks.
Reduce the rinse aid dosage:
•If the dishes have a sticky white/blue film.
•If the dishes are streaked.
•Build-up of foam. If you have very soft water, the rinse aid can
be diluted 50:50 with water.
SETTING THE RINSE AID DOSAGE
The section Settings describes how to set the rinse aid dosage.
REFILL RINSE AID INDICATOR
When the rinse aid needs topping up, the above symbol lights on
the display.
NOTE!
After topping up, it may take a while before the symbol goes
out.
LOADING THE DISHWASHER
ECONOMIC DISHWASHING
Run programmes only with a full load
Wait to run a programme until the dishwasher is full, this way you
save energy. Use the Rinse & Hold programme to rinse the dishes
if there are any unpleasant odours while you wait for the
dishwasher to become fully loaded.
Run programmes at a lower temperature
If the dishes are only slightly dirty, you can select a lower
temperature with certain programmes. See also the section
Selecting Options in the chapter Using the dishwasher.
Do not rinse under running water
Simply scrape off large food particles before loading the
dishwasher.
Choose a green detergent
Read the environmental declaration on the packaging!
Connect to cold water...
If you use oil or electricity to heat your home.
Connect to hot water (max. 70 °C)...
If you use district heating, solar power or geothermal power to
heat your home. Choosing a hot water connection cuts programme
times and reduces the dishwasher's electricity consumption.
FRAGILE DISHES
Some cookware is not dishwasher safe. This can be for several
reasons. Some materials cannot withstand strong heat, others can
be damaged by dishwashing detergent.
Fragile decoration
Porcelain with decoration on top of the glazing (the items feel
rough) should not be washed in a dishwasher.
Crystal/Glass
Position items so that they do not touch each other during the
wash. Use the lowest possible wash temperature and the shortest
possible programme. Select Short dry. Antique and very fragile
items should not be washed in a dishwasher.
Glass washed in a dishwasher at high temperatures can gradually
develop a grey film that cannot be removed. Wash fragile glasses
at a low temperature and with a small amount of detergent.
Silver
Silver and stainless steel items should not come into contact, as
the silver can become discoloured.
Cutlery with glued handles
Some types of glue are not dishwasher safe. In such cases, the
handles may loosen.
Wood
Wooden items should only be washed in a dishwasher if marked
dishwasher safe.
5
Table of contents
Other Atag Dishwasher manuals

Atag
Atag VA6611PTUU/A01 User manual

Atag
Atag DW7214MB User manual

Atag
Atag VA6311ST User manual

Atag
Atag DW8114XB User manual

Atag
Atag VA63111ST User manual

Atag
Atag DW7214MT User manual

Atag
Atag VA63211RF/A01 User manual

Atag
Atag VA61111KT User manual

Atag
Atag VA8215SLR/A02 User manual

Atag
Atag DW7214MC User manual