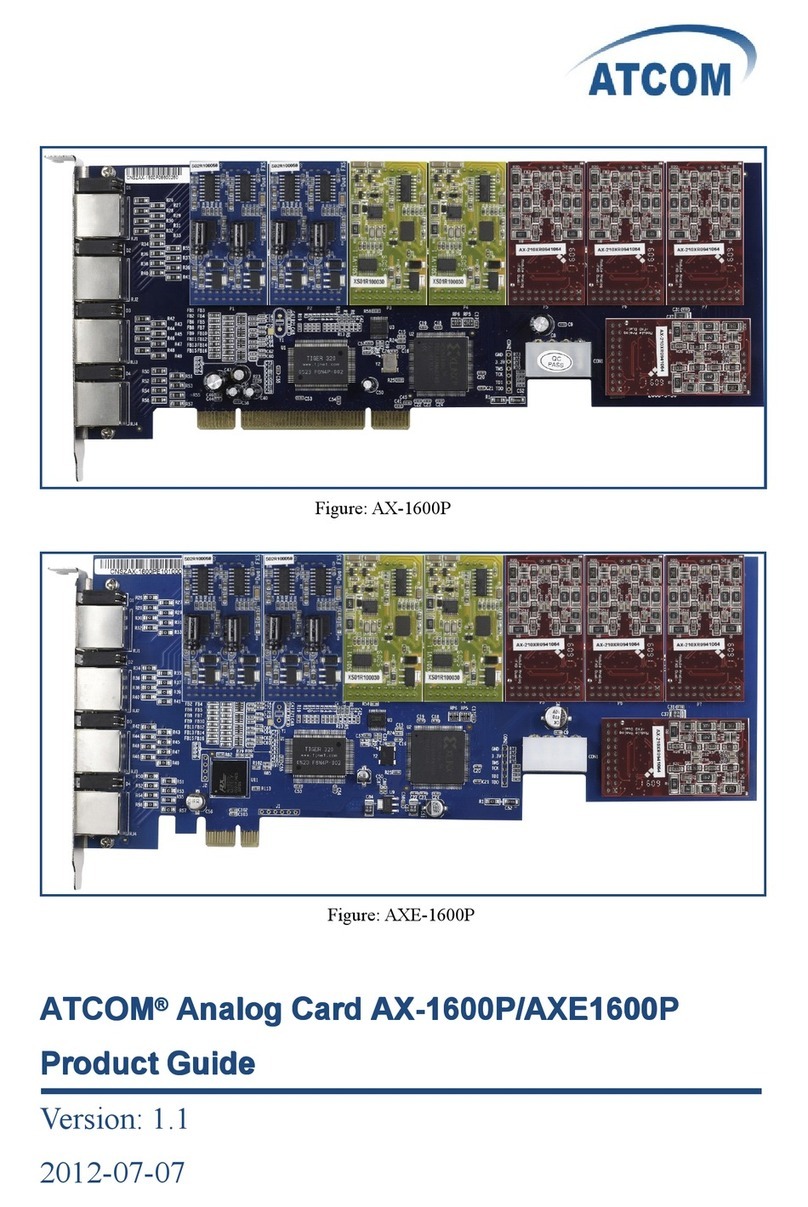
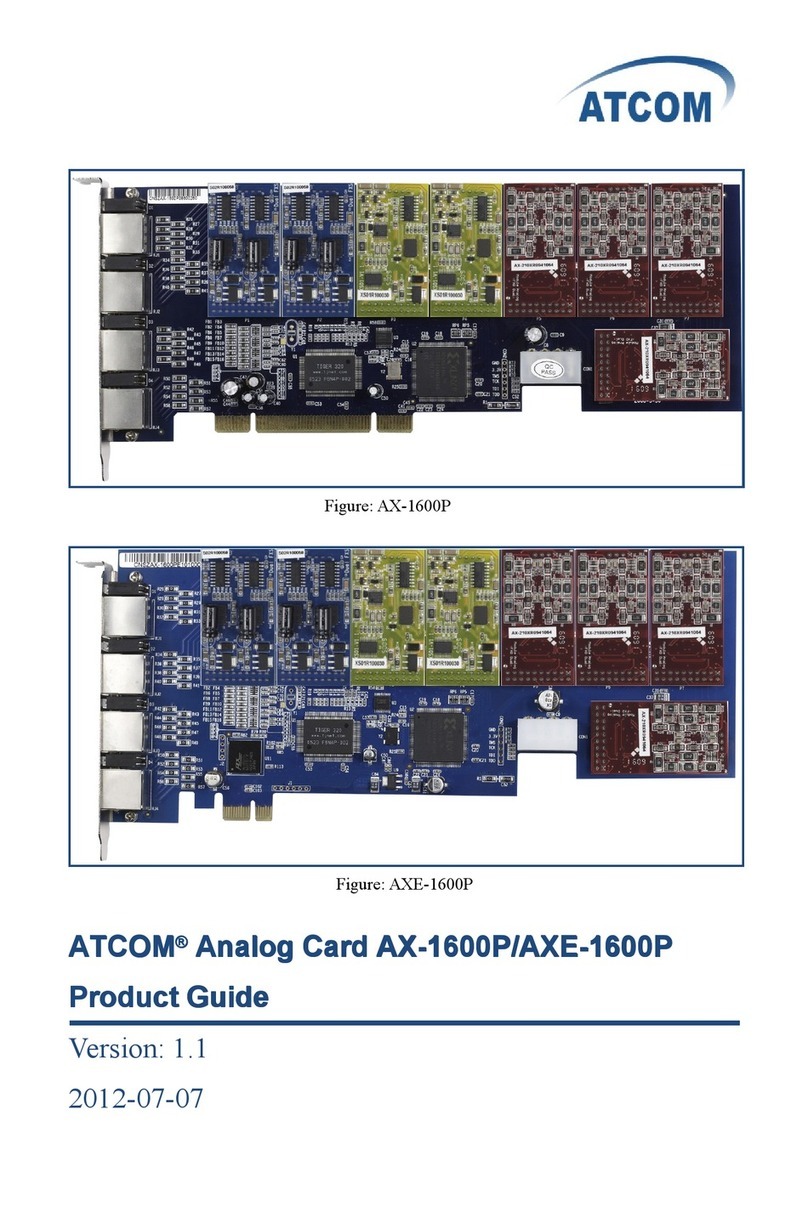
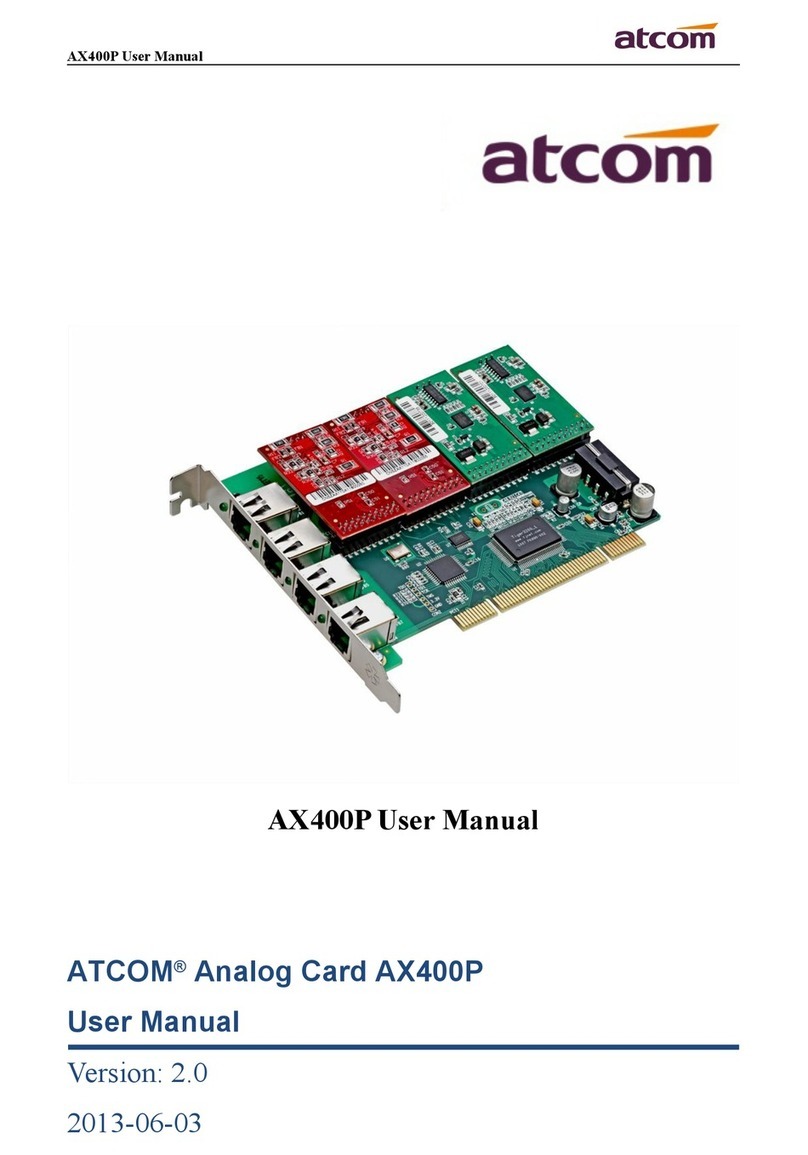
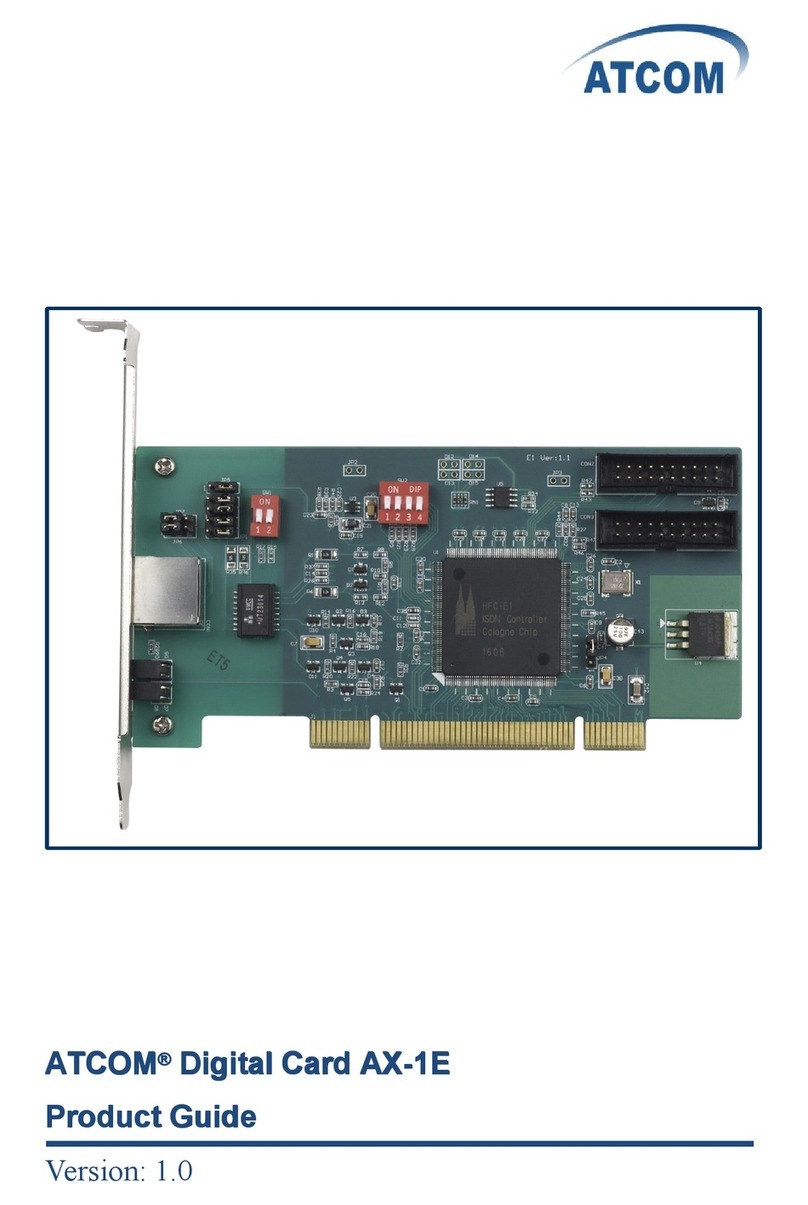
ATCOM AX-400P User manual

ATCOM
ATCOM
ATCOM
ATCOM
®
®
®
®
Analog
Analog
Analog
Analog Card
Card
Card
Card AX-400P
AX-400P
AX-400P
AX-400P
Product
Product
Product
Product Guide
Guide
Guide
Guide
Version: 1.0

www .atcom.cn
1
The Installation of AX-400P
with Ubuntu 8.10
Content
CONTACT ATCOM
...............................................................................................................................
2
CHAPTER 1 THE INTRODUCTION OF AX-400P
................................................................................
3
CHAPTER 2 HARDWARE INTRODUCTION
........................................................................................
4
CHAPTER 3 SOFTWARE INSTALLATION
.............................................................................................
7
CHAPTER 4 SOFTWARE CONFIGURATION
....................................................................................
10
CHAPTER 5 REFERENCE
.....................................................................................................................
12

www .atcom.cn
2
C ontact ATCOM
T he Introduction of ATCOM
Founded in 1998, ATCOM technology has been always endeavoring in the R&D and
manufacturing of the internet communication terminals. The product line of ATCOM includes IP
Phone , USB Phone, IP PBX,
VoIP
gateway and Asterisk Card.
C ontact sales:
Address A2F , Block 3 ,Huangguan Technology Park , #21 Tairan 9
th
Rd,
Chegongmiao , Futian District , Shenzhen China , 518040
Tel + (86 ) 755-23487618
Fax + (86)755-23485319
E-mail sales@atcomemail.com
C ontact Technical Support:
Tel + (86)755-23481119
E-mail Support@atcomemail.com
W
ebsite address:
http://www.atcom.cn/
ATCOM Wiki Website:
http://www.openippbx.org/index.php?title=Main_Page
Download Center:
http://www.atcom.cn/download.html

www .atcom.cn
3
C hapter 1 the Introduction of AX-400P
Overview of the AX-400P
AX - 400P Asterisk card is the TDM400P compatible PCI card that support s up to four FXO and
FXS ports. Using AX - 400P analog card, open source Asterisk PBX and stand alone PC, users can
create their SOHO telephony solution include s all the sophisticated features of traditional PBX,
and extend features such as voicemail in IP PBX. User can use AX - 400P analog card with
standard zaptel driver and Asterisk source code without modify any code. T he FXO and FXS
modules are interchangeable to suit various requirements.
Features
Analog card for Asterisk PBX
Support Asterisk PBX and zaptel driver
Support up to four fxo/fxs analog port
Suitable for SOHO PBX / VoiceMail / IVR.
Caller ID and Call waiting Caller ID
Conference
Configuration
Motherboard: AX-400P
Single port FXS module: AX-110S
Single port FXO module: AX-110X
Hardware requiremen t
500-Mhz Pentium III
64MB RAM
3.3V or 5V PCI 2.2 slot
PCI card dimension:
102mm (height) × 134mm (Length)

www .atcom.cn
4
C hapter 2 Hardware Introduction
Hardware Configuration
Motherboard: AX-400P
Modules:AX-110X,AX-110S
W
arning: Please do not plug and unplug the card when the PC power is on.
Figure 1:AX-400P with 2 AX-110S and 2 AX-110X

www .atcom.cn
5
Figure 2 :AX E -400P with 2 AX-110S and 2 AX-110X
Figure 3 : AX-110X Single FX S Module

www .atcom.cn
6
Figure 4 : AX-110S Single FX O Module

www .atcom.cn
7
C hapter 3 Software Installation
T
est Environment:
Ubuntu 8.10
AX- 400P
4 AX-110X
1. Please install necessary packages as following:
root@atcom-desktop:~# apt-get install g++
root@atcom-desktop:~# apt-get install libxml2-dev
root@atcom-desktop:~# apt-get install ncurses-dev
2. Before you insert the AX-400P, please make sure that you have installed
dahdi-linux,dahdi-tools and asterisk on your Ubuntu 8.10, if not ,please download them as
following:
root@atcom-desktop:~# cd /usr/src
root@atcom-desktop:/usr/src# wget
http://downloads.asterisk.org/pub/telephony/dahdi-linux/releases/dahdi-linux-2.3.0.tar.gz
root@atcom-desktop:/usr/src# wget
http://downloads.asterisk.org/pub/telephony/dahdi-tools/releases/dahdi-tools-2.3.0.tar.gz
root@atcom-desktop:/usr/src# wget
http://downloads.asterisk.org/pub/telephony/asterisk/releases/asterisk-1.6.0.27.tar.gz
root@atcom-desktop:/usr/src# tar -xzvf dahdi-linux-2.3.0.tar.gz
root@atcom-desktop:/usr/src# tar -xzvf dahdi-tools-2.3.0.tar.gz
root@atcom-desktop:/usr/src# tar -xzvf asterisk-1.6.0.27.tar.gz
3. Install dahdi
root@atcom-desktop:/usr/src# cd dahdi-linux-2.3.0
root@atcom-desktop:/usr/src/dahdi-linux-2.3.0# make clean
root@atcom-desktop:/usr/src/dahdi-linux-2.3.0# make
root@atcom-desktop:/usr/src/dahdi-linux-2.3.0# make install
You
will see:
###################################################
###
### DAHDI installed successfully.
### If you have not done so before, install the package
### dahdi-tools.
###
###################################################

www .atcom.cn
8
root@atcom-desktop:/usr/src/dahdi-linux-2.3.0# cd ..
root@atcom-desktop:/usr/src# cd dahdi-tools-2.3.0
root@atcom-desktop:/usr/src/dahdi-tools-2.3.0# ./configure
root@atcom-desktop:/usr/src/dahdi-tools-2.3.0# make
root@atcom-desktop:/usr/src/dahdi-tools-2.3.0# make install
You
will see:
###################################################
###
### DAHDI tools installed successfully.
### If you have not done so before, install init scripts with:
###
### make config
###
###################################################
root@atcom-desktop:/usr/src/dahdi-tools-2.3.0# make config
4. Install asterisk:
root@atcom-desktop:/usr/src/dahdi-tools-2.3.0# cd ..
root@atcom-desktop:/usr/src# cd asterisk-1.6.0.27
root@atcom-desktop:/usr/src/ asterisk-1.6.0.27 # ./configure
You
will see:
.$$$$$$$$$$$$$$$=..
.$7$7.. .7$$7:.
.$$:. ,$7.7
.$7. 7$$$$ .$$77
..$$. $$$$$ .$$$7
..7$ .?. $$$$$ .?. 7$$$.
$.$. .$$$7. $$$$7 .7$$$. .$$$.
.777. .$$$$$$77$$$77$$$$$7. $$$,
$$$~ .7$$$$$$$$$$$$$7. .$$$.
.$$7 .7$$$$$$$7: ?$$$.
$$$ ?7$$$$$$$$$$I .$$$7
$$$ .7$$$$$$$$$$$$$$$$ :$$$.
$$$ $$$$$$7$$$$$$$$$$$$ .$$$.
$$$ $$$ 7$$$7 .$$$ .$$$.
$$$$ $$$$7 .$$$.
7$$$7 7$$$$ 7$$$
$$$$$ $$$
$$$$7. $$ (TM)
$$$$$$$. .7$$$$$$ $$
$$$$$$$$$$$$7$$$$$$$$$.$$$$$$
$$$$$$$$$$$$$$$$.
root@atcom-desktop:/usr/src/ asterisk-1.6.0.27 # make install

www .atcom.cn
9
root@atcom-desktop:/usr/src/ asterisk-1.6.0.27 # make samples
5. Shut down your server and insert AX-400P into your PCI slot then boot your server, please
use the “ lspci ” command to check the PCI bus compatibility. T he correct output will like the
following:
==================================================================
05:02.0 Communication controller: Tiger Jet Network Inc. Tiger3XX Modem/ISDN interface
==================================================================
A n " Tiger3XX Modem/ISDN interface" will be found, if you can not see it , please poweroff
your server and try another PCI slot, if it still does not help, you have to check the
compatibility issue between the card and your PCI bus.

www .atcom.cn
10
C hapter 4 Software Configuration
1. P lease use the “ dahdi_genconf ” command to configure the /etc/dahdi/system.conf file and
generate /etc/asterisk/dahdi-channels.conf file.
root@atcom-desktop:~# dahdi_genconf
It does not show any output if dahdi_genconf run successfully.
2. To check whether it has finished the configuration, please open the system.conf file:
root@atcom-desktop:~# vi /etc/dahdi/system.conf
You
will see:
==================================================================
# Autogenerated by /usr/sbin/dahdi_genconf on Wed May 19 03:53:49 2010
# If you edit this file and execute /usr/sbin/dahdi_genconf again,
# your manual changes will be LOST.
# Dahdi Configuration File
#
# This file is parsed by the Dahdi Configurator, dahdi_cfg
#
# Span 1: WCTDM/4 "Wildcard TDM400P REV I Board 5" (MASTER)
fxsks=1
echocanceller=mg2,1
fxsks=2
echocanceller=mg2,2
fxsks=3
echocanceller=mg2,3
fxsks=4
echocanceller=mg2,4
# Global data
loadzone = us
defaultzone = us
==================================================================
3. Please configure the chan_dahdi.conf file:
root@atcom-desktop:~# cd /etc/asterisk
root@atcom-desktop:/usr/src/ asterisk-1.6.0.27 # vim /etc/asterisk/chan_dahdi.conf
Please add following word at the end of it:
=================================================================

www .atcom.cn
11
#include dahdi-channels.conf
=================================================================
4. root@atcom-desktop:~# dahdi_cfg -vvvvvvvvvvvvvvvvv
You
will see:
==================================================================
DAHDI Tools Version - 2.3.0
DAHDI Version: 2.3.0
Echo Canceller(s):
Configuration
======================
Channel map:
Channel 01: FXS Kewlstart (Default) (Echo Canceler: mg2) (Slaves: 01)
Channel 02: FXS Kewlstart (Default) (Echo Canceler: mg2) (Slaves: 02)
Channel 03: FXS Kewlstart (Default) (Echo Canceler: mg2) (Slaves: 03)
Channel 04: FXS Kewlstart (Default) (Echo Canceler: mg2) (Slaves: 04)
4 channels to configure.
Setting echocan for channel 1 to mg2
Setting echocan for channel 2 to mg2
Setting echocan for channel 3 to mg2
Setting echocan for channel 4 to mg2
=================================================================
5. root@atcom-desktop:/usr/src/ asterisk-1.6.0.27 # asterisk
root@atcom-desktop:/usr/src/ asterisk-1.6.0.27 # asterisk -r
atcom-desktop*CLI> reload
atcom-desktop*CLI> dahdi show channels
You
will see:
==================================================================
Chan Extension Context Language MOH Interpret Blocked State
pseudo from-pstn en default In Service
1 from-pstn en default In Service
2 from-pstn en default In Service
3 from-pstn en default In Service
4 from-pstn en default In Service
==================================================================

www .atcom.cn
12
C hapter 5 Reference
http://www.asteriskguru.com/
http://www.asterisk.org/downloads
http://www.openippbx.org/index.php?title=Main_Page
http://www.atcom.cn/
Other manuals for AX-400P
1
Table of contents
Other ATCOM PCI Card manuals