©2019 Atlas Sound LP. The Atlas “Circle A”, Soundolier, and Atlas Sound are trademarks of Atlas Sound L.P. IED is a Registered Trademark of Innovative Electronic Designs LLC. All rights reserved.
All other Trademarks are property of their respective owners. No endorsement is implied. Due to continual product development, specifications are subject to change without notice. ATS005822 RevB 2/19 P/N 492198
AtlasIED.com
TELEPHONE: (800) 876-3333
SUPPORT@ATLASIED.COM
1601 JACK MCKAY BLVD.
ENNIS, TEXAS 75119 U.S.A.
GPI Interface
General purpose inputs (GPI’s) are used to trigger events in the Control software packages. Refer to software manuals for functionality.
Relay Output is Controlled via software packages. Refer to software manuals for functionality.
Mounting
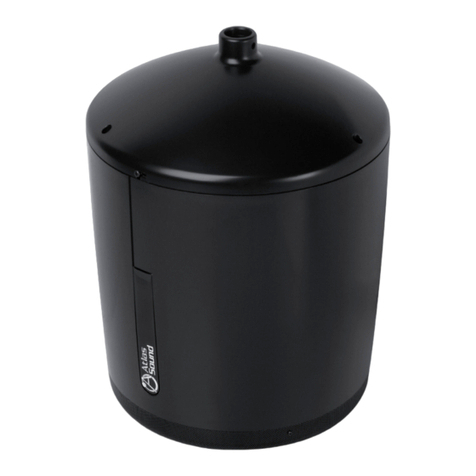
Each model has a specific mounting enclosure that can be Flush Mount, Surface Mount Straight, or Angled Surface Mount. Models include:
Flush Mount Enclosures: IP-FEC-DM, IP-FEST-HVP, IP-FEST-S, IP-FEST-SD
Surface Mount Enclosures: IP-SEST-HVP, IP-SEST-S, IP-SEST-SD, IP-SEST-SNK, IP-SEC-DM
Surface Mount Angled Enclosures: IP-SEA-S, IP-SEA-SD
Note: The IP-12SYSM(F) and IP-22SYSM(F) models are sold with an integrated enclosure for drop ceilings.
IP Speaker Connector Block Pin Configuration
A 14 pin screw type connector block (J2) will be used to allow connections to the controller.
Pin Description
Note: Pin 14 is located next to the RJ45 jack.
Misc Settings
1.Service Button - The only push switch located on the main circuit board.
• Press 1 sec - The current IP address will be spoken (in English) through the 8Ωspeaker
• Press 10 sec - Factory reset
• Press and hold while applying power. Hold the button until the Status LED on the circuit board starts blinking rapidly to perform a factory
reset without any servers present
2. Force Discovery - In some cases, auto discovery may not work correctly. In these cases, the A, B, and C jumper located under the service button
may be enabled.
• Jumper A - Singlewire
• Jumper B - Syn-Apps
• Jumper C - GCK
Grille Removal
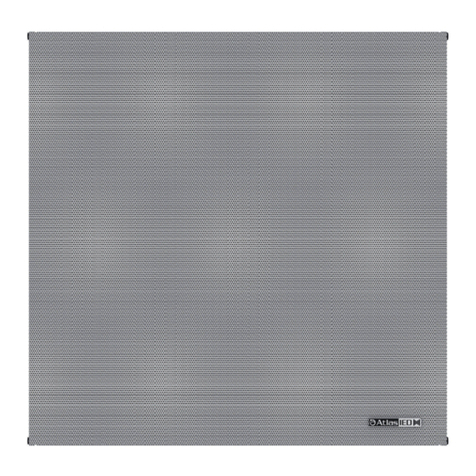
Each IPX endpoint speaker ships with an included grille removal tool. This tool is designed to make removal of the grille easy, reducing the chance of
damage. Using the hooked end of the removal tool, insert into one of the holes at the edge of the grille. Gently apply pressure away from the speaker
assembly to remove the grille. Once one side is out of the baffle, the integrator can use thier hands to pry the rest of the grille out.
Speaker Switch (Available only on models ending in -72)
This switch enables an installer to replace an existing 25V/70V speaker in a room with a new IPX speaker during a retro fit project while retaining
the use of the existing analog paging/intercom system. Once the analog system is taken off-line and the new IP system is brought on-line, the baffle
mount switch can be changed from 25V/70V mode to IP mode.
Installation for Retrofit Applications:
Remove the old 25V/70V speaker, connect the existing speaker line to the transformer mounted to the IPX speaker noting tap settings (see chart
below). Connect the newly installed network cable to the RJ-45 connector on the IPX controller board. Install the IPX speaker in the new installed
enclosure and set the switch to 25V/70V mode. Once the IP system is set-up and running, change the switch to IP mode.
1 GPI In 2 +
2 GPI In 2 GND
3 GPI In 1 +
4 GPI In 1 GND
5 Relay
6 Relay COM
7 Line-In +
8 Line-In --
9 Line-Out +
10 Line-Out --
11 Speaker 1 Out +
12 Speaker 1 Out --
13 Speaker 2 Out +
14 Speaker 2 Out --
